


Recently I spent a few days at the VIAC program on Spanish cheese. If they had to pick one person who probably knew more about the history, process and current state of Spanish cheese, they could not have found a better person than Enric Canut. This session was so popular that they needed two sessions to accommodate us. It was great being in the second session because the process had been tweaked and we had the results of the first session to see and analyze. As a bonus, we had Marie-Chantal Houde as our technical assistant to replace the irreplaceable Marc Druart who has moved on and up in the cheese world. Marie-Chantal herself is a rock star of a cheese maker and she filled in Marc's boots quite nicely. She and her brother make cheese on the family farm in Quebec.
These sessions are usually attended by some of the best cheese makers currently in the US and Canada. It makes this an intense but informative three days.
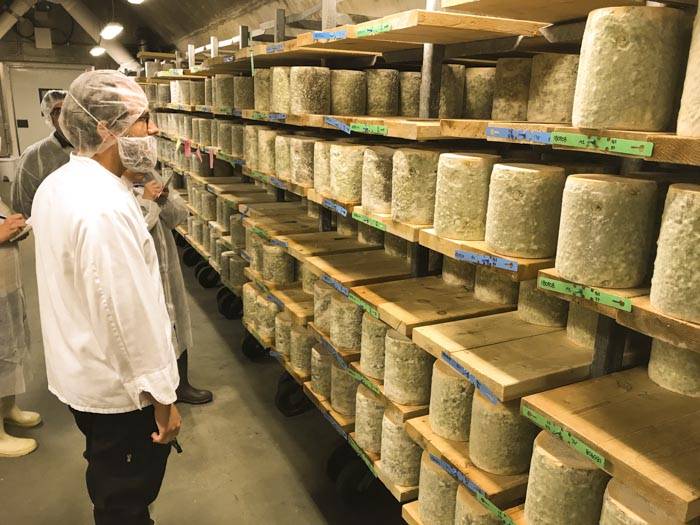
For those unfamiliar with the University of Vermont and its VIAC (Vermont Institute of Artisanal Cheese) program, it is one of the best and I try to get to as many of their master classes as I can. The folks that appear there are the world's best of the best for the style to be featured - in this case Spanish Cheese.
For three days we explored, made, and tasted Spanish cheese and then went out and talked more about making cheese over great food and beer/wine.
So, Spanish Cheese!
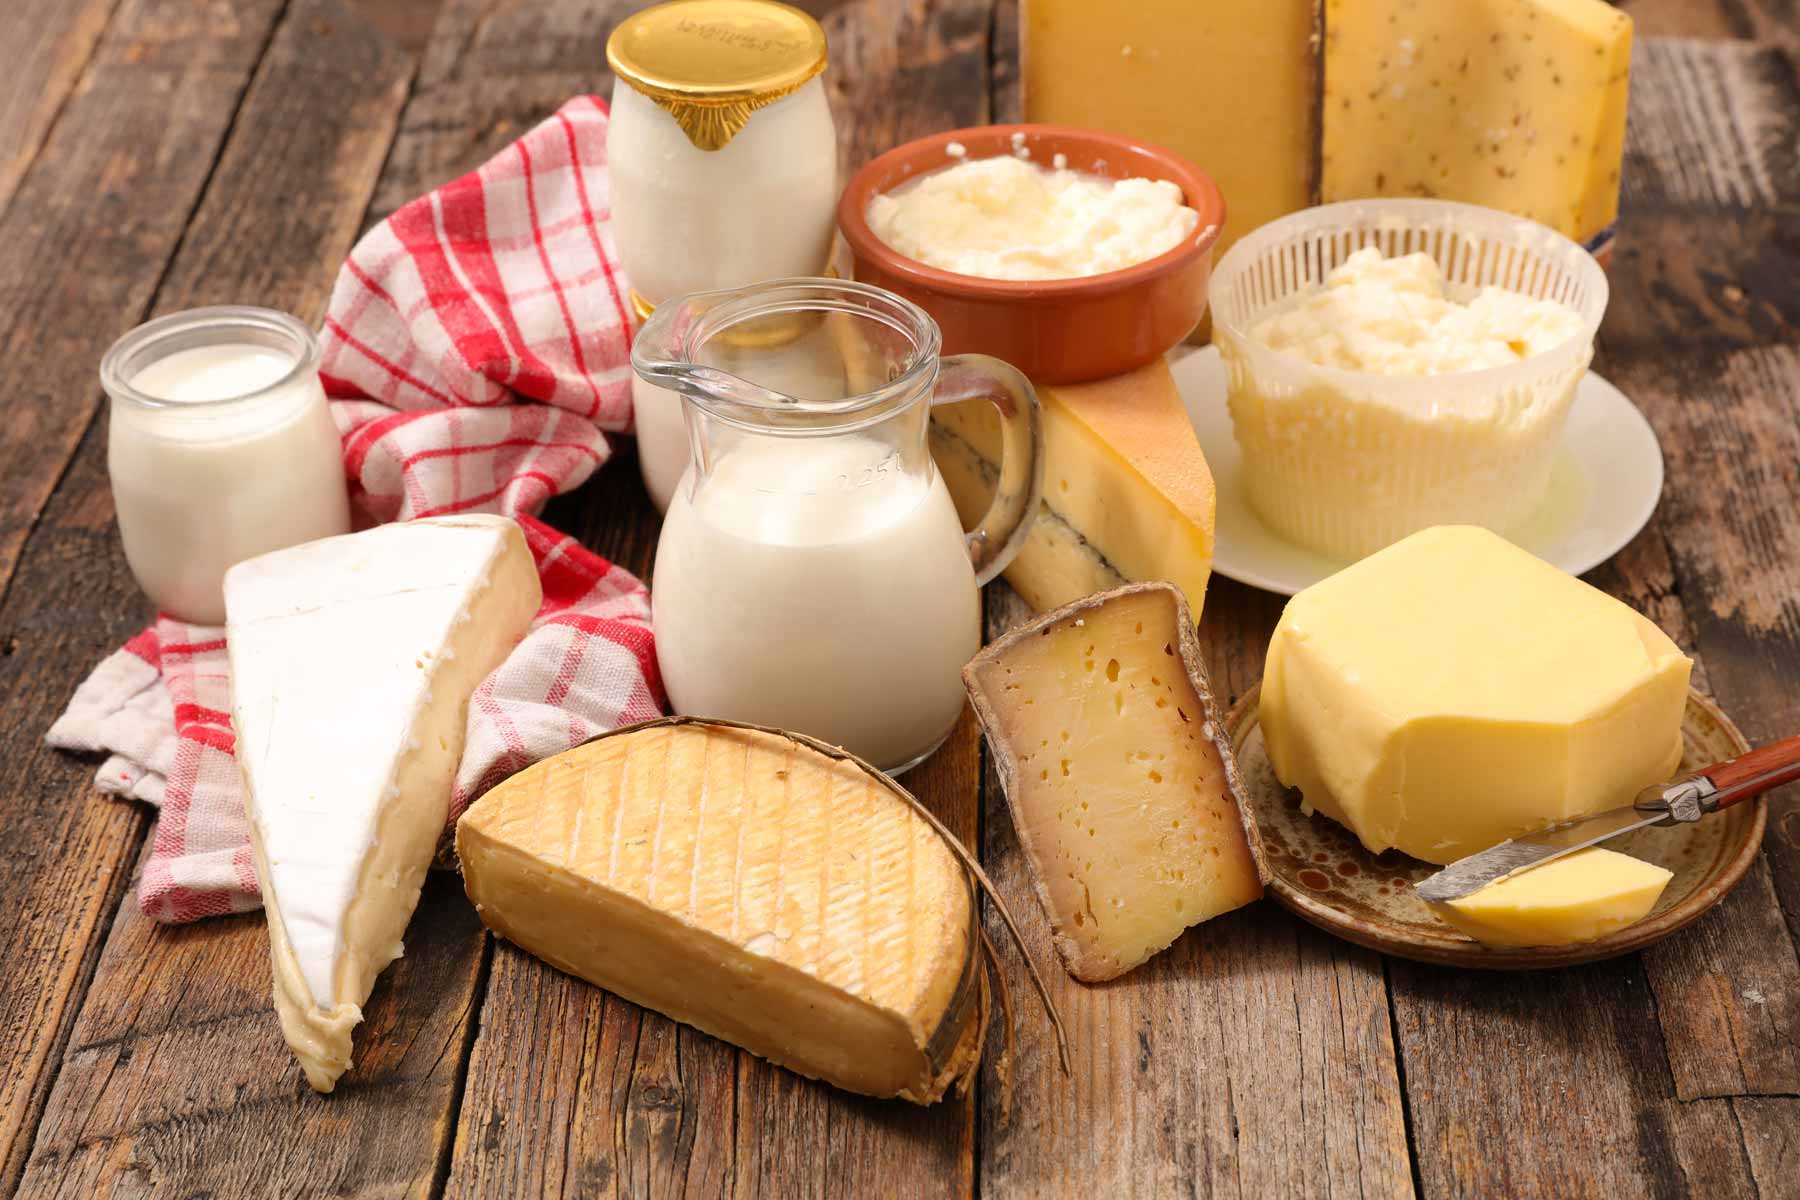
We explored a diverse group of 3 cheeses:
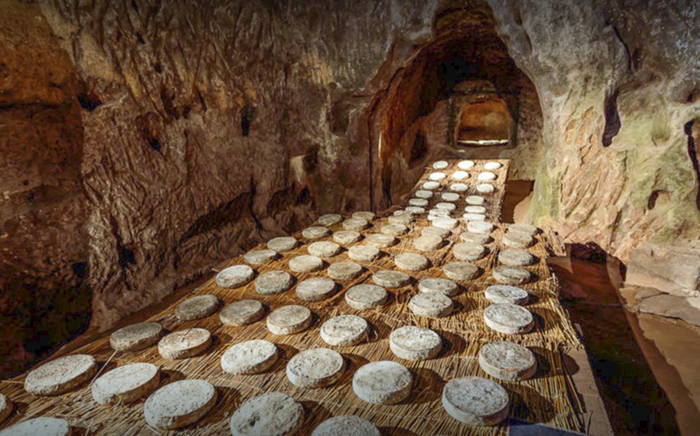
- Torta del Casara | (aka Queso del Serena) coagulated with a thistle flower and developing a very soft paste.
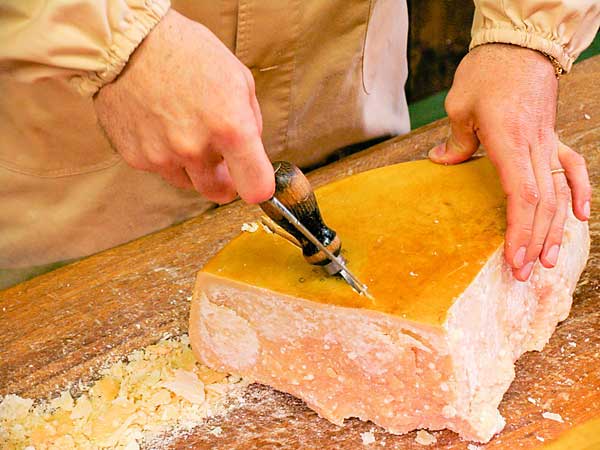
- Iberico | A mixed milk cheese from which our recipe this month has been sourced as a full cows milk cheese and which is quite similar to Manchego.
- Garrotxa | This is a goat's milk cheese with an unusual blue grey mold that I find quite similar to the St Nectaire of France.
This month I will focus on the portion of the workshop for the Manchego/Iberico/Hispanico (same process but different milks.)
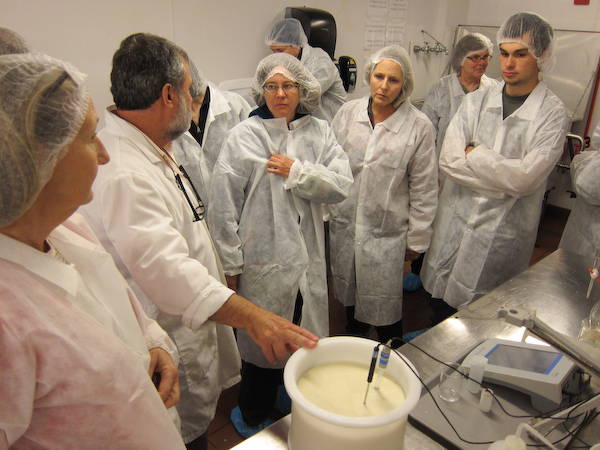
Here we have our fearless leaders left-right, Marie-Chantal, Enric, Catherine Donnelly, and Montse Alamena
then, Enric jumping into the history and background of these cheeses.
Making an Iberico Cheese
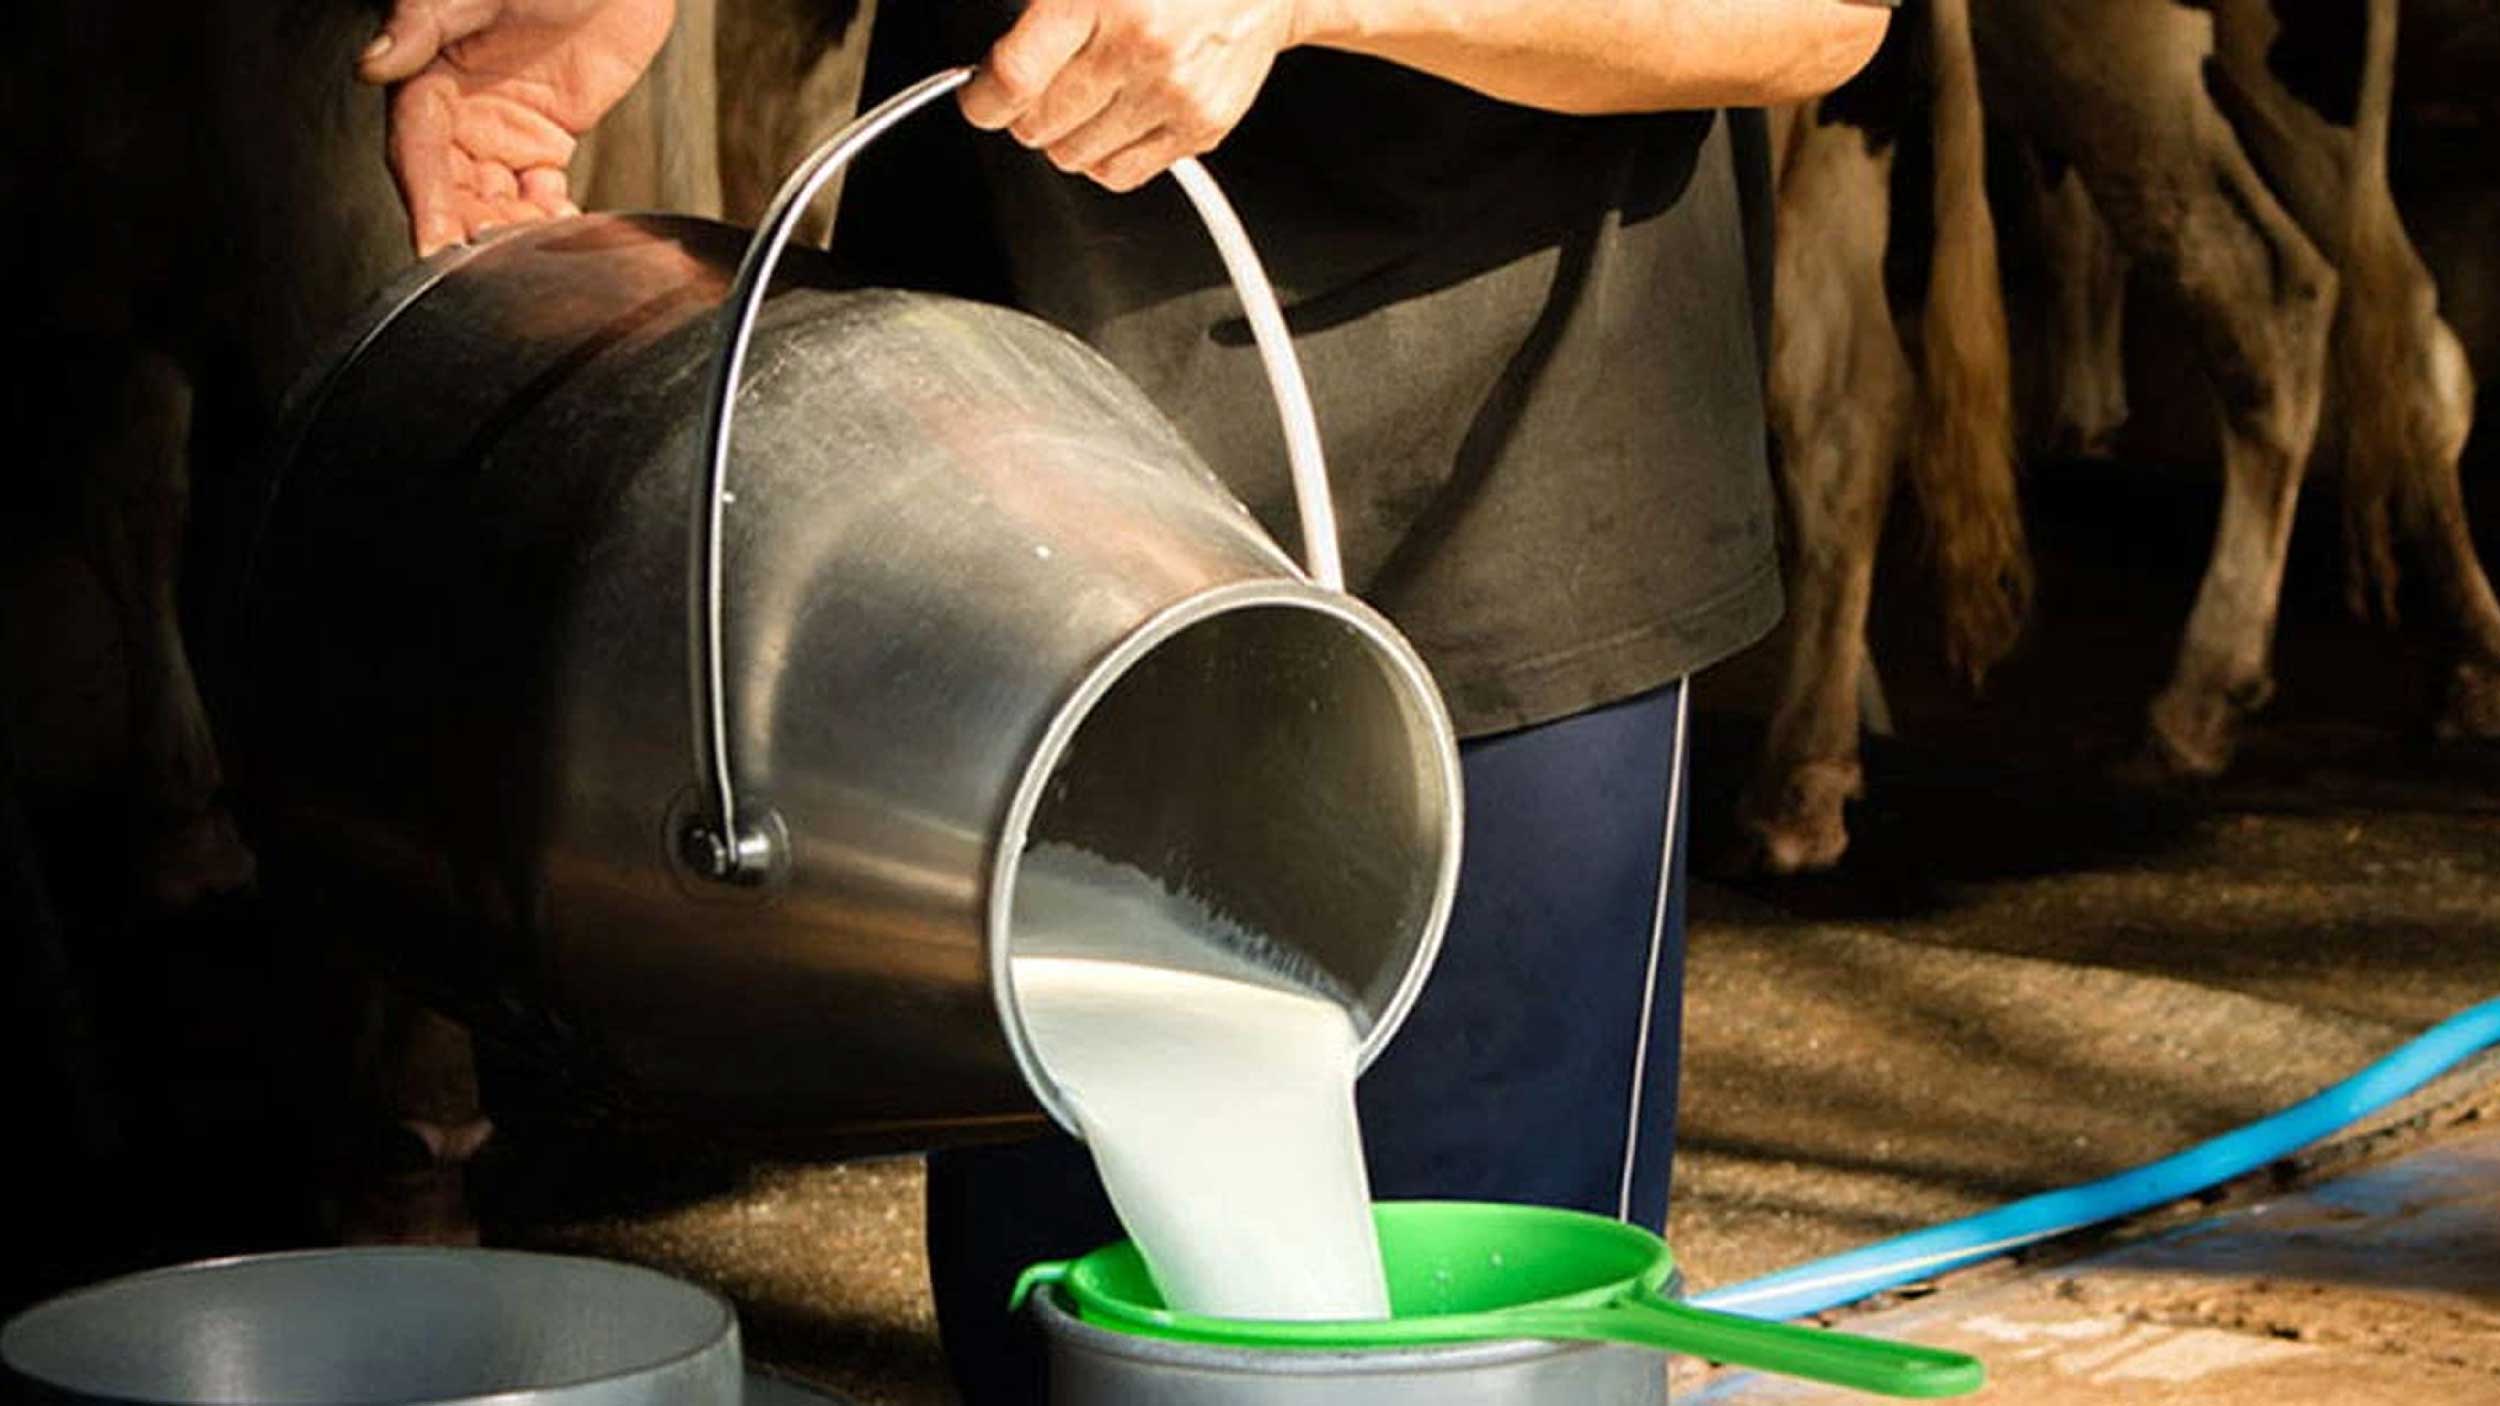
When working with any new milks , it is important to determine how the milk will react with the culture and rennet you plan to use. Here, Enric ha d set up some milk and rennet samples to see how they perform ed together. In doing this , we were able to add just the right amount of rennet to our milk to meet our intended coagulation time.
We also made up a working batch of culture for the session because Enric felt that working with a ripe culture was a better way to go. (Enric is a big fan of mixing up 1 liter batches, ripening to a particular target and the n freezing in sterilized bottles for use through the week. He makes these batches fresh every week. )
Enric began by heating the milk, ripening it briefly, and then adding rennet to form the curd. All of these were quite similar to the time and temp in the recipe shown above.
Even with the trial coagulation, we still watched carefully for the proper time to cut and our results showed a cut time very close to our trial. Once the decision to cut was made, the first cut was a very large vertical cross cut which we followed with a brief rest.
O ur next goal was to cut the curds to the proper curd size in preparation for the final cooking. Enric walked us slowly through his rather precise cutting with an eye to achieving even curd size as well as to avoiding damaged curds in the process. The cut began quite slowly and then pick ed up substantial speed as the curds became smaller and more elusive to cut. In the end Enric was quite pleased with the result. He then began the slow stir.
Once the curd began to firm the vat heat was increased gradually to dry and firm the curds. While these curds were being stirred and the temperature increased we took a few minutes to evaluate the same cheese made the previous week.
At the end of the stir and cook, the curd was then examined for size and firmness to determine whether to begin the consolidation and transfer the curd to the molds.
We began the process by using 2 large sheets of draining mat to drag the curds to the top end of the vat. Once the curd was collected, the weight of the curd mass was enough and we needed no extra weight on the curd for consolidation.
After a short rest, the remaining whey was removed and the transfer to molds was begun.
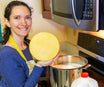
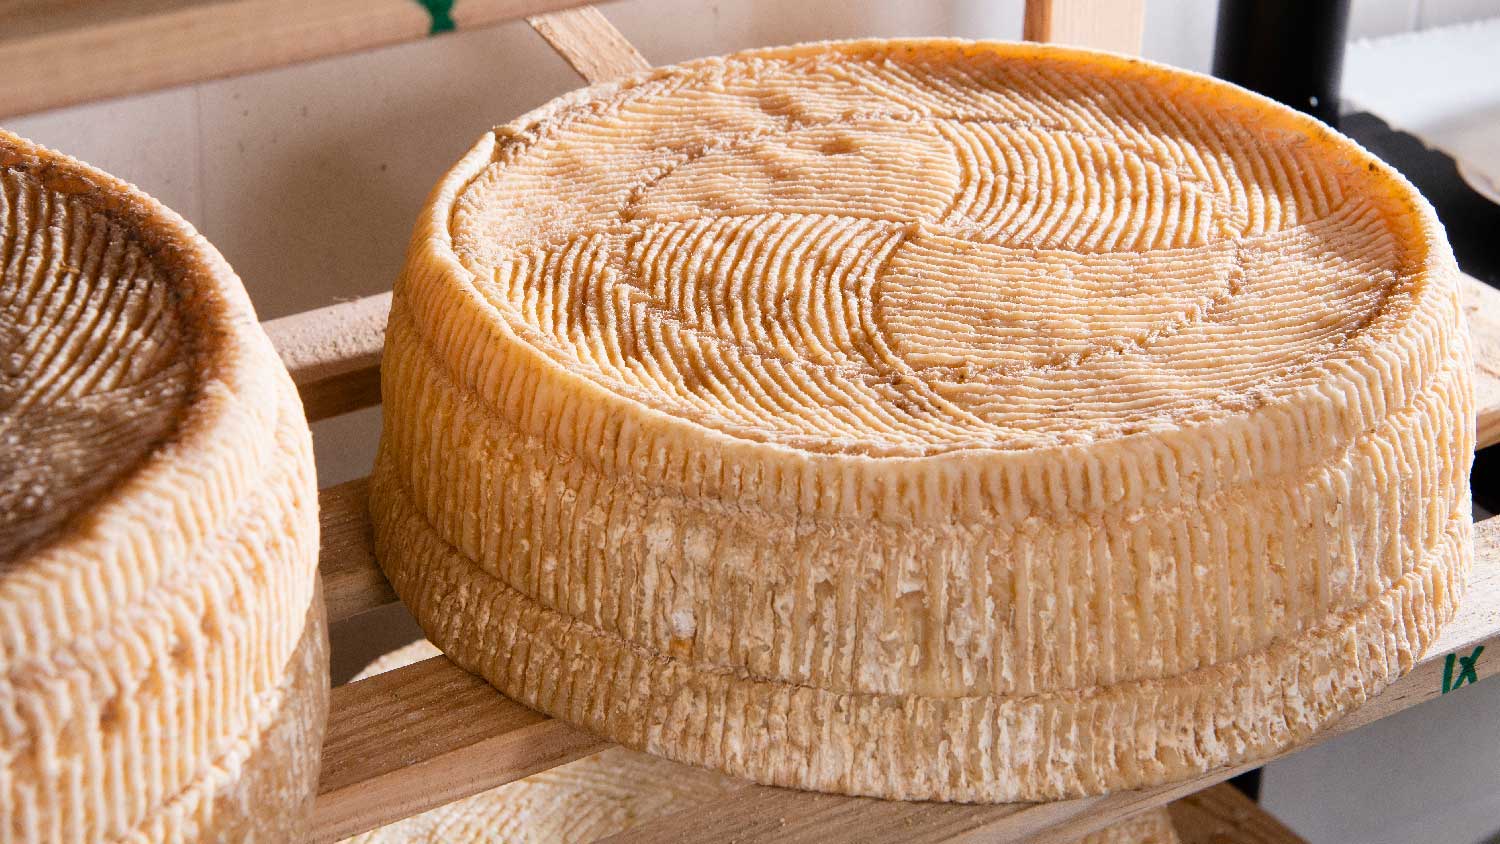
The curds were firmly packed in by hand then the follower was placed with a firm pressure. After 20-30 minutes, the weight of the cheese had consolidated and was ready to be turned in the molds. These molds were of the micro perforated type and needed no cloth. They also detailed the traditional markings of this Spanish style of cheese with the zigzag markings of the traditional plaited grasses.
The cheese was then turned in the molds and taken to the press to begin the light pressing.
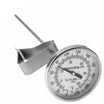
The next morning , the cheese was taken from the press, de -molded and tested for the final acid development. The pH meter here shows a reading that is a little higher than the final desired, most likely due to a cool press room . So, the cheese was left for several more hours on a table in the make room to develop the final desired acid.
This pH or acid target is an indication of the final level of lactose conversion and when correct it will assure that no late fermentation will continue in the aging room , which could lead to problems.


