


Brie Nuit Cheese Making Recipe
Flora Danica, one of the last of the undefined cultures, is used in this recipe to produce an open texture and buttery flavor. In addition, layers of cracked black pepper are added to the curds and a thin coating of ash is applied to the surface. The ash, activated charcoal, eats up the surface acid to welcome in white mold quicker.
Because of its unique appearance and fantastic flavor, this cheese is often the first to disappear from our cheese boards.
-

Yield
2 Pounds
-

Aging Time
~2 Months
-

Skill Level
Intermediate
-

Author
Jim Wallace


Ingredients
Total price for selected items: Total price:

Instructions
-

Heat & Acidify Milk
Slowly heat the milk to 90F. Once heated, sprinkle the culture and mold powders onto the milk. Let them re-hydrate for two minutes before mixing into the milk.
Let the milk rest while it cultures for 30-45 minutes.
Note: Flora Danica will provide nice gas production and butter like aromatics that gives an open texture to the curd and improves movement within the cheese throughout aging.
-

Coagulate with Rennet
Add 1.5 ml single strength liquid rennet to the milk and mix for one minute. Let the milk rest for about 90 minutes.
Once done check for a firm coagulation. If the curd is still weak, let milk rest for up to 45 minutes longer. The next time you make the cheese, adjust the rennet amount if needed; more rennet for a quicker set.
While the milk coagulates you can get the black pepper ready and sanitize your cheese molds.
Note: This is a longer period, about 2-3x the normal coagulation time of other cheeses. Because of this longer coagulation the curd is able to hold more moisture when cut, a very important factor with this cheese. The acid is also development further during this time.
-

Cut & Stir Curds
When ready cut the curd mass as evenly as possible into 3/4-1” cubes, and then allow the cut curd to rest for 5 minutes, so that the cut curd surfaces can heal.
Adjust the heat at this time if it has dropped below 90F.
After the short rest slowly stir the curds for 10-15 minutes, to allow the curd surface to firm up and release some whey.
Both the rest and stir are important to dry the curd slightly so it’s able to properly fit into the cheese molds.
-


Transfer Curds & Add Pepper
Place a thin board or disc and draining mat underneath each cheese mold, these should already be sterilized.
The curds at this point are still fragile so they need to be transferred very carefully into the cheese molds. The curd will be very delicate, like pudding, and must be handled very gently.
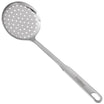
A flat draining ladle will help the curds easily slide into the molds. Bring the ladle to the bottom of the mold to gently slide the curds off, they will shatter if they are just dropped into the molds.
Add one scoop to each mold in a round robin fashion until they are all full.
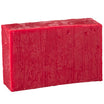
After you lay the first base of curd top it with a small portion of cracked peppercorns. Keep alternating the layers of curds and pepper with a layer of curd on top and bottom of the cheese mold. There should be about 5-6 layers of peppercorn in each cheese mold.
Note: Once filled the cheese molds should be mounded with curds. As the curds settle to become level with the top of the cheese molds lay butter muslin over the molds to keep any debris out.
-


Draining
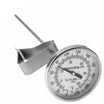
The curds will continue to develop acidity as they consolidate within the cheese molds and the whey drains. It is important to maintain a draining temperature of 72-76F because a lower temperature will slow the draining process and may result in too much moisture retention for proper aging.
The cheese curds should be carefully flipped in the cheese molds 3-4 times within the first day of draining.
How to flip the curds | Place a draining mat and board or disc on-top of the first cheese mold. Carefully raise one side of the board or disc, that was placed under the cheese mold, with one hand, place your thumb on-top of the board or disc that you placed on-top of the cheese mold. Lift the other side of the cheese mold with your free hand and again sandwich the mold with your thumb on-top.
Now give the mold a very gentle shake to loosen the young cheese from the cheese mold. Then quickly flip the cheese mold over, while securely holding it sandwiched in your hands, and set it back down on the draining table.
Remove the top board or disc and draining mat, place them onto your second cheese mold and continue in the manor until each cheese has been flipped.
The key is to do this first flip early, before the cheese has room to fall too far when flipped.
After about 45-60 minutes the cheese should be flipped again. The cheese will be firmer and more consolidated on the subsequent turns making the process much easier.
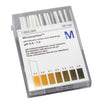
Allow the cheese to drain overnight and consolidate to about 1/2-1/3 of the cheese molds height. The whey will change over time from a sweet milk to an almost yogurt like tang. If desired, you can use a pH Meter or pH Strips, fresh curds going into the molds will have a pH of about 6.2-6.3. The next day, after settling the pH should be about 4.6-4.8.
Once the curd seems firm enough and is about 1/2-1/3 the height of the form, the form can be removed. This is normally late morning of the next day.
Note: The surface will have mini craters caused by the moderate gas production of the Flora Danica. If cut in half you would see these continue throughout the cheese as small openings. They are helpful in forming passageways for moisture and enzymes to move through the cheese while it ripens.
-


Salting & Ash
The Brie should be dry salted at the same draining temperature, 72-76F.
Use about 2% of the cheese weight in salt for this step. For this 2 gallon batch use 4 tsp of salt and mix in 1/8-1/4 tsp of Ash. The ash helps reduce the acidity of the cheese surface and bring it back to a point where the final white mold can grow well.
Sprinkle 1/2 tsp of the ash and salt mix to the top of a cheese and disperse it down the sides. Repeat for the remaining cheeses. Allow this to sink in completely before turning and repeating.
Once the cheese has fully drained after salting, they need to be air dried at 65F before going to the cave. Depending on humidity you may need a damp cloth to keep the cheese from drying too fast and or a small fan if the cheese is too humid.
The final cheese should be drained well by now and any surface moisture should be gone.
The appearance should be a matte surface with no highlights of free moisture. Failing to do this will encourage the dreaded grey Mucor.
-


Aging
Place the cheese on mats in the aging space. Reed Mats are a great option because mold spores can inhabit them from batch to batch. Age at 52F and 92-94% moisture. A cover over the cheese will accomplish the high moisture requirements. Turn the cheese once or twice a day to keep the molds from growing into the mats.
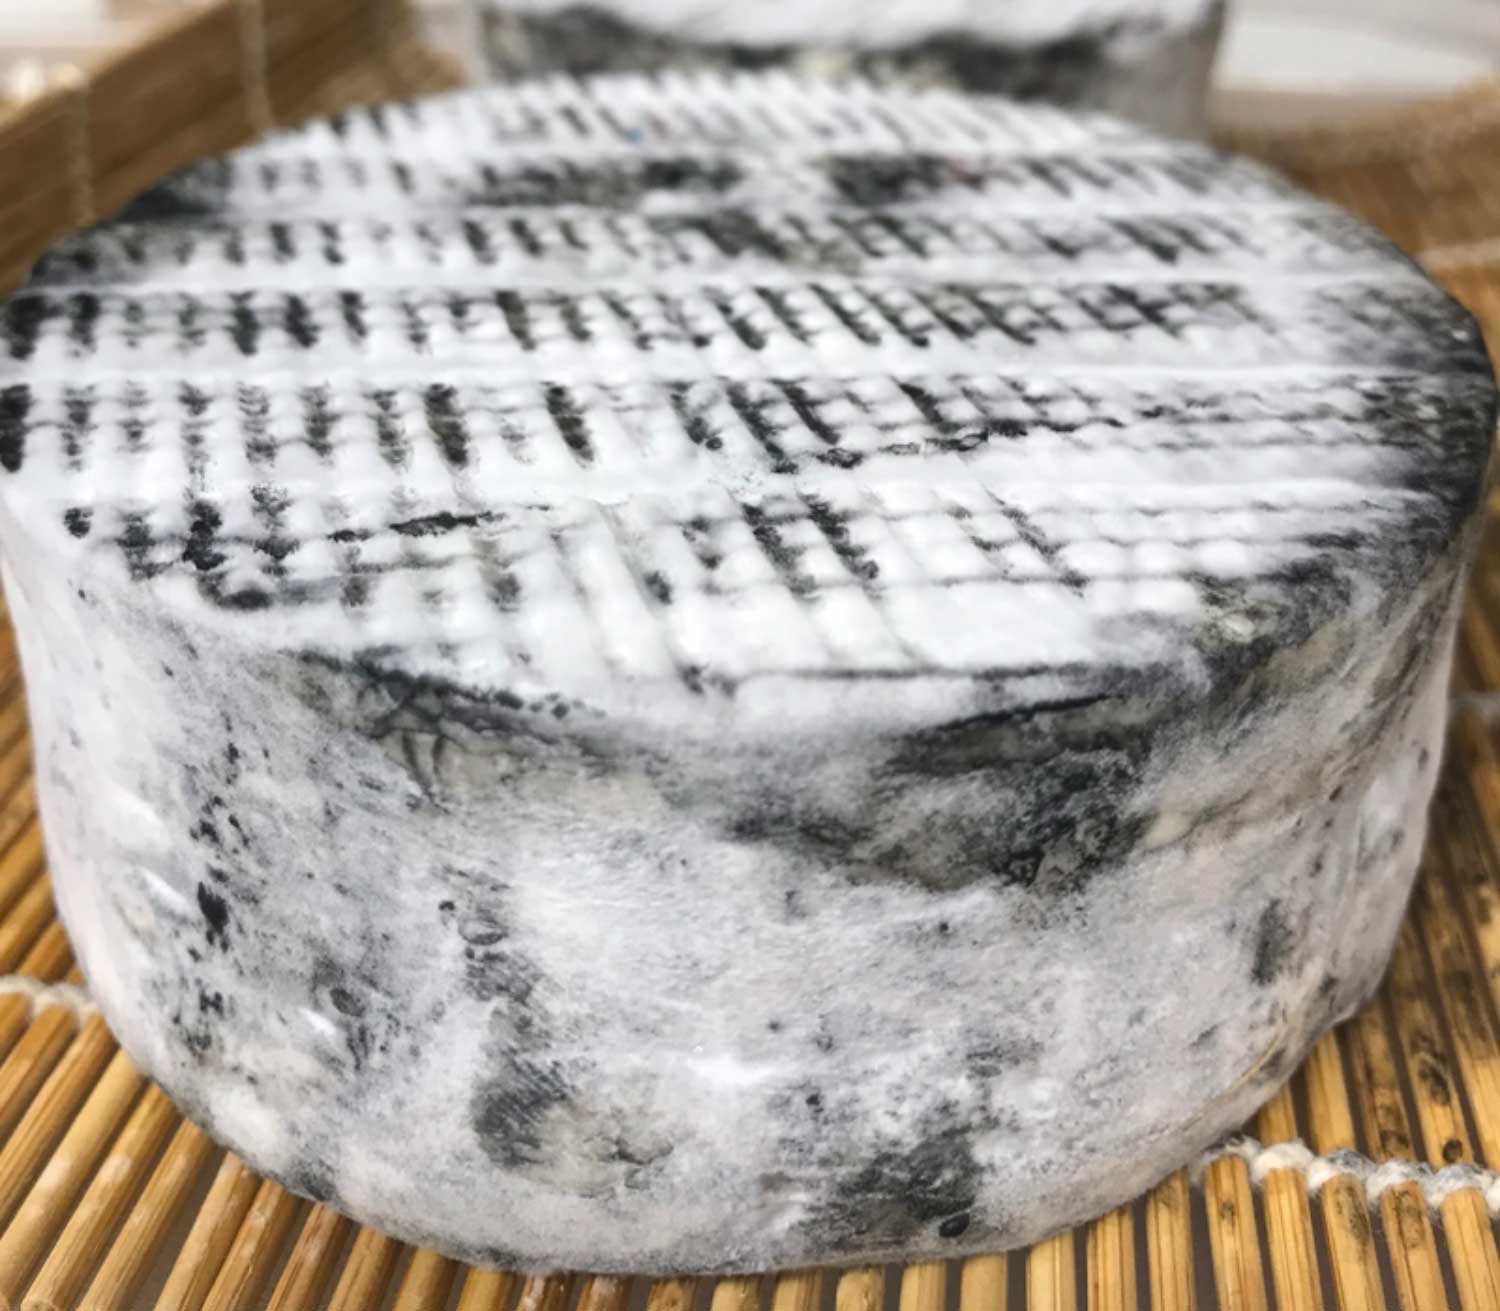
At day 3-4 you may find a rather yeasty smell and the surface may seem to have a greasy feel. This is the natural yeast that has occupied the surface and grown. Day 5-7 the Geotrichum will start growing in small white patches. Day 10-12 white mold begins to take hold. Day 14-15 the surface will be covered in white. This is the mold surface that produces the typical flavor and produces enzymes that work their way into the cheese and change the texture of the cheese.
At this point the cheese can be wrapped with the special mold ripening paper (Croute Fleurie), then moved to a cooler aging space at 42F. These special papers are designed for bloomy rind cheese with an inner parchment paper to maintain proper moisture and an outer micro perforated layer to allow for air exchange.
At 20 days the cheese can actually be brought to the table at any point now. Early it will still show the tanginess of acid and a firmer texture but this does quite well with the black peppercorns. It is a nice bright flavor. In another week or so the texture will have changed to the very creamy paste that tends to slump out onto the cheese board when left at room temperature for a bit. A much softer and creamier texture in the mouth and more buttery in flavor. Again, the black pepper sits nicely with this.
For additional info on mold ripened cheese see our Brie Cheese Making Recipe and Camembert Cheese Making Recipe.
Cheese Making Supplies
Popular Products
Cheese Making Recipes
Recommended Recipes
Learn how to make a cheese cave right at home. If you want your cheese to ripen properly you have to make them a good home and take care of them like little bambinos.