


Burrata Cheese Recipe
The name Burrata has its root in the Italian word for butter ‘Burro’, most likely because the finished cheese has such a buttery/creamy texture and flavor.
-

Yield
2 Pounds
-

Aging Time
None
-

Skill Level
Advanced
-

Author
Jim Wallace


Ingredients
Total price for selected items: Total price:

Instructions
Burrata begins with making your own Mozzarella and Stracciatella, a two-part process which can be done in a single day or divided into two days.
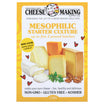
Mozzarella | We have several guidelines for this, but in this recipe I used TM81 culture which creates a wonderful flavor. The stretch for this cheese comes from proper acid development and heat. Mozzarella is both the outer wrap and the filling, when mixed with cream.
Stracciatella | This is where the magic happens. It begins with mozzarella stretched into narrow rope-like strands that are chilled in cold water. Then they are pulled apart into thin, thread like pieces that get soaked in Heavy Cream.
As cream soaks into the threads of Mozzarella it becomes rich the Stracciatella filling for Burrata. Stracciatella can also be enjoyed on toasted bread, bruschetta, as a salad topping...
-
Heat & Acidify Milk
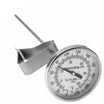
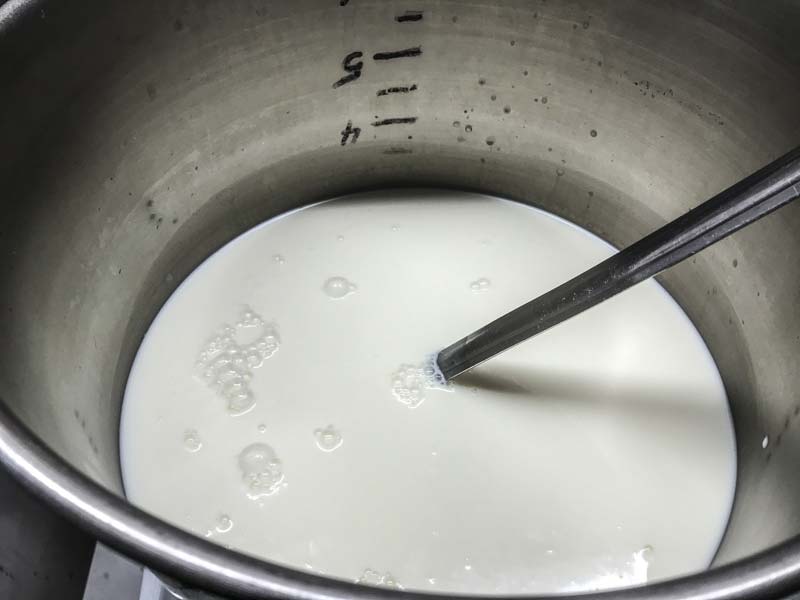
Heat the milk to 98F, is using calcium chloride it can be added to the milk while it's heating. This is the lower heat range for Thermophilic cultures. Once the milk is at temperature the culture can be added.
Our new TM81 culture is a thermophilic blend from Italy, specifically formulated for the stretched curd cheeses. The other options will all work and I have listed them in the ingredient list above in order of my personal preference.
Sprinkle the culture powder over the surface of the milk and then allow about 2 minutes for the powder to re-hydrate before stirring it in. The milk now needs to be held at 98F. Hold the milk with culture quiet for the next 90 minutes to allow the culture to begin doing its work. Acid development will be very slow initially but will soon kick into its more rapid rate of converting lactose to lactic acid.
-
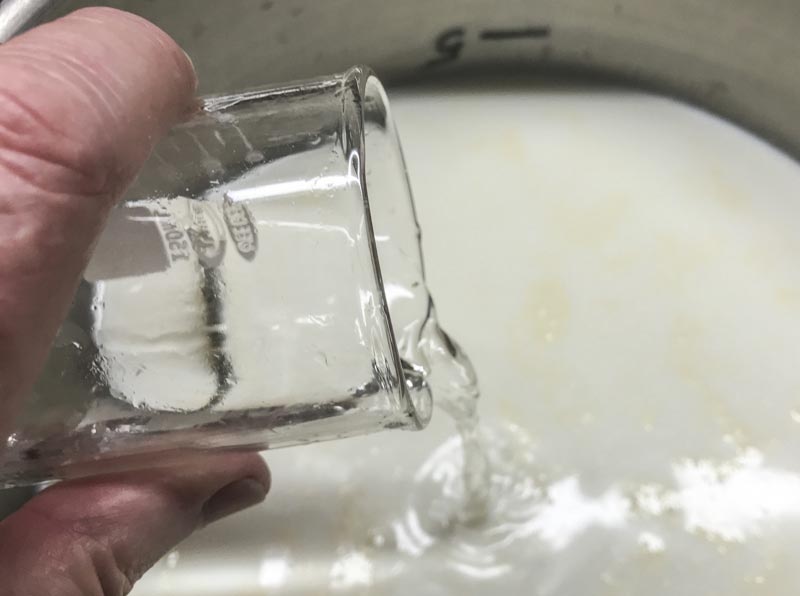
Add Rennet
Once the milk has ripened add the diluted rennet. The milk now needs to sit quiet for 20-25 minutes while the culture works and the rennet coagulates the curd. The milk will begin to thicken at about 8-10 minutes but allow it to coagulate to firmness at about 20-25minutes.
It is always best to check for a firm coagulation and if it seems to need longer allow it to go as much as 50% longer. The next time you make the cheese, adjust the rennet amount if needed (more rennet for a quicker set). The thermal mass of this milk should keep it warm during this period. It is OK if the temp drops a few degrees during this time, you can heat it back to temp after cutting.
-
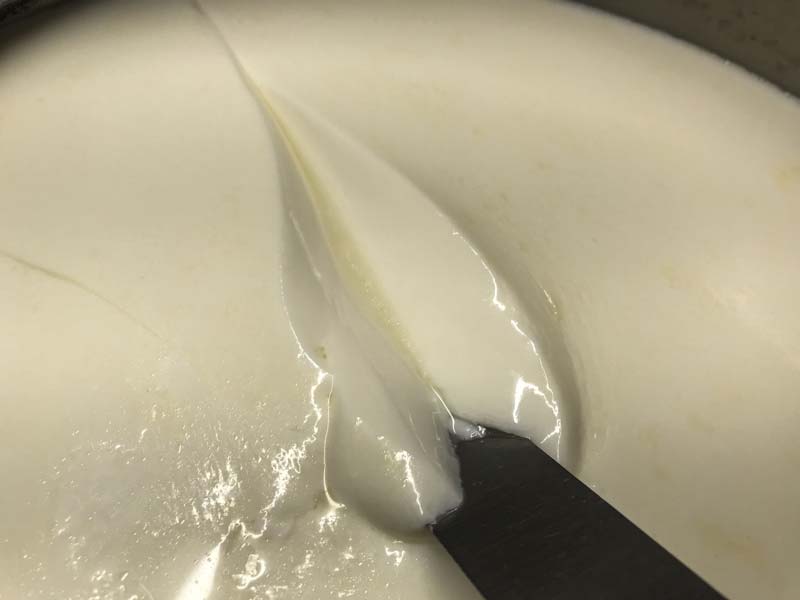

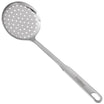
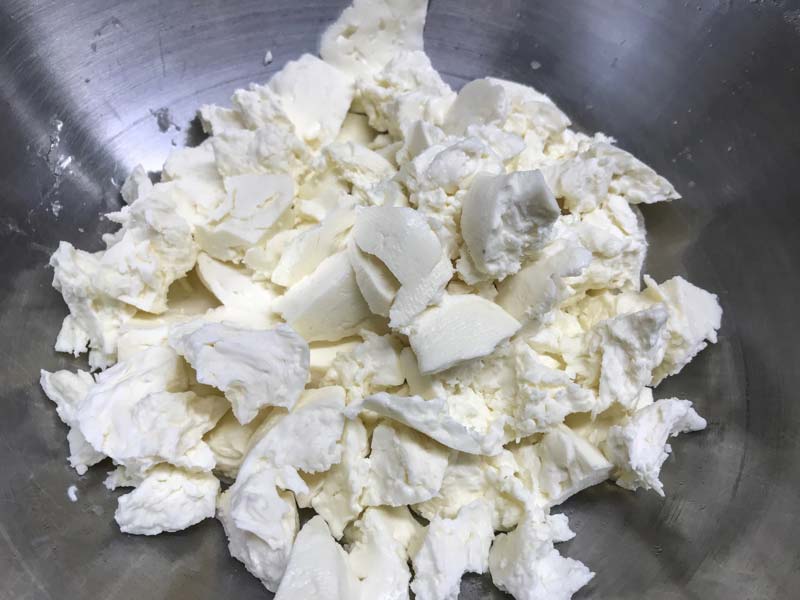
Cut Curds
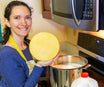
Once you have determined that the milk has set well, it is time to cut the curds smaller. This is the first step in reducing the curd moisture. Always check the curd for holding a good firm cut before the full cutting as seen in this pic below. If the curd seems weak then give it a few more minutes.
Cut the curd mass as evenly as possible to about 3/4-1” pieces, and then allow the cut curd to rest for 5min, so that the cut curd surfaces can heal. Then stir slowly for 10 minutes to allow the curd surfaces to firm up more. The rest and stir are important to encourage the whey to drain from the curd.
-
Prep Curd Mass
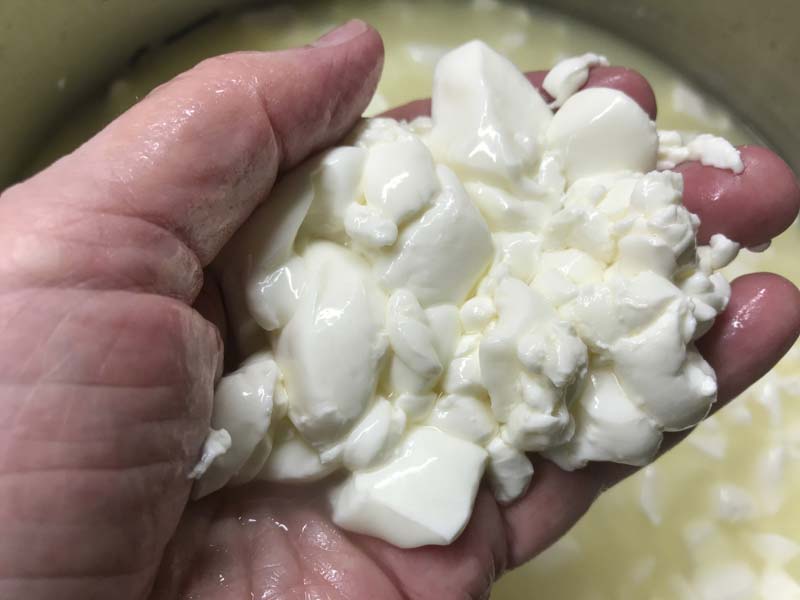
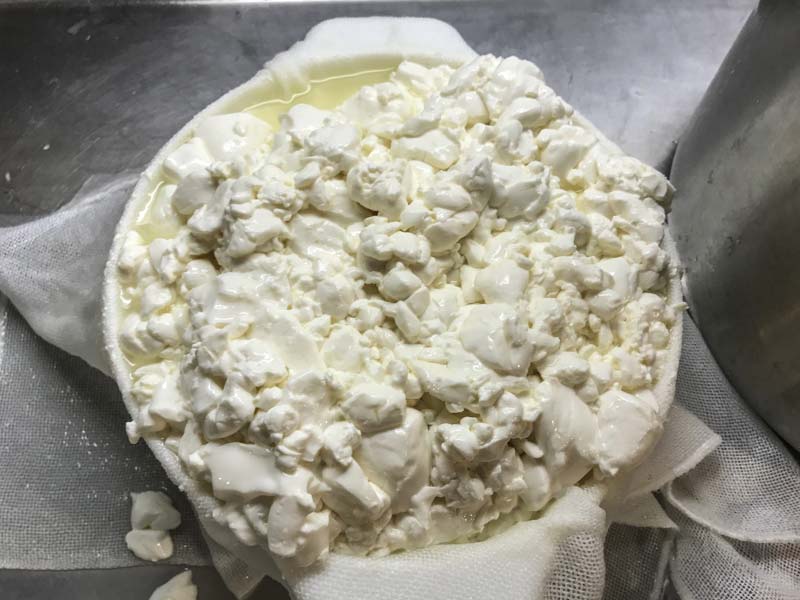
Let curds settle under the whey for 30-60 minutes. The curds should be quite moist but continuing to convert lactose to lactic acid. The curd should taste less sweet than the original curd at cutting. From this point on you should notice the taste of the curd becoming even less sweet. Once the curd has settled under the whey for 30-60 minutes you can remove the whey down to the level of the curd.
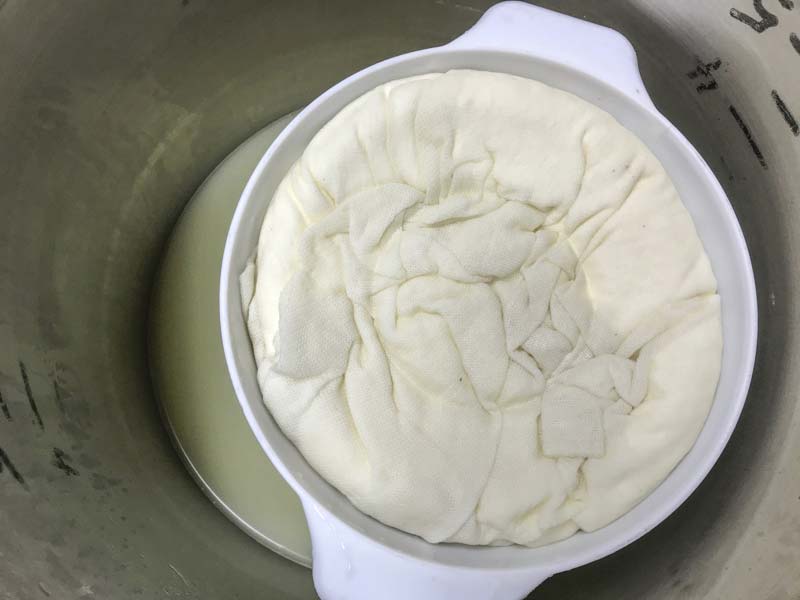
The curd can then be moved to a cheese form or colander lined with draining cloth to allow residual whey to flow off.
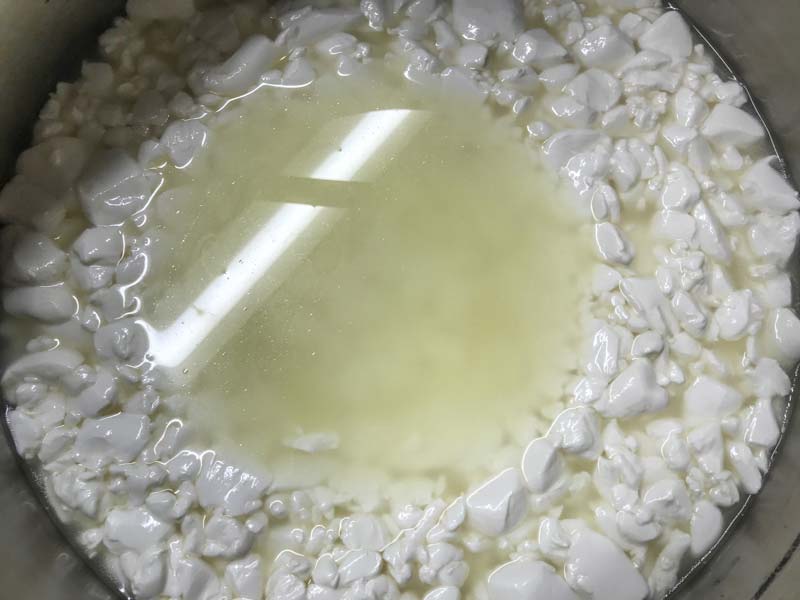
As shown in the final image in this step, the curds can sit elevated in a pot above the warm whey (90-95F). This should keep them warm for the next 2-3 hours (or longer depending on the rate of acid development). As the whey cools heat it back to temperature to help the acid development.
Note: If you plan to stretch the curd and finish the Burrata the same day, begin heating a pot of water to 185-190F (175-180F if using stretch test below) while you are waiting.
The final acid development can be determined by taste. The curds taste should show none of the sweet flavor of the milk. A neutral to slight tangy flavor is what to look for. This has been a tried and true way to check for acid development for generations.
If you feel you need a physical guide, our pH Strips are helpful as a visual color check for the pH. I am always shy about suggesting serious equipment like pH meters because they take time to learn how to use and calibrate properly. If you feel confident in using one the pH guideline you are looking for at this point is 5.35-5.2. However, I find the hot water test below much more reliable than checking for pH levels.
Hot Water Stretch Test: After curds have sat, the final test will be a stretch test in hot water at 175-180F. Dip a small slice of the curd in the hot water and leave for 5 minutes. If it stretches readily and smoothly then you are ready for the stretch. If not place the curd back in the warm pot for another 10-15 minutes and test again until a proper stretch results.
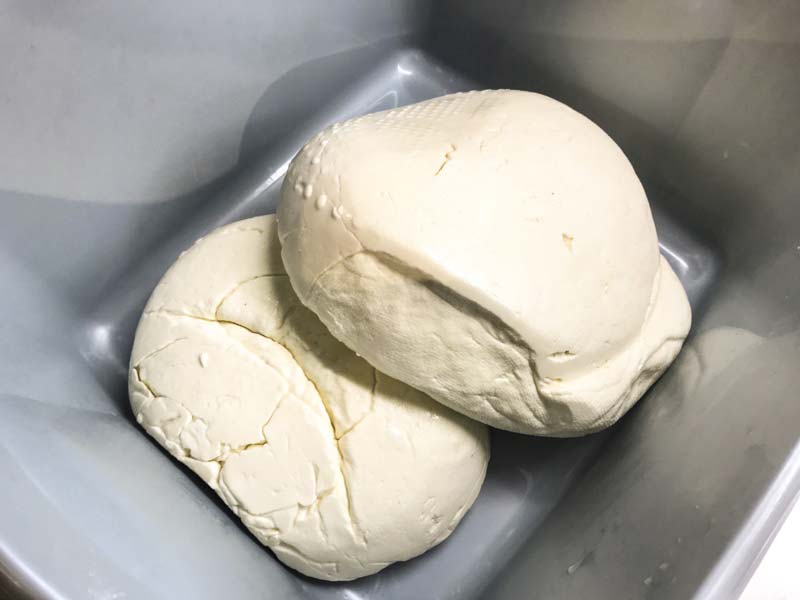
If the curd stretches nicely on its own in the hot water you can either stretch and carry on with making mozzarella and burrata, or chill the curd ASAP in ice cold water then store it in the fridge and stretch in a day or two.
Note: If the stretch continues to fail, this is most likely due to a curd that was dried out excessively by cutting too small, higher heat, or excessive/aggressive stirring. If this is the case, not much can be done to save the batch at this point. -

Stretch Curd for Stracciatella
Be sure to have a pot of water heated to 185-190F, before you begin this step.
If you are stretching curds you made and refrigerated, warm the curd mass while heating your water.
Tip: Prepare a large container of cold water for chilling the curd. This can also be used for your hands if you are not using gloves. Continuous dipping of the hands in the cold water will give you about 15-20 seconds to work with the hot cheese. I learned this from some wonderful Italian ladies.
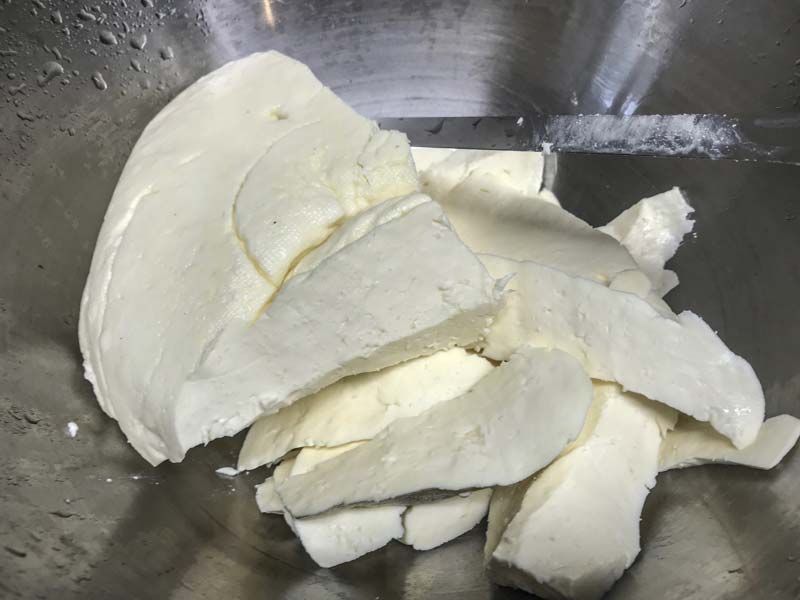
Using a large bowl or basin, take 1/3 of the curds and cut them into thin strips about 1/8 to 1/4 inch x 3 to 4 inch, or break it into 3/4 inch pieces. I prefer cutting the curds into strips but both methods work well.
Note: The remaining 2/3 of mozzarella should be set in cold water to stop further acid development until step 6 (this will be used for wrapping the Burrata).
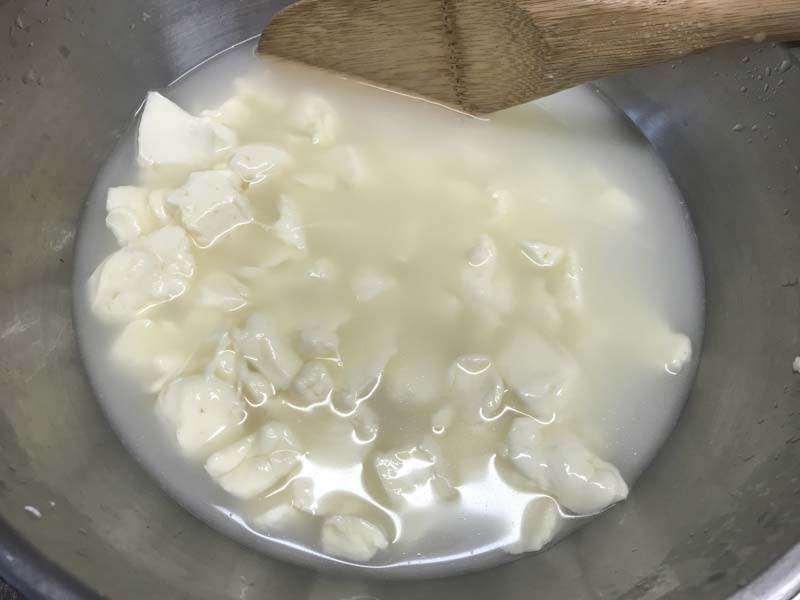
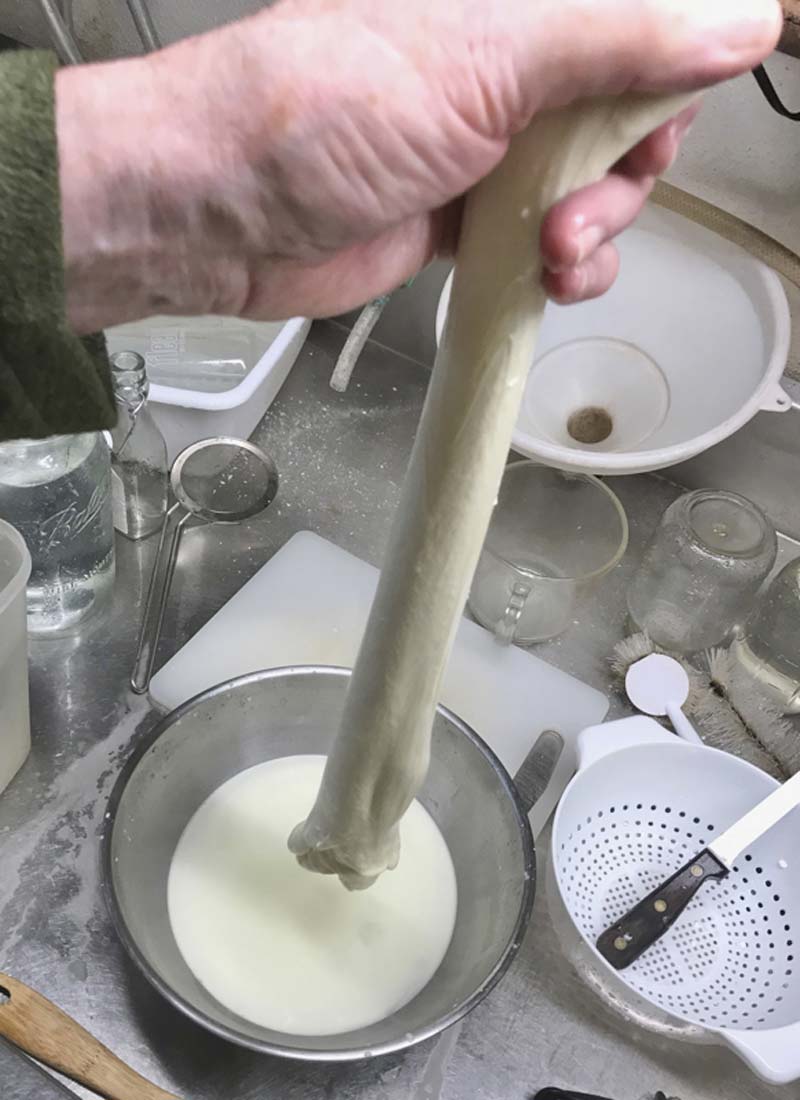
Once the curds are cut, pour enough hot water around the edges of the cut curds until they are half submerged. Keep the curds separated while slowly moving them around for even heating. Continue for 3-5 minutes as the water begins to cool. It's the acid of the curd and the heat that will allow the stretch to work.
Dump the warm water and add more hot water around the edges until the curds are covered. Add a tsp of salt to the water and continue moving the curds until you see them beginning to stretch and stick together. They may appear to have a few lumps at first, but as they continue to heat they will begin to form one large, stretchy mass.
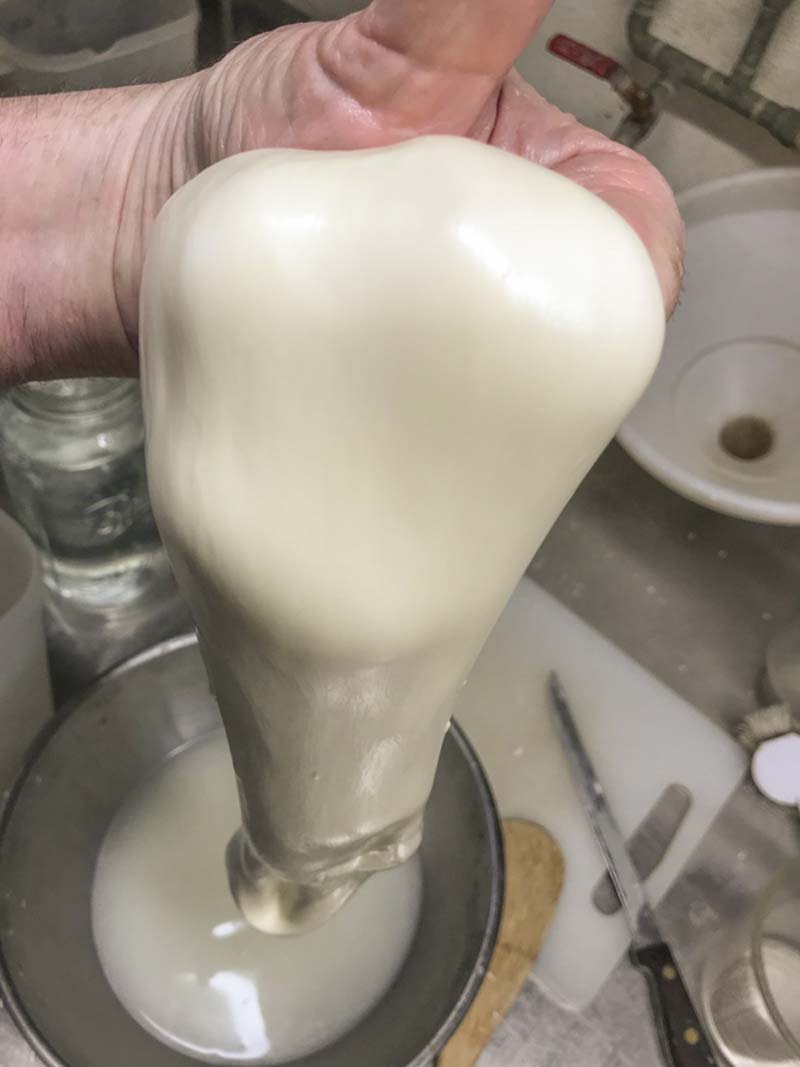
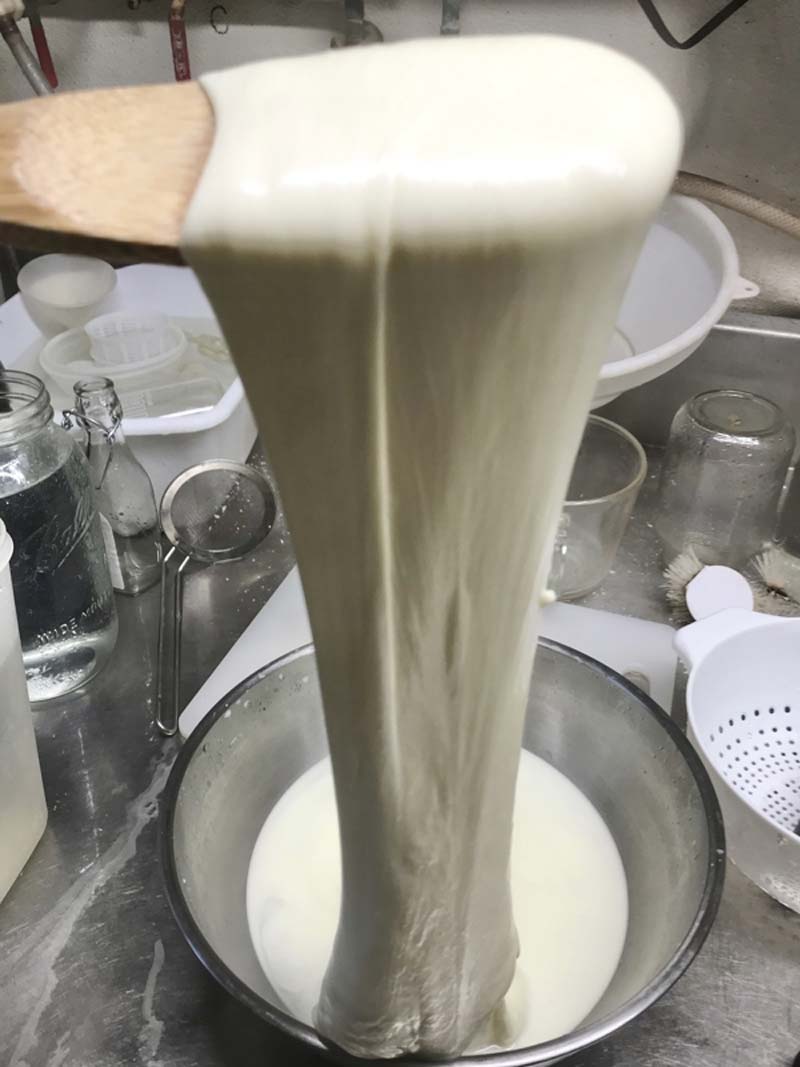
Once you see the curd stretch nicely, begin lifting the consolidated mass with the wooden spoon/paddle and fold it back on itself into the water (see photos). The curd will quickly develop a good smooth texture and sheen. The stretch is important to change the structure from a granular curd to a more linear structure, as you will see. Once you see this it's time for the final stretching.
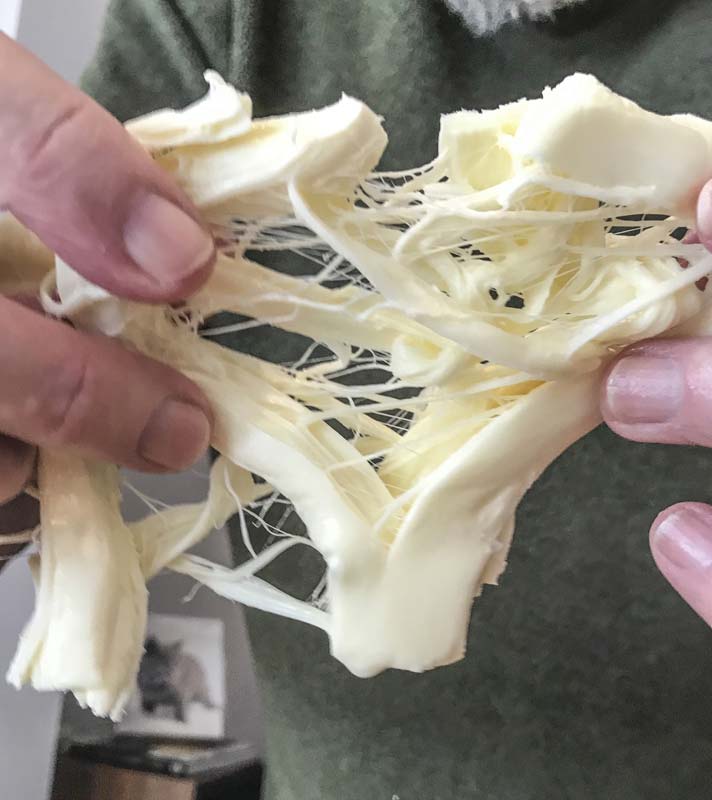
Begin by pulling the curd into a 3/4 to 1 inch wide rope, as it forms slide this into the cold water used for your hands. This should chill the curds nicely. This long rope can now be cut into 3-4 inch lengths. You have now made string cheese. Grab one of these lengths once cooled and pull apart across the width. Note the spider web thin threads that form. This is the thread part of Stracciatella.
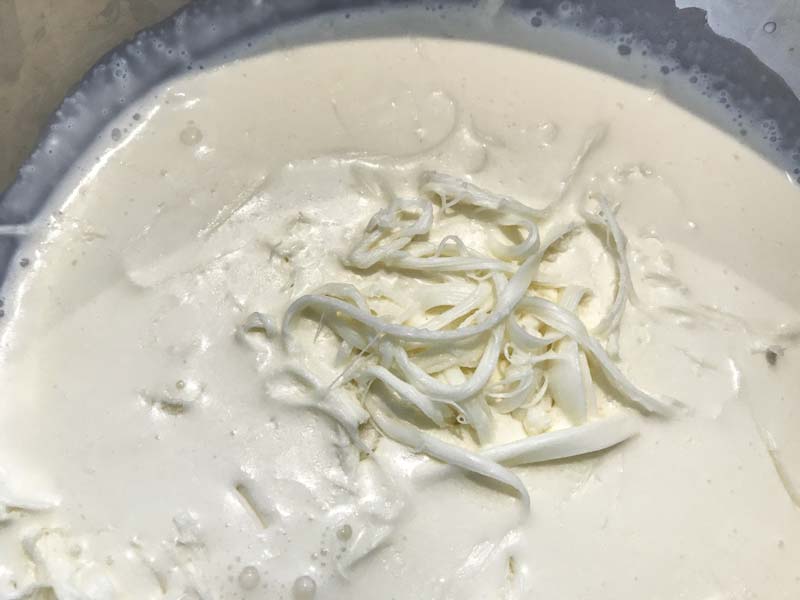
Render the short lengths into thin strands of mozzarella and place the strands into a bowl with the heavy cream. Yes, it's a messy job.
The strands should be stirred in well to saturate all the pieces completely. The mozzarella strands will begin to absorb the cream but that’s what this cheese is all about. You have now made Stracciatella, this is part one of your Burrata. Set this aside to soak while you make the mozzarella.
-
Mozzarella Wrap & Finishing
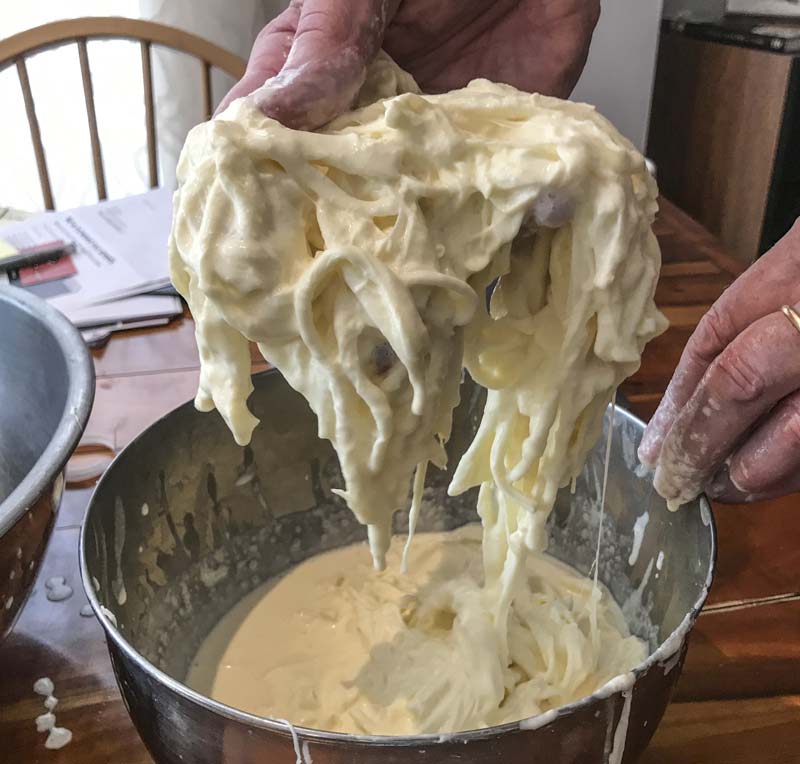
For this step I advise having a helping hand. Now we need to go back to the beginning of Step #5 and follow the instructions through the final stretching of the curds to make mozzarella wraps. However, when you reach the part for pulling into long ropes, instead roll the mozzarella into several small balls depending on the size you want to make your burrata enclosures and place them back into the hot water.
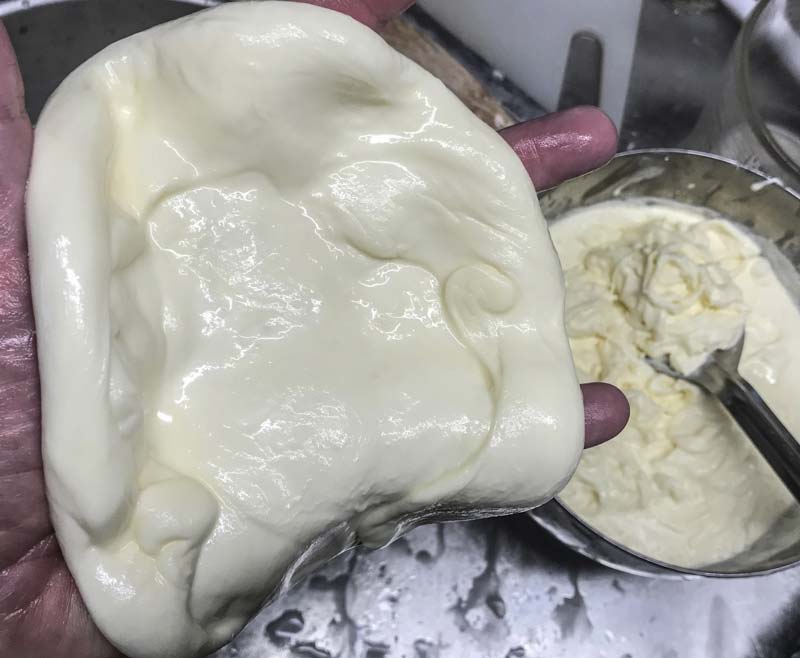
Take the first ball of mozzarella and press it into a small, thin disk like a tortilla. Hold this in two hands while your helper scoops a big mess of Stracciatelli into the center of the wrap. Begin pulling the wrap up evenly and closing it at the top. As you close the neck, squeeze the filling into the base of the wrap. If needed, briefly heat the top in the hot water then squeeze it closed.
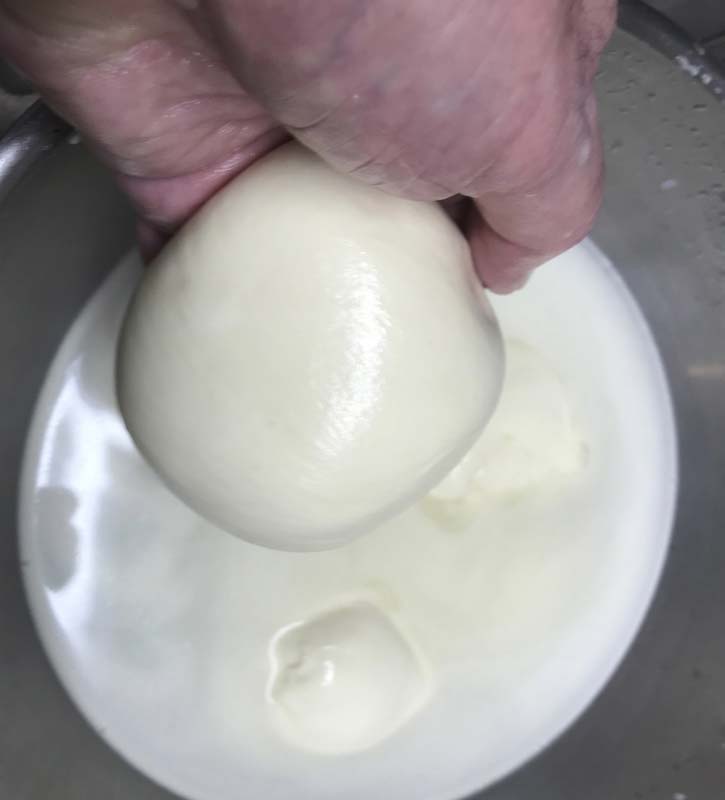
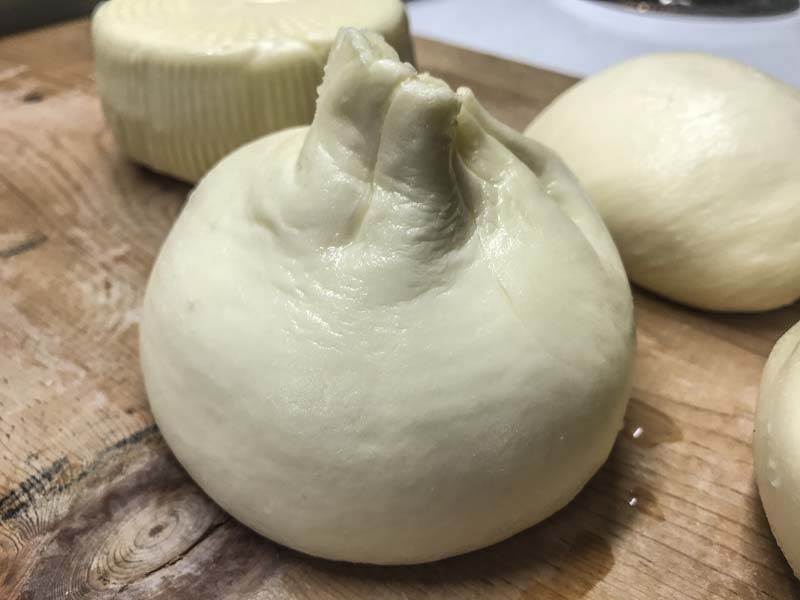
Holding it with both hands by the base, have your helper tie a string or ribbon around the neck to secure it. In Italy they traditionally used a fresh piece of green Lilly-like (Asphodelus) leaf to wrap and tie the cheese. Once the leaf wrap loses its fresh green color they consider the cheese too old. Much of what I see in Italy today though is Burrata wrapped in a green plastic imitation.
The finished Burrata can now be dropped into the cold water to chill.
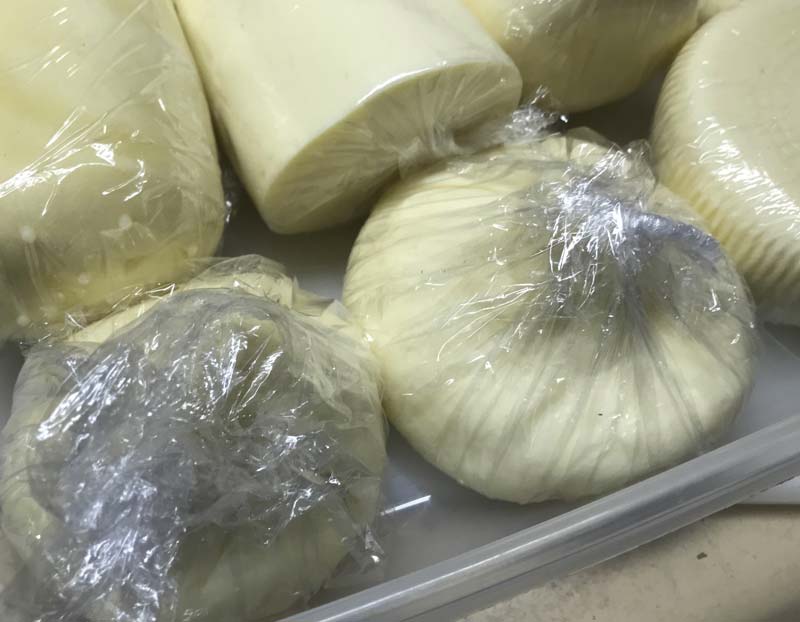
Once they are cool, they can be dried down and wrapped in plastic wrap to keep from drying out and placed in the fridge for a day or so. Waiting a day to cut into one of these makes for a better melding of flavor and textures. In Italy they feel that over 2-3 days is too old.
Cheese Making Supplies
Popular Products
Cheese Making Recipes
Recommended Recipes
Learn how to make a cheese cave right at home. If you want your cheese to ripen properly you have to make them a good home and take care of them like little bambinos.