


Cotswold Cheese Making Recipe
-

Yield
4 Pounds
-

Aging Time
~3 Months
-

Skill Level
Intermediate
-

Author
Jim Wallace


Ingredients
Total price for selected items: Total price:

Instructions
This is a great cheese for an intermedeate home cheese maker. If you would like to make a smaller 2 lb. cheese simply divide the ingredients in half, but keep the timing the same.
-

Prepare Onion & Garlic
The key to this recipe is the onion and garlic flavor (chives may be substituted). The dried onion can be added with no worries because the dehydration eliminates bad bacteria (traditional means of preservation). Rehydrate them with about 1/4 cup boiling water before you begin.
The garlic scapes (or chives) need some attention though, since they are fresh from the garden and may harbor some unwanted bacteria. The easiest way to handle these is to get a pot of water boiling and drop the whole scapes into this and hold for 1 minute (blanching) then remove to cold water and they are ready to chop.
Combine these and mix together. Most of the water is absorbed by the dried onion by now. Refrigerate until you are ready to mix these into the drained curds for pressing.
You may find that you can do this during the next step of heating milk and waiting for the culture to work. It is just a better use of your time.
-

Heat & Acidify Milk
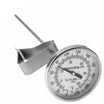
Begin by heating the milk to 90F . You do this by placing the milk in a pot or sink of very warm water. If you do this in a pot on the stove make sure you heat the milk slowly and stir it well as it heats. If you are using pasteurized milk, add about 1/2 tsp of calcium chloride to the milk
Once the milk is at 90F the culture can be added. To prevent the powder from caking and sinking in clumps sprinkle the powder over the surface of the milk and then allow about 2 minutes for the powder to re-hydrate before stirring it in.
The milk now needs to be kept at this target temperature until it is time to increase for cooking the curds. Hold the milk with culture added quiet for the next 60 minutes to allow the culture to begin doing its work. It will be very slow initially but will soon kick into its more rapid rate of converting lactose to lactic acid.
-

Coagulate with Rennet
Then add about 1.25 ml (1/4 tsp) of single strength liquid rennet.
The milk now needs to sit quiet for 60 minutes while the culture works and the rennet coagulates the curd . The thermal mass of this milk should keep it warm during this period. It is OK if the temp drops a few degrees during this time.
You will notice the milk begins to thicken at about 18-20 minutes, but hold it still for a full 60 minutes for a good curd formation.
Make sure that your draining pan/colander and cloth as well as your molds have all been sanitized and ready because the following steps will be keeping you busy.
-


Cut Curd
Your next step is to check the curd set. You are looking for a clean split in the curd when it breaks. If it appears soft still wait a few more minutes for a firmer curd and next time add a bit more rennet. A good cheese can not be made without a good curd.
Once the curd tests well, it is time to cut the curd for the separation of whey.
Begin with a large cross hatch cut of 3/4 to 1inch vertical only then allow this to firm up about 5 min. before continuing with the final cut for this cheese which is about 3/8 inch and shrinking to 1/4 inch when done cooking.
I use a thin wired whisk as shown below for my final cutting on this cheese.
Once the cut is finished allow the curds to settle for about 5 min. then a very gentle stir for about 10 min. The curd should have firmed up a bit more during this time and now ready for cooking to dry them even more.
-


Cook Curd & Drain Whey
Now it is time to begin drying out the curds. This will be done by increasing the heat slowly to 102F. The heat needs to be increased slowly by about 3-5F every 5 minutes at the beginning. The total cooking time will be 60 minutes and may be extended by another 15-20 mins if the curds are still soft.
The final curds should be cooked well through and should be examined to make sure that enough moisture has been removed. A broken curd should be firm throughout and the curds should have a moderate resistance when pressed between the fingers.
When this point is reached the curds can be allowed to settle under the whey. The remove the whey to just about 1" above the settled curds.
Then the curds can then be transferred to a colander lined with butter muslin. They should be allowed to drain for 30 minutes and a gentle stirring of the curds will make sure that the whey drains off.
-


Salting
Once the curds are dry about 2% of salt to curd weight can be measured out. I find this to be about 1.4-1.5 oz. (best to measure salt by weight).
Then add this salt in 2-3 doses, waiting for 5 minutes between doses for each dose to be absorbed by the curds.Mix in salt thoroughly after each addition.
Once the salt has been added, the herbs can be added and mixed in.
-


Forming & Pressing
The mold(s) should be prepared with a draining cloth (use the same one you used for draining after rinsing it in warm water or whey).
The curds can now be transferred to the molds and then the draining cloth folded over the top.
So, for pressing we should begin very light and slowly increase the press weight to a moderate level:- 30 minutes at 8lbs
- 1 hour at 15 lbs
- 2 hour at 30 lbs
- Overnight at 50 lbs
- If using an M3 Small Hard Cheese Mold, reduce the weights above by about 20-25%
The rate of whey running off is simply a matter of drops and not a heavy stream of whey being released. This is a good rate of whey removal during pressing and will slow even more as the residual free moisture is released. The form should show tears of whey weeping from the form very slowly. When this stops you can increase the weight slightly. The cheese should be removed from the press, unwrapped, turned, re-wrapped, and put back to the press at the above intervals. To assure an even consolidation. At each turn you will notice the cheese has formed a smoother surface and rests lower in the mold.
At the end of the pressing, wipe the surface with a brine dampened cloth and allow the cheese to surface dry for a day or two before waxing. The surface will darken somewhat during this time. If the drying space is too warm or dry, watch for any cracks appearing. This should be avoided.
The cheese can then be waxed.
-


Aging
The cheese can now be placed into your aging space at 52-54F and 80-85% moisture.
The cheese can now be aged for 4-12 weeks and it will ready for your table.
Cheese Making Supplies
Popular Products
Cheese Making Recipes
Recommended Recipes
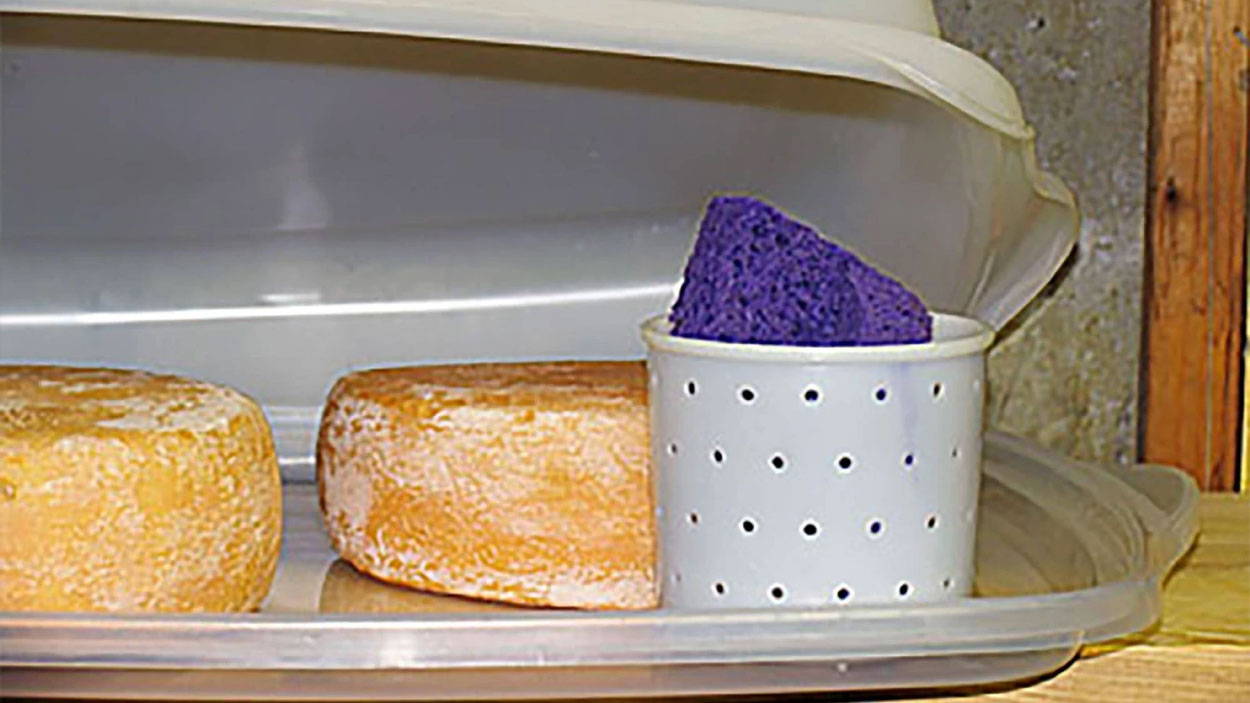
Learn how to make a cheese cave right at home. If you want your cheese to ripen properly you have to make them a good home and take care of them like little bambinos.