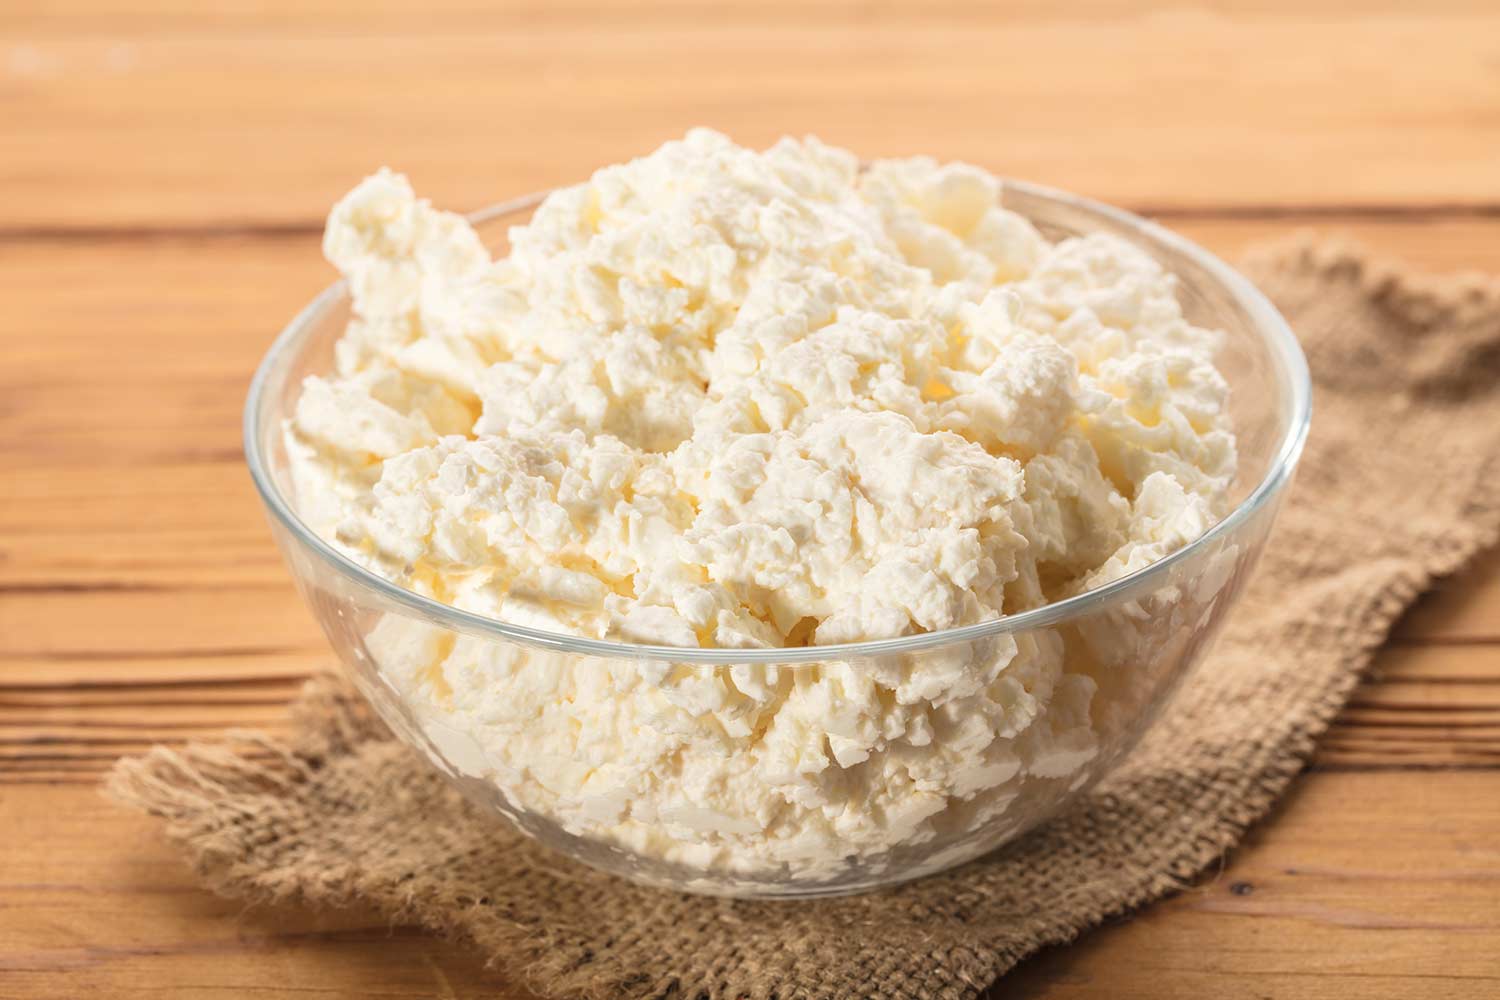
Cottage Cheese Recipe
Ingredients
- 1 Gallon of Skim or 1% Milk (Not UltraPasteurized)
- 1 Packet C101 Mesophilic Culture
- 8-10 Drops Single Strength Liquid Rennet
- Optional Small amount of heavy cream (UltraPasteurized is fine)
Equipment
- 6+ Quart Stainless Steel Pot
- Good Thermometer
- Knife to Cut Curds
- Spoon or Ladle to Stir Curds
- Large Colander
- Butter Muslin
- Instructions
- Cottage Cheese Info
- Reviews
- Q & A
-
Heat & Acidify Milk
Begin by heating the milk to 86°F (30°C). I do this by placing the gallon of milk in a pot or sink of very warm water. If you do this in a pot on the stove make sure you heat the milk slowly and stir it well as it heats
Once the milk is at 86°F the culture can be added. I do this by sprinkling the powder over the surface of the milk and then allow about 2 minutes for the powder to re-hydrate before stirring it in.
-
Coagulate with Rennet
Next add about 8-10 drops of single strength liquid rennet.
The milk now needs to sit quiet for 5-8 hours while the culture works and the curd forms. The thermal mass of this milk should keep it warm but during colder months wrapping this in a thick blanket or towel will keep the temperature up. It is OK if the temp drops a few degrees during this time.
When the curd is ready you will notice that it shrinks away from the sides of the pan a bit and that you may see a thin layer of whey on the top. You may even notice some cracks forming on the surface.
-
Cut Curds & Releasing Whey
Now it is time to cut the curds. Begin by making parallel cuts about 1/2 -3/4 inches apart. Then turn the pot 90 degrees and repeat ending with a checkerboard of cuts on the surface. Then with your spoon or ladle cut these crosswise until you have a pot full of curd cubes. Be gentle at this point because the curd will be very soft.
Once the curds are cut, stir them gently for 10 minutes. You should note more whey being released.
-
Cook the Curds
Now it is time to begin drying out the curds. This will be done by increasing the heat slowly to 113-115°F (45-46°C). The heat needs to be increased slowly at about 2-3°F (1°C) every 5 minutes. The total cooking time will be 60-90 minutes and may be extended to 2 hrs if the curds are still soft.
The final curds should be cooked well through and should be examined to make sure that enough moisture has been removed. A broken curd should be firm throughout and the curds should have a moderate resistance when pressed between the fingers.
When this point is reached the curds can be allowed to settle under the whey
-
Remove the Whey
The dry curds can now be transferred to a colander lined with butter muslin. They should be allowed to drain for 30 minutes and a gentle stirring will make sure that the whey drains off.
Once the curds drain for a short time the cloth can be gathered, tied securely and hung for the final drainage. This can be done for several hours and even overnight, depending on how dry you want the final cheese.
-
Chilling
The curds now need to be chilled and separated. I do this by filling the pot with cold water and submerging the curds in its cloth bundle in the cold water (this makes it easier to drain them again). Separate the curds well while in the cold water. This will drop the temperature of the curds to about 60°F (15.5°C). Then drain the curds again.
Repeat this again but with ice water and allow the curds to remain in the water for 30 minutes while separating the curds. The final curds should now be at 35-40°F (1-4°C)
-
Draining & Flavoring
Allow the curds to drain well in a colander. You may notice that the finished curds have consolidated somewhat but they are easy to separate.
You can now add a bit of salt to suit your preference (about 1/4-1/2 tsp should do). Sprinkle this over the surface evenly then mix into the curds well.
Salt is not really needed here for the process because the final acidity is enough to stop the bacteria from working. So if you are looking for salt free, this is a good cheese for you. Adding herbs or spice is a great alternative to augment the flavor in a salt-free cheese.
Your Cheese is now ready for storage but you can make any additions you like by adding fresh herbs, spices, etc.
If you would like a richer cottage cheese, then adding a small amount of Heavy Cream will make it into a much richer cheese. Let your taste be your guide on this.
-
Enjoy
You can now sit back and enjoy your very own dish of Cottage Cheese or just pack it into a sanitized container for the fridge.
That's it, time for lunch and for me to enjoy a fresh batch of Cottage Cheese with chives and cream added. Yum!
Made for Generations
This was a cheese made for generations by our grandmothers at the back of the wood stove on the farm but most recently it is found as a commodity in the grocers dairy aisle.
Now you can make it just as easily at home in your kitchen and most folks are quite surprised at how good it can be.
Low Fat or High Fat, Cottage Cheese is Delicious
Cottage Cheese was typically made as a low fat or skimmed milk cheese but with the more modern addition of cream following the final curd production it may have a butterfat of 4% or higher. A low fat version of .5-2% butterfat as well as a dry curd Cottage Cheese with less than .5% butterfat can still be found.
Cottage Cheese is commonly mixed or served with fruit and herbs as a base for salads and snacks.
A History Lesson
Cottage Cheese has a long history and because of this it has evolved into a variety of styles. It was originally made on the farm from the family cow(s). It was often made from older milk in which the natural bacteria had already started to work. The milk would be brought in and placed in a warm place (near the fire, behind the wood stove, or in the warming oven). Then after a day or so the natural bacteria would produce enough acid to cause the milk to form a curd. This was then cut, cooked to a dry curd, then washed with cold water. The finish was a cold dry curd with a tangy flavor. At some point someone realized that the taste improved with the addition of some cream to make the much richer tasting creamed cottage cheese.
In the days when farmers brought their milk to the cheese dairies by horse and wagon, the process was sometimes slow and the milk was not very fresh, especially in warmer weather. By the time this milk arrived at the dairy, the milk had already developed too much acidity to make a good cheese such as Cheddar and the only use for this already acidified milk was to make Cottage Cheese.
Different Styles of Cottage Cheese
- Long Process: 14-16 hrs. to develop acid at room temp with no rennet.
- Short Process: 5-8 hrs. at higher temps 86F (30C) and using rennet for a firm curd.
- Dry curd Cottage Cheese (< .5% Fat)
- Low Fat Cottage Cheese (.5-2% Fat)
- Creamed Cottage Cheese (>4% Fat)
- In Pennsylvania this is a base for Pot Cheese and Farmers Cheese
Overview of the Process
The primary process in making Cottage Cheese involves good dairy bacteria converting lactose to lactic acid. This lactose (or milk sugar) is an important component in our milk but unless it is converted by a good quality dairy bacteria, some off flavors or worse may result.
Several hours after the bacteria culture activity begins, the milk acidity increases to the extent that the milk coagulates into a solid gel which can be cut into small curds. This resulting curd is then cooked until the moisture is released and a dry curd is formed. Then this curd is chilled to the final cottage cheese as we know it. A final optional cream dressing may also be added to increase the richness and texture and this then becomes the Creamed Cottage Cheese.
Here's an overview of the steps:
- Heat your milk to 86F and acidify with a Mesophilic culture
- Add rennet to coagulate your milk
- Once set cut the curds to release whey
- Heat the curds to 115F and cook them for an hour to expel more whey
- Pour curds into a lined colander and allow to drain for 30 minutes
- Chill the curds by submerging them in cold water
- Drain the curds and optionally add salt, cream, herbs, fruit...
- Enjoy!
- Reviews
- Questions
- recipe
- milk
- rennet
- culture
- Calcium Chloride
- ricotta
- fridge
- whey
- cream
- cottage cheese

Fantastic Recipe
I love this recipe. I followed it exactly.. except I used whole milk. I didn’t have any low fat milk. I find that I have to use more rennet than called for in all the recipes. The taste of this vs store bought … well there is no comparison. I added the heavy cream… I also doubled the recipe… everything went perfectly. Will def make again.

Nice flavor, probably won’t make again
First time cheese maker, long time cook and chemist (so I can follow instructions). The overall flavor was nice, but I followed the recipe to the T and it didn’t really form curds. It has a texture more similar to ricotta. Still tasty and we will eat it, but next time I will add calcium chloride and I may try it without the culture as another reviewer suggested. Thanks for the starting point though!

Harder than it seems
I used this recipe to make cottage cheese. I am trying to replace the dairy goods (I love them) that grocery stores sell in plastic containers. Generally have been successful and no longer buy yogurt, cream cheese, creme fraiche, sour cream. However I had no luck with this one. When I got to the cook and stir portion the curds fell apart. Will try adding calcium chloride next time as one other reviewer suggests. But for now this was not a success.

It came out like rubber
I made squeaker cheese. The first time I made cottage cheese with no rennett or culture came out better than this recipe. I used half a gallon of raw scimmed milk and 1/8 tsp of rennett powder and 1/8 tsp of meso aroma b culture. Next time I will try it with no rennett.

They forgot to mention the Calcium Chloride
Hey, if you're making their recipe of the Cottage Cheese, then you are going to want to read their recommendations on the use of Calcium Chloride with ALL store bought milks FIRST!!!!!!!! I followed their recipe for Cottage Cheese to the letter, and even after the recommended "Cook the Curd" time of 90 minutes at 115F, all I had want lumpy yogurt. Once all the draining was done, my yield was ALMOST 1 cup. THEN I watched a video on YouTube from a guy that also uses recipes from this site, and he did two identical batches using storebought milk, one with calcium chloride and one without calcium chloride. One made cheese. The other made a creamy cracker spread.