


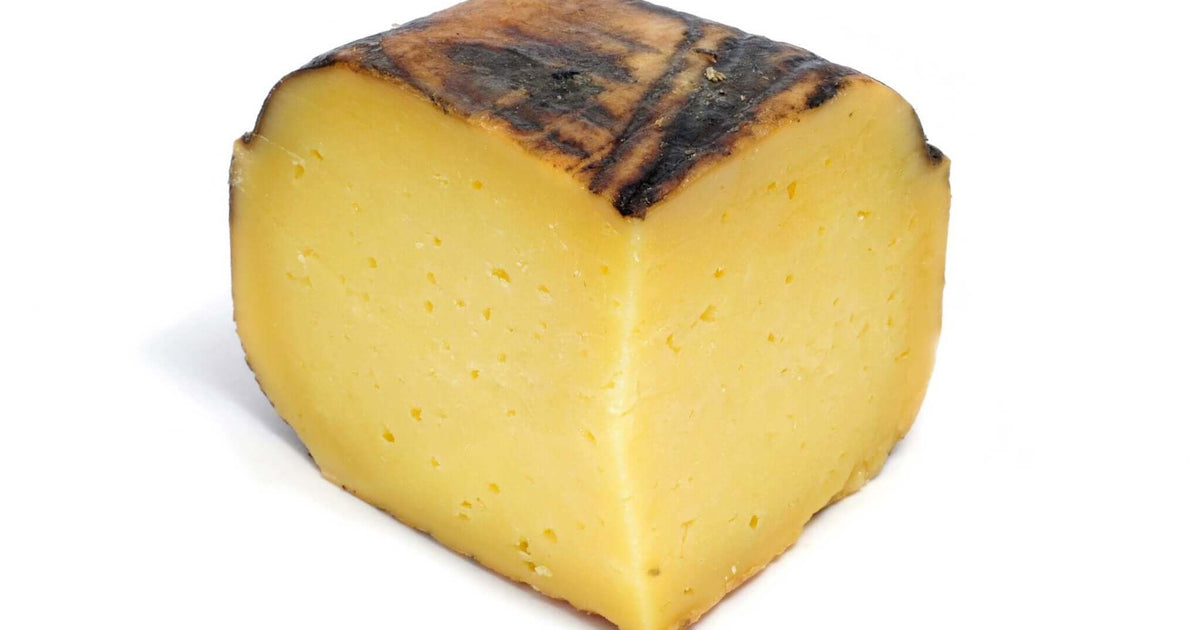

Queso de Mahón Recipe
With an option to age for 3 weeks to 5-10 months, or even longer it will evolve in character dramatically as it ages.
-

Yield
4 Pounds
-

Aging Time
~1 Month
-

Skill Level
Intermediate
-

Author
Jim Wallace


Ingredients
Total price for selected items: Total price:

Instructions
-
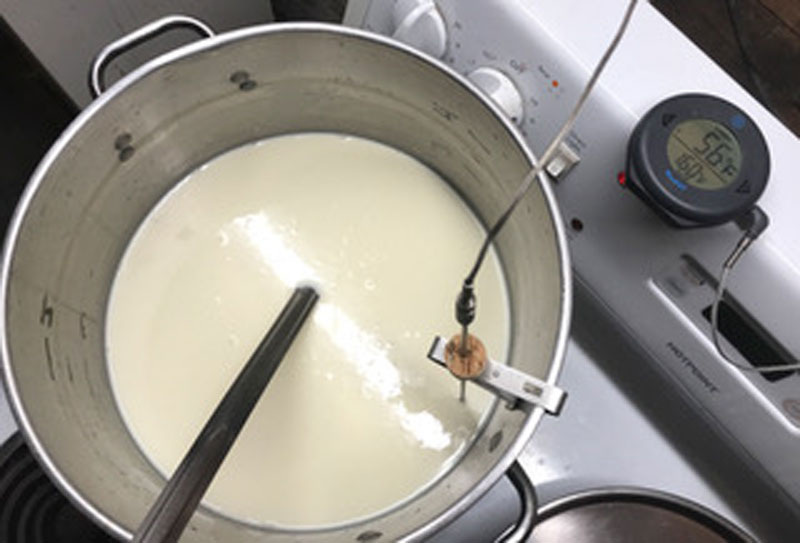
Acidify & Heat Milk
Begin by heating the milk to 96F. If using pasteurized milk, add 1/2 tsp calcium chloride (diluted in 1/2 cup non-chlorinated water) to the milk as it comes to temperature.
Once the milk reaches 96F add the culture. To prevent culture from caking and sinking to the bottom, sprinkle it over the surface of the milk and wait 2 minutes for it to re-hydrate before stirring in.
Now let the milk rest quietly for 60 minutes.
Tip: To heat, place your pot of milk in a larger pot or sink of very warm water, or directly on the stove, and stir gently as it heats. Heating at a rate of 2F/minute should do the trick.
-
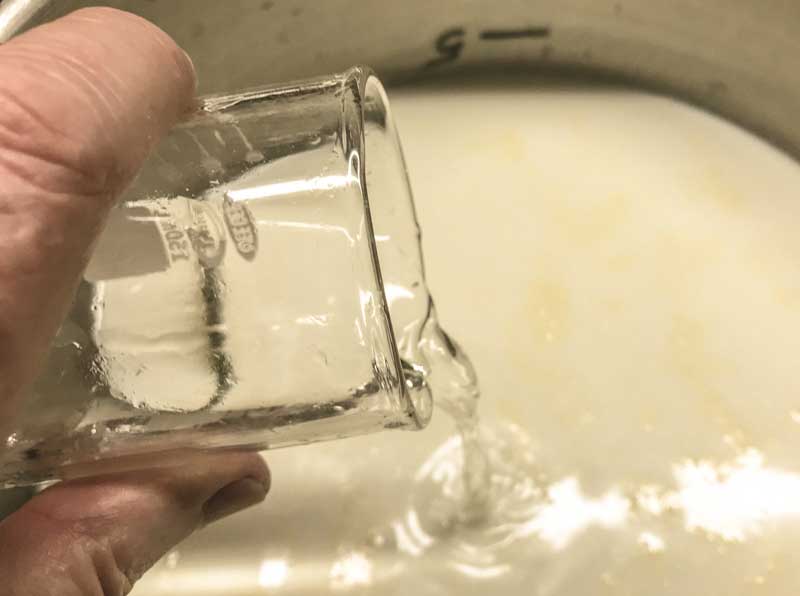
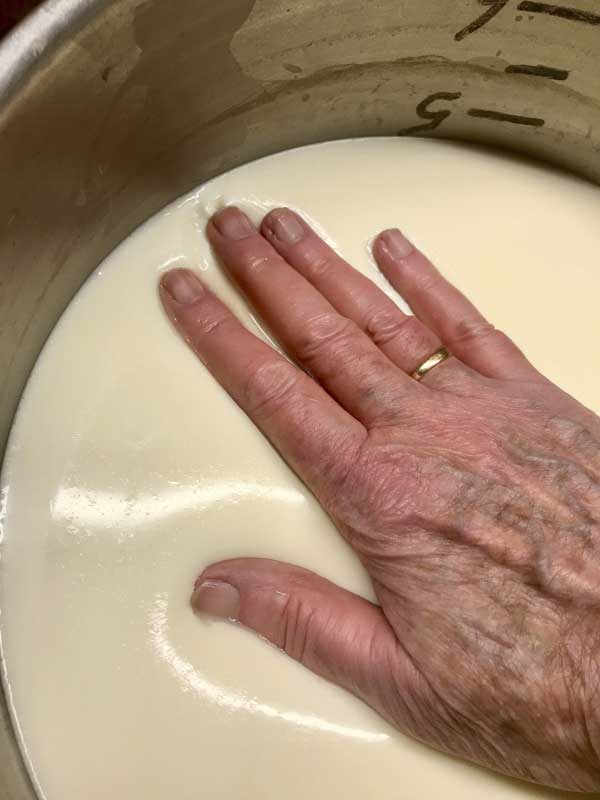
Add Rennet
Next, add the single strength liquid rennet, diluted in 1/2 cup non-chlorinated water, to the milk. Stir with an up and down motion for 1 minute, and then let the milk rest quietly for an additional 45 minutes.
The milk will begin to thicken after about 15 minutes, but allow it to coagulate to proper firmness for the full time.
Check for a firm coagulation, if it seems to need more time allow it to go as much as 50% longer. The next time you make this cheese, adjust the rennet amount if needed (more rennet for a quicker set).
The thermal mass of the milk should keep it warm, but It’s ok if the temperature drops a few degrees during this time, you can heat it back to temp after cutting the curd.
-

Cut & Stir Curd
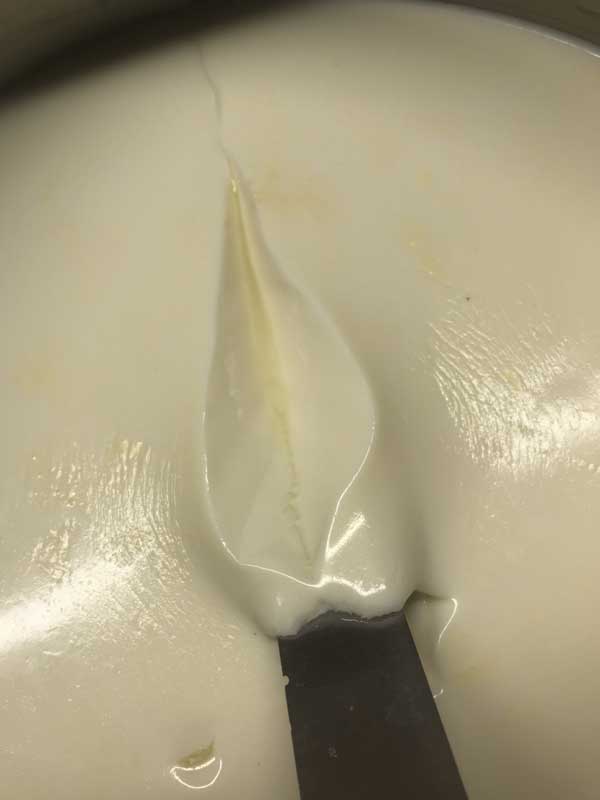
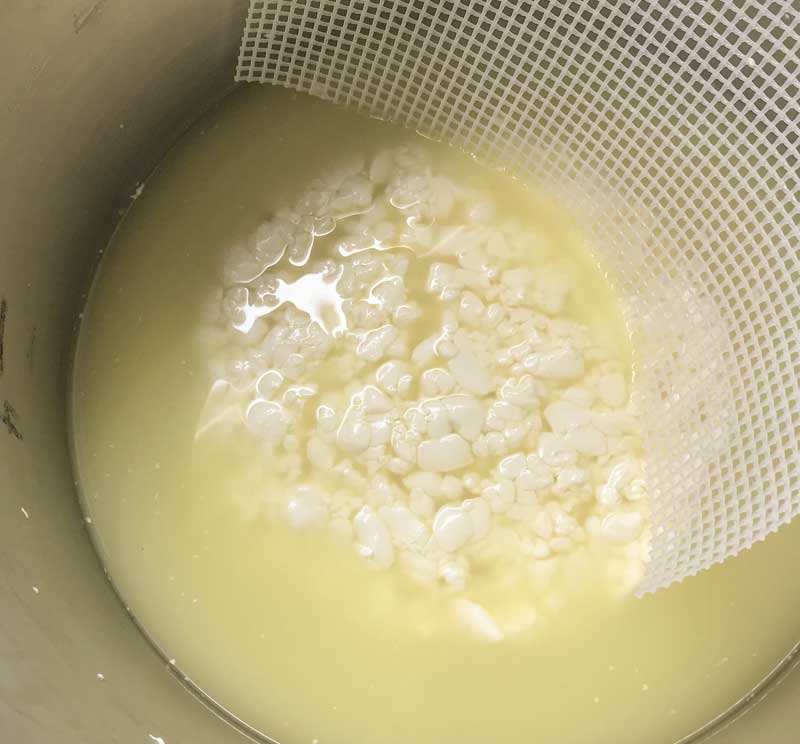
Once you have determined that the milk has set well, it is time to cut the curds smaller. This is the first step in reducing the curd moisture.
Cut the curd mass as evenly as possible to about 3/8”-1/2” pieces over 10 minutes, and then allow the cut curd to rest for 5 minutes, so that the cut curd surfaces can heal.
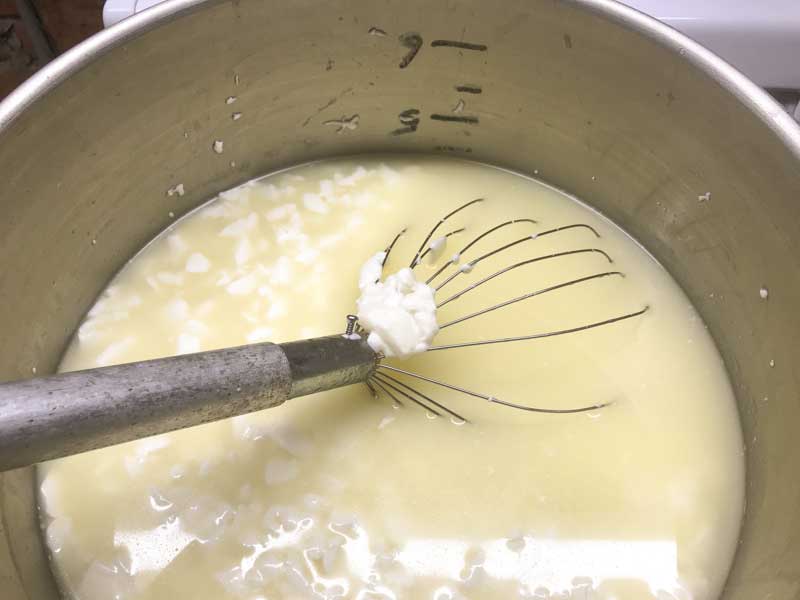
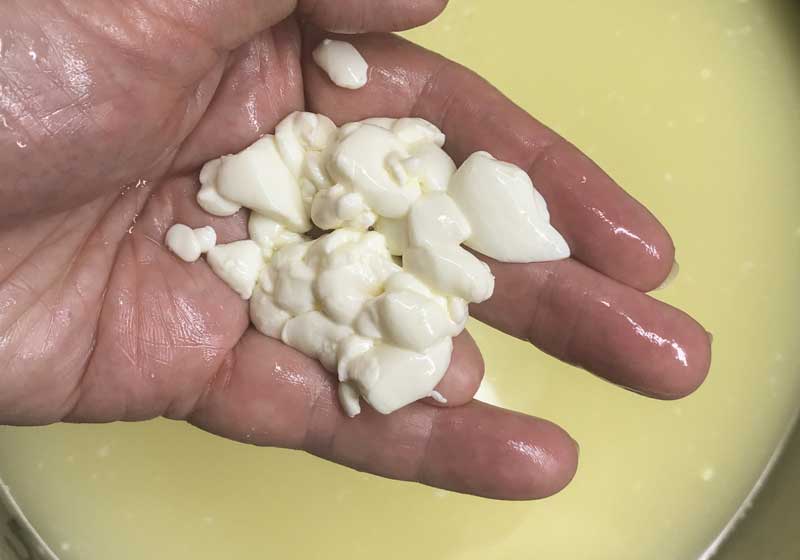
Then, stir slowly for 10-20 minutes to allow the curd surfaces to firm up more. The rest and stir periods are important to control the final cheese moisture. A longer stir prepares the curd to develop into a drier cheese with a longer potential aging period.
Allow curd to settle in the vat for 10 minutes.
-
Consolidate Curd
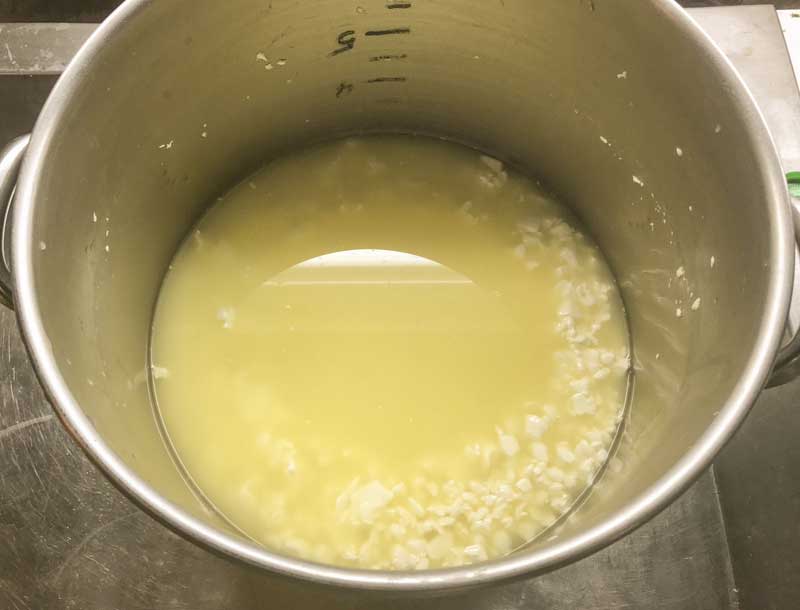
At this point the curd has settled to the bottom of the vat and it’s time to bring it all together.
Remove the whey to about 1” above the settled curd.
Pull the curd together to one side of the vat into a single mass. Traditionally this was done just by hand, but we have found using a long piece of medium drain mat makes for an easier process and improved result.
Press the mass together with medium hand pressure and shape it into a round mass.
Press firmly to the top and all sides. The goal is to consolidate the curds together while squeezing the whey out. This eliminates most of the air between curds that can become openings in the finished cheese. The curd mass should quickly consolidate.
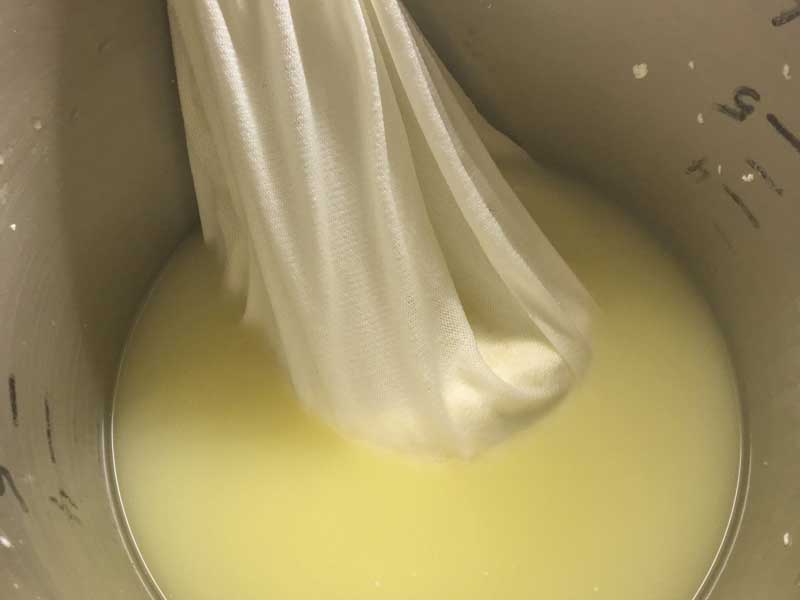
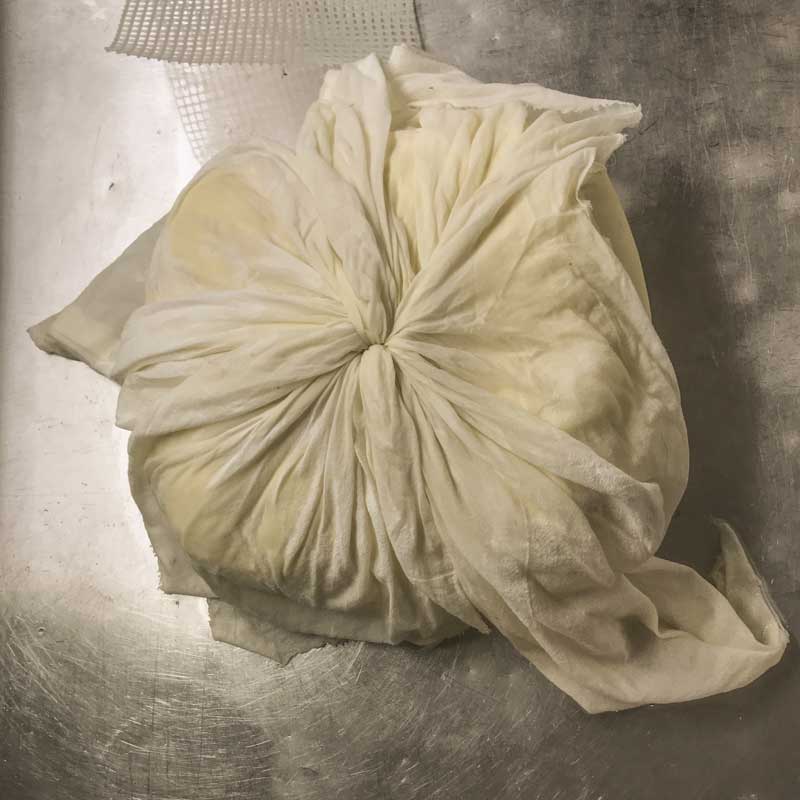
Lay the cloth over the consolidated curd mass, turn the cloth and cheese over, and retrieve the 4 corners of the cloth with the cheese inside. Even out these corners so the curds hang in the center, and lift the cheese to drain in the cloth.
Take about 10-15 minutes for this process. Make sure the draining of free whey slows to drips before proceeding to the next step.
-

Form the Curds
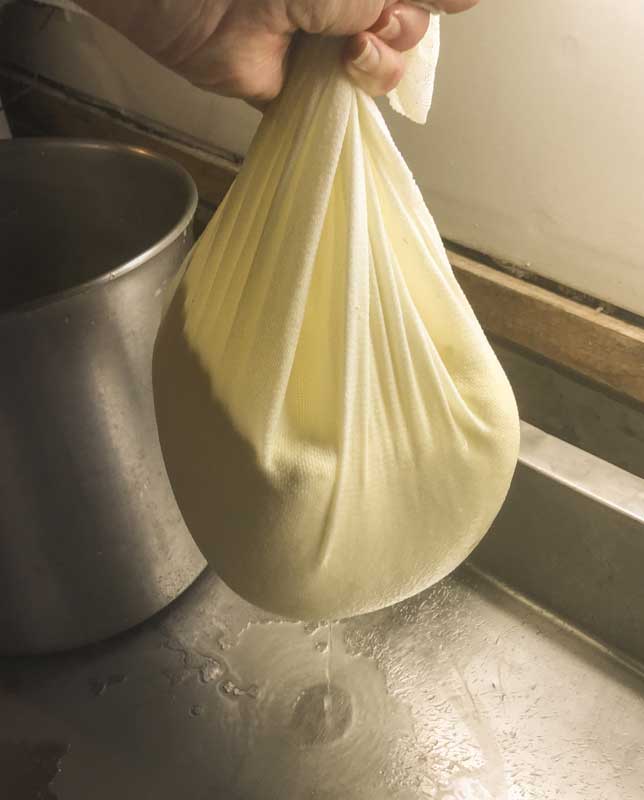
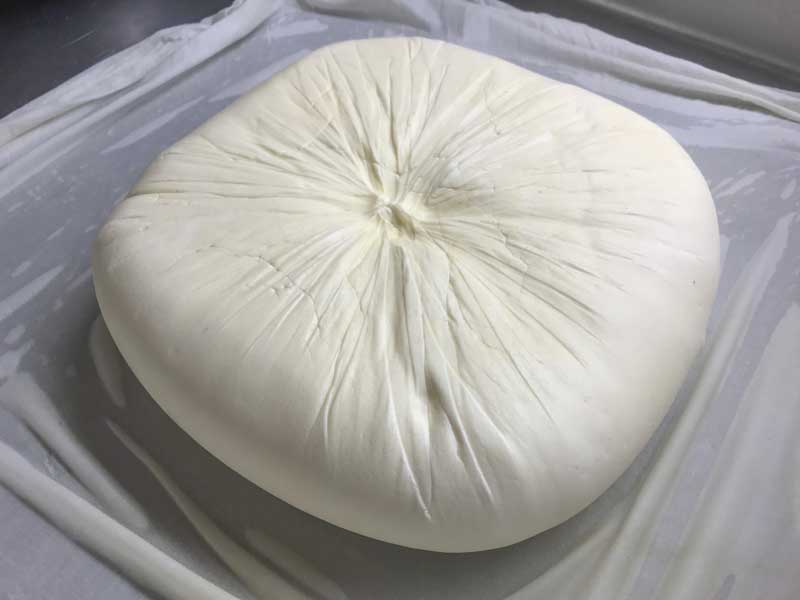
This traditional technique of cloth forming uses the tension of the cloth itself to apply pressure from all sides.
As the curd is collected in the cloth by holding the 4 corners, you may have noticed the tendency to form a rounded square. This is the shape you are looking for.
Begin by tightening the neck as the whey drains. As it drains, pinch the cloth closure closer and closer to the cheese and tighten the package. Try keeping the sides to about 1/3-1/2 the diameter of the cheese. You want a pillow, not a ball.
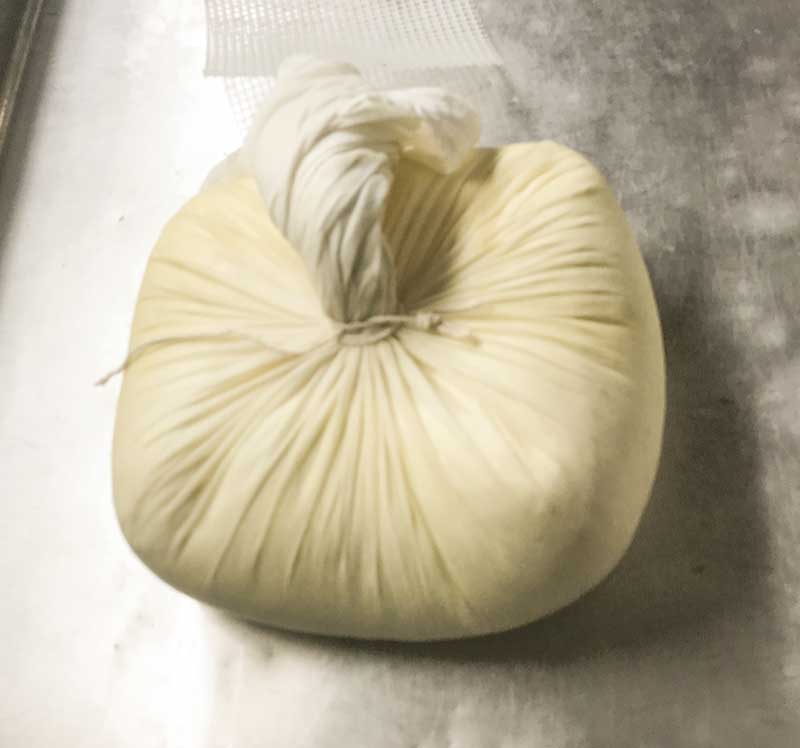
When the flow of whey eases, tie the neck closed with successive wraps going closer and closer to the cheese surface. Then tie the cord securely. See the pics above for more detail.
Note: If you prefer, a cheese mold can be used. Simply place the curds into a cheese mold with the cloth smoothed out and add a firm hand pressing to shape the curd evenly into the mold. Then place the follower on top.
-
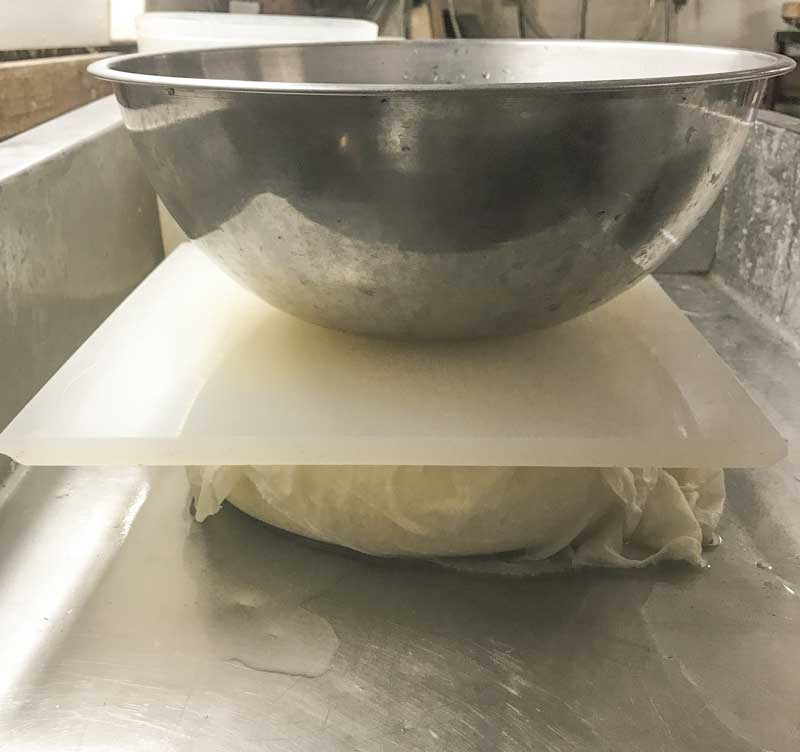
Press Curds
While pressing, try to keep the cheese warm to allow the culture to complete the lactose conversion. This finish is easily detected when the whey running off no longer has any notes of sweetness, yet is not acidic either.
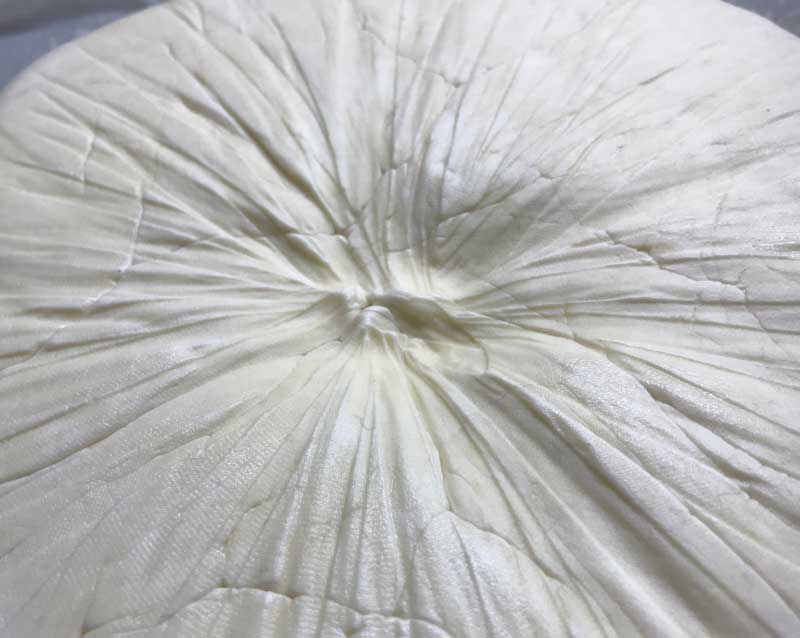
To begin, spread the cloth from the top of the knot neatly over the entire cheese. This will leave a slight belly button impression in the center, along with the creases of the cloth radiating across the cheese. You will not need a mold or follower.
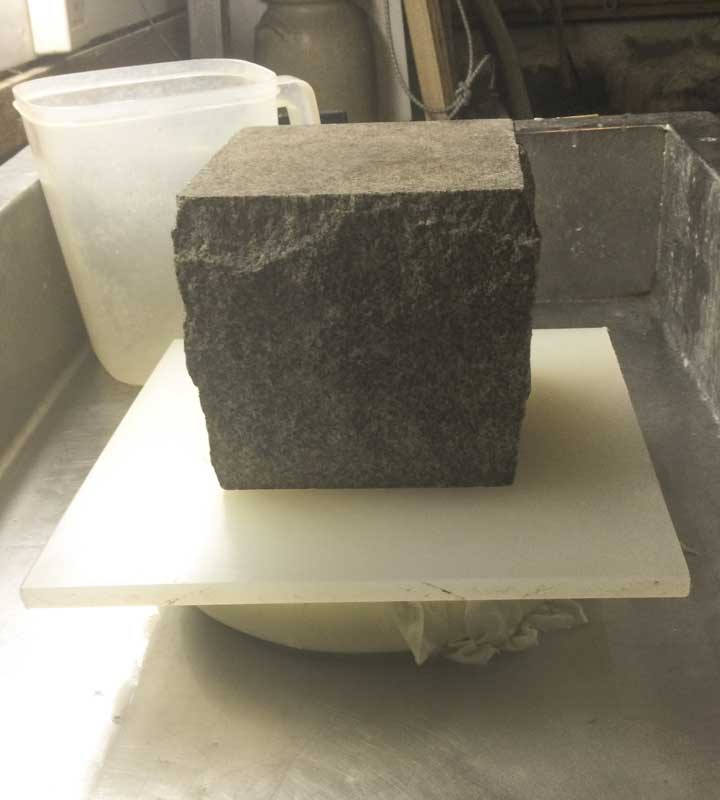
Finally, Press at the following weights and times:
- 8 lbs - 1 hour
- 15 lbs - 1 hour
- 20 lbs - 3 hours
This should be plenty of pressing to consolidate the curd, but if making a drier curd, you may increase the final press another hour or more.
When done remove the weights and move the cheese to a cool 65-68F space overnight. Leave it in the tied cloth or cheese mold.
The final weight of the cheese should be between 4-5lbs
Note: If using a cheese mold, un-wrap, flip and re-wrap the curds between each pressing interval.
-
Salting
Salting Queso de Mahon prepares it to undergo its exciting aging process. You can achieve this through either dry salting or brining.
DRY SALTING | Dry Salt is the more traditional method. This cheese tends to be more salty than other Spanish cheeses because of the sea salt and proximity to the sea. This is the method shown in the photos.
When dry salting, weigh out your salt in proportion to the weight of your cheese. The amount of salt should be 2.5% of the cheese weight.
Rub salt onto one side at a time, and wait for the salt to dissolve into the cheese before turning and applying the next dose. This process can be cycled over several days until all the salt you have weighed out is fully applied.
BRINING | This method requires a saturated brine, preapre one with the ingredients below. More details can be found here.
A simple brine formula is: 1 Gallon of water, 2.25 lbs of Salt, 1 tbs Calcium Chloride (30% solution), and 1 tsp white vinegar.
Set the cheese in the brine for about 2-2.5 hours per lb of cheese. In this case, with a 4-5 pound cheese, the cheese would need to rest in the brine for 8 to 12 ½ hours.
The cheese will float above the brine surface so sprinkle another teaspoon or two of salt on the top surface of the cheese. Flip the cheese and re-salt the surface about half way through the brine period.
Note: After you have finished either brining or dry salting, wipe down the surface and allow the cheese to surface dry for 1-3 days in a cool area (65-70F) with free movement of air. Once you note the surface has dried, proceed to the next step; do not let it darken excessively or begin to crack.
After this initial drying period, wipe the surface with a light brine and let it dry off (usually only a few hours.) This light rehydration will help it acclimate to the higher humidity of the aging space.
-
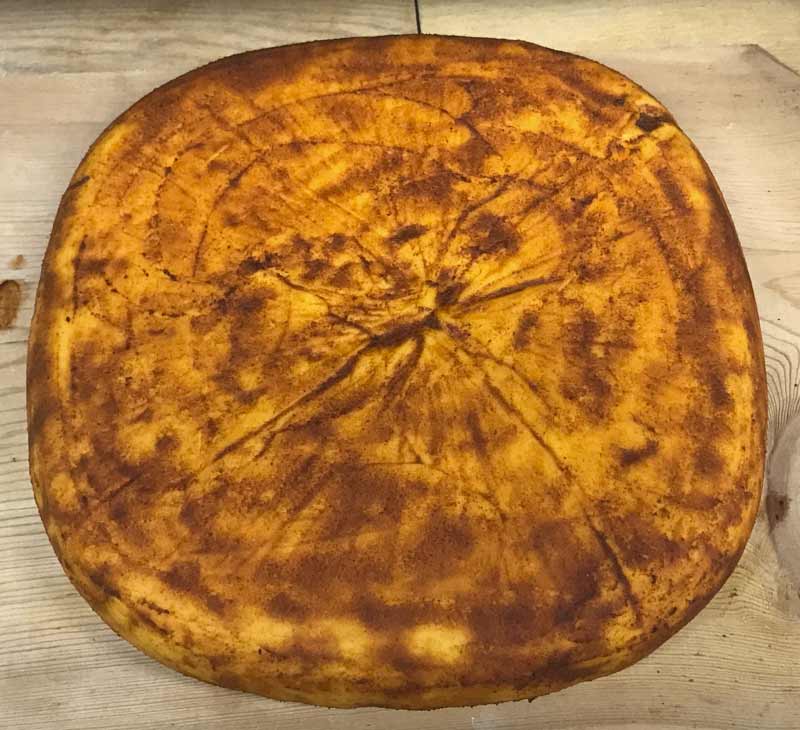
Aging with Spice & Oil
Move the cheese to an aging space at 52-54F with 85-90% moisture and allow the cheese to stabilize for 3-5 days.
Once stabilized, use a Mineral or Olive Oil mixed with enough Paprika to produce a deep red orange color. Either use this as a paste, or allow the solids to settle and use the colored and flavored oil to rub the cheese.
The degree of heat from Spanish Paprika can vary from quite mild to really spicy. If your paprika needs more oomph, feel free to add chili powder or cayenne! For an extra kick, add a bit of Habanero powder to the mix.
If needed, rubbing this oil into the surface can be repeated several times to fend off any molds or for more depth in color.
-
Final Aging
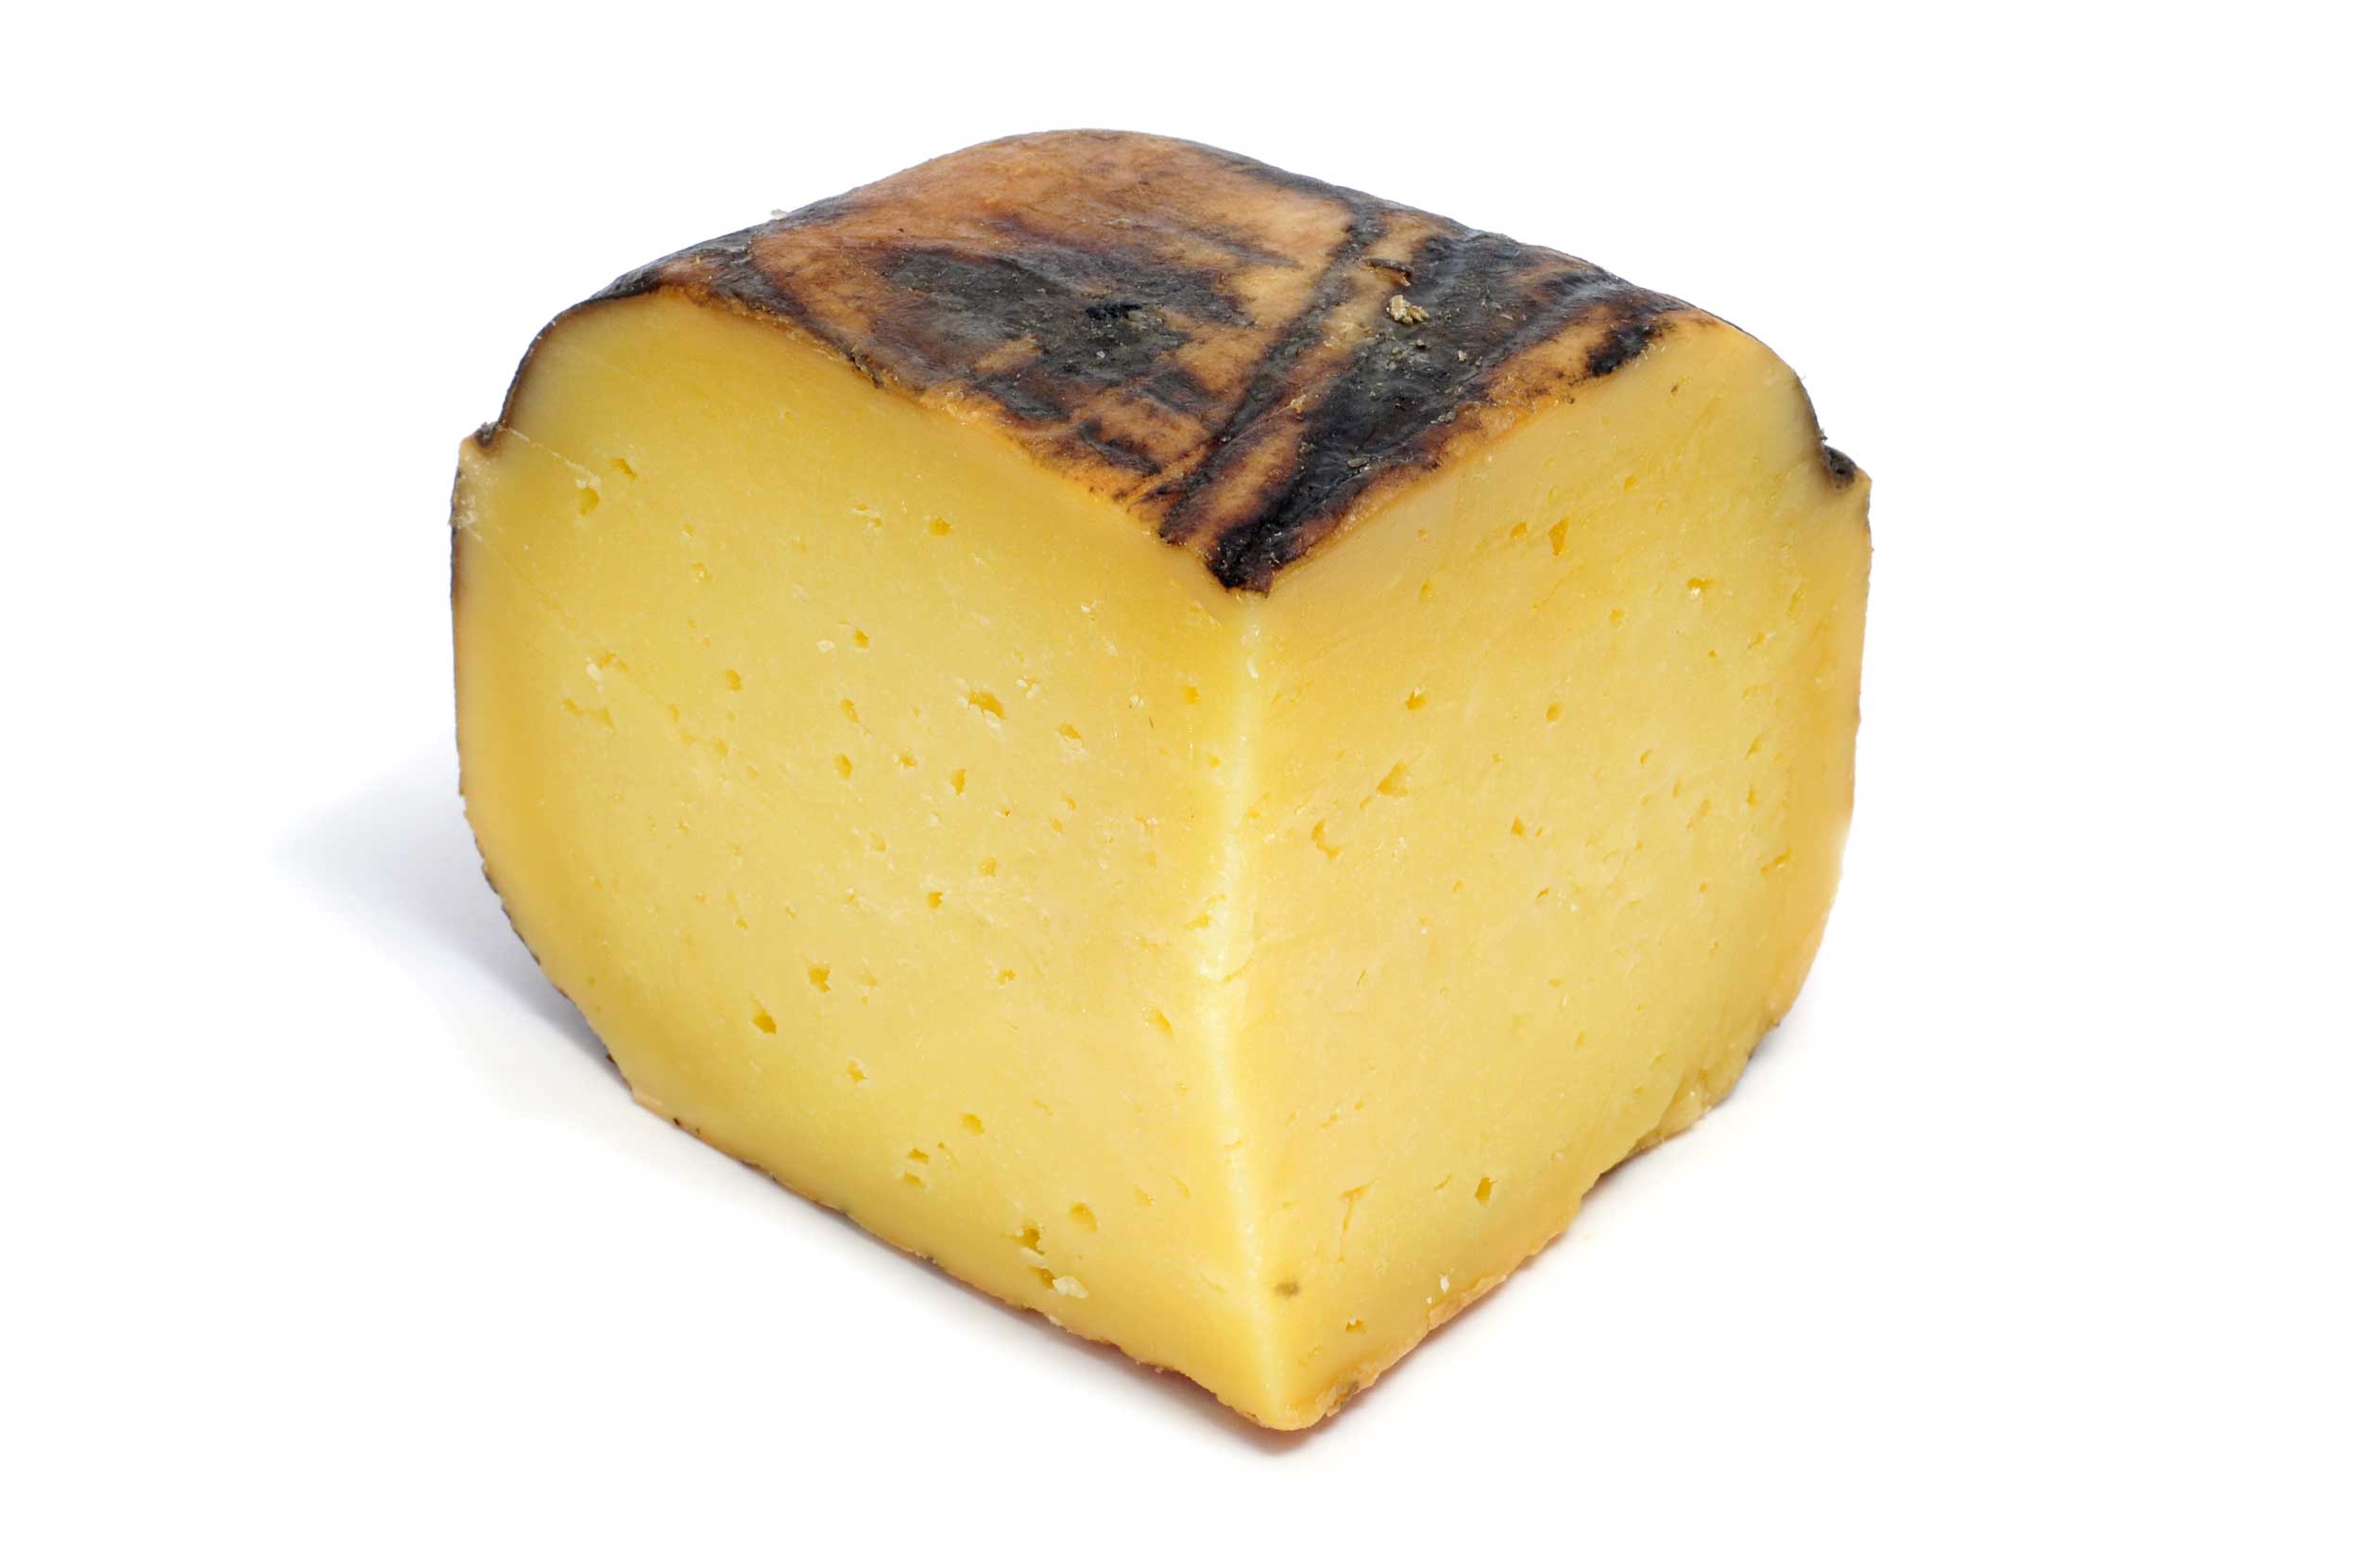
Queso de Mahon, can be aged anywhere from 3 weeks to 5-10 months, or even longer. This cheese will evolve in character dramatically as it ages.
Tierno | Aged at least 3-8 weeks. Pale in color with a soft, elastic texture. The mild flavor has hints of acidity, a buttery taste, and is slightly salty.
Semi-Curado (half aged) | Aged 2-5 months. Quite similar to Tierno, the paste takes on a warmer color and spicy flavor to distinguish its maturity. The flavor shows more of a buttery, nutty tone, and the texture remains quite easy to cut.
Curado | Aged 5-10+ months. The most complex character, which increases as it ages up to and over a year. Much drier, with stronger flavor and spicy, tangy notes. Becomes saltier as the moisture drops, and tends to show the crunchy crystals of aging.
As the cheese progresses through these ripening stages, gaining character and firmness, it also changes from an orange rind (rubbed with smoked Paprika butter and oil) to golden/rusty in color.
If any mold appears on the cheese surface, brush off with a hand brush or coarse cloth, and rub in another dose of oil and spice.
When is it ready? We think this is all about how long you can stand to wait for this cheese. Our advice is to give the young Tierno a chance first. It's the most common and popular in Spain, and will reach your table the fastest. Try to give it at least 45-60 days to let this Spanish classic sing.
Cheese Making Supplies
Related Products
You May Also Like


