


Camembert Stabilized Recipe Instructions
-


Acidify & Heat Milk
Add Calcium Chloride to pasteurized milk (skip if using raw milk).
Heat milk to 102F by placing the milk in a second pot or sink of very warm water. If you do this in a pot on the stove, heat the milk slowly and stir well as it heats.
Once the milk reaches 102F, add the culture and mold powders. To prevent them from caking and sinking in clumps, sprinkle them over the surface of the milk, and allow to re-hydrate for about 2 minutes before stirring in.
Optional: In addition to the thermophilic culture you can also add MM 100 or C31 culture. These are both mesophilic cultures so the high temperature of addition (102F) will severely limit their growth and acid development. But, as the culture dies back it will release enzymes into the cheese, providing a somewhat softer texture.
Keep Milk at 102F for 45 minutes. The milk needs to be kept at this target temperature to allow the culture to begin doing its work. At this point the bacteria has just woken up, so if you measure pH you will see very little increase. This shorter period will limit the amount of acidity developing, and is a factor in the final firmer but elastic texture.
Note: The TA 52 thermophilic culture is used in this recipe because it works more slowly than the standard mesophilic culture added to traditional Camembert
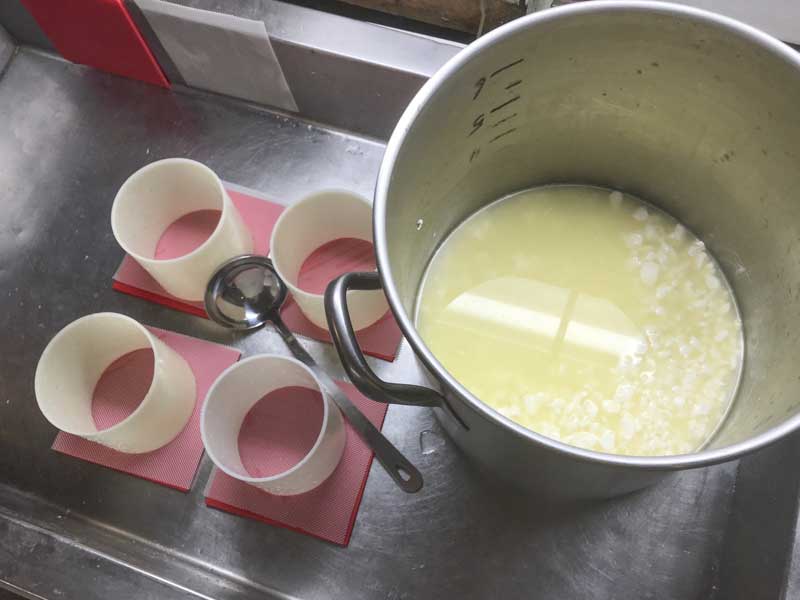
Tip: While waiting for the milk to ripen take time to prepare a draining area with cheese molds that are ready to receive curds for draining as sown in the second photo above.
-

Coagulate with Rennet
By now, the ripening cultures have done their work, and it’s time to set the curd. Add ⅝ tsp (3 ml) of single strength liquid rennet (⅓ tsp or 1.5 ml, for raw milk) gently stir in with an up and down motion for one minute.
Let the milk sit quiet for an additional 30–35 minutes while the culture works and the rennet coagulates the curd. You may note the milk beginning to thicken at about 10-12 minutes, but allow it to coagulate for the full time before moving on.
Check for a firm coagulation, if needed allow the curd to set as much as 50% longer; in this case, an extra 15 minutes.
Note: The thermal mass of this milk should keep it warm during this period. It is ok if the temperature drops a few degrees during this time, you can heat it back to temperature in the next step.
-
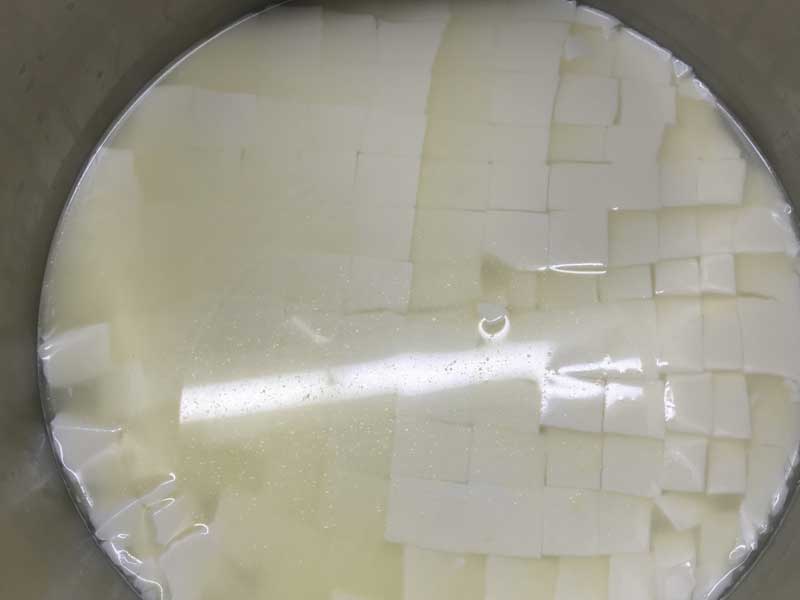
Cut Curd
Once the milk has set well, it is time to cut the curd. Start with broad vertical cuts, spaced 2” apart in a checkerboard pattern.
Let the cut curds rest for 5 minutes, so the cut surfaces can heal, then make horizontal cuts 1/2-5/8” apart, as evenly as possible, using a flat ladle (or whatever tool you prefer).
Let the cut curds rest for an additional 5 minutes, so the cut curd surfaces can heal once more.
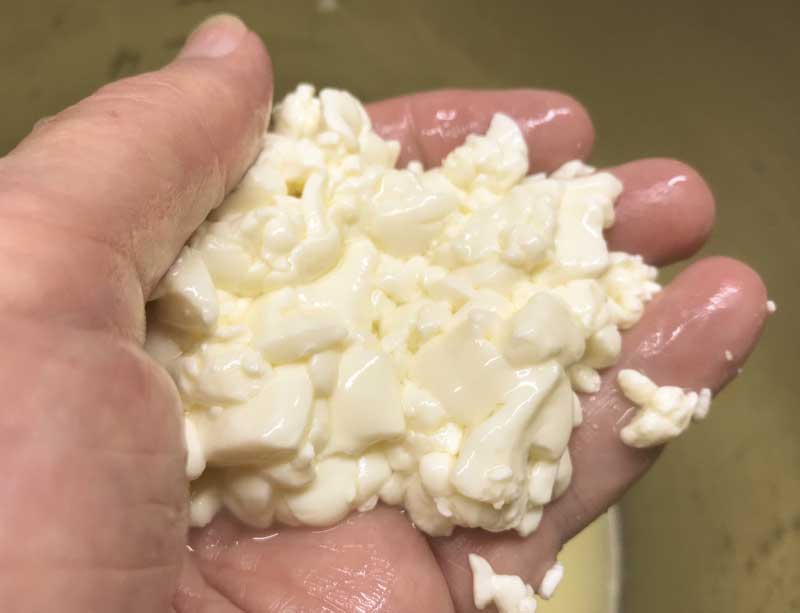
Slowly stir for the next 5 minutes, then let the curd rest for another 5 minutes. Repeat this stir/rest cycle 2 more times and then let the curds to settle to the bottom of the pot.
Note: When stirring go only fast enough to keep the curds from matting but not so fast that the curds begin to shatter.
-
Transfer Curds to Molds
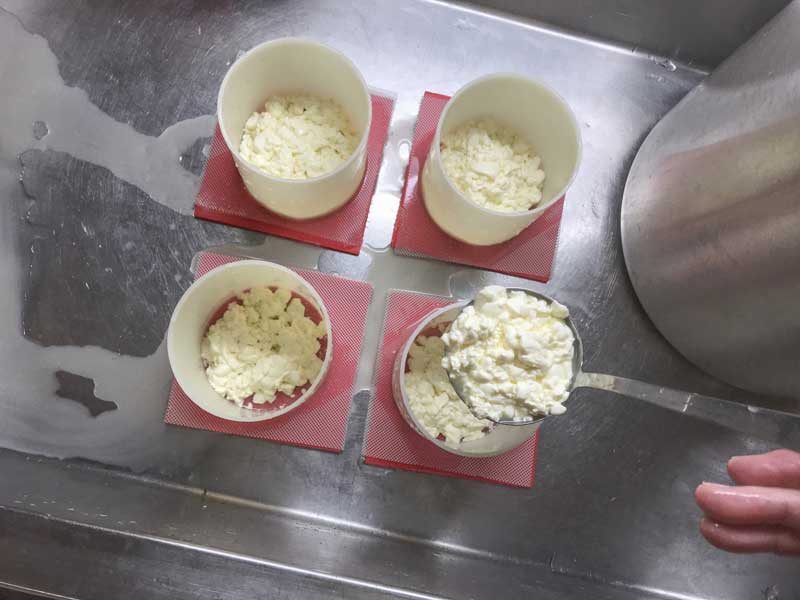
Once the curds have settled to the bottom of the pot remove the whey down to just above the curds, leave just a bit of whey to transfer with the curds into the molds.
Using a ladle or spoon begin with a careful stir to make sure all of the curds are separate, then one scoop at a time in a round robin fashion, add curds slowly to the prepared cheese molds.
-


Draining
While draining, keep the draining curds in a space that is between 65-70F.
Within 10-15 minutes of filling, before the curds settle too much, the molds should be flipped using the method below.
- Place a draining mat on top of the cheese mold followed by a small board to create a cheese mold “sandwich”. The board is used to stabilize the wobbly curd mass and draining mat.
- Very carefully lift the entire cheese mold “sandwich” by the bottom board. Use both hands, with your thumbs holding down the top board, and all 4 fingers under the bottom.
- Make sure your cheese mold “sandwich” is secure, then take a deep breath, and flip the whole works over 180 degrees and gently return it to the draining surface. The curd surface should have consolidated quite well, even after only 10-15 minutes in the molds.
Turning can be a bit of a challenge until you have done it a time or two. Essentially, you are sandwiching the curd-filled cheese molds between two small boards and draining mats, and flipping the whole sandwich, keeping the curds in the mold to prevent them from slipping out.
Allow the curds to drain another 30 minutes, then flip again. At this point the other side should look consolidated as well.
Turn every hour or two for the next 6-8 hours, until the whey running from the cheese has sufficiently slowed, at which point it can rest for the night. While resting overnight the whey running from the cheese will have slowed, but do place a tray or pan underneath the molds to catch any residual whey. Also place a light drain cloth over the cheese molds to help protect the curds for any pests.
Note: Once they have finished draining the curds will have gradually consolidated to about ⅓ the height of the cheese mold.
Info: After draining, stabilized Camembert is different from traditional in large part because the stabilized Camembert is so much less acidic (5.2-5.3 pH vs 4.6-4.7 pH). This is a huge factor in stabilizing the cheese. Because less acid developed less calcium will have drained off with the whey, this will make for a sweeter, more elastic cheese. Higher calcium will have a huge impact on the texture and longer ripening time.
-


Salting
The following morning or once the whey has stopped dripping, it will be time to remove the drained cheese from the molds and dry salt them.
Dry salting is the preferred method for this Camembert. The high salt concentration of this method pulls moisture from the cheese and makes its own brine. This penetrates the cheese faster, and quickly shuts down the development of acid.
In a draining area of 65-70F, apply ½ tsp of cheese salt to the top and sides (not bottom) of each cheese.
Wait for the salt to dissolve, and for the cheese to absorb the resulting brine then flip the cheeses, and repeat on the other side.
-

Drying
After the salt has dissolved and been absorbed on both sides place the cheeses in a slightly cooler room with adequate air flow. This space can be 60-65F with a moderate humidity of 65-75%. If the space is more humid, a small low volume fan can be used to move the air and dry the surface.
Drying will normally take an hour or two, but may extend to 4-5 hours if the cheese body is moist or there is higher humidity. Excess moisture under the cheese, free standing puddles, or wetness clinging to the surface are all signs that the cheese needs more drying time, or a less humid environment.
It’s very important to properly dry the surfaces of the cheese before moving them into an aging space. If the surfaces are not dry enough, the high moisture may attract unwanted molds, and there may be issues with developing the proper white, mushroomy, bloomy surface. On the other hand, if the surface becomes too dry the rind will dehydrate, and the bloom may not develop at all.
-
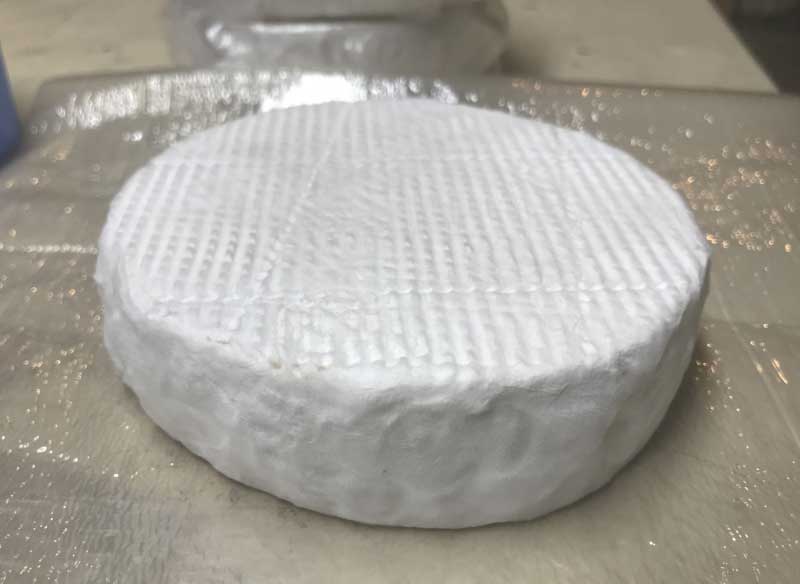
Aging
Now it's time for the magic. The bloomy P. Candidum and Geotrichum Candidum, added in step one along with the cultures, will now become the star of the show. They will work together to transform the new cheese. As these molds grow they will produce an array of enzymes and will begin to break down the fresh cheese into a more translucent, softer and aromatic cheese that is typical of Camembert.
However, these bloomy partners need a little bit of TLC.
- Moisture/Humidity | P. Candidum and Geotrichum Candidum prefer 92-95% humidity, which can be achieved by aging the cheese under a lid covered tray or box. The moisture released from the cheese should be able to maintain this humidity. But, if they appear to be too dry, a moist cloth can be added to the tray.
- Air Flow | P. Candidum and Geotrichum Candidum need to breathe, both to carry away byproducts of aging and to resupply the cheese with fresh air. This can be done by opening the lid and turning the cheese at least once daily, if not twice. I find it works best to place the cheese onto breathable mats (such as reed mats) in the covered tray. This will allow air to reach the bottom of the cheese. Replace mat frequently with a dry one.
- Temperature | P. Candidum and Geotrichum Candidum need a cool environment, 50-52F works well for their initial bloom.
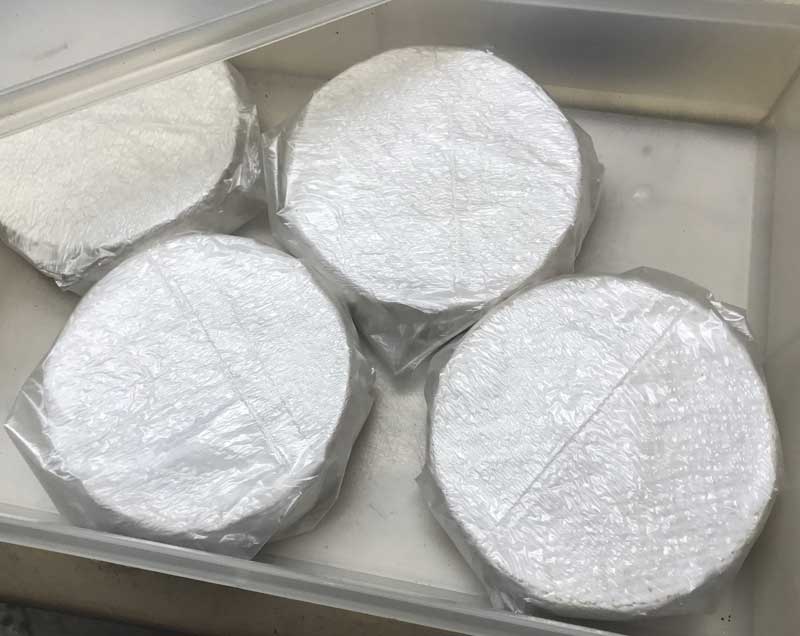
Once the bloom develops fully, in about 10-15 days, the cheese can be wrapped in a 2 ply bloomy rind cheese wrap and be moved to a cooler space, to slow down the ripening (and comply with FDA guidance).
At 60 days the cheese should be ready, and can be shipped, sold, and enjoyed while still being in great condition.
Our test cheeses had a shelf life of between 1-2 months, but of course the can vary. Cheese makers own tastes, processes and milk sources (not to mention how the cheese is handled after cutting) will all have an impact on the Camembert’s longevity. Take notes, and let us all know how it goes by leaving a comment or review, or by sending us an email. Above all remember to have fun with it!