


Morbier Cheese Making Recipe Instructions
-

Acidify & Heat Milk
Heat milk to 90F. Do this by placing the milk in a pot or sink of very warm water. If done in a pot on the stove, heat the milk slowly and stir it well as it heats
Once the milk reaches 90F add all cultures listed above and let milk sit quiet for 90 minutes before going onto the next step.
Note: The culture will start developing slowly and will then kick into a more rapid rate of converting lactose to lactic acid.
The main culture, MA 4002, is a combination of mesophilic and thermophilic cultures. This combination of culture is commonly used in mountain style cheese. This culture combination works best at a slightly warmer temperature than other styles of cheese. The thermophilic portion will primarily work during aging as its enzymes function in softening the elastic body of this cheese.
-

Coagulate with Rennet
Now add the rennet and stir in slowly for about 2 minutes. Let the milk sit quiet for an additional 45 minutes while the the rennet coagulates the curd.
The milk will begin to thicken at about 15 minutes, but allow it to coagulate to firmness for the full 45 minutes from rennet addition.
The thermal mass of this milk should keep it warm during this period. It is ok if the temperature drops a few degrees during this time, you can heat it back to temp in the next step, after cutting.
It is always best to check for a firm coagulation and if it seems to need longer allow it to go as much as 50% longer. If needed, the next time you make this cheese adjust the rennet amount by adding more rennet for a quicker set.
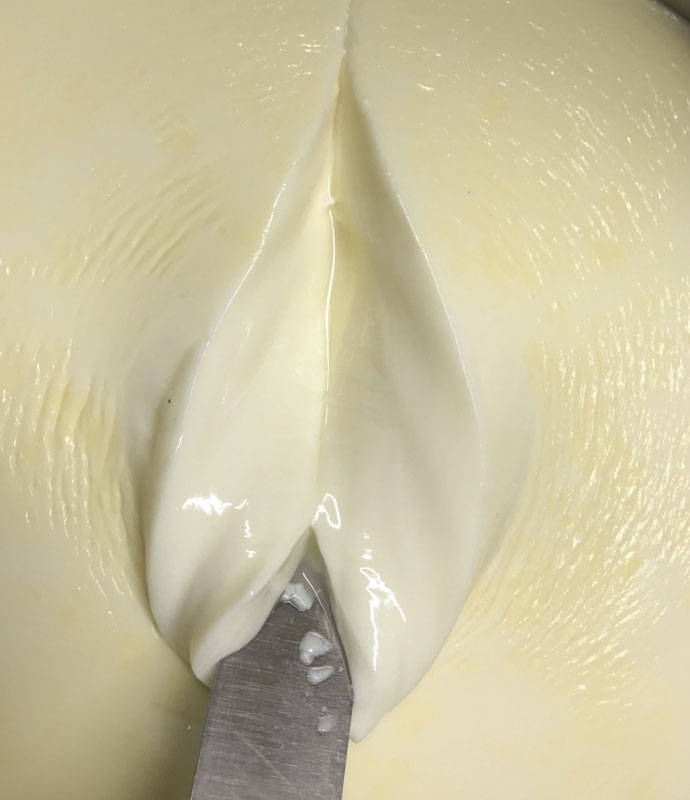
When firm, the curd will split cleanly using the blade of a knife held flat, inserted at a 45 degree angle into the curd and slowly lifted to split the curd as shown in the photo above. The break should show no pieces breaking away and the whey rising in the cut should be neither too milky (cut too early) or too clear (cut too late).
-
Cut & Dry Curd
Once you have determined the milk has set well, it is time to cut the curds. This is the first step in reducing the curd moisture.
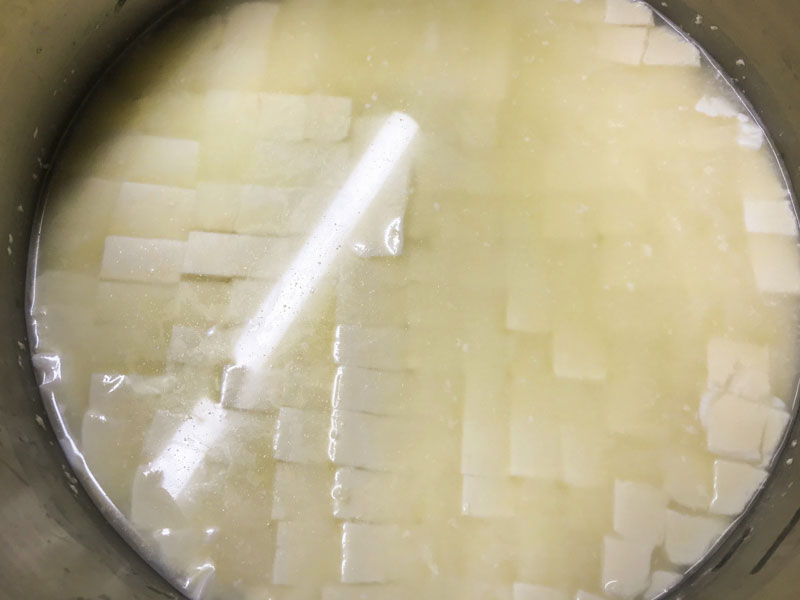
Cut the curd mass as evenly as possible into 3/4” pieces, first vertically and then horizontally, as carefully as possible. After cutting, allow the cut curd to rest for 5 minutes so the cut surfaces can heal.
Now it is time to begin drying out the curds and raising the temperature slightly. This will be done by stirring slowly for 10 minutes while raising the temperature slowly to 100F.
After 10 minutes stop stirring and allow the curds to settle to the bottom.
-
Wash Curd
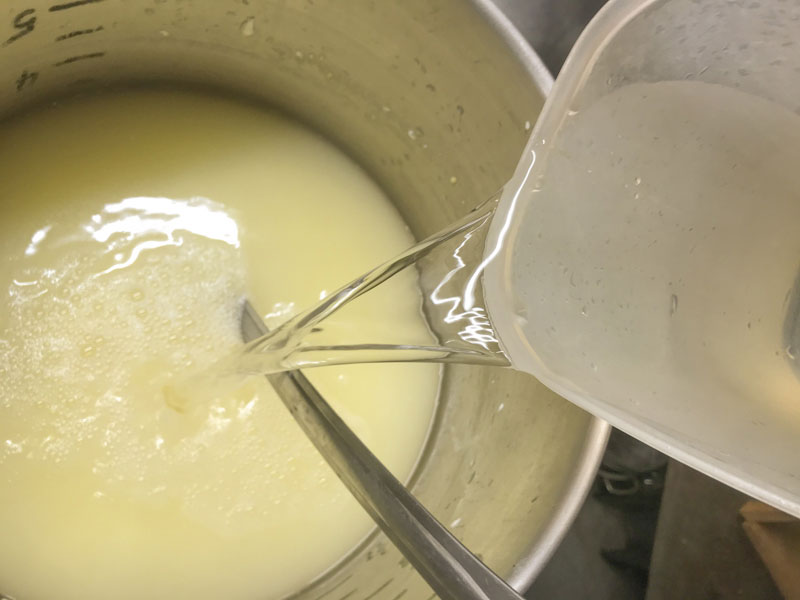
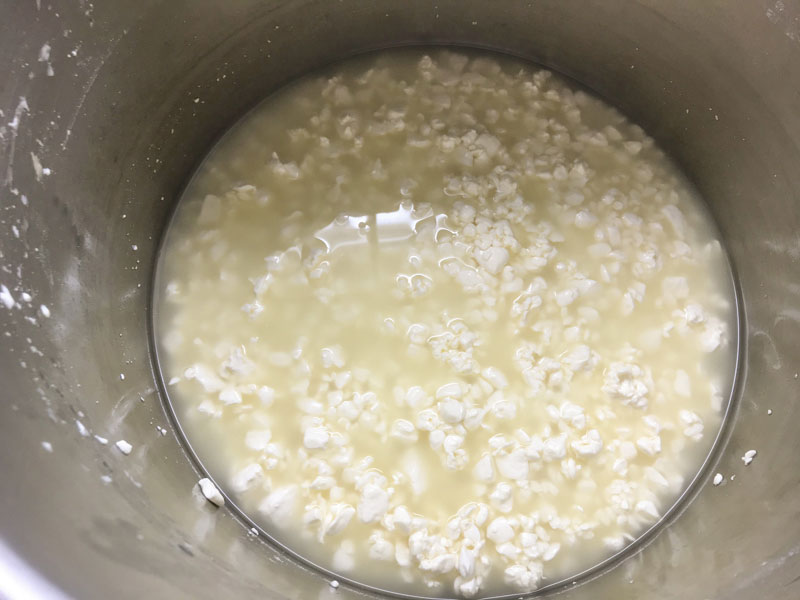
Once the curds have settled to the bottom of the pot, remove 50% of the whey. This will slow the culture activity for a sweeter cheese and will help establish proper texture of the cheese.
Replace the drained whey with an equal amount of non-chlorinated water at the same 100F temperature. This should keep the curd temperature at 100F while slowly stirring. The warm water plus the final stirring will help the curd release moisture.
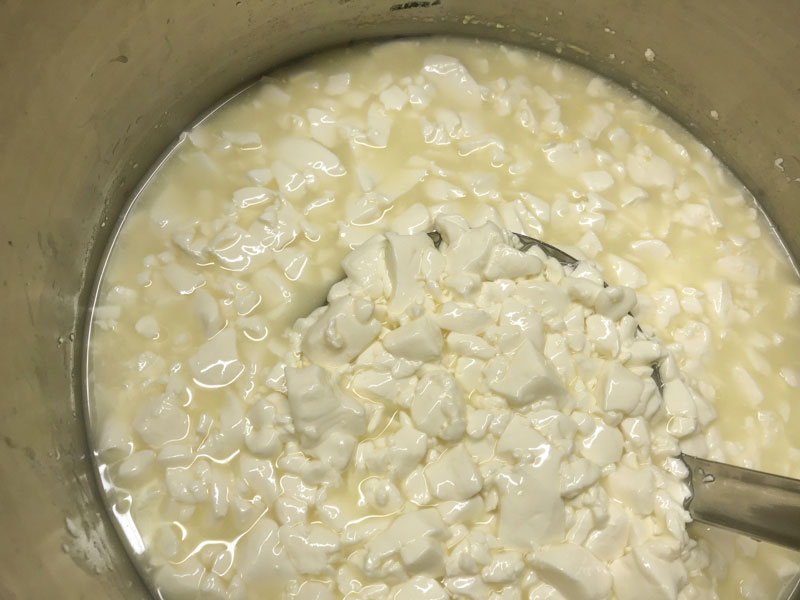
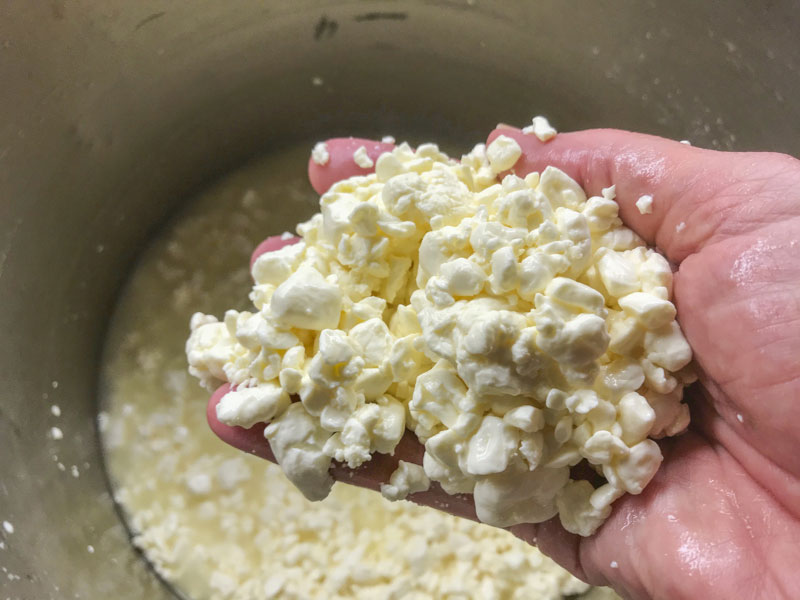
The final curds should be examined to make sure enough moisture has been removed. A broken curd should be firm throughout and have a moderate resistance when pressed between the fingers. The curds should also mat together easily when squeezed by hand.
When you feel the curds are ready let them settle under the whey, but do not allow them to mat.
Note: If the curds are still soft, they may need another 10 minutes of stirring. Getting the proper final moisture in this step is very important to the success of Morbier cheese.
Info: What is a Washed Curd? This technique, borrowed from the Dutch, removes a portion of the bacteria's food supply (residual lactose found in the whey). This process helps produce a sweeter cheese.
-

Transfer Curd into Mold
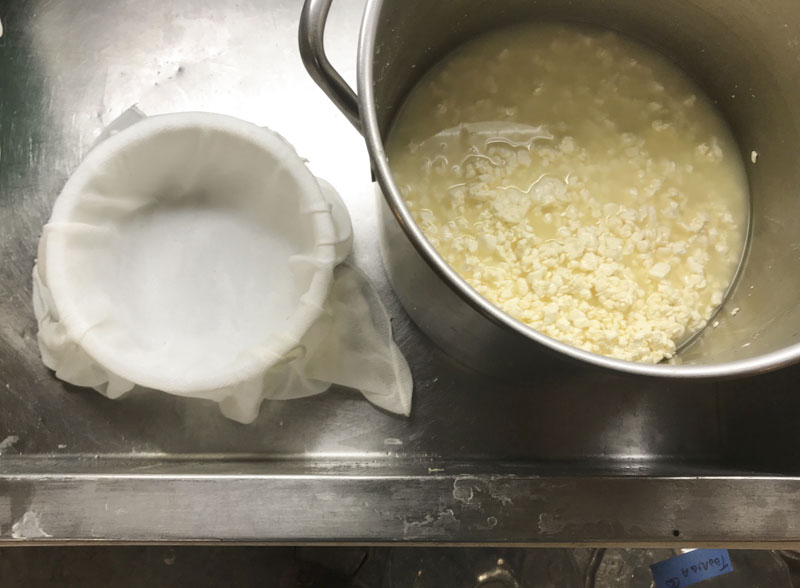
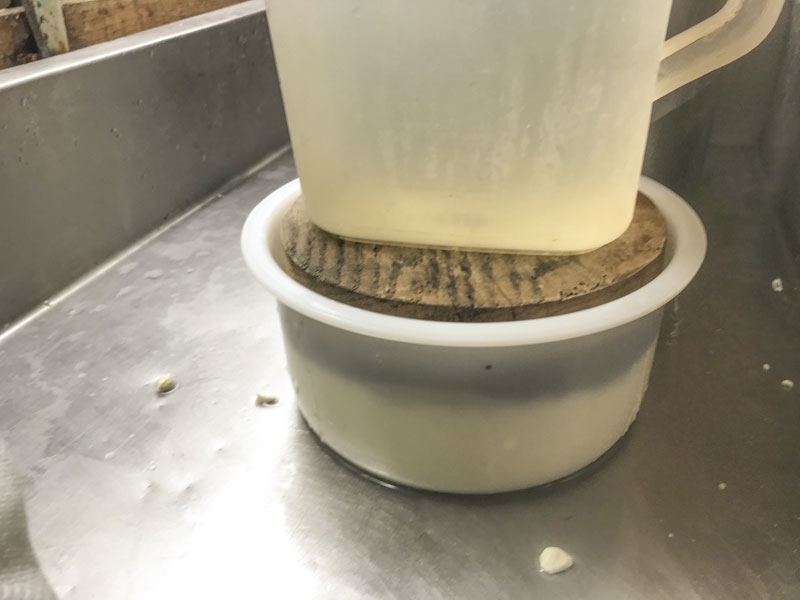
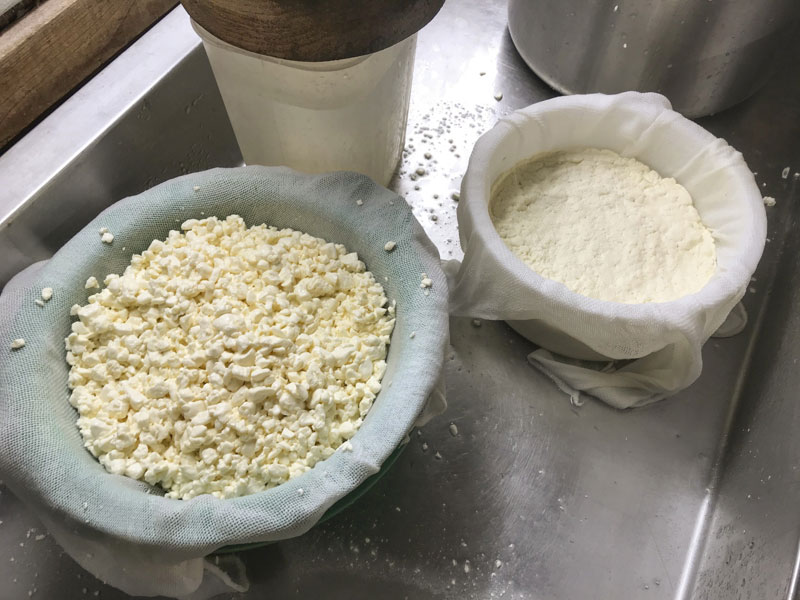
Transfer 1/2 curds | Transfer the curds equally into two separate colanders or draining pans, lined with butter muslin. Once transferred, let curds drain for 5-10 minutes, gentle stir curds half way through to help whey drain off and prevent curds from consolidating.
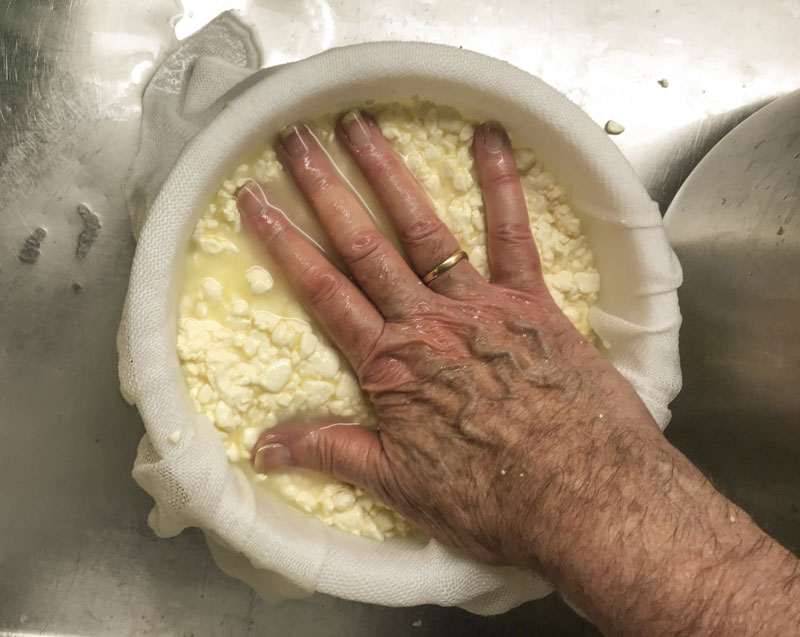
After the brief draining, transfer drained curds from one of the colanders into a cheese mold, lined with butter muslin, and pack the curds by hand. Then, press the curds firmly with the follower and a light weight for a few minutes to consolidate and create a flat surface.
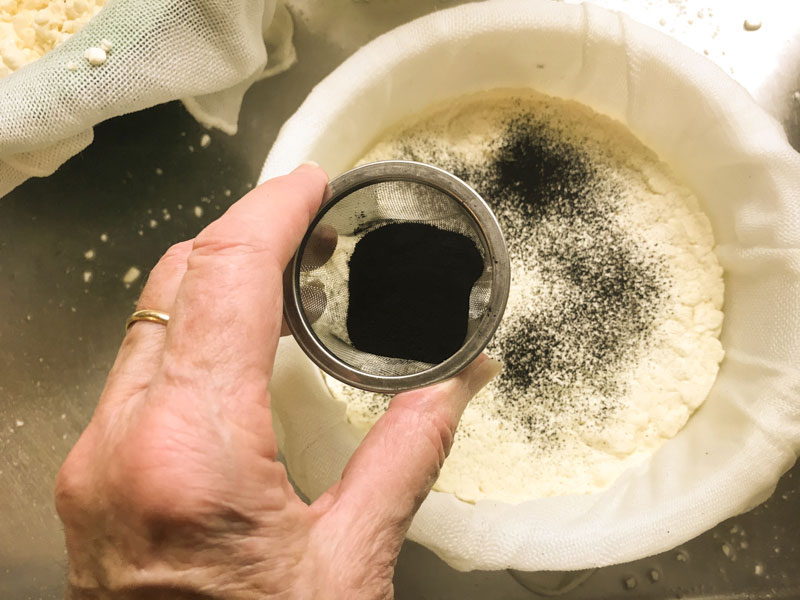
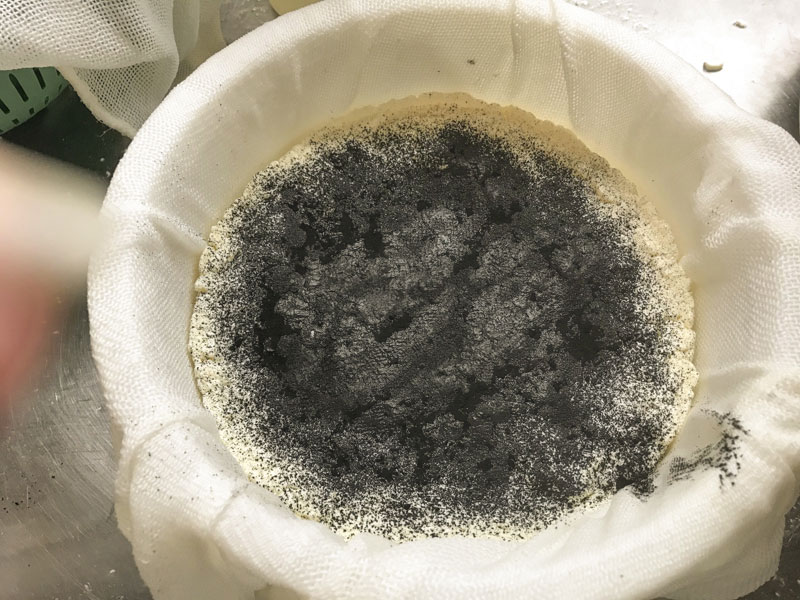
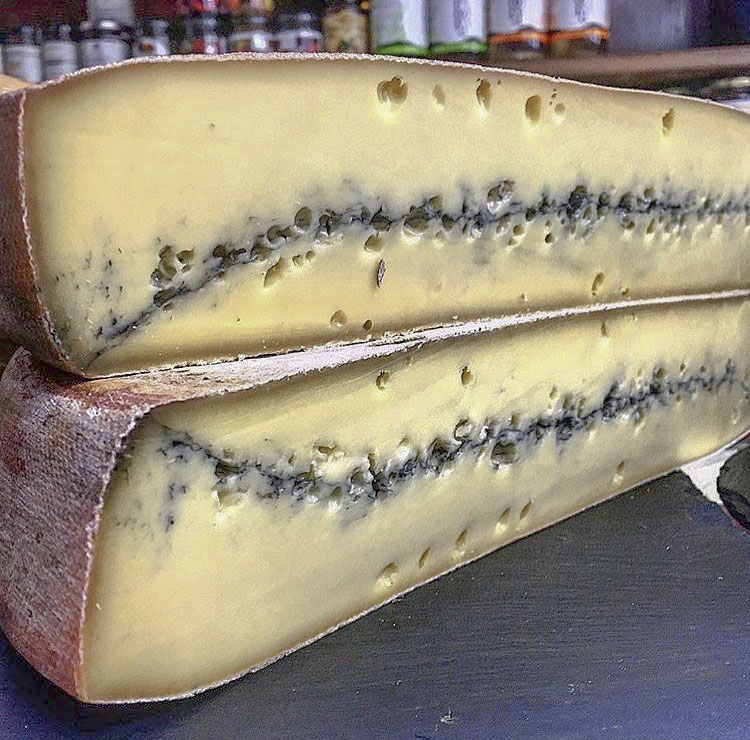
Ash | Next, place ash into a fine tea strainer, or very carefully apply ash by hand. Start in the center of the pressed curds, tapping the strainer lightly to cover the surface moving outward in circles. Try to stay in from the very edge because the next layer of curd will cause the powder to move around.
Note: The Charcoal/Ash is very fine and can be difficult to distribute evenly in a thin layer.
Transfer Remaining Curds | The remaining curd can be transferred into the cheese mold, on top of the ash. Begin packing curd around the outside edge and then move towards the center. Work carefully in covering the ash surface to avoid disturbing the ash.
Once the ash is covered, evenly pack the remaining curd in, pressing it in firmly.
Finish by pulling the cloth up evenly around the cheese mold and lay the tails over the curd smoothly, then place the follower on top. It is ok if the curd is mounded above the top of the form because it is still very moist and will consolidate and compress quickly with pressing.
-

Pressing
Keep the curd warm while pressing and begin very light and slowly with pressing weights before increasing the weight to a moderate level Follow the pressing times below and with each increase of weight un-mold the cheese, remove butter muslin, turn cheese, line the mold with butter muslin and place cheese back into the mold. The same muslin can be used, but be sure the cheese has now been flipped so it’s able to press evenly.
- 30 minutes at 8 lb
- 1 hour at 25 lb
- 1 hour at 25 lb
- 2 hours at 50 lb
- 2 hours at 50 lb
Note: In the first two pressing cycles some of the ash will come out with the whey, this should become less after the initial release of whey.
The rate of whey running off should be a matter of drops and not a stream. The cheese mold should show tears of whey weeping from the form very slowly, when this stops you can increase the weight slightly. The rate of whey removal during pressing and will slow even more as the residual free moisture is released.
At each turn you will notice the cheese has formed a smoother surface and rests lower in the mold. The final cheese should still be very soft and springy when lightly pressed in the hands and should also feel moist but should not have free surface moisture.
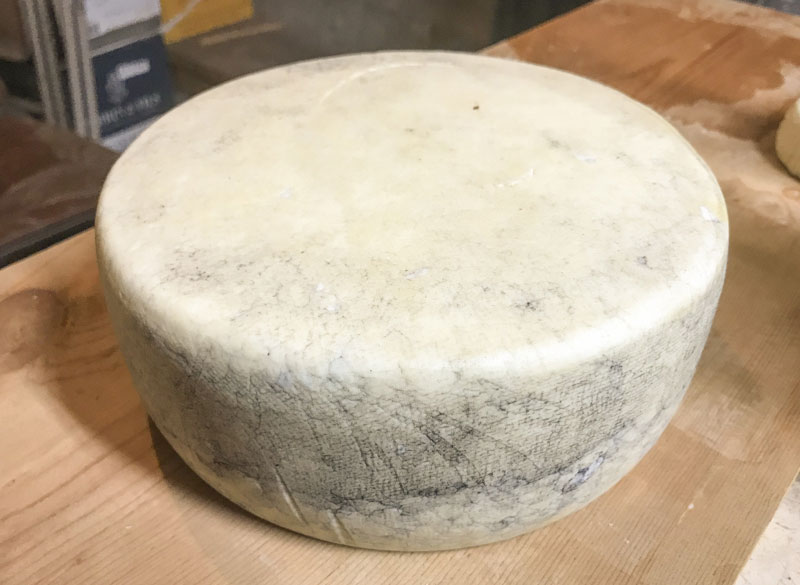
The final consolidated cheese should have no surface openings and generally have a smooth tight surface.
Overnight Rest | When the pressing cycles are finished remove the weights and butter muslin then place the cheese back into the mold. Lay the damp butter muslin over top and let the cheese sit in a cool area overnight, 65F or less. This will assure the final slow acid conversion completes.
-

Salting
You should have a saturated brine prepared for salting this cheese. You will find all of the details you need on brining here. A simple brine formula is:
- 1 Gallon of water
- 2.25 lb of Salt
- 1 tbs Calcium Chloride (30% solution)
- 1 tsp white vinegar
Place the cheese into the brine for about 3 hours per pound of cheese. Because the cheese will float in the brine, sprinkle 1-2 teaspoons of salt on the top surface of the cheese. Half way through the brining time, flip the cheese and re-salt the newly exposed surface.
When finished, wipe the cheese surface and set it in a cool location, 65-70F, with free air movement. Let the cheese surface dry for about one day, do not let it dry so much that it begins to darken or crack.
Note: Your brine can be saved from cheese to cheese by filtering when finished, replenishing salt, and storing at or near aging temperatures, 50F. When stored properly, this solution can be kept for years.
-
Begin Aging & Wash
Prepare Wash | Prepare a wash for the rind 1-2 days before the cheese is finished in the warm aging step below.
To make the wash add one tablespoon of non-iodized salt to one cup of water. Stir well and add a pinch of both Geo and B.linens. Store this in a sealed jar in the fridge until use. The salt in the wash will encourage the proper flora to develop on the rind.
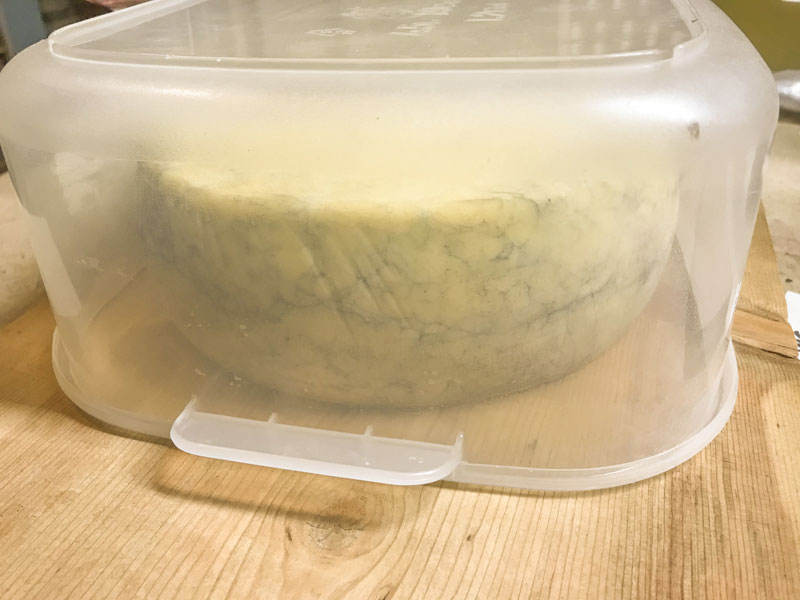
Warm Aging | Move the brined cheese to a warmer location, about 65F for about 2-3 days to encourage a general ambient yeast population to establish. You may need to place the cheese in a plastic box with a cover, so it does not dry out. Surface moisture is very important in establishing the proper rind.
Turn the cheese at least once or twice daily. Good signs to look for are a greasy surface when turning the cheese along with a slightly fruity and yeasty aroma.
Now it’s time to wipe the cheese surface with cool water to remove some of the greasy surface. Then move the cheese to a covered plastic box with an aging board cut to size in the bottom. Allow the moisture to be absorbed by the cheese for at least one day.
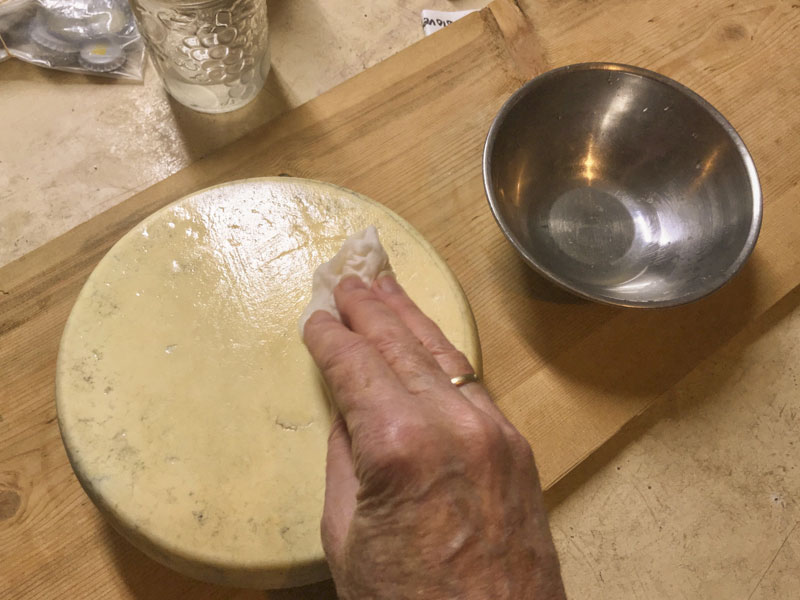
After the moisture is absorbed, begin using the prepared wash on just the top surface and sides. You only need a small amount on a sanitized cloth. Simply pour a few tablespoons of the prepared wash onto the cloth. Allow this surface to dry slightly, then place it washed side up in the box. Allow this to rest in the aging space for a day or so and then turn it over and do the other surface.
Repeat this every 2-3 days as you see a white film of mold developing. The surface will become damp or tacky but do not allow it to get wet or swampy. Within 10 days a slight pinkish/orange surface should be developing. If done properly no blue, dark, or fuzzy mold should grow. That is the beauty of washed rinds.
Note: Do not wash your aging boards with detergent, ever. They will begin to harbor beneficial and complex bios from the washed rind over time. To clean, simply use a hot water scrub and dry them in the sun.
-
Final Aging
After about 4-6 weeks of surface development wash the entire cheese clean in a light brine solution, because too much surface aroma competes with the sweet flavor of this cheese. Once cleaned, move the cheese to a cooler space for 3-4 weeks of extended maturation. It can go much longer, depending on the desired character.
At this point you could wax the cheese, but I prefer to check on it every week or so and wipe down any bloom I see with a clean dry cloth.