


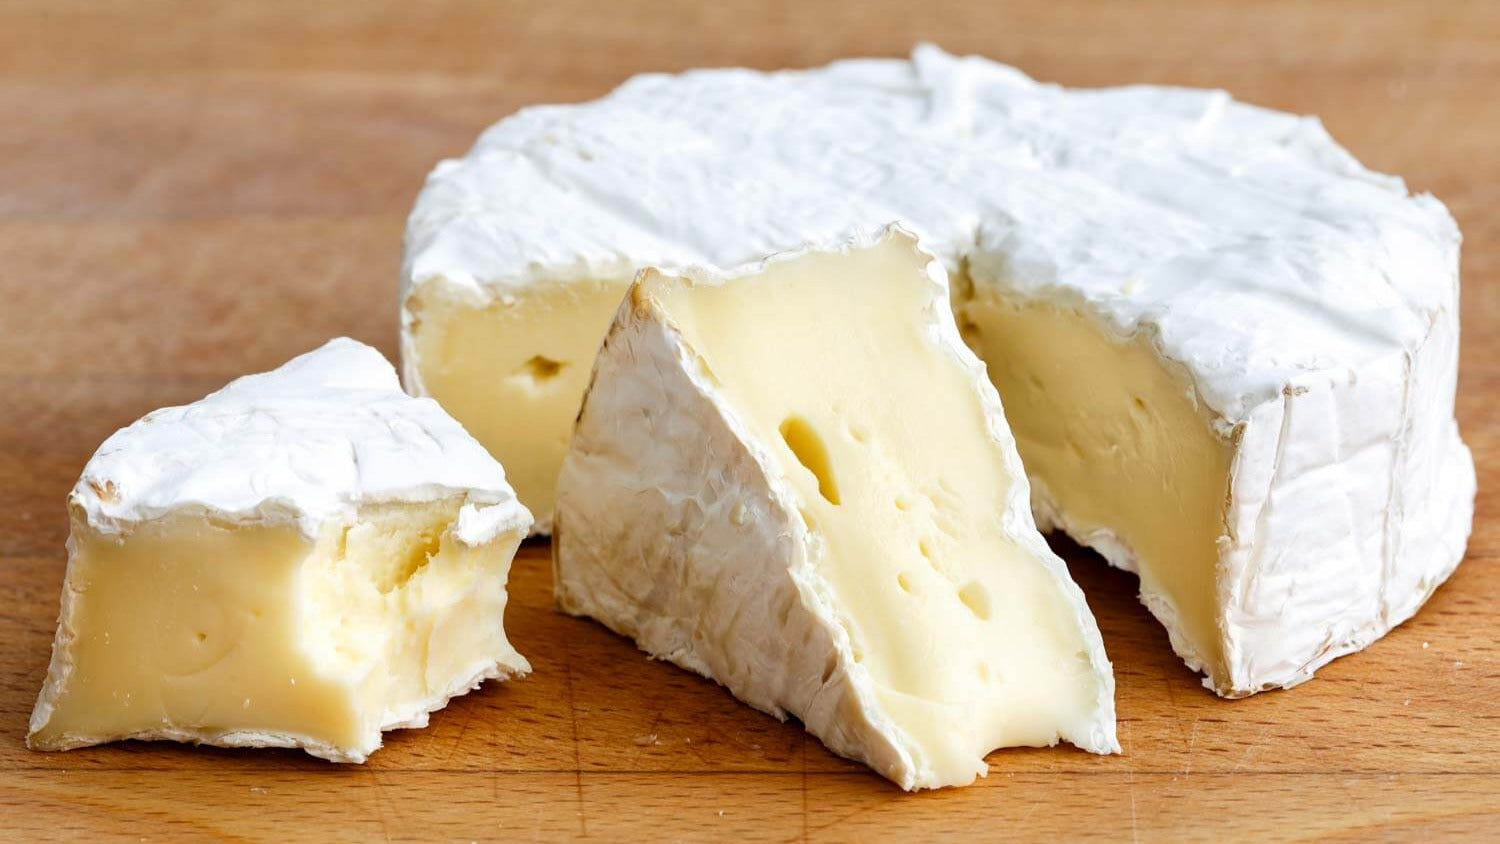
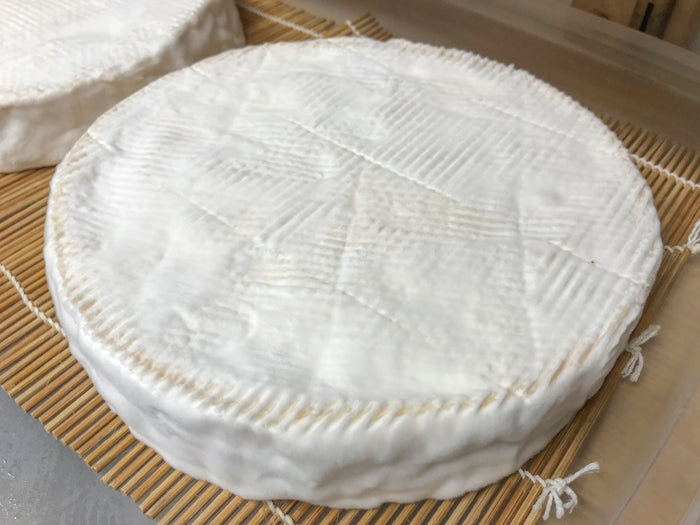
Brie Cheese Making Recipe
Learn how to make traditional Brie right in your own kitchen. With just a few simple ingredients, this step by step recipe will guide you in making Brie that stands out in a crowd.
In many stores we see a commercial version of Brie, made by machines with milk that could be better, and aging that is focused more on getting to market and longer shelf life than what Brie was traditionally.
-

Yield
2 Pounds
-

Aging Time
~2 Months
-

Skill Level
Intermediate
-

Author
Jim Wallace


Brie Cheese Making Recipe
Regular price
Sale price$0.00
Sale price (/)
Brie Cheese Making Recipe Info
What Makes It Stand Out
Brie vs Camembert
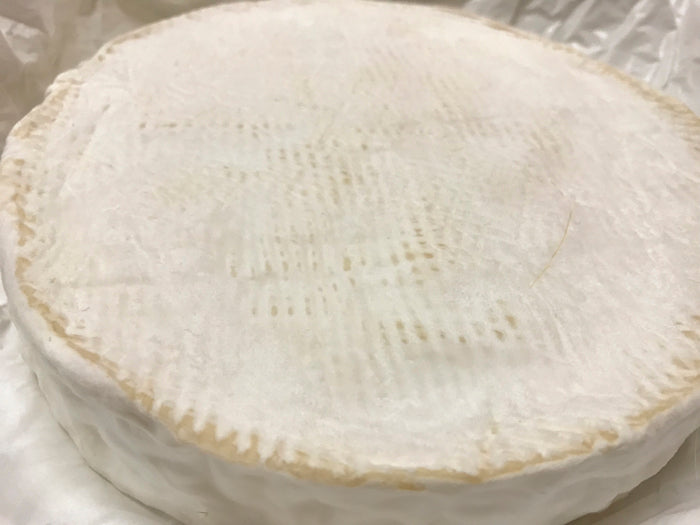
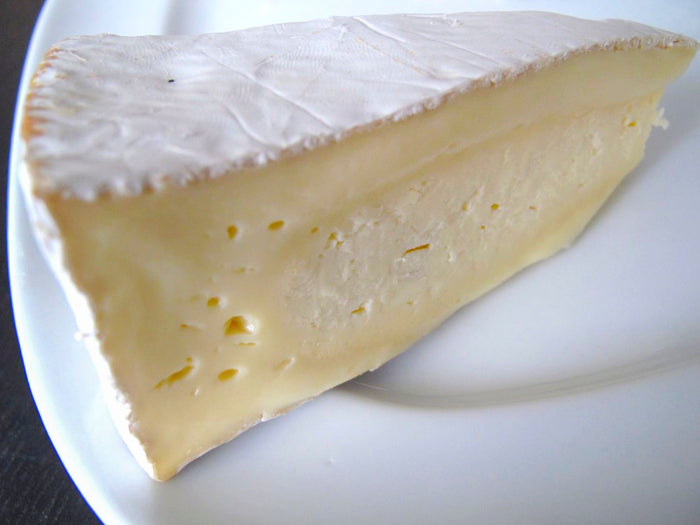
Look & Feel
Flavor Notes
Ingredients
Total price for selected items: Total price:

Instructions
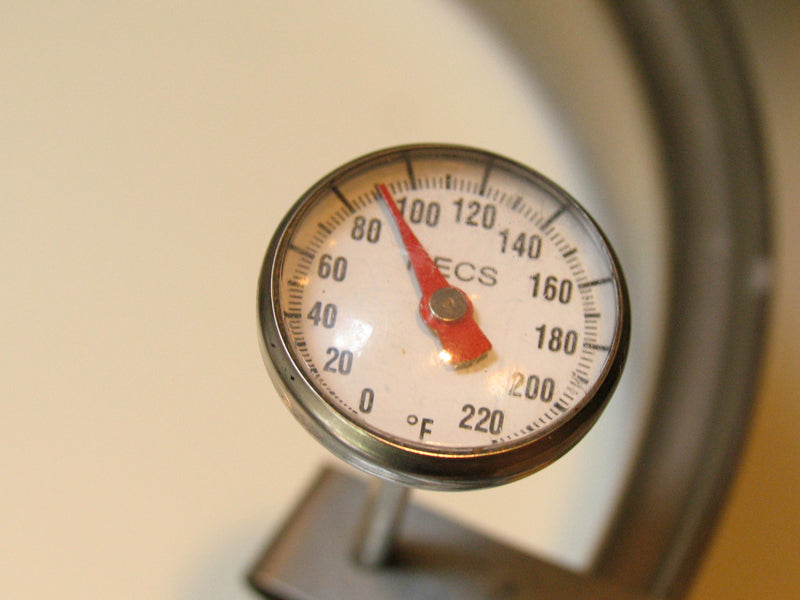


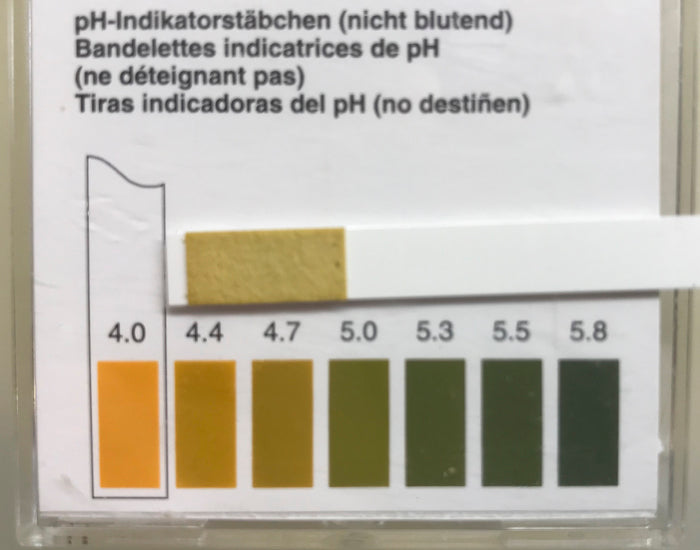
Step 1 Heat & Acidify Milk
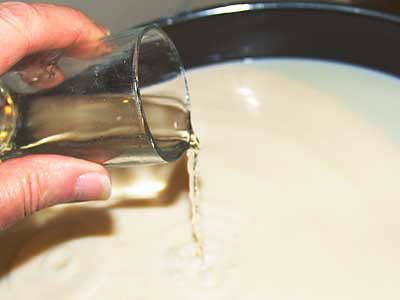
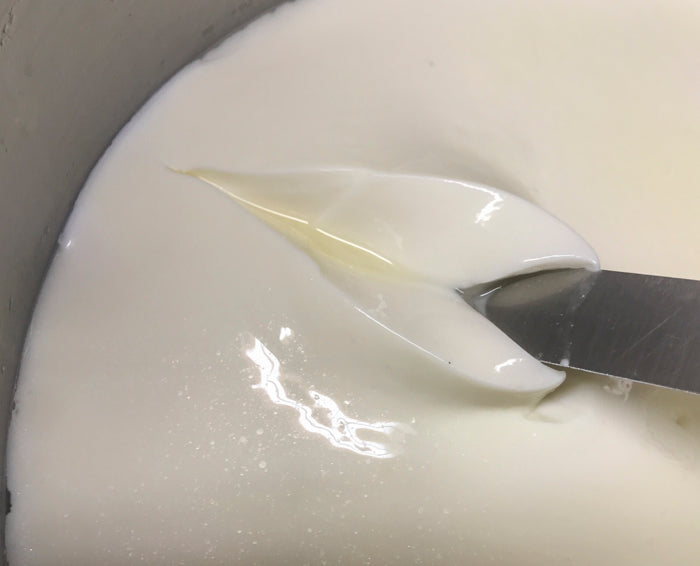
Step 2 Coagulate with Rennet
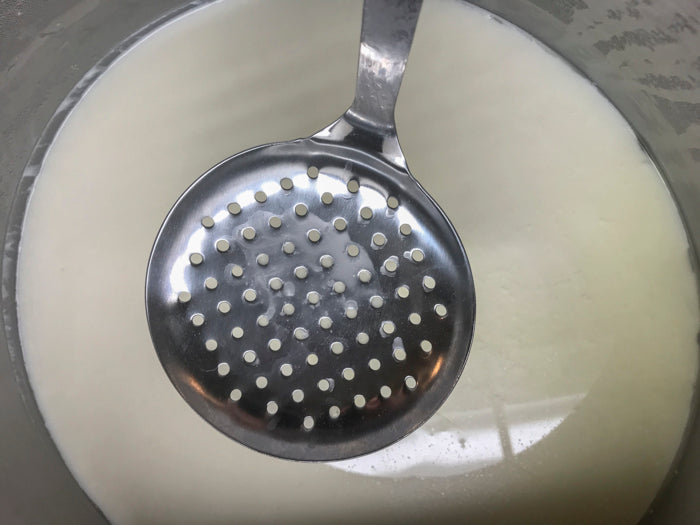
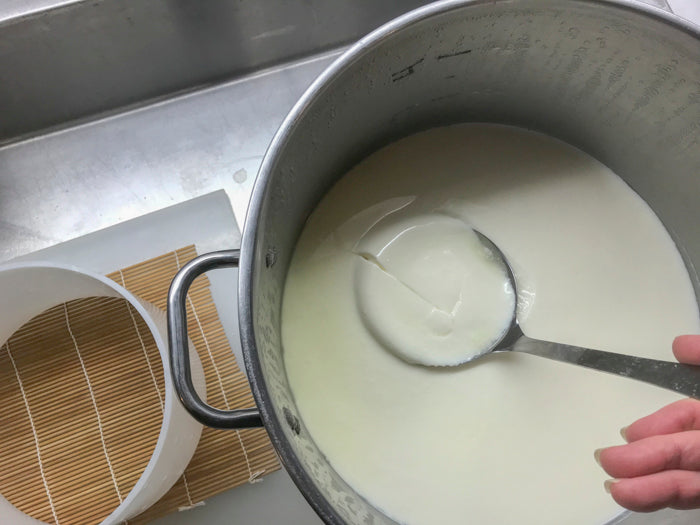
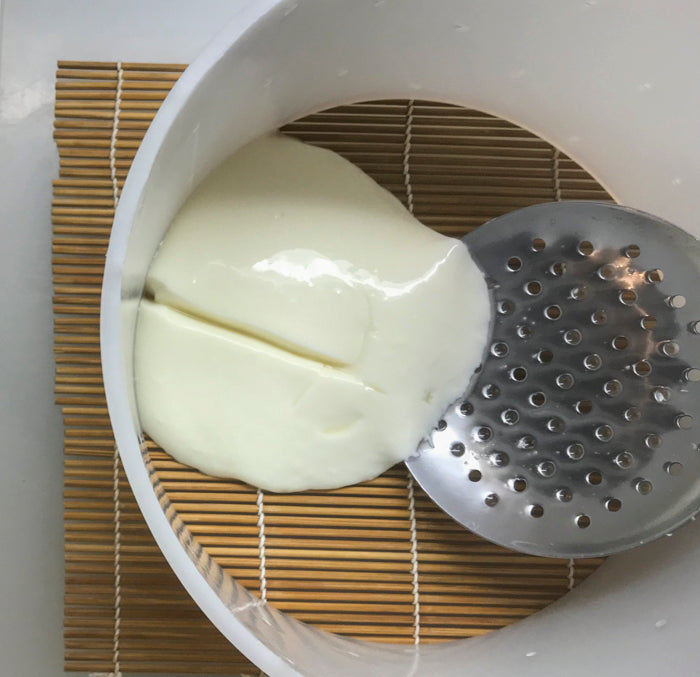
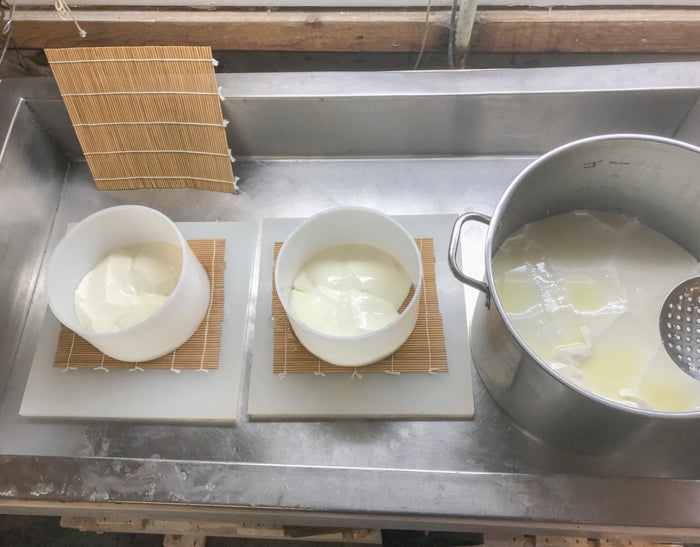

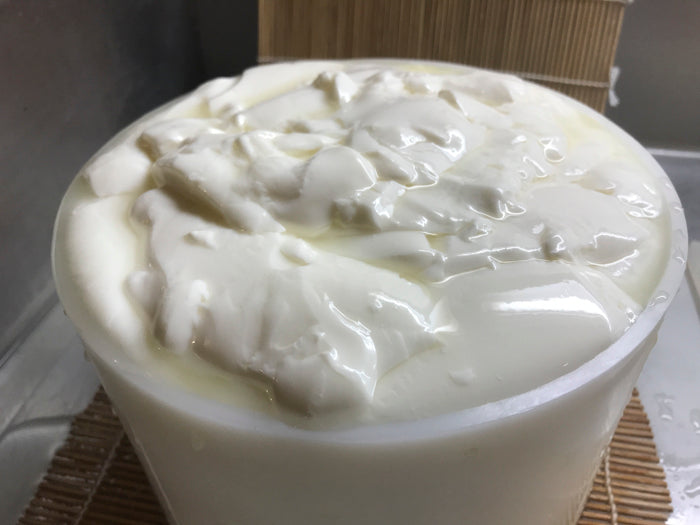
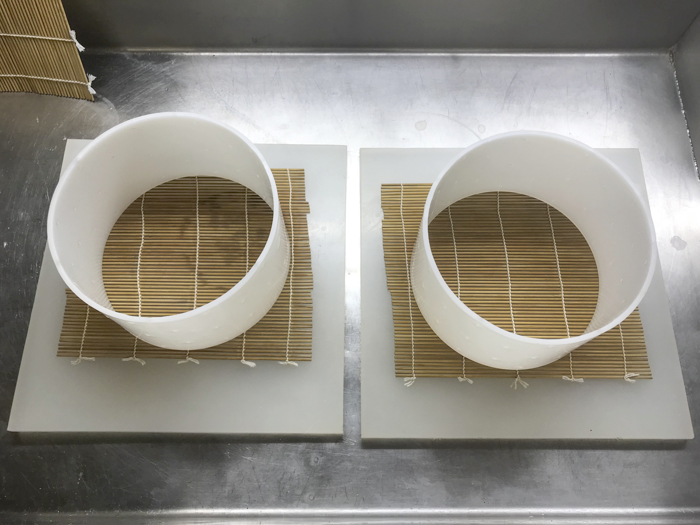
Step 3 Transfer Curd to Molds

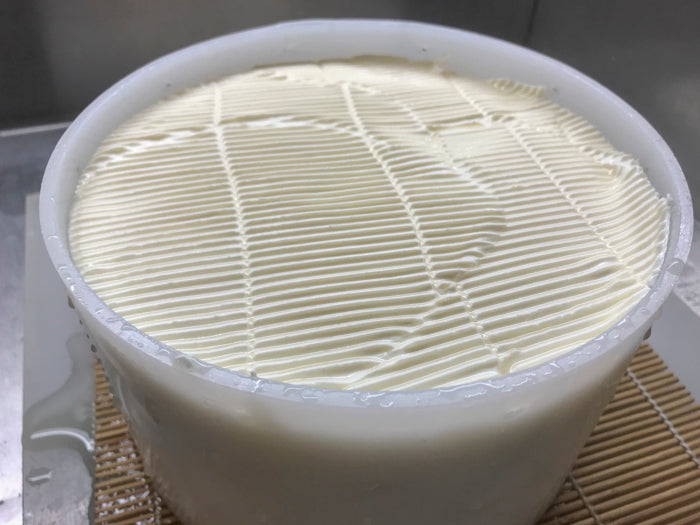
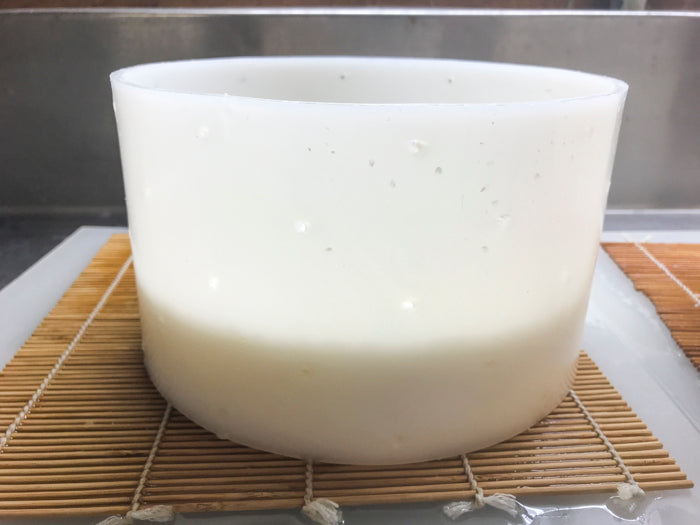
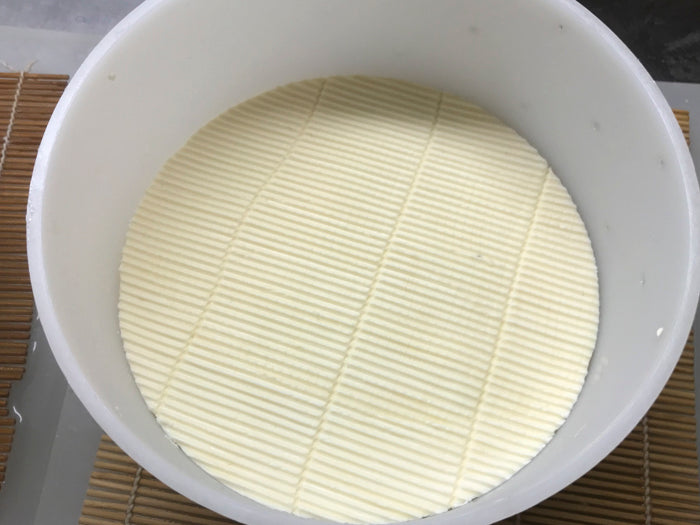
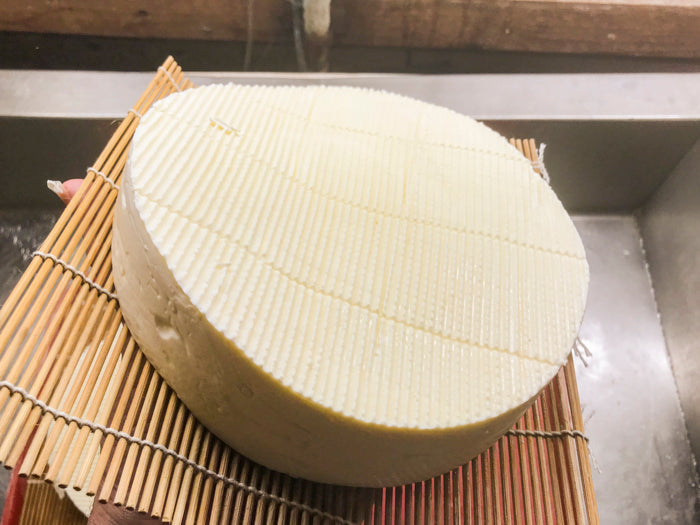
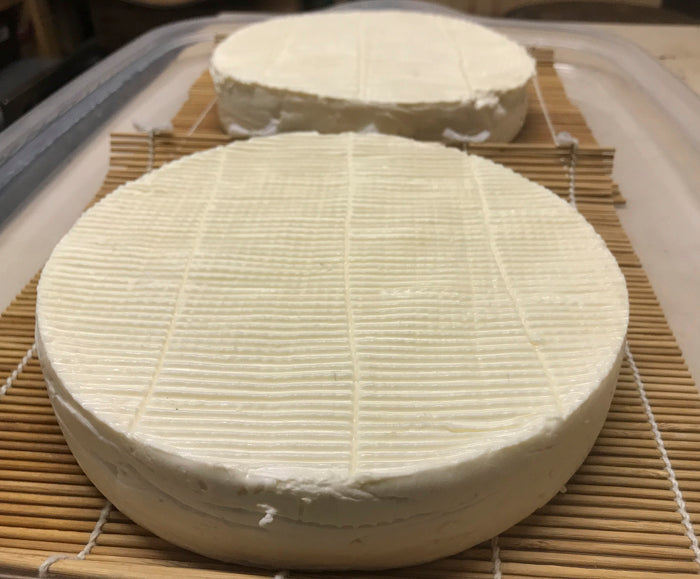
Step 4 Draining
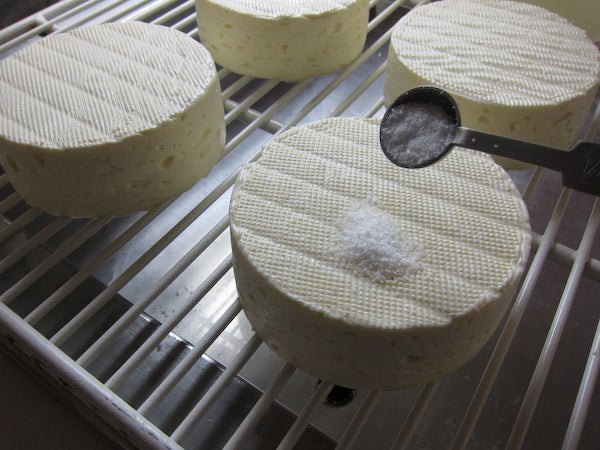
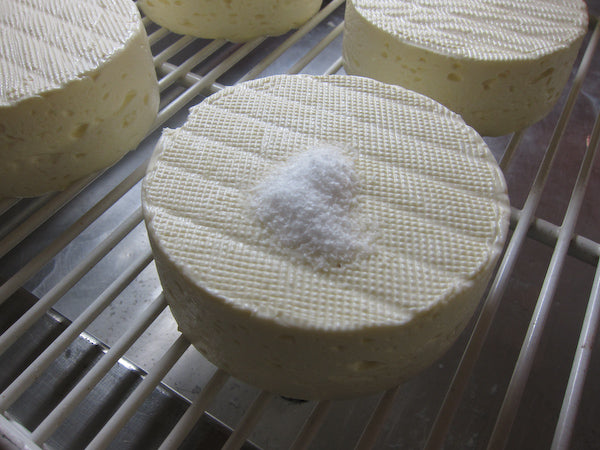
Step 5 Salting
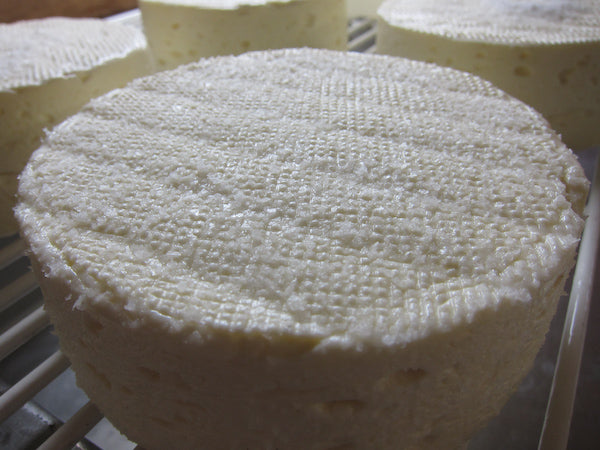
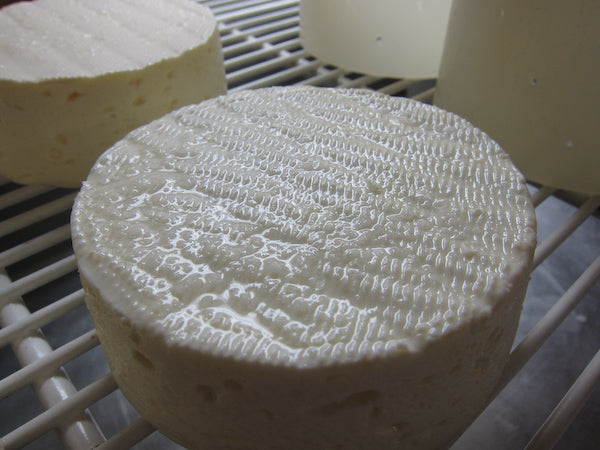
Step 6 Bloomy Rind Development
Step 7 Aging
Cheese Making Supplies
Related Products
You May Also Like


