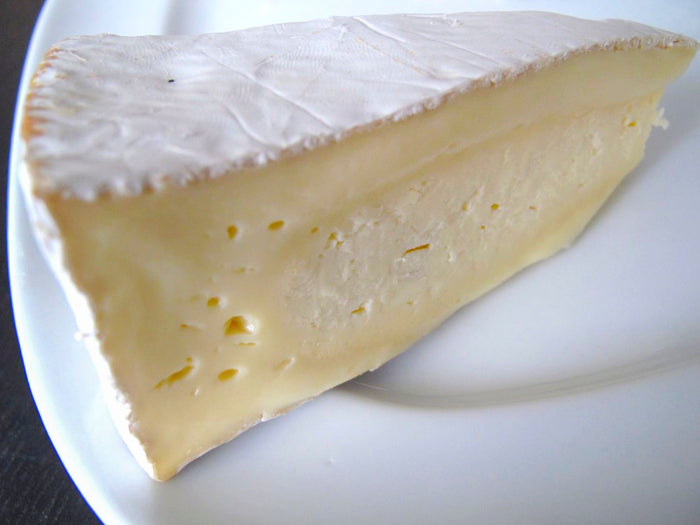
Brie Cheese Making Recipe

Learn how to make traditional Brie right in your own kitchen. With just a few simple ingredients, this step by step recipe will guide you in making Brie that stands out in a crowd.

In many stores we see a commercial version of Brie, made by machines with milk that could be better, and aging that is focused more on getting to market and longer shelf life than what Brie was traditionally.

  • Yield

    2 Pounds

  • Aging Time

    ~2 Months

  • Skill Level

    Intermediate

  • Author

    Jim Wallace

Ingredients

Ingredients

2 Gallons of Milk (not ultra-pasteurized) Minus 8 oz

8 oz of Heavy Cream

Equipment

Total price:

Instructions

The following recipe will produce two nice rounds of Brie. This recipe can be cut in half for two small cheeses using two M7 Camembert Cheese Molds or one M110 Brie Cheese Mold.


The guideline below is for a good quality pasteurized milk. If using fresh raw milk, use about 30-40% less culture and about 25-30% less rennet.

Step 1 Heat & Acidify Milk

Begin by heating the milk and cream to 90F. You can do this by placing the milk in a pot or sink of very warm water. If you do this in a pot on the stove make sure you heat the milk slowly and stir it well as it heats.

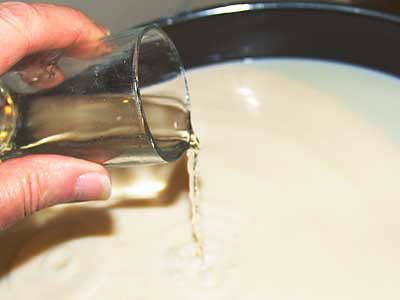
Once the milk is at 90F, the culture and mold powders can be added. To prevent the powder from caking and sinking in clumps, sprinkle the powder over the surface of the milk and then allow about 2 minutes for the powder to re-hydrate before stirring it in.

The milk now needs to be kept at this target temperature until it is time ladle into forms. Hold the milk with culture quiet for the next 60 minutes to allow the culture to begin doing its work. It will be very slow initially but will soon kick into its more rapid rate of converting lactose to lactic acid

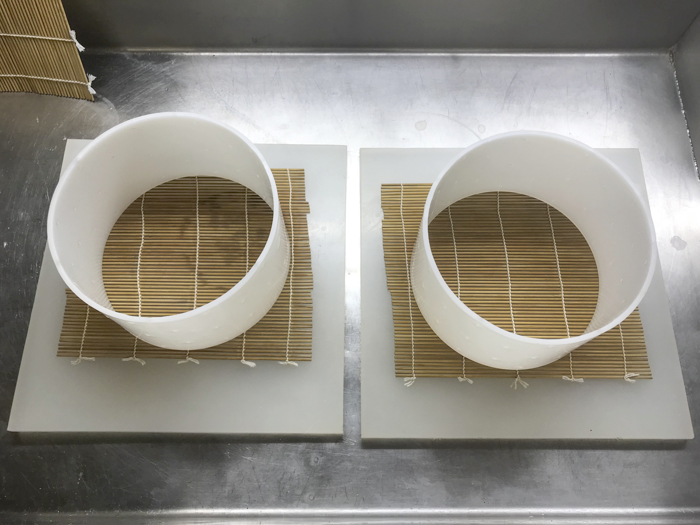
Note: While the milk ripens, it is a good time to prepare the cheese molds, mats, and draining area. They need to be clean and sanitized and ready to use. The forms should be arranged by placing a firm board at the base, on top of that place a draining mat, and then the form itself. You will need 1 board and drain mat for each form plus 1 extra for the turning.

Step 2 Coagulate with Rennet

Once the milk has ripened, add about 1.5 ml of single strength liquid rennet.

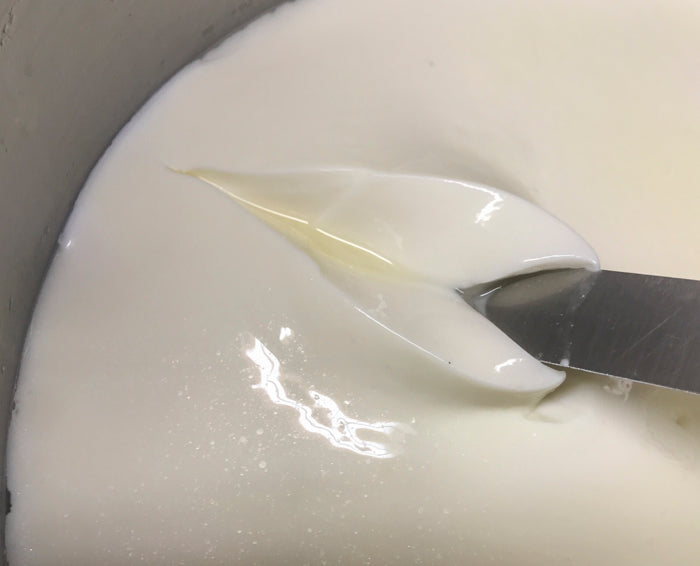
The milk now needs to sit quiet for 90 minutes while the culture continues to work and the rennet coagulates the curd . The thermal mass of this milk should keep it warm during this period. It is OK if the temp drops a few degrees during this time. This is a longer coagulation time to help retain more moisture in the final curd. You should note the milk beginning to thicken at about 15-25 minutes.

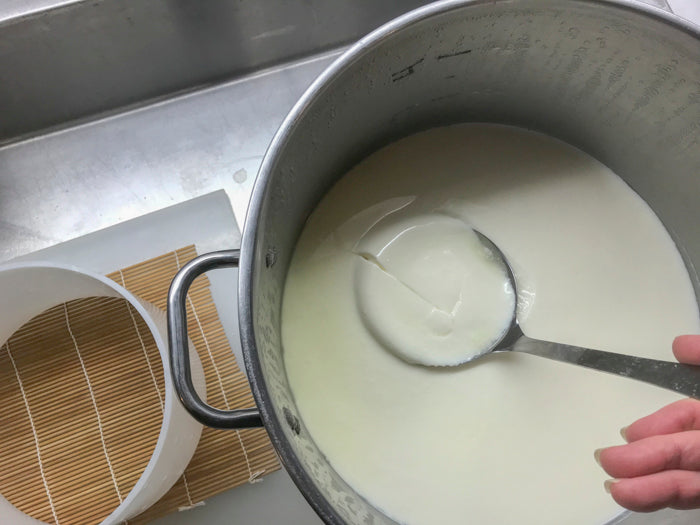
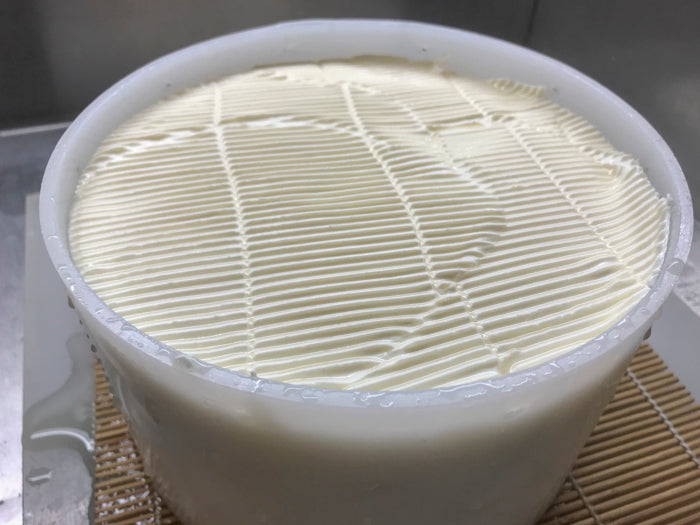
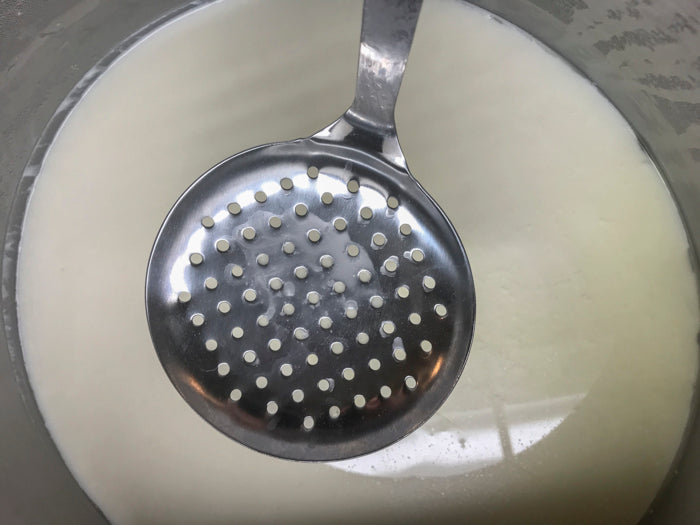
During the long 90 minute ripening this will form a nice moist curd as shown in the picture here.

Step 3 Transfer Curd to Molds

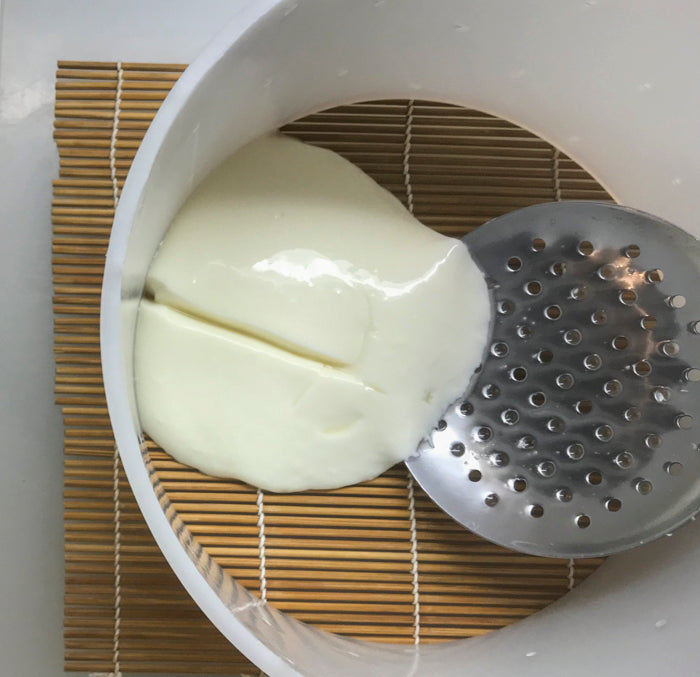
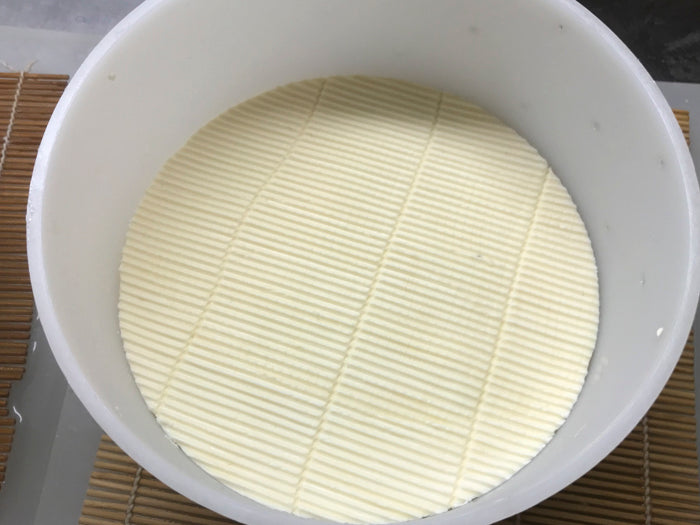
Traditionally the transfer was done without cutting the curd mass. If using a larger 7" form, no cutting of the curd is needed. Transfer the curds with a large slotted spoon by taking thin layers (1/2") from the curd mass and gently placing into the molds.

If using the smaller 4" forms, the curd mass should be cut into 1" cubes and stirred briefly to release some of the whey, so as to allow the full curd to fit into the 4-4"forms. The reason for this is that these molds are produced for the commercial production which cuts larger curd masses to facilitate a quicker production.

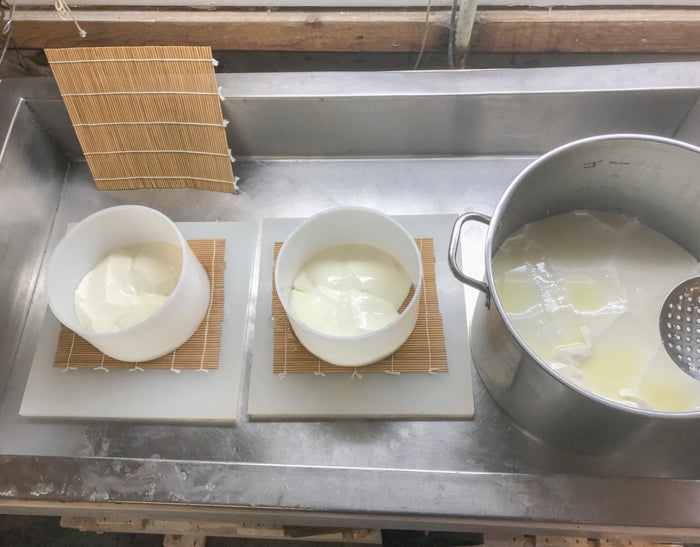
These molds should be filled in a "round robin" manner to allow the curds to settle briefly and whey to drain before the next addition.

If all of the curd does not fit when the molds are full, simply wait a few minutes and the curd will settle, then add the rest.

Step 4 Draining

Allow the curds to settle and drain, keeping the draining space at 68-74F (warmer or cooler will cause problems with the resulting cheese).

To assure a good draining, the cheese will need to be turned in the molds. This is done by placing a second draining mat on top followed by another turning board (as mentioned in the prep above). Then carefully lift the entire assembly carefully and with one hand on top and the other on the bottom (firmly) flip the cheese over quickly. If you have big enough hands though, it is best to clamp the form and drain mats between both boards with each hand for the turn.

Note: This will be the most challenging time for this make, and the point where everything could go south rather quickly. I suggest practicing this several times before you add the curds.If there are any openings the curd will try to escape the form. Once you have done this a few times, you will understand.

Commercially, this flipping is all done with machines and many forms ganged together. You should know I have done well over a hundred batches successfully.

It is best to make the first turn shortly after the curd is ladled (within 30 minutes). This will keep it from falling too far in the mold and breaking. Repeat the turning as above at 2-3 hour intervals to even out the moisture release.

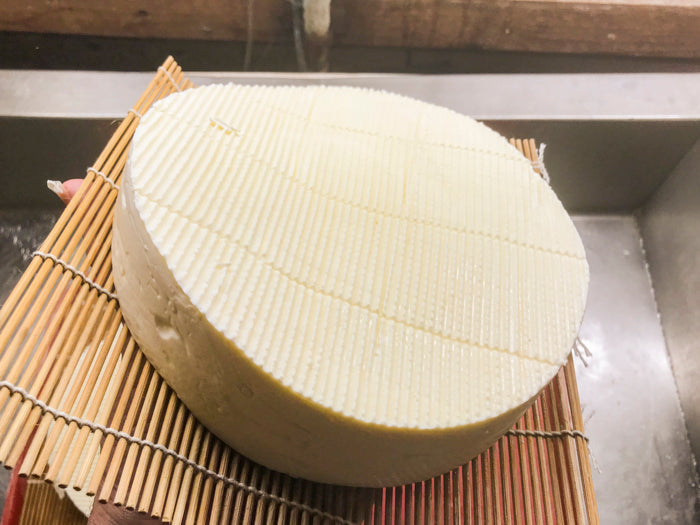
Keep the draining space at 70-74F to encourage whey release. The initial draining and turning is normally about 14-20 hours. I usually let the Brie drain overnight. It should show a significant slowing of whey release towards the end. The taste of the whey at this point should have a very noticeable acidity to it compared to that first running out during draining. It is a good practice to taste the whey and curds throughout the process for future reference.

We do not salt the curds until the draining slows because the culture needs to keep working and the draining whey would take much of the salt with it.

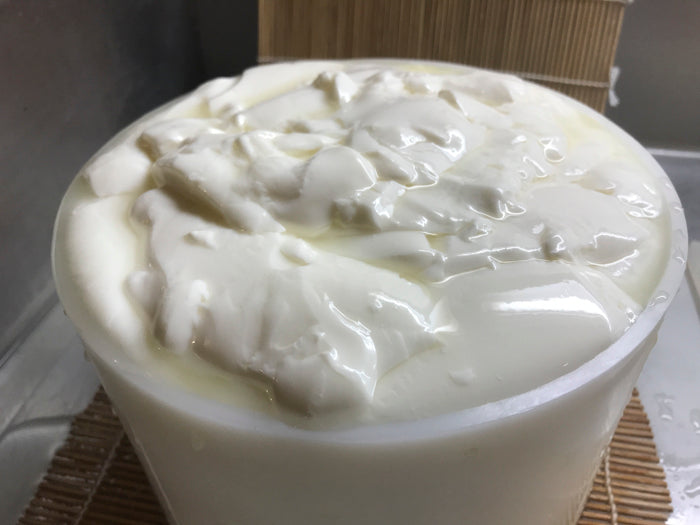
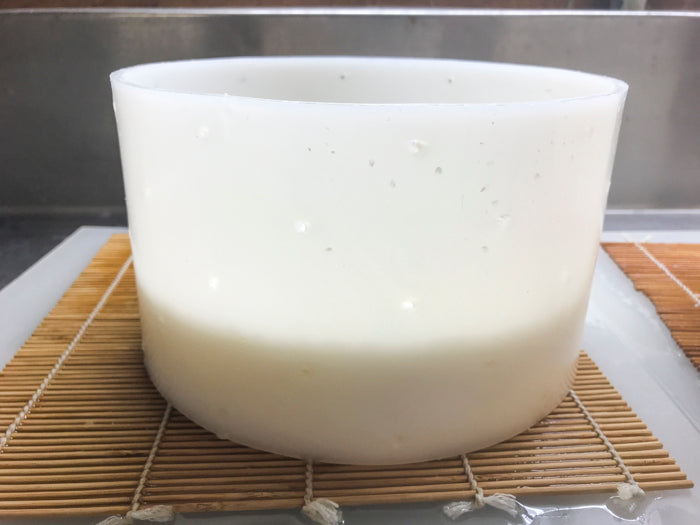
The cheese will drain down to about 1/3 the original curd height. During this time, flip the cheese in their forms several times to make sure the draining is even. The cheese will become firmer and the turning easier as it drains.

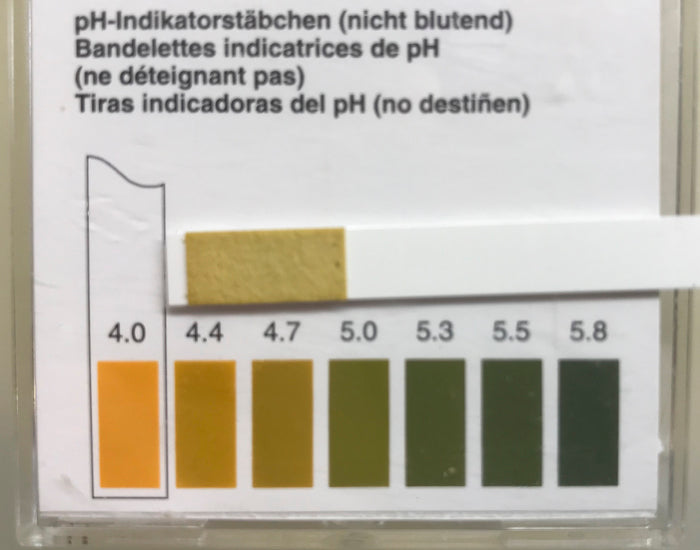
If you have pH test strips they should show a pH of about 4.6 when done

Step 5 Salting

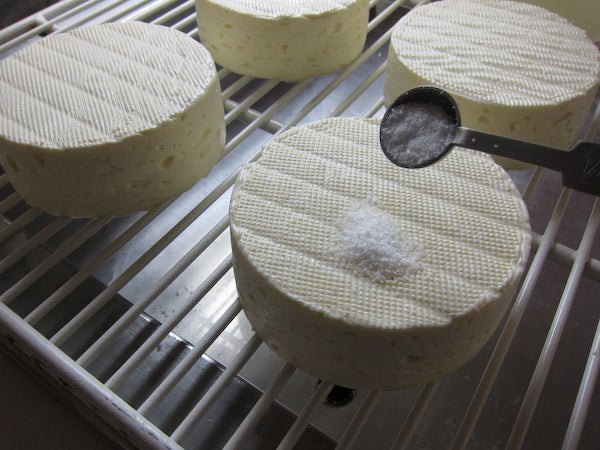
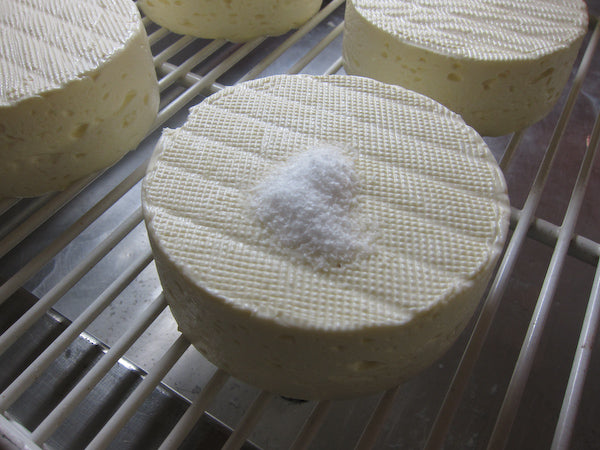
Once the draining slows, you can dry salt the cheese using 4 tsp of a medium grain cheese salt. Never use fine salt for this, or any iodized salt. Some sea salt can be too fine for this. For the larger forms, I remove the Brie from the forms and use 1 tsp of salt for the top surface spread evenly, and then patted/rubbed evenly around each side. For the smaller ones, 1/2 tsp per surface.

More will be on the flat surface than the sides, but this is fine, the sides will get a second addition when the cheese is salted again. Allow the salt to dissolve in the surface moisture and be absorbed by the cheese. I usually wait about 6 hrs before the second application for the other surface. Finally, allow the cheese to sit overnight for the second salt to be absorbed. The salt additions will pull more moisture from the cheese, so be prepared for more draining.

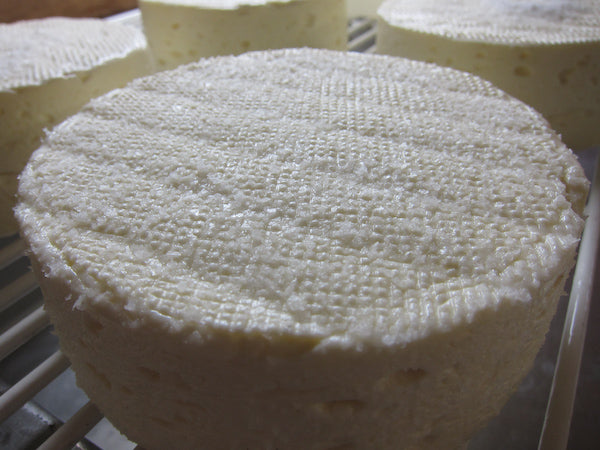
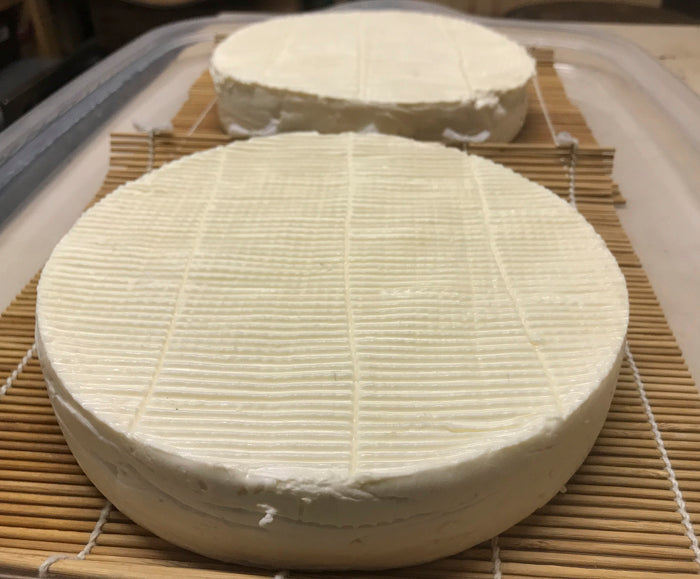
Once the salt has been absorbed into the cheese (overnight again), the cheese should be well dried on the surface before moving to the aging space. This is best done in a cooler space at about 58-64F, with a moderate humidity of 55-65%. During humid weather, a small low volume fan may be needed.

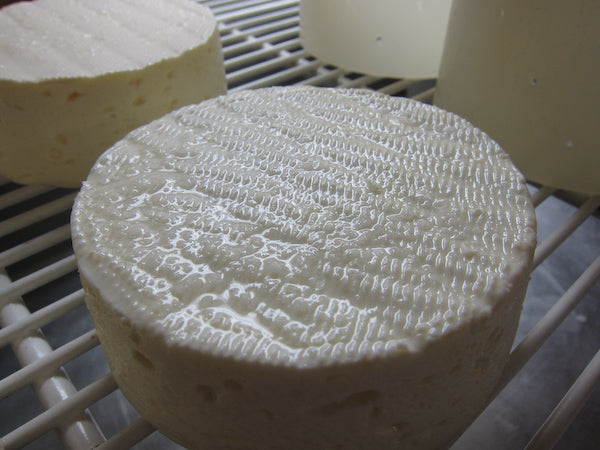
It is very important that the surface is dry, so that no free moisture highlight can be seen. This may take a day or two.

If the Brie goes into the aging space with excess moisture there can be problems:

  • Commonly, high moisture will cause a very rapid protein break down near the surface, with a liquid cheese lying under the rind.
  • The rind may separate fro the cheese body.
  • You may find a grey filament mold (mucor) growing, rather than the expected white molds.

Step 6 Bloomy Rind Development

The following is a bit lengthy in detail, but it's important for a successful cheese. Also, I did write the Bloomy Rind portion of the "Oxford Companion to Cheese".

The young Brie likes to have very specific conditions and does need to be taken good care of. It really wants:

  • Cool, dark location, 52-54F
  • 90-94% humidity, but no standing water
  • Some space around it and fresh air and to be turned over daily at least, so the other side can breathe. Do this and you will be rewarded. If the mats are moldy and wet they should be replaced with fresh clean new ones.

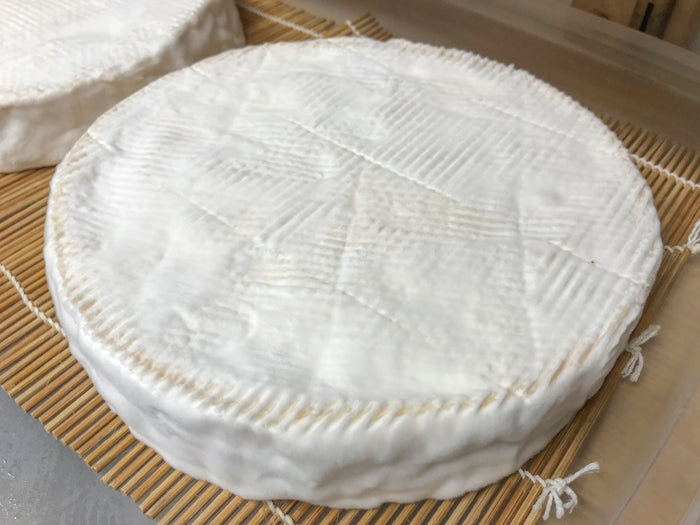
If everything has gone well, the bloomy rind will develop. This is a complex progression of different things growing.

  • First of all, the ambient yeast from your work space (believe me, it's there) will populate the surface and begin to grow. You will notice a distinct fruity/yeasty smell as this occurs, and the surface will develop a somewhat greasy/slippery feeling. This tends to sweeten the surface a bit to prepare for the next community. This will take 3-4 days to develop.
  • Next, we should see the greasy surface dry a bit, and some low dusty white molds begin to grow during the next 6-8 days. This is the Geotrichum preparing the surface for the next stage.
  • The next phase is the growth of the white bloomy mold that characterizes this style of cheese. This will continue to develop a rather white fluffy surface that will be the base for the ripening. Of course, this is the P.candidum that you added to your milk. This should develop into a full coat by day 10-15 from salting. At this point you may need to turn the cheese more than 1x per day as the mold growth can be aggressive.
  • In addition to all of this, our modern research is just now revealing that there are other microbes that grow along with the above. Things we did not add but are all around us .... from the air ... on our skin ... recently we suspect marine types that come with the salt we use. Who knew?

It is the development of this bloomy rind community that creates the magical transformation of the fresh curd on make day, to that amazing tasting cheese that flows from the first cut when it is totally ripe. Yes, that is the Brie we are looking for here.

The community that grows on the surface is not just there for good looks, it is a dynamic living thing that grows and produces enzymes and changes the entire cheese formulation and in turn the flavor and texture during the aging. It forms its own transport system and even in its own way breathes. It truly is alive.

To maintain the high moisture needed for this cheese I do use plastic trays with lids and a board inside (it buffers the moisture). I place the Brie on bamboo mats (they allow it to breathe) on top of the boards.

Step 7 Aging

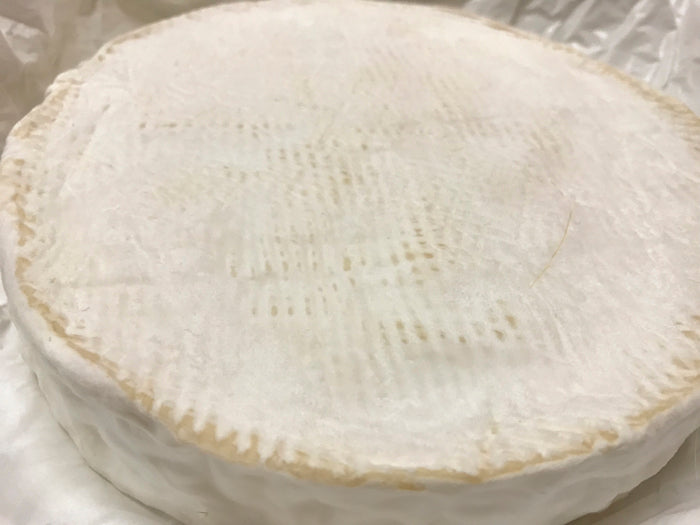
At this point we should see the full white growth over the surface and it is ready for the final aging.

The real process of ripening is now just beginning. Both bloomy rind and washed rind surfaces tend to ripen in a centripetal manner, that is, they ripen from surface to center over time. As the enzymes are produced by the surface molds, they change the protein structure and as a result the body of the cheese becomes less acid and its structure changes as well as the flavor. It changes from the rigid white curd to the very elastic supple ripened cheese. The one that wants to flow out on its own at room temperature .

There are 2 options for this final aging:

  1. Continue the aging in the original conditions of 52-54F and 90-94%, without any wrap, but on the mats. This will speed up the breakdown nearer the surface, but tends to leave a bit more of the firm center. The division between the ripe and unripe will also be more sharply defined.
  2. Remove the cheese from the covered tray to a cool moderate moisture room for about 2 hours to dry both surfaces a bit. Then wrap in the 2 ply paper, which acts both as a moisture buffer and reservoir. The wrap takes the moisture from the cheese when too high and gives it back when too low (sort of like the gore-tex of cheese).

    Move the wrapped cheese to a cooler 42F space. This will slow the process of transformation nearer the surface slightly but allow the enzyme activity to move further towards the center and ripen closer to the center.

    The result here will be a cheese with a more continuous texture from surface to center. The almost translucent elastic body does not seem so sharply defined from the unripened center.

Note: When is Brie done aging, it really depends on what your looking for. Sometimes its nice to have the contrast between the ripened and more acid heart of he cheese. Others may like a completely ripened cheese, one that slumps out of its rind onto the cheese plate. In France it seems the young like a hardly ripened cheese at all (I really don't understand that).
The texture when ripe is like the soft flesh part between your thumb and index finger. Slight pressure on the cheese should feel like this when ripe.

Brie Cheese Making Recipe Info

Brie usually appears as a much thinner, wider cheese, whereas Camembert is a smaller wheel shape, but usually a bit taller. Camembert makes a nice presentation as a full wheel and Camembert usually shows on the table as a pie shaped wedge.

The Camembert most often appears as a snow white pristine looking cheese, but the Brie can turn up looking a bit more casual with slumped sides and multi colored stripes from where it has laid on it's aging mats. However, most of the commercial ones do also show up better dressed in their snow white coats. Personally, most of my friends who love cheese, like the more casual looking ones.
Recommended Recipes

Cheese Making Supplies

Popular Products

How to Make a Cheese Cave
Aging

How to Make a Cheese Cave

Learn how to make a cheese cave right at home. If you want your cheese to ripen properly you have to make them a good home and take care of them like little bambinos.