


Pepper Jack Cheese Making Recipe
-

Aging Time
~2 Months
-

Skill Level
Intermediate
-

Author
Jim Wallace


Pepper Jack Cheese Making Recipe Info
Pepper Jack Inspiration
History of Peppers in Cheese
Why Peppers Work in Cheese
Best Cheese for Adding Peppers
Ingredients
Total price for selected items: Total price:

Instructions
It should go without saying but depending on the peppers it is easy to over-do the spice factor. Start low, there is nothing worse than making a cheese, waiting through months of aging, then finding out it is too spicy for anyone to eat. If you do happen to be overzealous, and the cheese is too spicy, try using the finished cheese for cooking or adding it to other recipes.
-

Heat & Acidify Milk
Begin by heating the milk to 88F (31.5C). You do this by placing the milk in a pot or sink of very warm water. If you do this in a pot on the stove make sure you heat the milk slowly and stir it well as it heats
Once the milk is at 88F the culture can be added. To prevent the powder from caking and sinking in clumps sprinkle the powder over the surface of the milk and then allow about 2 minutes for the powder to re-hydrate before stirring it in.
The warm temperature needs to be kept until the guideline calls for a higher temperature during the cook stage to follow. The better you can do this, the more consistent the cheese will be batch to batch.
Once the culture is well stirred in, hold the milk with culture quiet for the next 60 minutes while the culture begins doing its work. It will be very slow initially but will soon kick into its more rapid rate of converting lactose to lactic acid. This initial rest is called the milk ripening stage.
During this ripening phase you have a good opportunity to make sure the molds and draining materials are sanitized as well as the draining/pressing surfaces.
-


Prepare Pepper
Black Peppercorns | For a cheese with 2 gallons of milk use 1-1.5tsp of good quality peppercorns (not from the old jar in the back of the drawer) . Toast these briefly until they pop in the pan to bring out the oils and flavors. Then crack them lightly in a mortar and pestle or any heavy weight (you want a little substance to these). They should add a nice aromatic and nutty/citrusy flavor as the cheese draws the heat from the pepper.
Red Peppers | Use about .75-1.25tsp of a flaked pepper here. I use my own smoked Jalapenos. I wait until they turn red and smoke them slowly with apple wood, they are sweet, smoky, and hot. Perfect for cheese making.
I use about 1/3 to 3/4 of a single pepper for this.
If you would like to use a fresh green or red hot pepper, then I suggest you blanch them first to avoid harmful bacteria developing inside the cheese (botulinum is deadly).
With or without seeds, the preference is yours. Chop the pepper into small flakes so that they can be easily distributed throughout the cheese.
-


Coagulate with Rennet
Then add about 1/4tsp (1.25ml) of single strength liquid rennet.
The milk now needs to sit quiet for 45 minutes while the culture works and the rennet coagulates the curd . You should note that the curd begins to thicken at about 15 minutes but it needs the full time to be firm enough for a cheese such as this.
The thermal mass of this milk should keep it warm during this period. It is OK if the temp drops a few degrees during this time.
When the curd is ready it should look like the images here when it is split with the flat of a knife.
The edges should show clean breaks and the whey that rises should be neither really clear nor too cloudy.
If this is what you see in your make then you are off to a good start.
-


Cut & Stir Curd
Once you have the good curd, it is time to beging the separation of solids and liquids. I normally begin this by cutting vertical in a checkerboard pattern about for this cheese at about 1/2-5/8 in. I then let this rest 3-5 min. until the whey begins to rise and flood the surface. This will firm up the fresh cut surfaces and make them more resistant to break when you make the horizontal cut into curds.
Next using your spoon or ladle make horizontal cuts. The final curds should be about 1/2 in. when done. Let these settle and rest for another 3-5 in. to firm up as in the first cut, then begin a slow gentle stir from the bottom to top to keep the curds moving and separated. Remember they are very fragile at this point.
As the curds continue to move in the warm whey, return the temperature to 88F if it has dropped at all.
Continue to stir gently for about 10 minutes.
-

Cook Curd
Now it is time to begin drying out the curds. This will be done by increasing the heat slowly to 95F over the next 30 minutes . The heat needs to be increased slowly at about 3F every 5 minutes at the beginning.
Then continue the cooking for the next 30-60 minutes. The total heating plus cooking time will be 60-90 minutes using the longer time if the curds are still soft.
The final curds should be cooked well through and should be examined to make sure that enough moisture has been removed. A broken curd should be firm throughout and the curds should have a moderate resistance when pressed between the fingers.
When this point is reached the curds can be allowed to settle under the whey
-


Wash Curd
This step helps to make a sweeter and moister cheese.
This step will involve a draining of most of the warm whey and refilling with cool water.
Remember that one of the qualities I am looking for in this cheese is a higher moisture. This can be done at this point by introducing water that is cooler than the curds. This will cause the cool water to flow into the curd and rehydrate them slightly. At the same time the removal of the warm whey will be removing lactose which is food for the culture, and in effect will slow the acid production. Remember that another quality for this is a slightly sweeter cheeses, less acid development.
Begin by removing about 40% of the volume in whey, leaving about 1 inch of whey covering the curds. Then Immediately begin washing the curds with cold water. Add this slowly with stirring over about 15 min. until the curd stabilizes at about 75F. This cooler temperature will also function to slow the bacteria since it has fallen to the low end of the working range of the culture. Make sure you use a water that is free from bad bacteria for this. If not sure use chilled bottled water or boil the water then chill before adding.
-


Form Curd, Salt & Add Pepper
The dry curds can now be transferred to a colander or draining pan where they should be allowed to drain for a few minutes with a gentle stirring.
Add Salt while still in the draining colander as soon as the curds have drained well. Your final cheese weight should be about 2.5-2.75lbs. Adding 2.5% salt to this would be just about 1 oz. of salt. Add this in 2-3 doses and stir in until it absorbed by the curd.
If making one single cheese, you can add the pepper directly to the drained and salted curds and stir well before transferring to the cloth lined molds.
Here I am making two cheeses with different peppers (the Tale of Two Peppas), so I drain the curds first and then add to the molds in layers for each separate form. I mix the additions in well as I go. In either case make sure the additions are mixed evenly into the cheese.
-


Pressing
At this point the press cloth should be pulled up and smoothed then folded over the surface as best you can. Always strive to make the surface as smooth as possible. The cheese is now ready for the press.
This should begin very light and slowly increase the press weight to a moderate level:
For a 6 inch chees mold
- 15 minutes at 8lbs
- 2 hours minutes at 20 lbs
- 4 hours at 40 lbs (turn and rewrap every hour)
Note: For the M3 mold use about 20% less weight at each stage.
The rate of whey running off is simply a matter of drops and not a stream of whey being released. This is a good rate of whey removal during pressing and will slow even more as the residual free moisture is released. The form should show tears of whey weeping from the form very slowly. When this stops you can increase the weight slightly. The cheese should be removed from the press, unwrapped, turned, rewrapped, and put back to the press at the above intervals. To assure an even consolidation.
During the press time try to keep the cheese warm between 70-75F because the bacteria are still doing their work even though much slower at the lower temperature.
Whey will continue to flow as the remaining lactose is converted to lactic acid. Much of that 2.5% salt added will run off with the whey (taste it). In the end you should have a well consolidated cheese and the salt content should be about 1.5%.
-


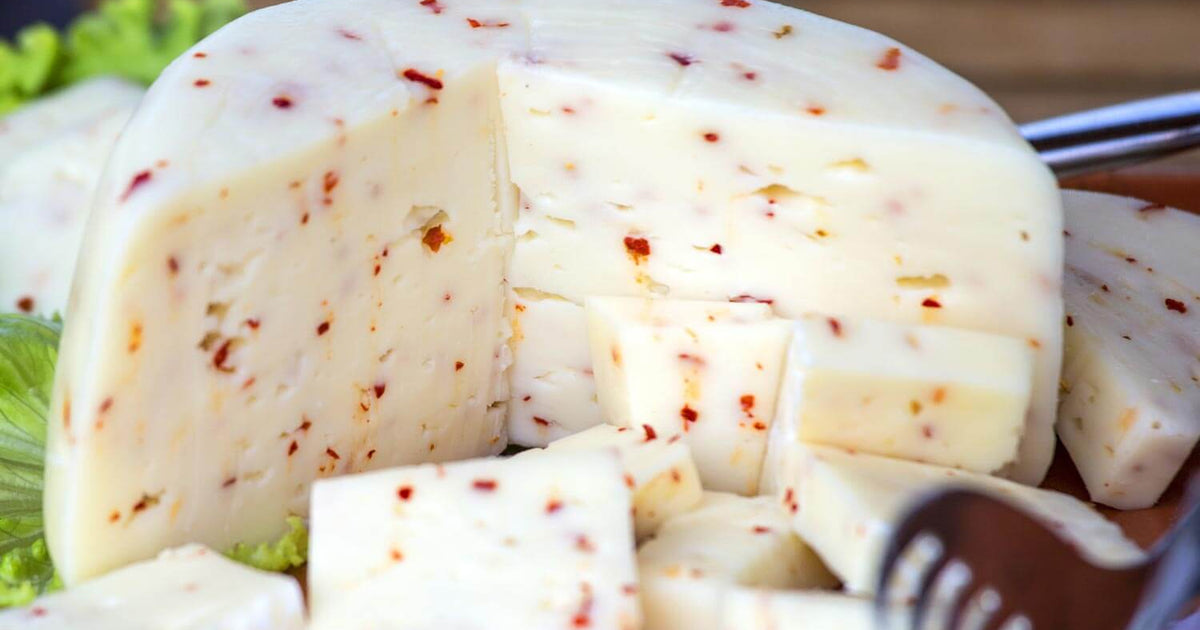
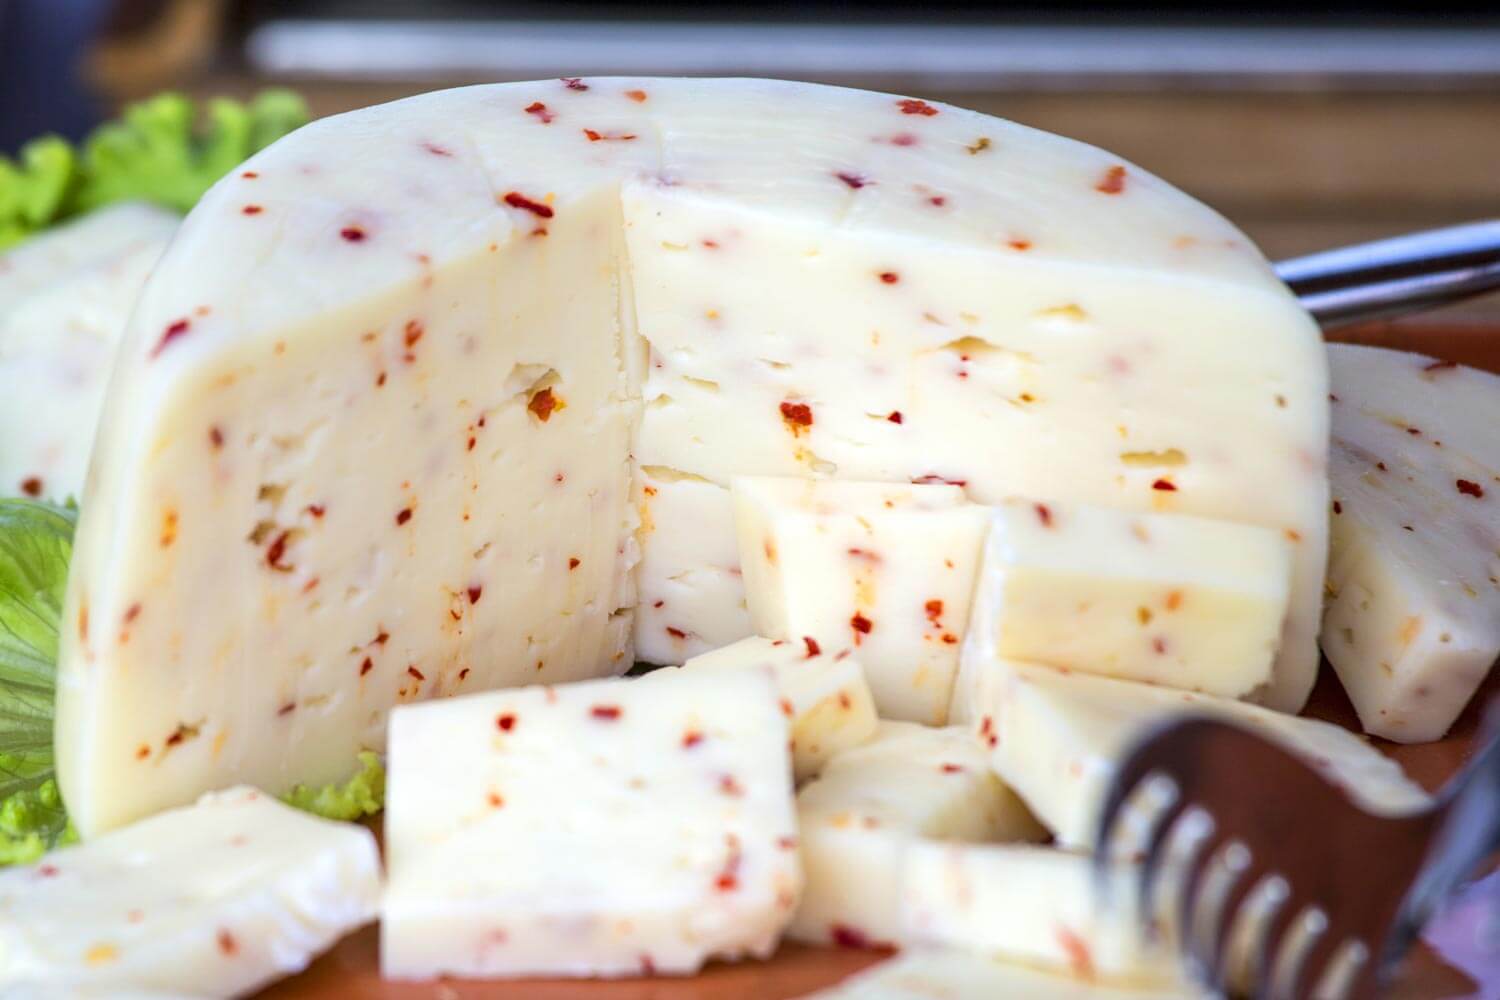
Aging
Allow the cheese surface to dry down; this may take a few days. Once the cheese surface it dry, it can be waxed for aging. Here is information on waxing cheese.
The pressed and finished cheese plus the final waxed cheese ready for aging in the cave
The cheese can then be placed into your aging space at 52-56F and 80-85% moisture.
The cheese can now be aged for 2-3 months (or longer) before it will be ready for your table.
Cheese Making Supplies
Related Products
You May Also Like


