Alpine Style Cheese Making Recipe

This wonderful recipe goes above and beyond traditional Alpine style cheese, by introducing new and unique cultures for a modern flavor profile. With an ability to balance tradition with the most recent knowledge that science can provide, this recipe is perfect for a truly modern day cheese maker.

If you're familiar with Sartori's BellaVitano or the new generations of cheese like Paradiso, Parrano, or Prima Donna, you know something new and exciting is happening in the world of cheese making. This recipe opens a window into the world of modern day cheese making and we're thrilled to share it with you today.
  • Yield

    6 Pounds

  • Aging Time

    6+ Months

  • Skill Level

    Advanced

  • Author

    Jim Wallace

Ingredients

Ingredients

6 Gallons of Milk (not ultra-pasteurized)

Equipment

Total price:

Instructions

A Recipe for Making a Sweeter Alpine Cheese

When I make a cheese like this I normally make a larger cheese. These types of cheese would often weigh between 60-110lbs and more. These were traditionally done large because they were made on the mountain and either carried on the workers back as a single cheese to the valley, or packed in pairs on horses, mules or donkeys for the trip. The larger drier cheese were better for these trips.

The most important reason for making them large today is that they age better in the larger sizes due to the smaller ratio of surface area to cheese body. I normally make mine here using about 9 gallons of milk to yield a 7-7.5lb cheese. I have reduced the guideline here to 6 gallons of milk to make it easier for smaller batches. I do not recommend making smaller cheese but you could increase or decrease the rennet, culture, and salt proportionately to change batch sizes.

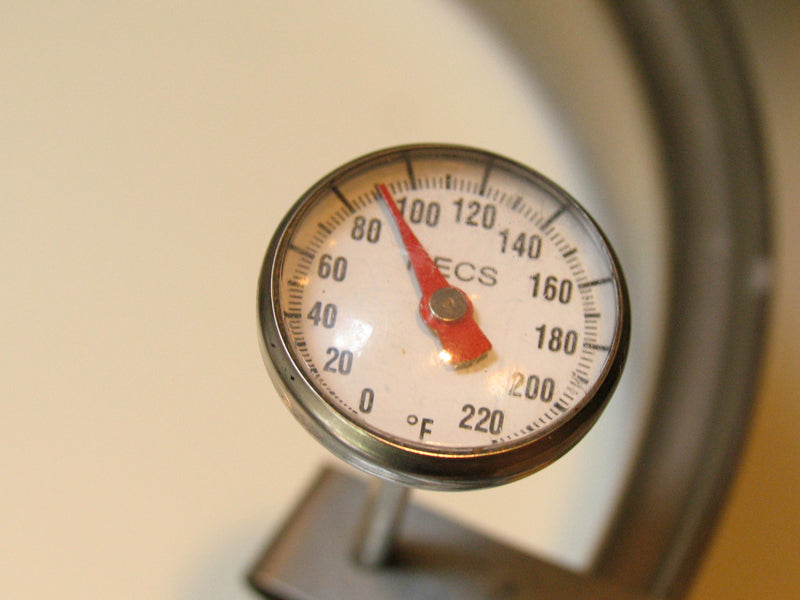
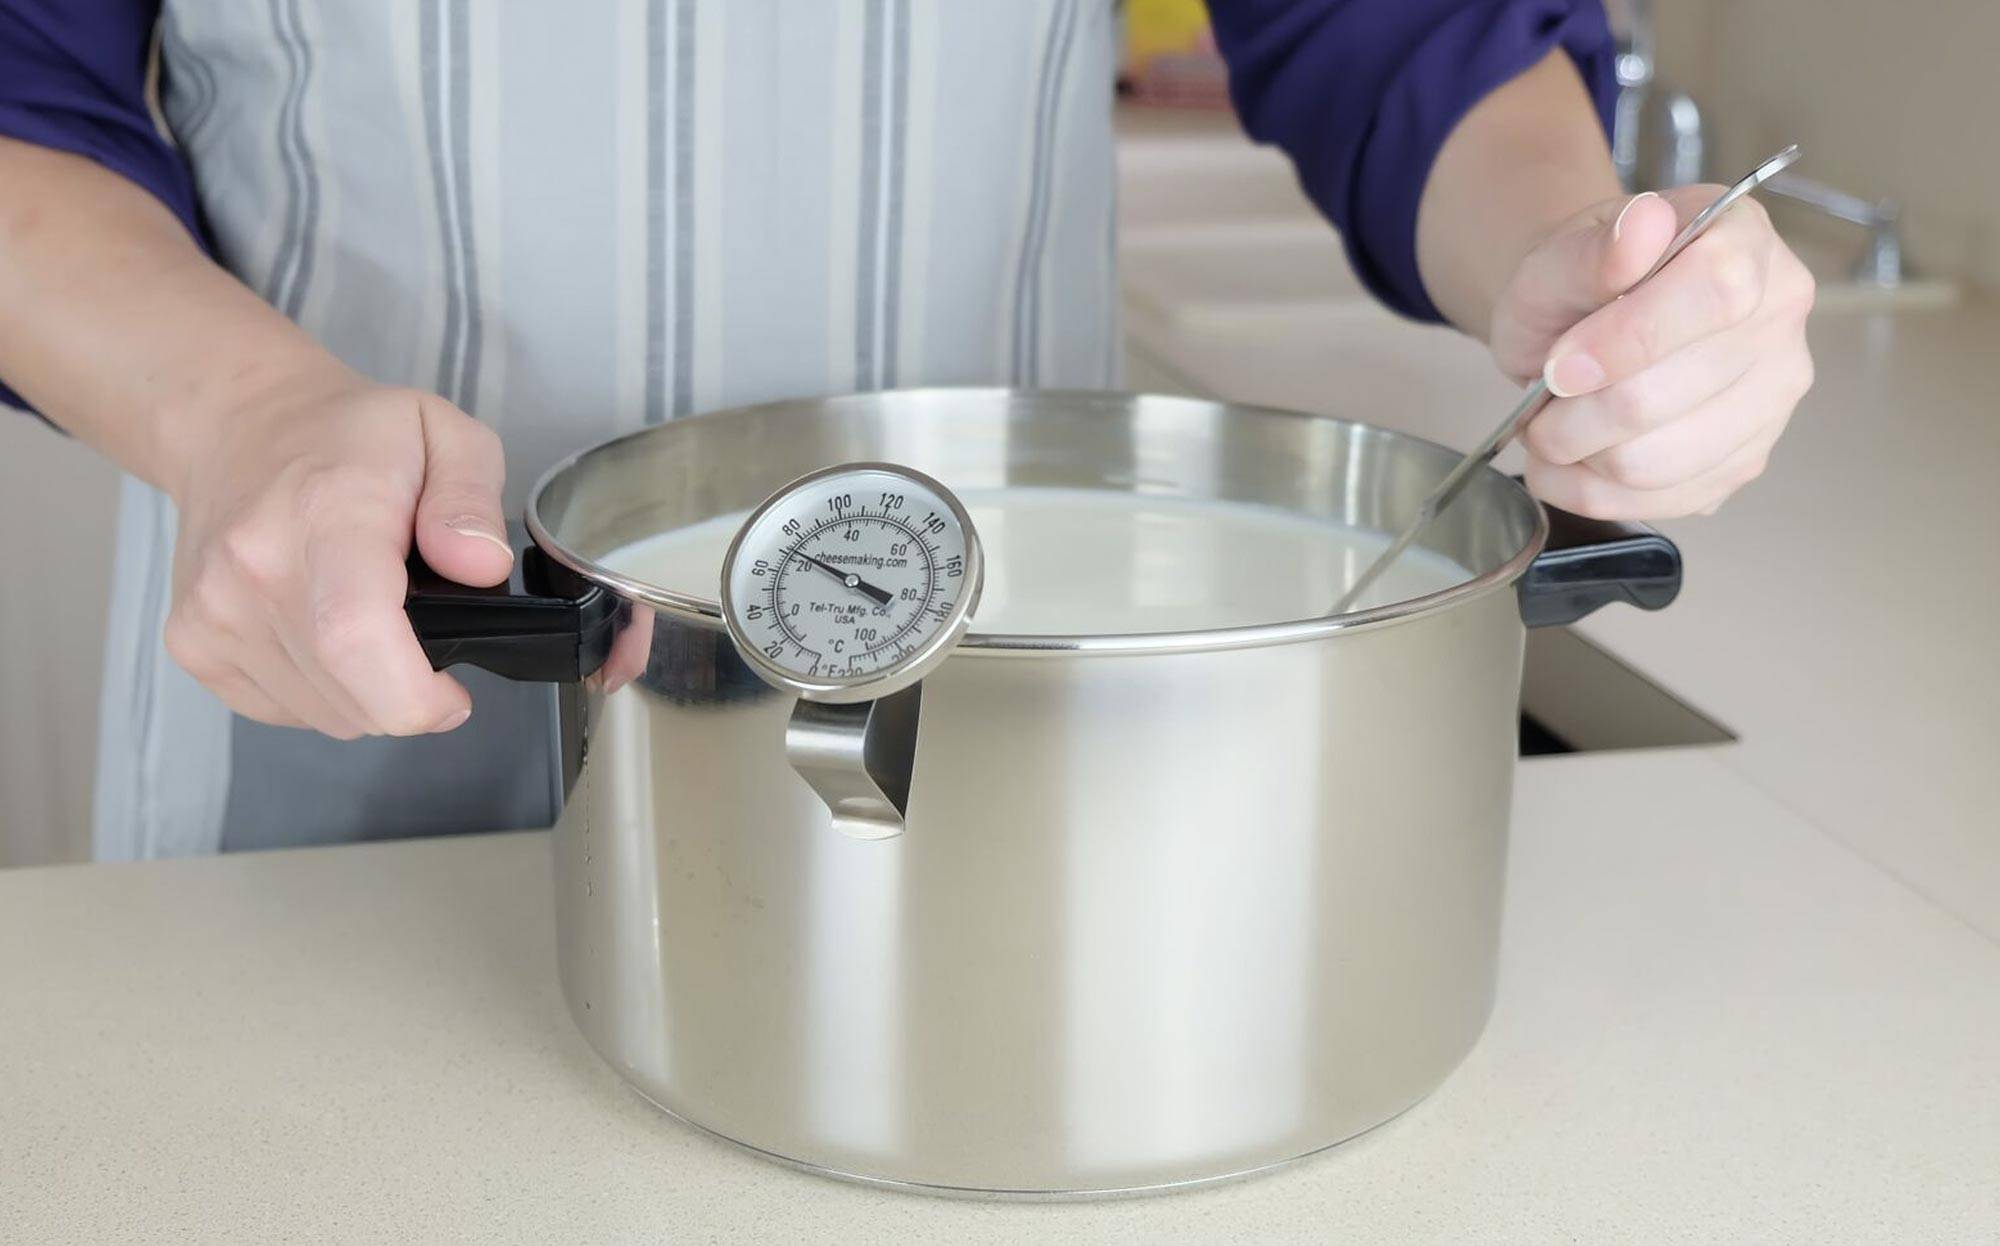
Step 1 Acidify & Heat Milk

This cheese comes from a process that traditionally uses milk that has been partially skimmed before it is added to the vat. The milk is brought in to sit overnight to ripen naturally and allow time for the cream to rise. The next morning the milk is skimmed of its cream (used for butter or cultured cream) then added to the vat with the full fat morning milk.

Begin with a milk that is lower in fat, for store bought milk I suggest using about 3 gal 2%milk and 3 gal whole milk for a lower fat. If using raw milk, allow the cream to rise and then skim a portion of this for other uses (I usually use mine for butter with a mild ripened flavor). The Jersey milk here is about 4.6-5.2% so I remove about half the cream.

Begin by heating the milk to 90F (32C). You do this by placing the milk in a pot or sink of very warm water. If you do this in a pot on the stove make sure you heat the milk slowly and stir it well as it heats Once the milk is at 90F the culture can be added. Our culture addition will include:

  • MA011 1/8 tsp works only at initial lower temperature and would typically be found on Alpine Dairies
  • TA061 1/8 tsp will begin working at lower temps and continue as the temp increases
  • Flav 54 1/16tsp will help the TA culture but in aging will preserve the cheese sweetness

These culture amounts may seem low but this cheese commonly develops its acidity slowly over a day or so. The larger cheese and its thermal mass tends to keep the bacteria active well after the pressing is finished.

To prevent the powder from caking and sinking in clumps sprinkle the powder over the surface of the milk and then allow about 2 minutes for the powder to re-hydrate before stirring it in.

The milk now needs to be kept at this target temperature until it is time to increase for cooking the curds. Hold the milk with culture quiet for the next 60 minutes to allow the culture to begin doing its work. It will be very slow initially but will soon kick into its more rapid rate of converting lactose to lactic acid.

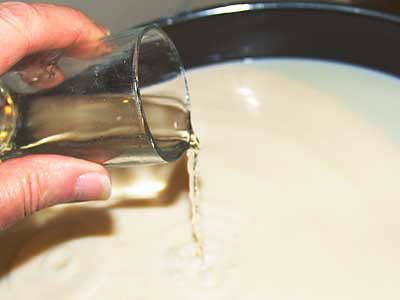
Step 2 Coagulate with Rennet

Now add the single strength liquid rennet.

Once the milk has ripened for this time you can add 6 ml of single strength liquid rennet if using pasteurized milk or 4ml if using raw milk.

The milk now needs to sit quiet for about 25 minutes while the culture works and the rennet coagulates the curd . You should begin to notice the milk thickening slightly at about the 12 minute mark but give it the full time for a good curd to develop.

The thermal mass of this milk should keep it warm during this period. It is OK if the temp drops a few degrees during this time.

You should always remember to check the curd firmness before cutting. If too soft, note the extra time it takes to set.

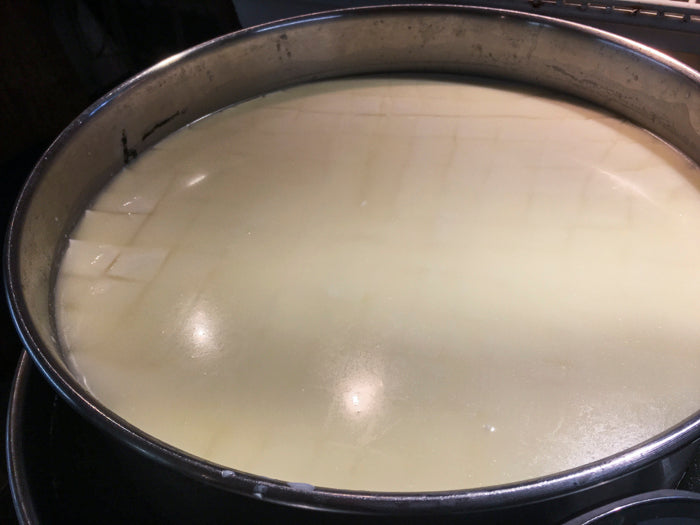
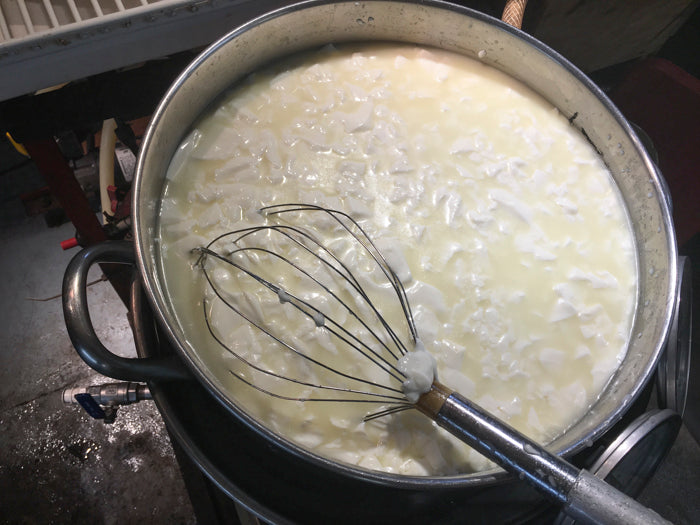
Step 3 Cut Curd & Release Whey

Once you have established a good curd it is time to reduce this into smaller curds. The cut begins slowly with a larger cut and gets reduced over several minutes to about 1/4 inch grains to increase the whey draining during the cooking phase.

I find the best tool to use for this finer cut is a whisk with fine wires. I also start out by cutting a vertical checkerboard of about 1-2" then allow this to harden the edges a bit before making the final cut. Once the curd grains have been reduced, allow them to settle and sit quiet for about 5 minutes while they firm up a bit.

Because the curd is so soft at this point we include a stir after this 5 min. rest of about 15-30 min. of slow gentle stirring to harder the curds even more. During all of these early stages (about 1:45-2:00 hrs) the mesophilic (lower temperature) portion is quite active in producing acid but the acidity is still quite low.

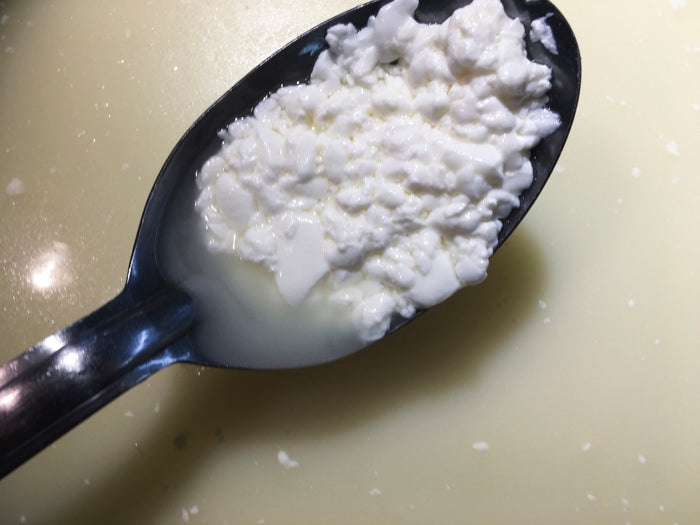
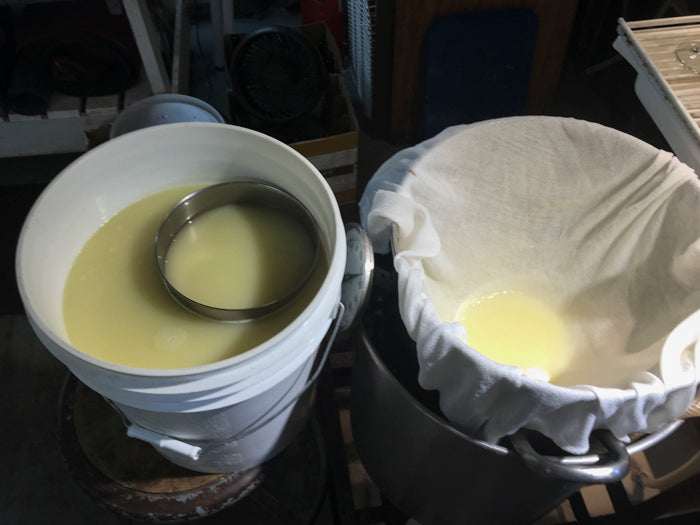
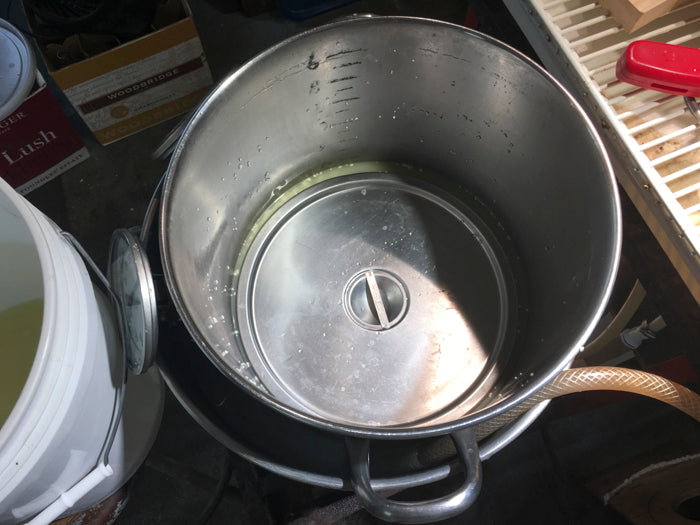
Step 4 Cook Curd & Remove Whey

Now it's time to begin cooking and drying out the curds. This will be done by increasing the heat slowly to 124-127F. This will result in slowing down (and eventually stopping) the activity of the mesophilic portion but increases the thermophilic activity. It will also be effective in drying out the curd more through shrinkage.

This heating should be done slowly at first but then finish in about 30-35 minutes. It should be noted that there is a tendency for the curds to clump at ~108-113F so attention should be paid to avoid this.

In cooking the curds they go from the rather undefined soft state to a much drier condition as you approach the final phase.

Once the temperature has been reached the curds are slowly stirred for another 30-40 minutes for further dryness.

The final curds should be cooked well through and should be examined to make sure that enough moisture has been removed. The final curd should consolidate well and show flexibility.

When this point is reached the curds can be allowed to settle under the whey. I usually remove about 2/3 of the whey and then gather the curd mass under the remaining whey and gather them together under the whey. I then press the curds under the whey with a bit of hand pressure. This effectively reduces the potential mechanical openings in the cheese body before it goes to pressing.

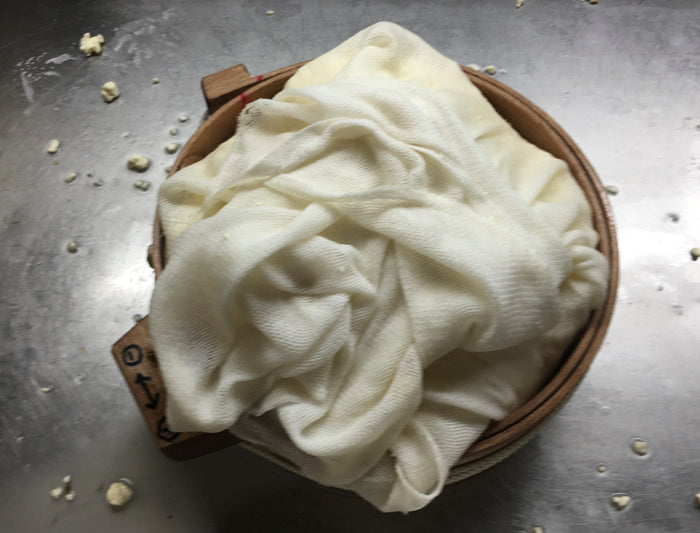
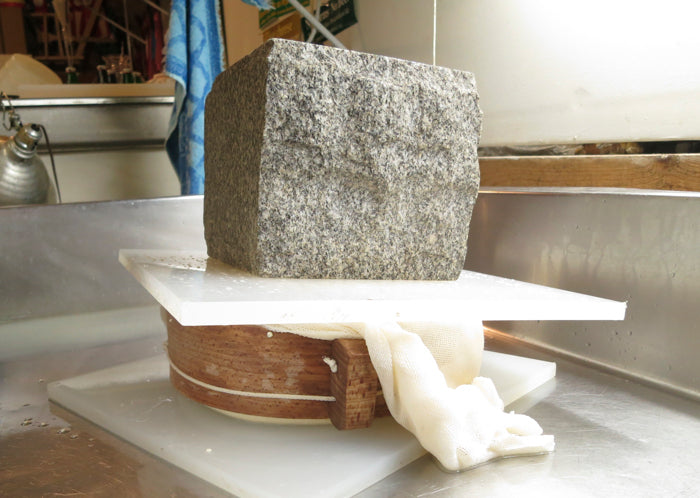
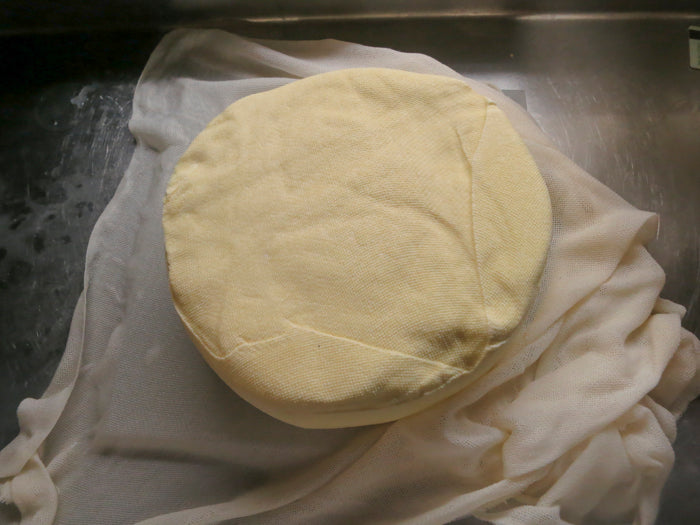
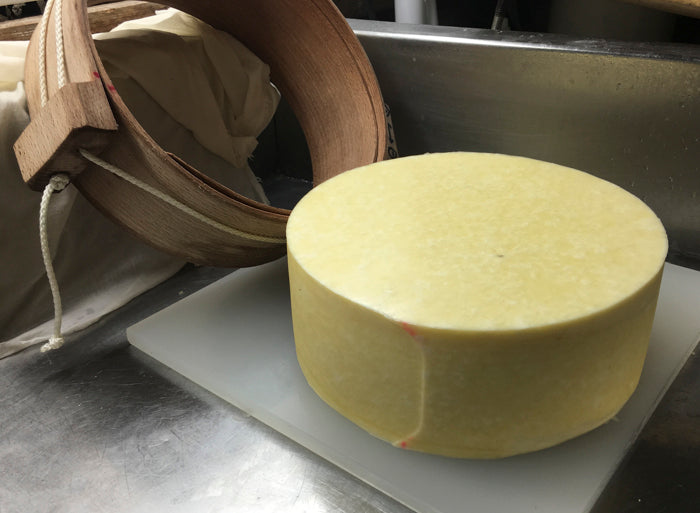
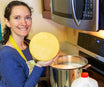
Step 5 Forming & Pressing

Once the cheese has been consolidated during the pre-press, it can be transferred whole or in large pieces to the form lined with butter muslin.

Now at this point the cheese is not done working yet so it is very important to find an area for incubation. Holding the temperature of the warm cheese at about 85-95F is important to complete fermentation. Here I do this in my (insulated) draining table with pans of hot water. Then cover this all with an insulated mat and a board. My weight can sit on top of all this and still accomplish the pressing needed.

You could accomplish the same with an insulated cooler.

On the mountain, the cheese room stays quite warm because there is usually a fire in there and during cooler weather heavy cloths are used to hold the warmth. The cheese is also much larger (80-120 lbs) and they also hold their residual heat longer (another plus for the large cheeses).

I suggest using a Large Cheese Mold (M2) because it will be a lot easier to just fill the form and place the follower on top. But, for the purists I will talk about the wooden cheese mold I use, I love the way this looks when finished.

The form I use is a smaller version of the wooden mold used on the alpage. It can be adjusted in diameter but the cheese will always be the same height.

The curd is mounded well over the top initially but then compresses. In the early press stage the curd sticks out a bit above and below the form so that the press boards do not rest on the form.

With each pressing and turning the cheese consolidates more as it takes on its final shape and the shape is more defined. Towards the end of the press cycle the cloth is removed and the cheese returned to the mold bare.

So, for pressing we should begin very light and slowly increase the press weight to a moderate level:

  • 30 minutes at 20 lbs
  • 2 hours at 25 lbs
  • 6 hours at 40 lbs
  • remove weight for overnight rest

The rate of whey running off begins simply as a matter of drops and not a stream of whey being released. This is a good rate of whey removal during pressing and will slow even more as the residual free moisture is released. The form should show tears of whey weeping from the form very slowly. When this stops you can increase the weight slightly. The cheese should be removed from the press, unwrapped, turned, re-wrapped, and put back to the press at the above intervals. To assure an even consolidation. At each turn you will notice the cheese has formed a smoother surface.

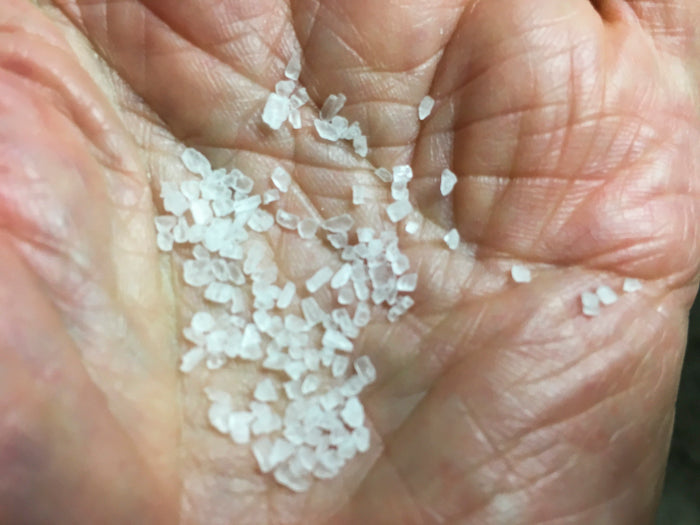
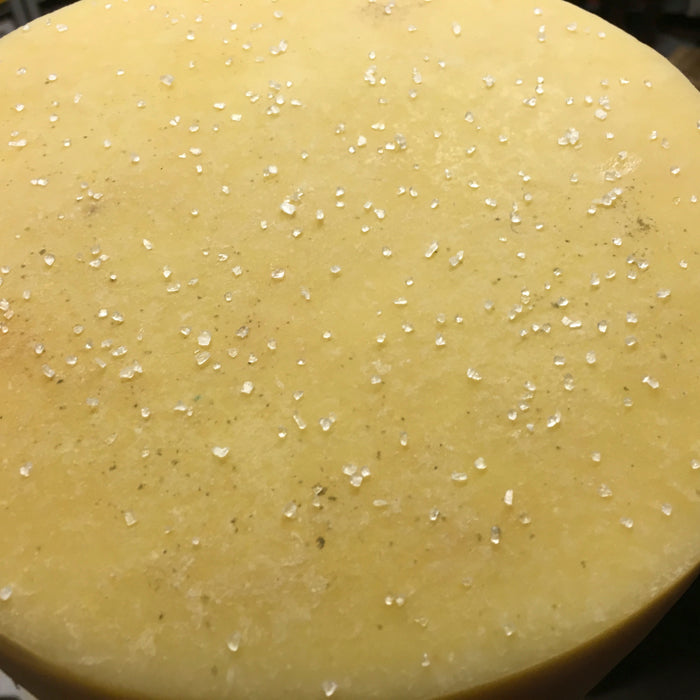
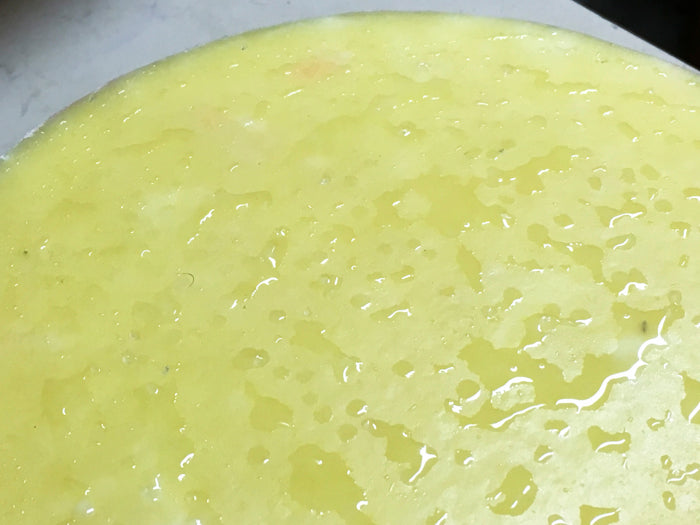
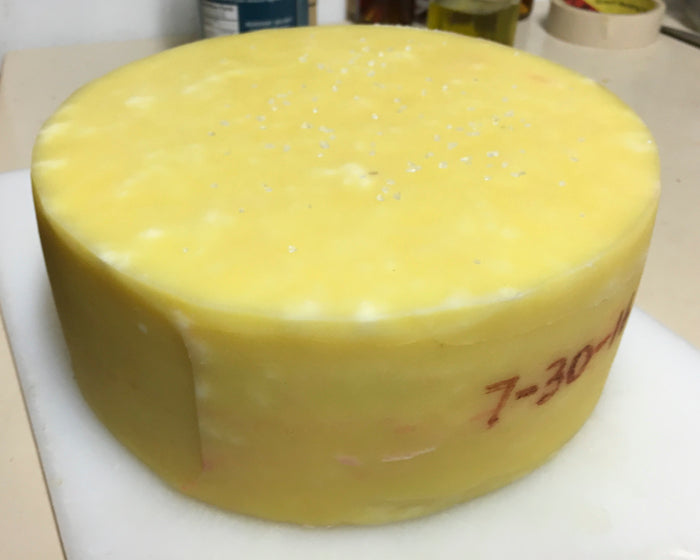
Step 6 Salting & Aging

The salting here is a 2 part process:

Step 1: Allow the pressed cheese to air dry in a coolish room at about 62-68F overnight and then bring temperature down to 52-54F the next day. Follow this with a short saturated brine bath for about 1hr 20min per lb. This will not be enough time to fully salt this cheese due to its very dense nature. The remainder of salting will follow in the next phase over the next several weeks to toughen up the cheese rind.

Step 2: On day three begin dry salting, this is done very lightly and is repeated:

  • First Day Apply salt
  • Second Day Let cheese sit to form its own brine
  • Third Day Apply salt
  • Fourth Day Let cheese sit to form its own brine
  • This should all be done in the cave at about 85-90% moisture and 52-56F. I use a a small amount of large crystal sea salt for this because it dissolves more slowly. Scatter the salt evenly across the cheese.

During the aging you can opt to do a washed rind with a 6% brine and just a pinch of geotrichum and rehydrated overnite. I like this for the nice damp rind that develops and over time it develops a mild washed rind character . You could also opt to just keep brushing any mold that develops away to form a nice neutral clean rind.

The cheese can now be aged for 8-14 months and it will ready for your table. The longer it ages, the more complex it becomes.

Alpine Style Cheese Making Recipe Info
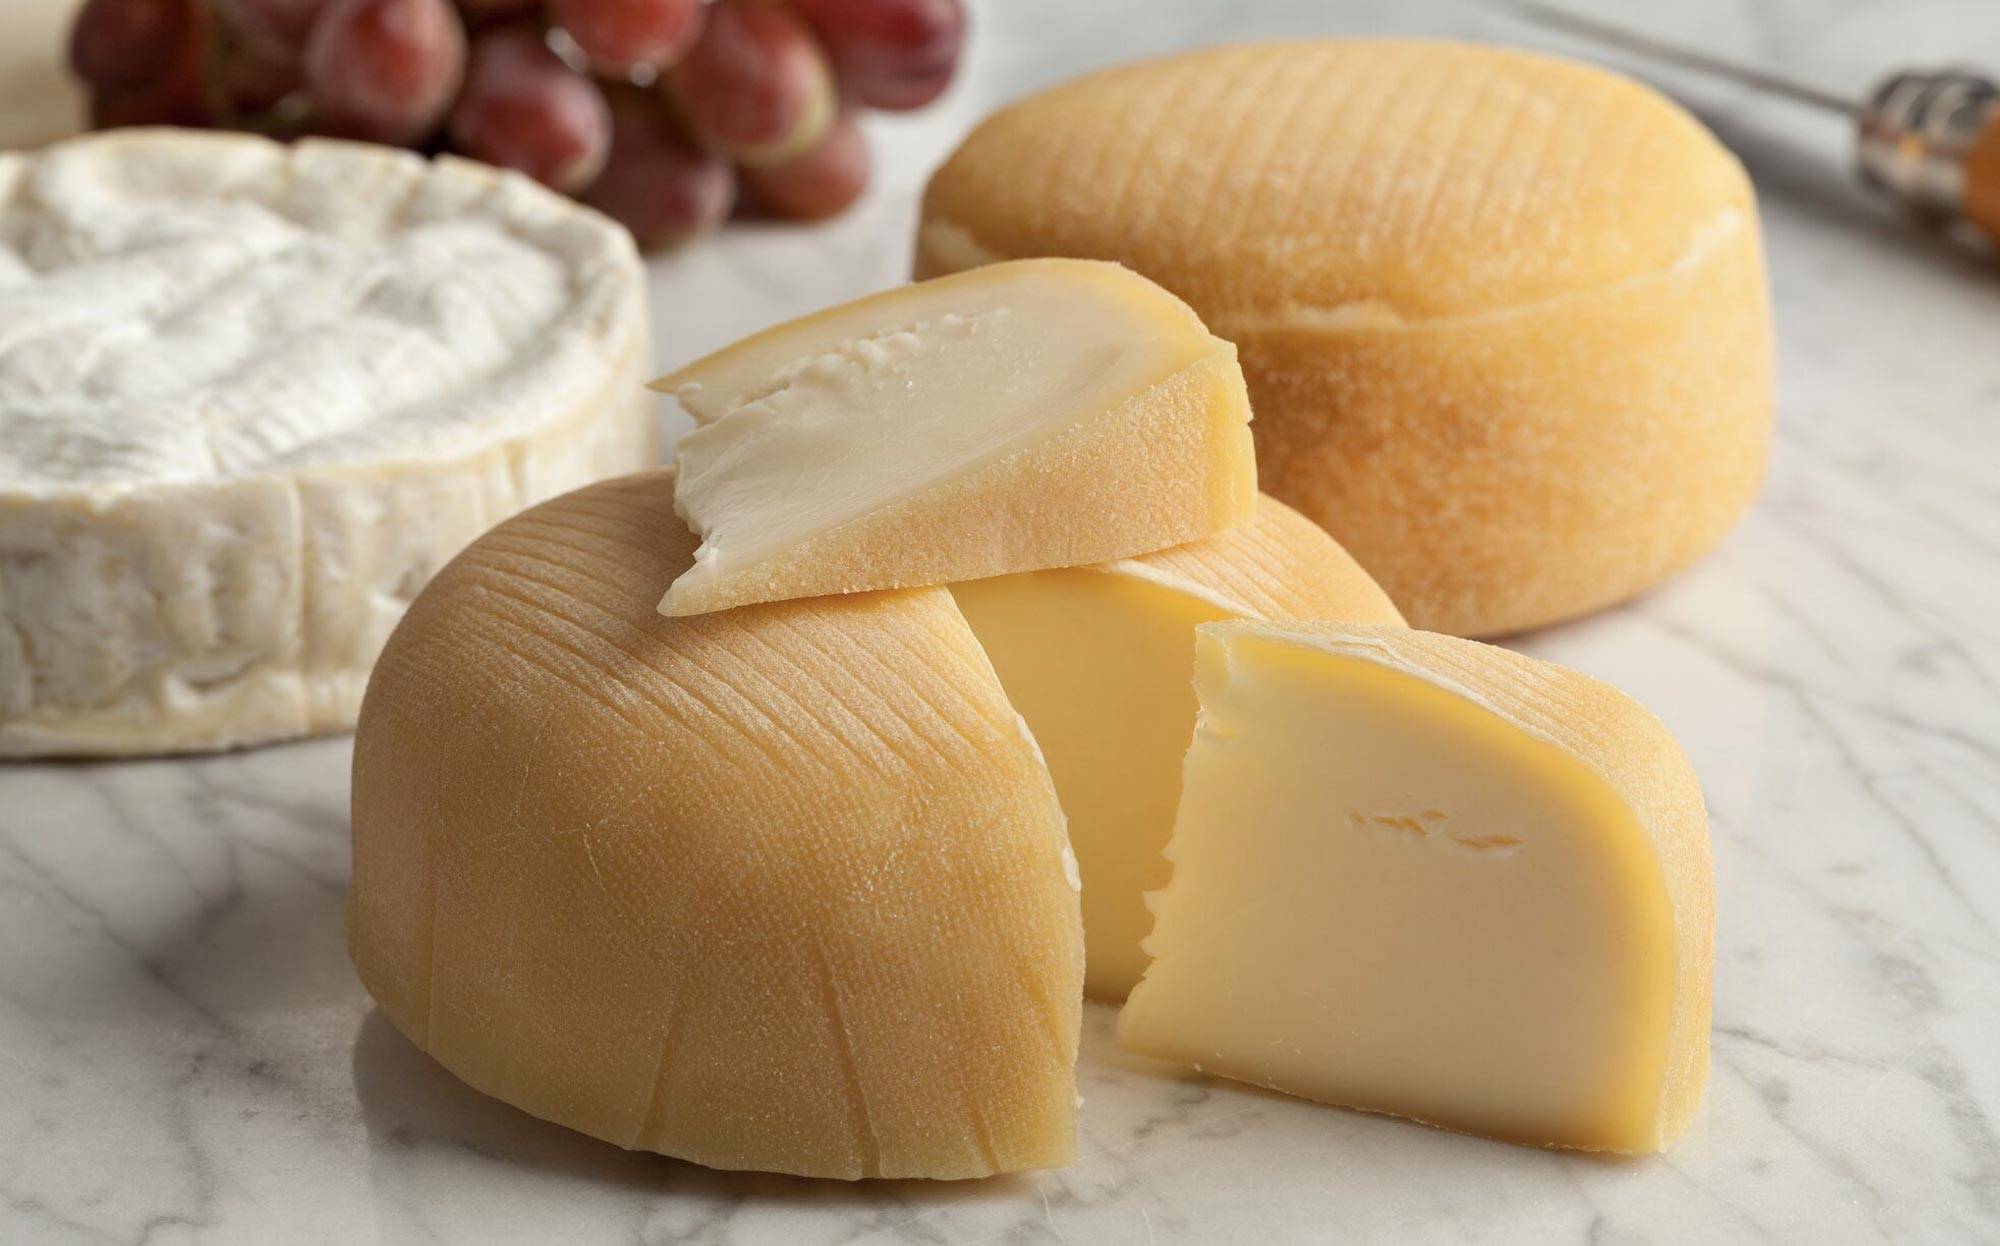
This recipe makes a rather new style of cheese. I began with a traditional Alpine style process but introduced a new generation of cultures.

If you are familiar with cheeses like Sartori's BellaVitano, or the new generations of cheese like Paradiso, Parrano, or Prima Donna (Yes they all sound like Italian names, but they are all being produced in Northern Europe), then you may be aware of the fact that something very new and exciting is happening in the cheese world.

I’ve always felt that modern cheese making should be the best blend of the old ways along with the most recent knowledge that science can provide.

So in this recipe I am using one of these new cultures in a hybrid version of a traditional mountain style cheese.

Cheese Making Supplies

Popular Products

How to Make a Cheese Cave
Aging

How to Make a Cheese Cave

Learn how to make a cheese cave right at home. If you want your cheese to ripen properly you have to make them a good home and take care of them like little bambinos.