Cheese Curds Traditional Recipe Instructions
Making Traditional Cheese Curds
The big thing that folks love about Cheese Curds is that they SQUEAK! This has always meant they need to be fresh. A few days old they lose their squeak. However, there is a secret to extend the freshness of the curds. The result will be a cheese curd that retains more moisture, has a more complex flavor and texture, and will retain its texture for longer.
The reason that the curds squeak is that the fresh curd proteins are in their native form from the milk. As the bacteria breaks down the protein structures to simpler forms in a few days the texture softens and loses that squeak when you bite into them.
If you have made or even read about cheddar cheese making, you will know that they commonly begin with a lower temperature mesophilic bacteria. These types of bacteria will continue working at room temperature as well as at refrigerator temperature. I am using a thermophilic culture because they are active only at higher temperatures, so that as they drop to room temperature and then to fridge temperature the proteins do not change much in structure. They tend to retain their texture much longer than the traditional cheddar bacteria.
The additional factor I have added to this one is the use of a secondary culture that is a very weak acid producer and can not be used by itself but it is a component in some of our other culture blends (MM100, Flora Danica, AromaB). This bacteria has the ability to produce the butter-like flavor (Diacetyl) from some of the by products of the process plus a small amount of gas that gives the curd a softer texture. The culture additions and ripening take place as two separate ripening periods at different temperatures with two different bacteria. It sounds complicated but its quite simple as explained in process.
-

Heat & Acidify Milk
Begin by heating the milk to 86F. Add the MD 88 culture and keep the curds at temperature for 2-2.5 hrs while the milk ripens. This is a very long and slow initial ripening due to the slow activity of this culture. It is during this temperature phase that the aromatic/flavor components are developed
Once this has ripened, increase the milk temperature to 92F then add the TA62 culture. This should be stirred in and allowed to ripen another 30 minutes at this temperature while the culture becomes active. This culture will be the primary for lactose conversion to lactic acid.
-

Add Rennet
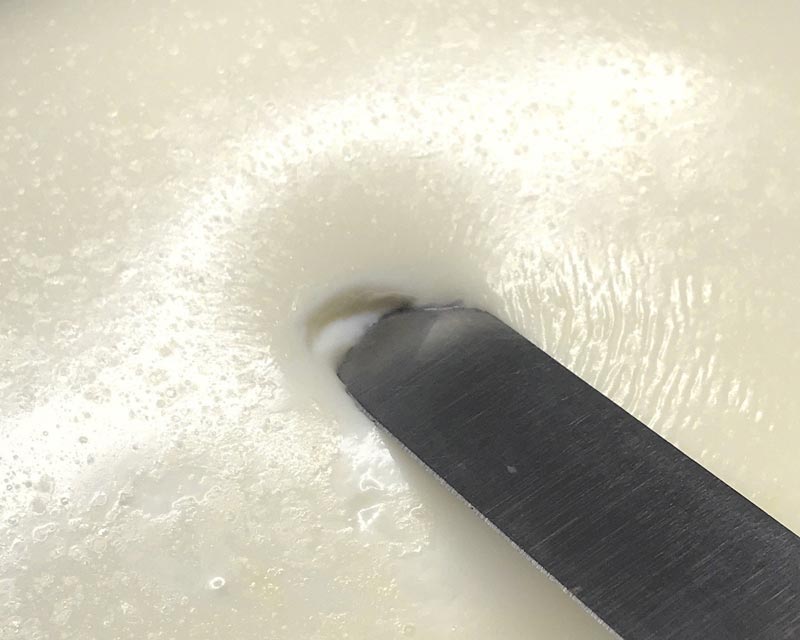
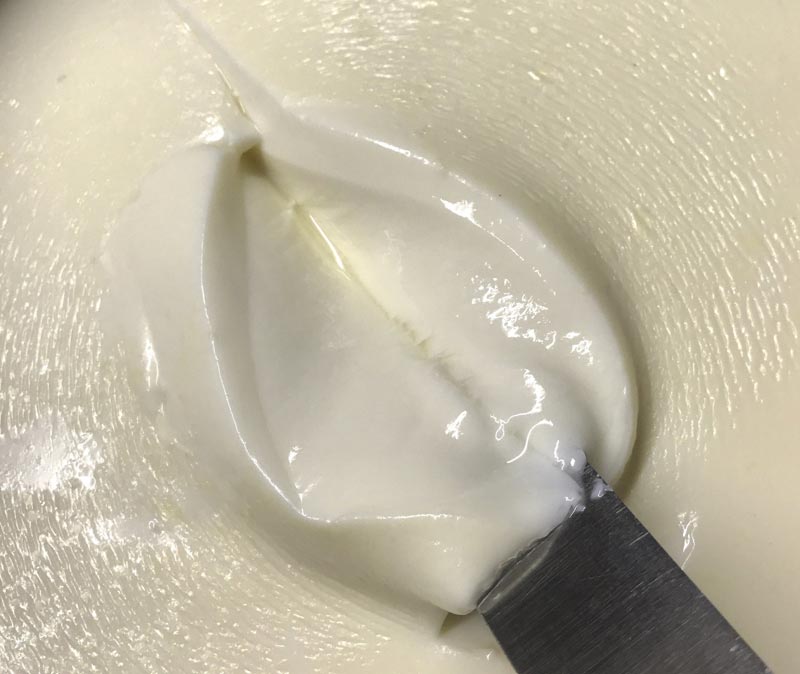
Add the rennet and stir in an up and down motion for 30 seconds. The milk now needs to sit quiet while the culture works and the rennet coagulates the curd. The milk will begin to thicken at about 8-10 minutes, but allow it to coagulate to firmness at about 25-30 minutes. Check for a firm coagulation and if it seems to need longer allow it to go as much as 50% longer. The next time you make the cheese, adjust the rennet amount if needed (more rennet for a quicker set).
The thermal mass of this milk should keep it warm during this period. It is ok if the temp drops a few degrees during this time, you can heat it back to temp after cutting.
-
Cut Curd
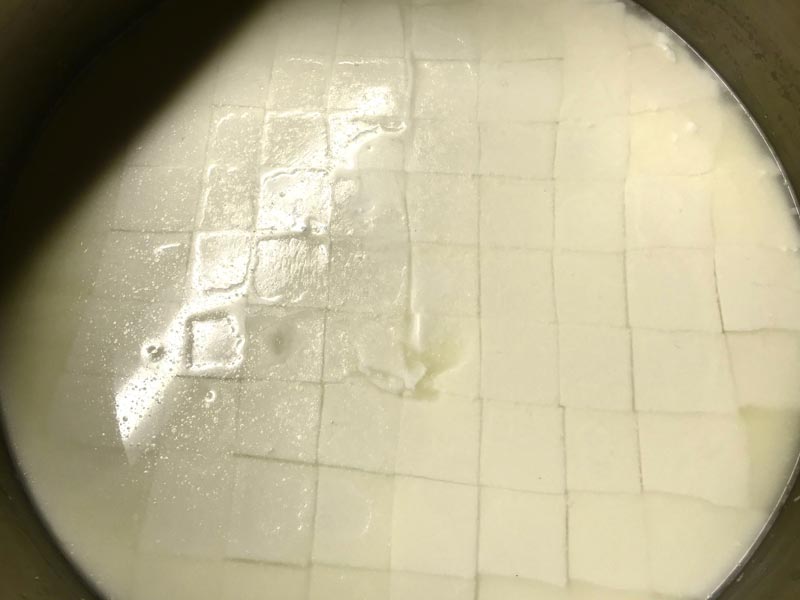
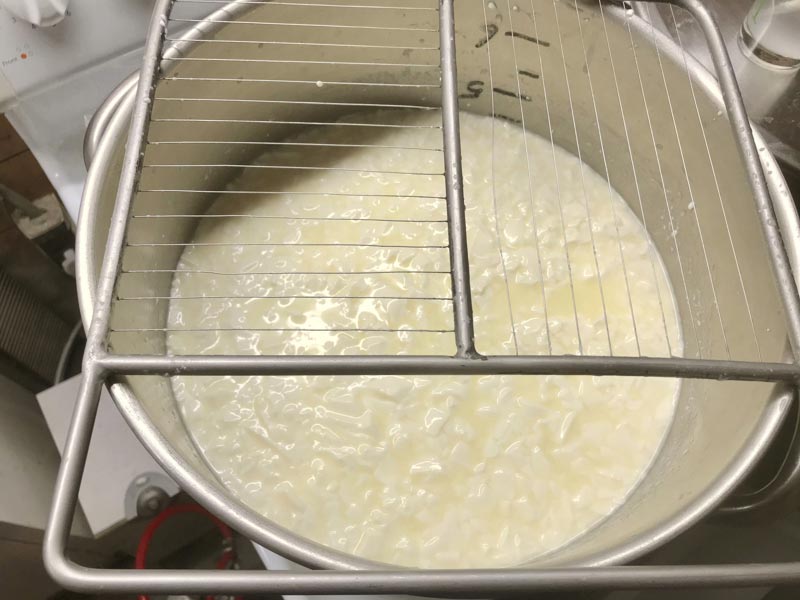
Once you have determined that the milk has set well, it is time to cut the curds smaller. This is the first step in reducing the curd moisture.
Cut the curd mass as evenly as possible to about 3/8” pieces, and then allow the cut curd to rest for 10 minutes, so that the cut curd surfaces can heal. At this point the curd will be very fragile and prone to breaking. Breaking it down further will lead to low moisture curds.
-
Cook Curd
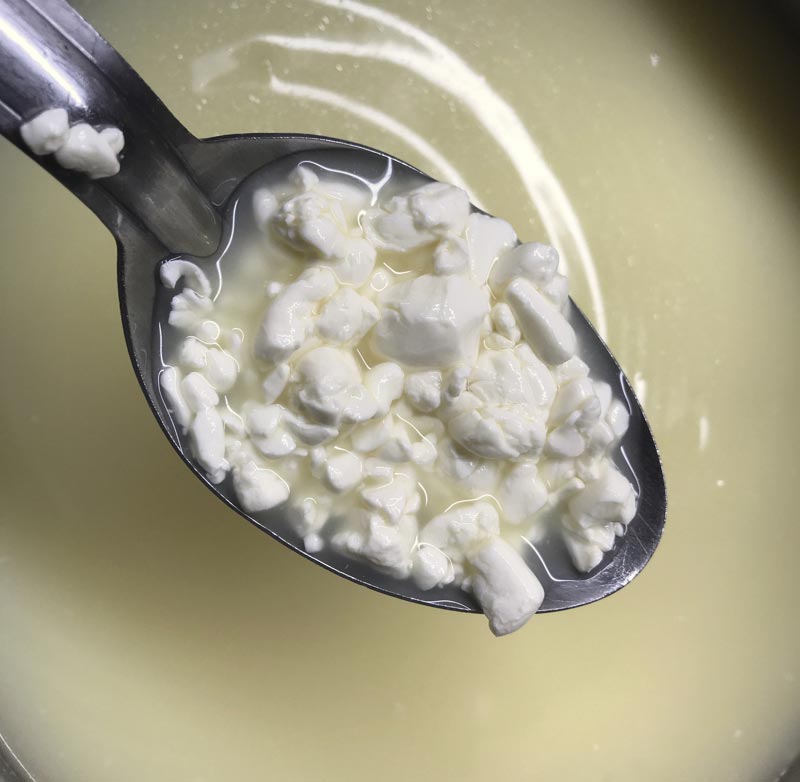
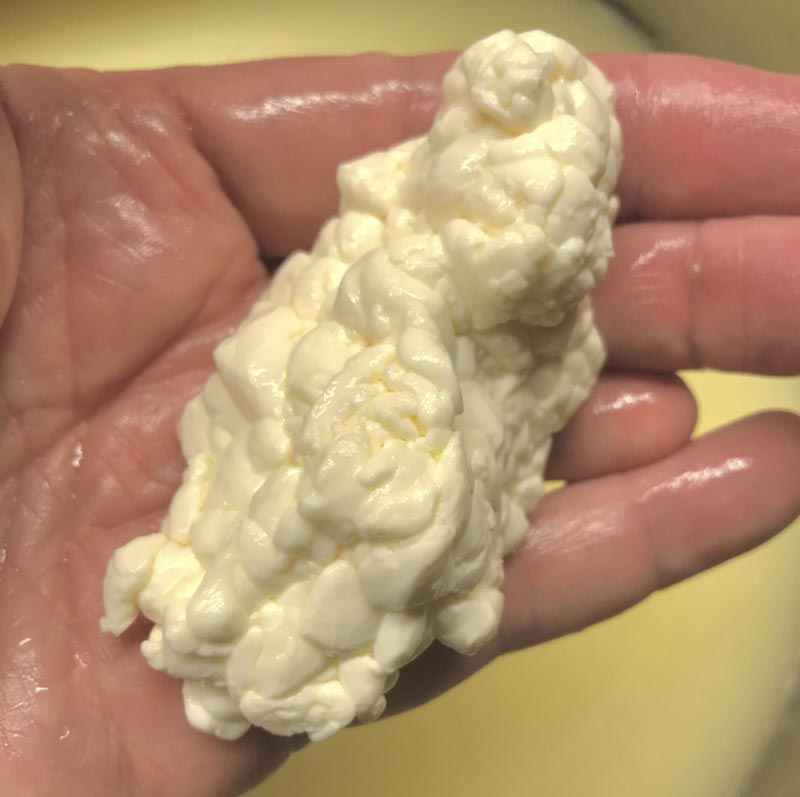
Next begin to stir slowly while raising the temperature to 95F during the first 15 minutes. This will allow the curd surfaces to firm up more and help prevent breaking. Continue heating to 100-102F while stirring for another 30-45 minutes until the curd reaches final dryness and acid development.
This can be a very subjective point. Usually it can be determined by examining the curd in the hand. A broken curd should feel firm to center and well past the gel stage. A small handful squeezed lightly in the hand should consolidate easily.
If the curd feels too soft/weak or not easily consolidating, allow it to sink to the bottom under whey while the culture continues to work. Excess stirring at this point will yield dry curds.
-
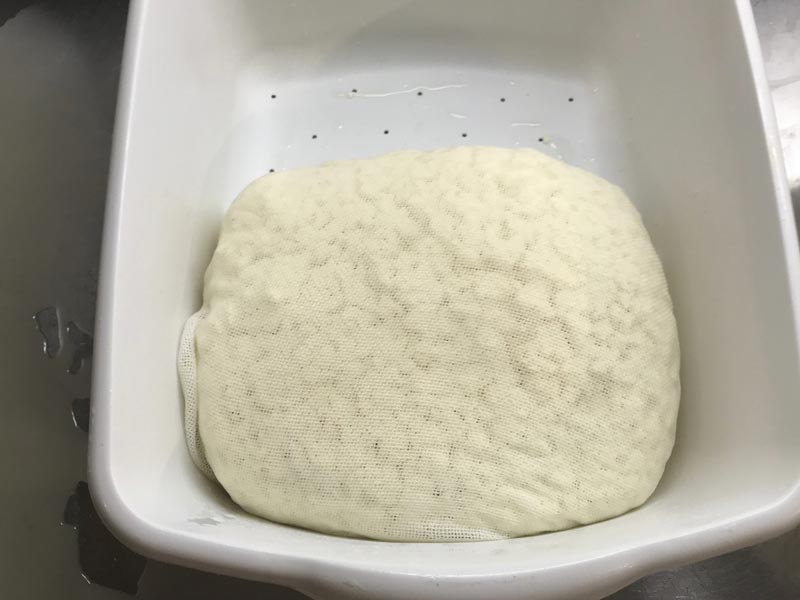
Transfer Curds for Draining
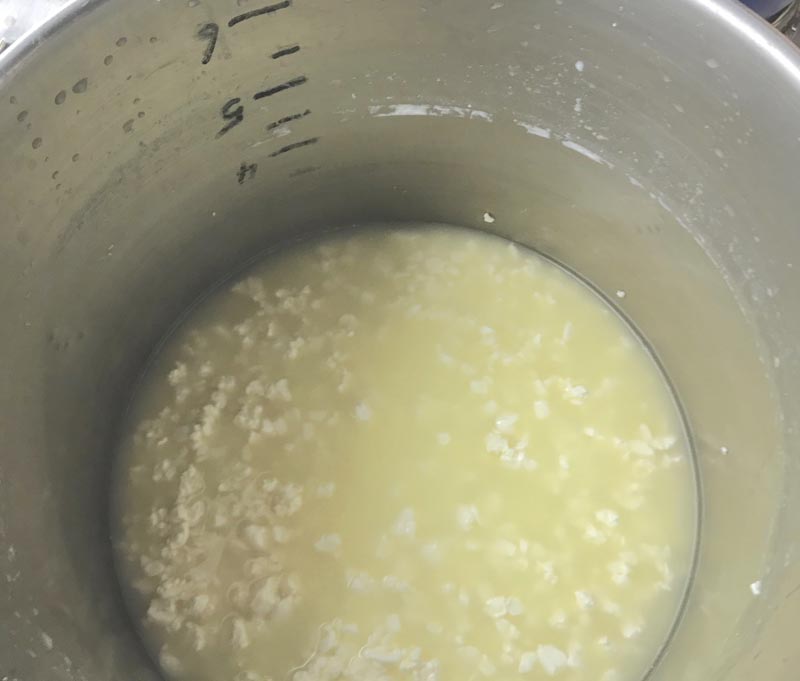
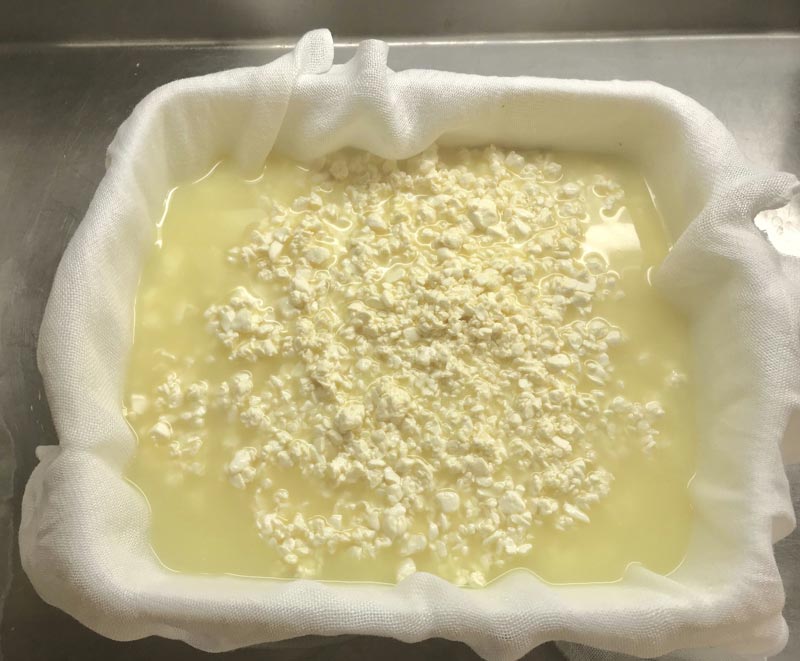
Once the curds show signs of being well drained, allow it to settle then drain the whey down to about 1” above the curds.
Transfer to drain pan lined with cloth. As the whey drains consolidate the curds in the cloth into a firm bundle.
-
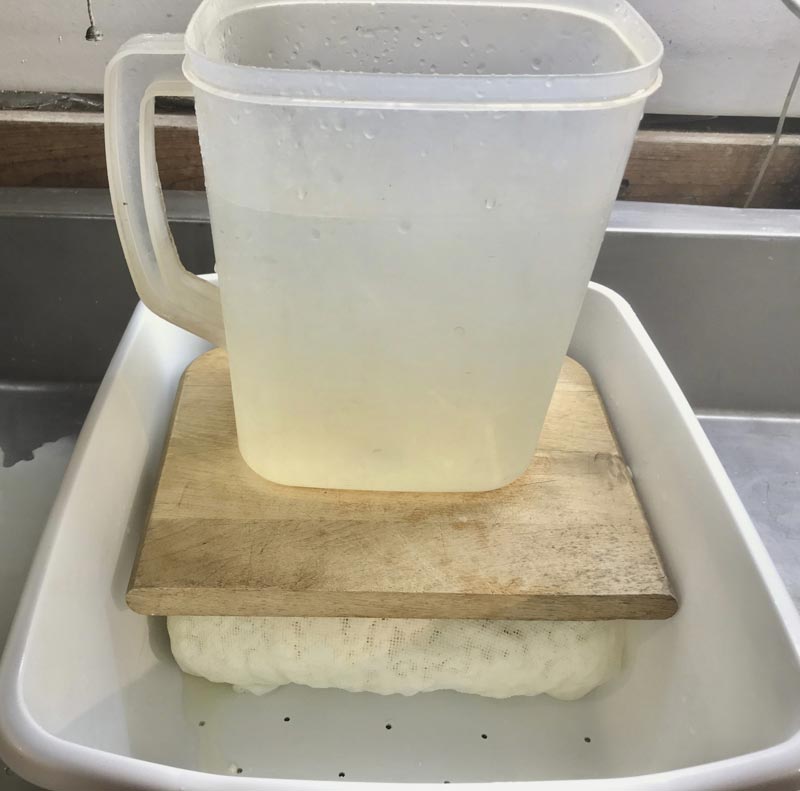
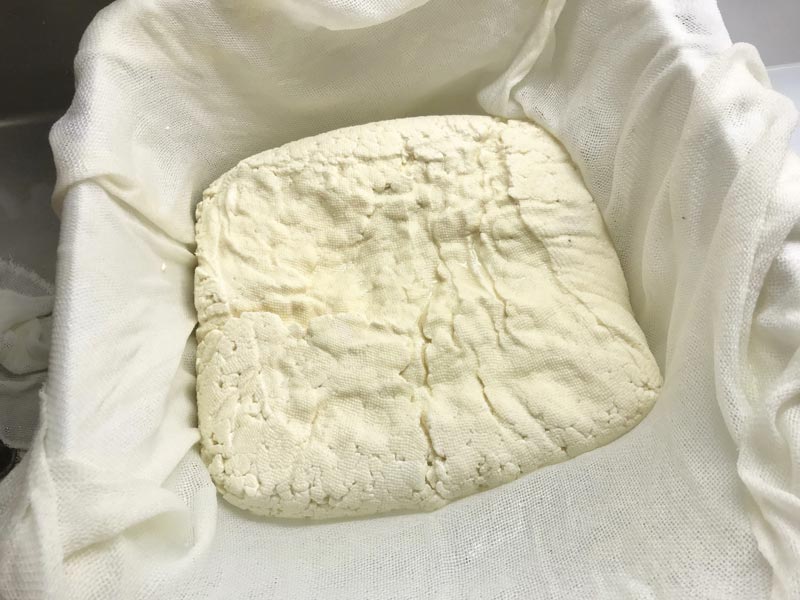

Cheddaring
Cheddaring is the point where the final acid is produced while the drained curd is kept warm. At this point there is still considerable acid. The large curd mass will still have a considerable amount of Lactose present and this is the phase where it is converted to lactic acid.
Note: This acid development is functionally dissolving some of the minerals (including calcium) from the curd mass. With the smaller curd mass here a board and weight about 5-6 lbs is added to the top of the wrapped form. In the image here I use a container of warm water to add weight and to keep the curds warm.
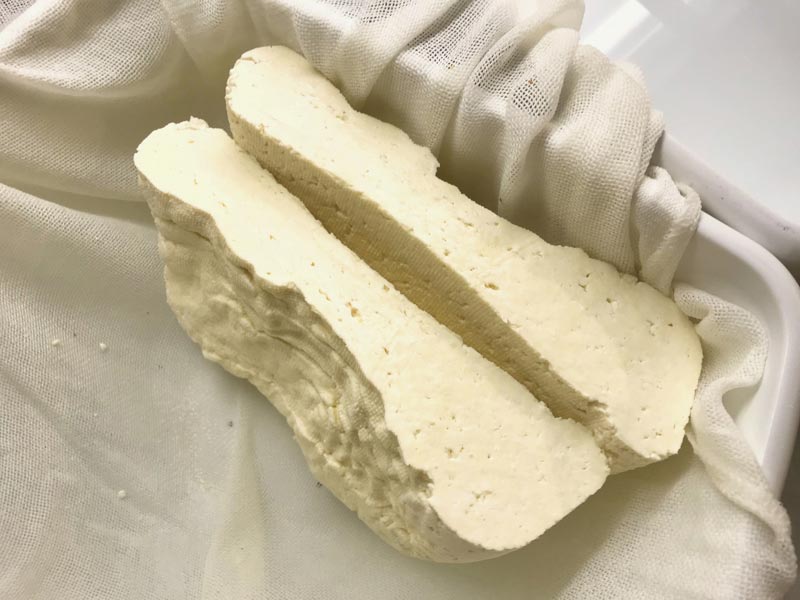
The curd mass will slowly cool from its 102F vat temperature, but acid production will slow if it cools too much. I work here in an insulated sink but you may find a large cooler or pot with jars of warm water to do the same (my water weight shown here starts out about 100-105F. Leave the warm curd to continue ripening for about 30-45 min. Then unwrap and cut the mass in 2 and reapply the weight and keep it warm.
Repeat this in 30-45 minutes. It normally takes about 2-2.5 hrs but sometimes 3 hrs in cooler weather to reach the final result.
How do you know its done? Well you can either come up to speed on pH meters and calibration for a final measure of 5.3-5.4 or you can use your own tools such as feel and taste. The curd should be soft with good moisture and the flavor should be looking for the sweetness to be mostly gone to an ever so slight tang (I prefer somewhere in the middle). A bit firmer than a marshmallow but definitely not as sweet.
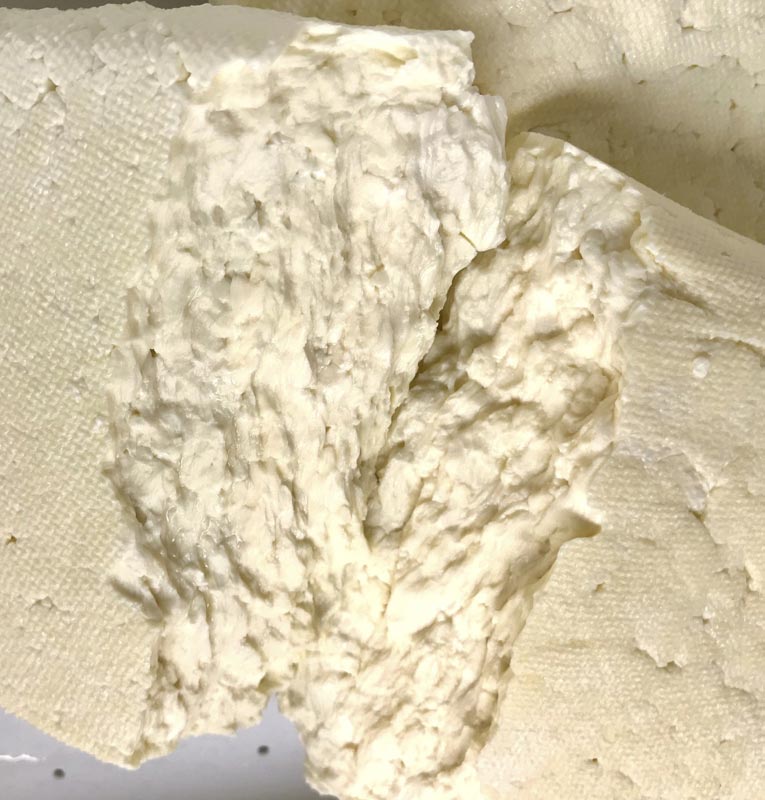
At this point the cheddared curd will be very different than what you initially drained. It will now be about half the thickness of the original and spread out more. When you tear it in two the original roundish curds will now look flake-like and elongated. It will also be very tough to tear but still moist.
What happened? As the acid developed during this last phase, it dissolved some calcium that was holding the proteins together. The protein bonds were thus weakened and relaxed a bit.
When this final curd condition is there, its time to halt the acid development because if left alone the mass will continue to become dry and acidic if left alone.
-
Breaking & Salting
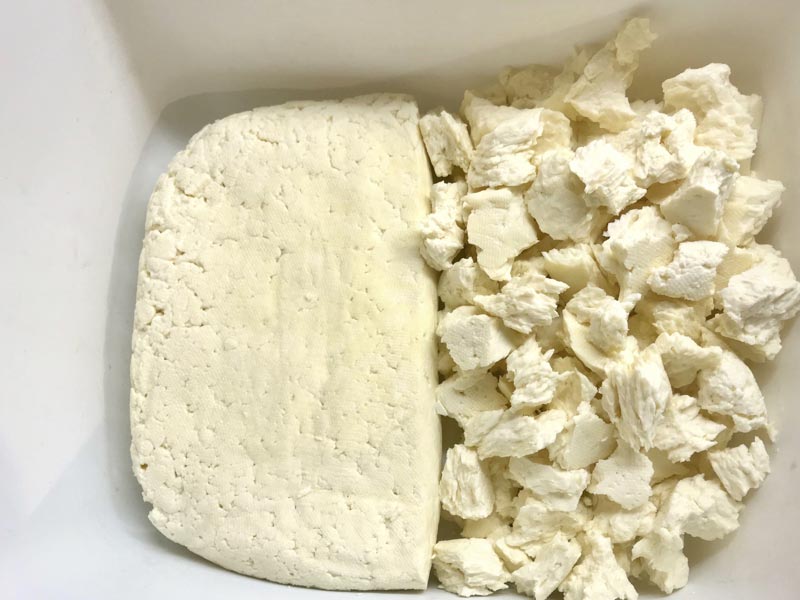
Break the curd up to small thumb sized pieces either by tearing or with a knife. This will allow the salt to travel to the center of each small piece more quickly (very important).
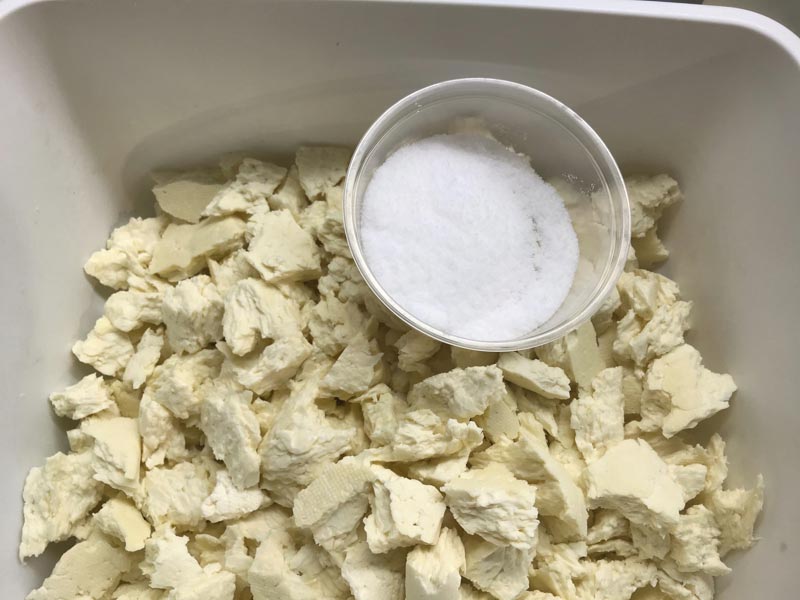
The salt needs to be added to stop the bacteria from producing more acid and drying the cheese. Our target is a final salt of 1.5% by weight but about 1/2% will run off in the resulting brine, so we add 2% by weight salt to curd. For a 2-gallon batch this should be about 4 tsp of salt. The salt is added in 2-3 doses and stirring in-between each.
Allow the salted curd to cool which further slows the ripening.
-
Flavoring (Optional)
You can leave the finished curds plain or add any herb or spice combos you want at this point.
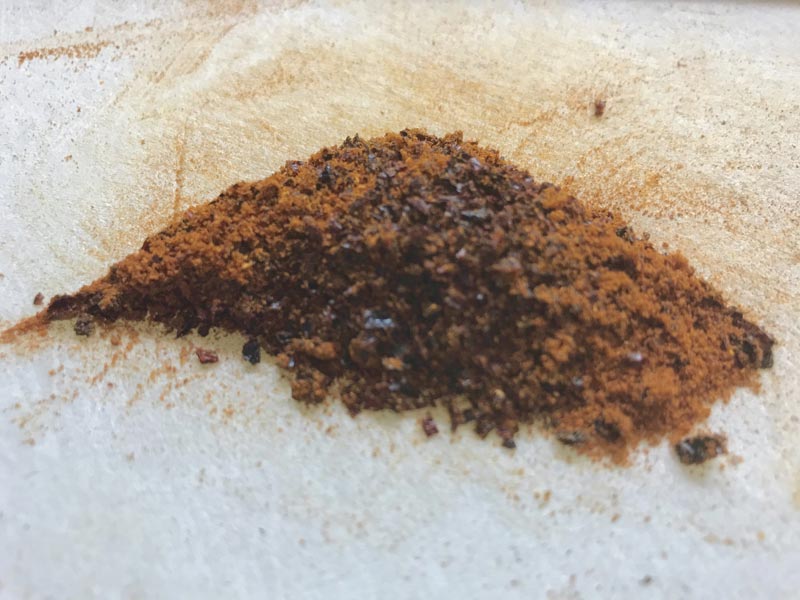
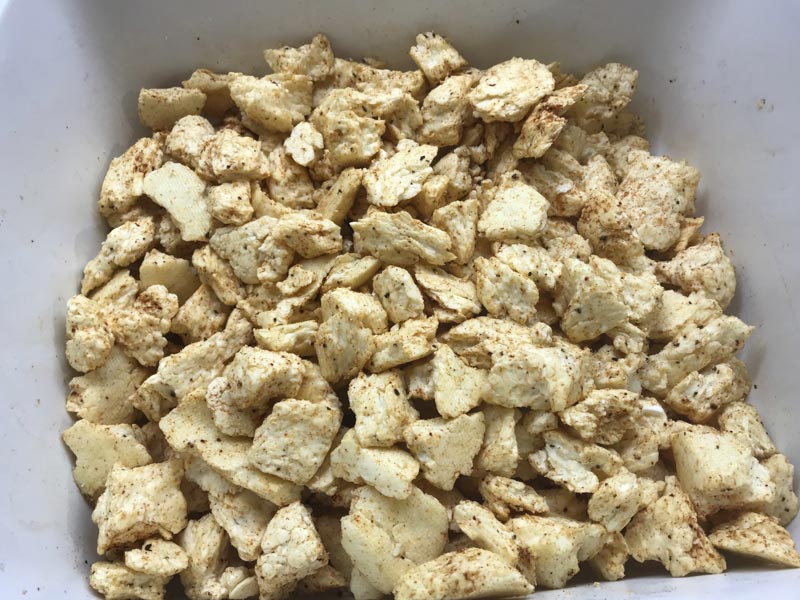
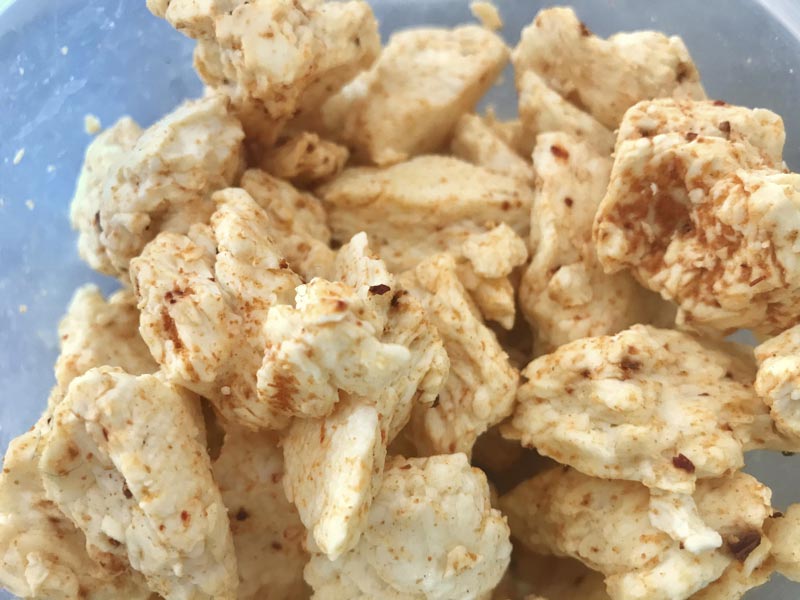
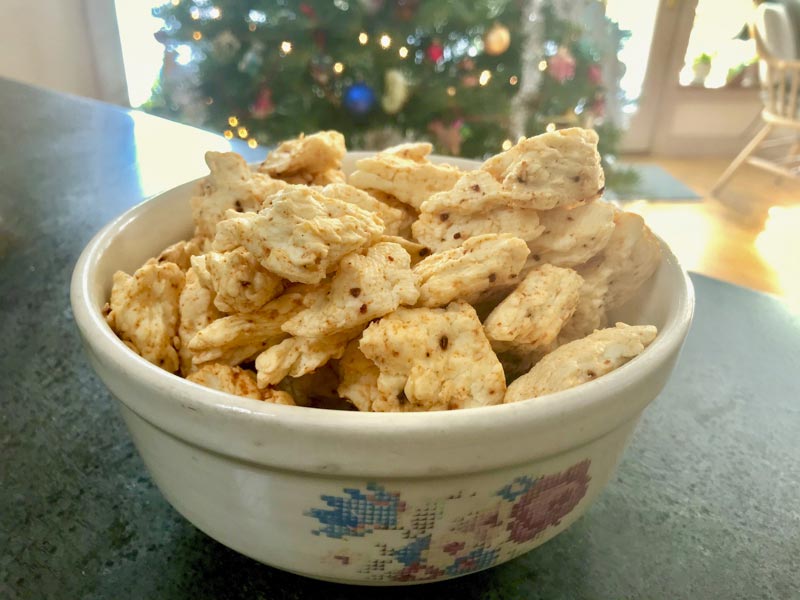
The photos here show a mix of dried smoked Jalepenos and Spanish smoked Paprika mixed in after the salt had absorbed into the curds and whey but wait until the whey is no longer running from the curds before adding.
Then to the Fridge and ready to become a great snacks. They also melt well too.


