


Mutschli Herdsman's Cheese Recipe Instructions
Normally a pressed cheese will yield around 1 lb of cheese per gallon of milk, but because this cheese has a higher final moisture this recipe will yield up to 1 1/2 lb per gallon of milk.
-
Acidify & Heat Milk
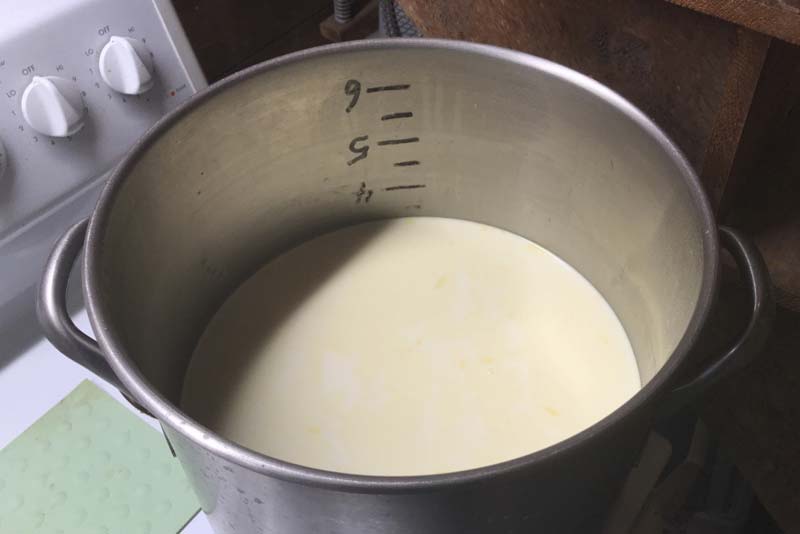
Pour milk into a pot for heating and add Calcium Chloride. Then slowly heat the milk to 96F.
Once heated add the culture. To prevent it from caking and sinking in clumps, sprinkle the culture over the surface of the milk, then let it re-hydrate for two minutes before mixing in.
Keep the culturing milk quiet for the next 90 minutes.
Selecting a culture: You can either use 1/2 packet of C201 Thermophilic culture or 1/8 tsp MA 4002 Culture (1/16 tsp for raw milk) and 1/32tsp of LH100. Both options contain the initial acid producing Thermophilus which works early on in ripening, plus the secondary Helveticus culture, which works in tandem and symbiotically (one encourages the work of the other) as well as later into the aging process.
In addition to the culture, you can optionally add Propionic Shermanii for flavor. Because this cheese does not have any warm aging period gas holes produced will be minimal at best so the addition is just for flavor.
The amount of culture used in this recipe is relatively low compared to the volume of milk used. This is because the acid needs to develop slowly in this recipe. Later in the recipe, before salting, the cheese will be allowed to reach the final level of lactose conversion. The slow culturing process will help create the final texture.
-

Coagulate with Rennet
Add 1/4 tsp (1.25 ml) single strength liquid rennet and let the milk sit quietly for an additional 30 minutes.
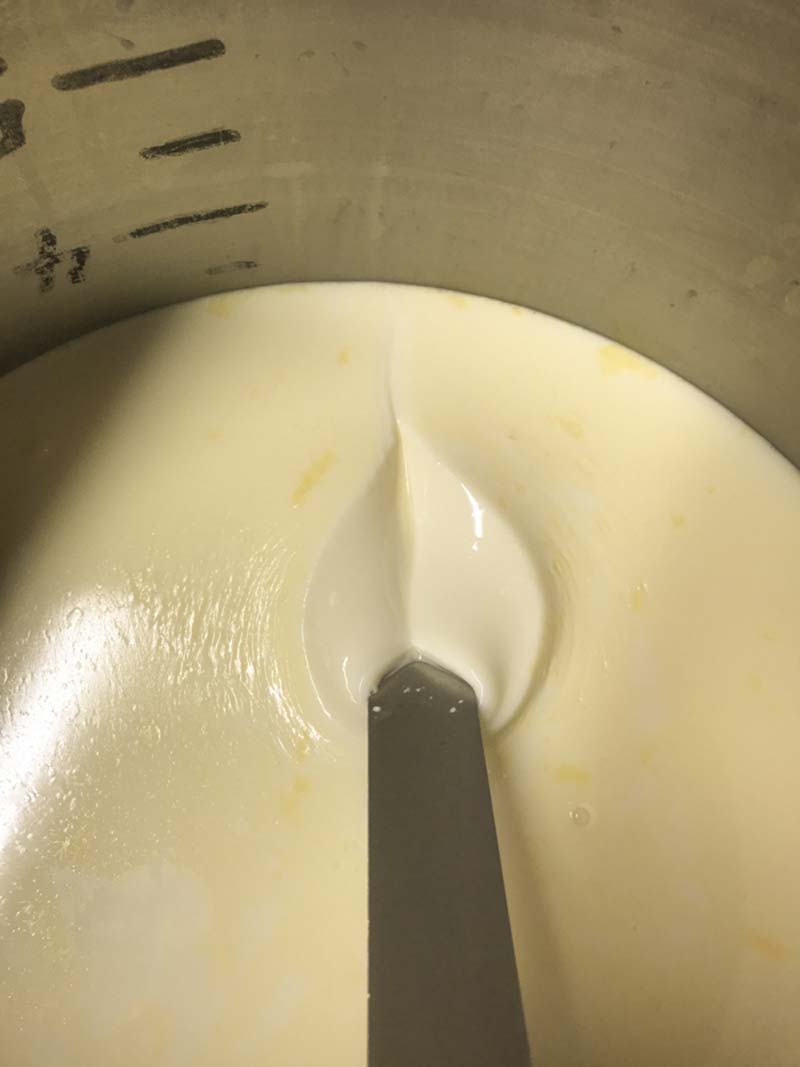
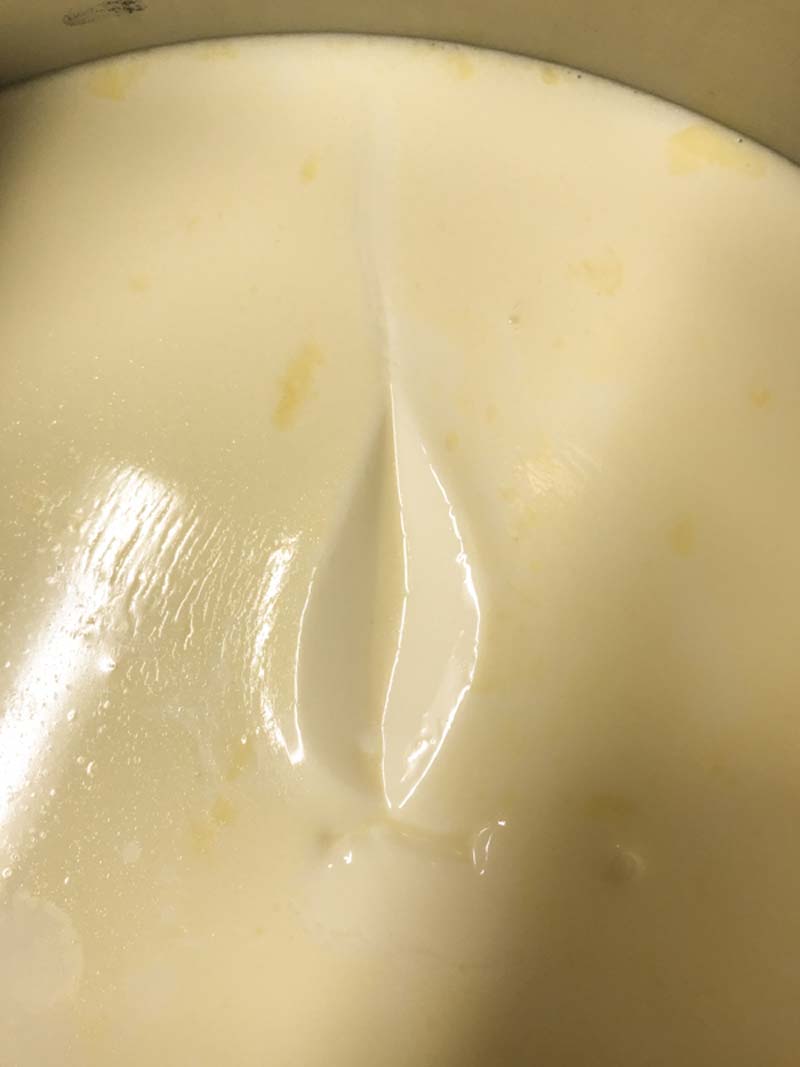
The curd for this cheese will be a softer set, this is typical for a mountain style cheese.
When ready, check the firmness of coagulation, if it seems too soft allow it to set up to 50% longer. The next time you make the cheese, adjust the rennet amount if needed (more rennet for a quicker set and less for longer).
Note: The milk should stay warm on its own during this period. Although the temperature may drop slightly, it is ok.
-
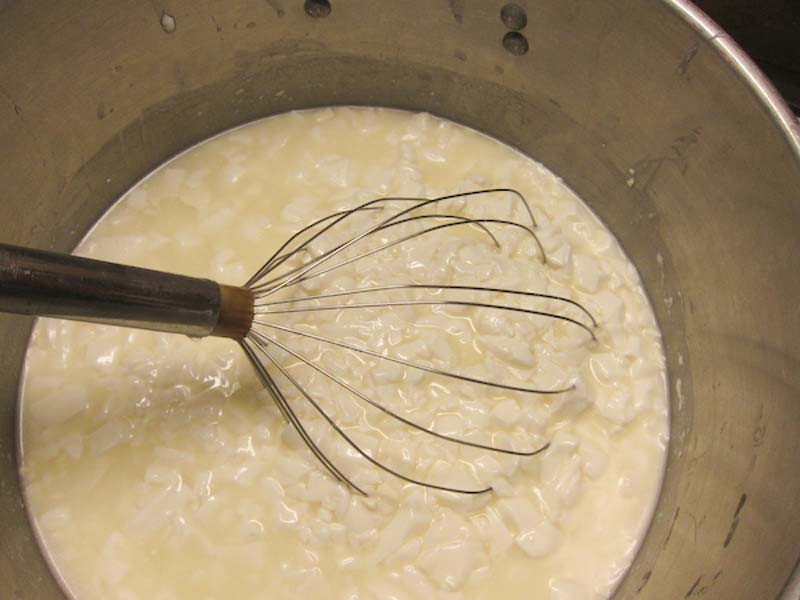
Cut Curds
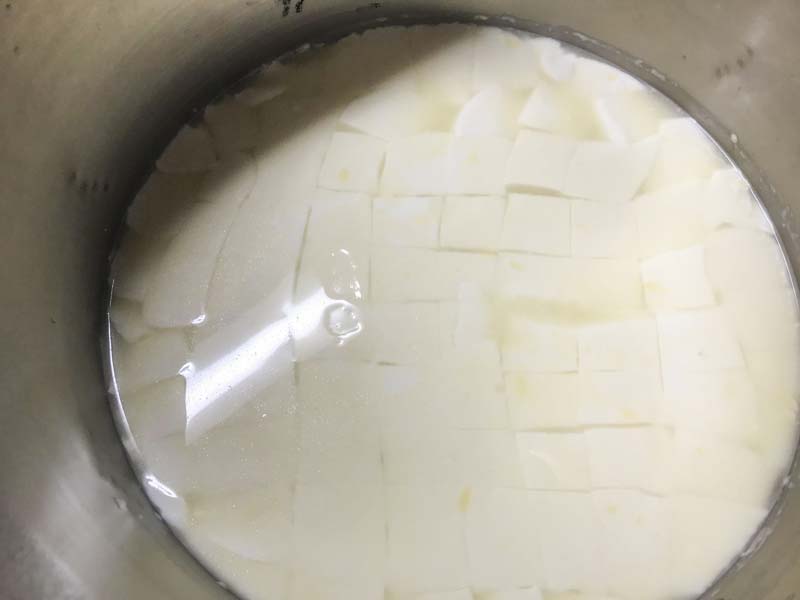
Once the curd is well set, it can be evenly cut into 1/4-3/8” pieces. To do this, first make large vertical cuts with a long knife and let curds for rest 5 min. Then move a stretched balloon or piano whisk through the curds to break them into smaller 1/4-3/8” pieces.
After cutting allow the cut curd to rest for 5 minutes, so the cut surfaces heal.
Following the rest, slowly stir for 10 minutes so the curd surface can firm up. This step prepares for the curds for cooking, without it the curds would break down further and lose too much moisture in the next step.
-
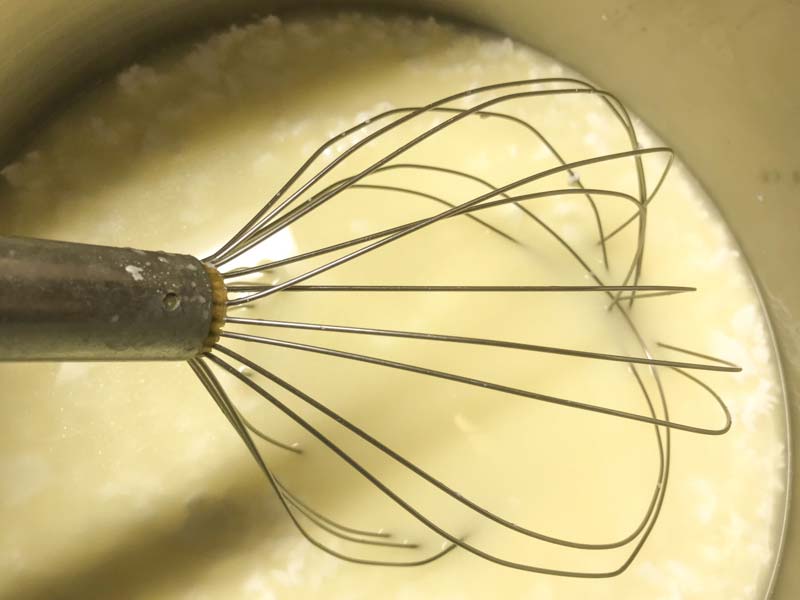
Cook Curds
Increase the heat to 108F slowly, about 3-4F (1C) every 5 minutes. This should take about 15-20 minutes. Continue to stir the curds slowly, do not let them mat together at the bottom of the pot.
Once the temperature is reached continue stirring for another 15-20 minutes. The length of time will depend on the quality of milk because higher fat milk will hold more moisture and may require longer stir.
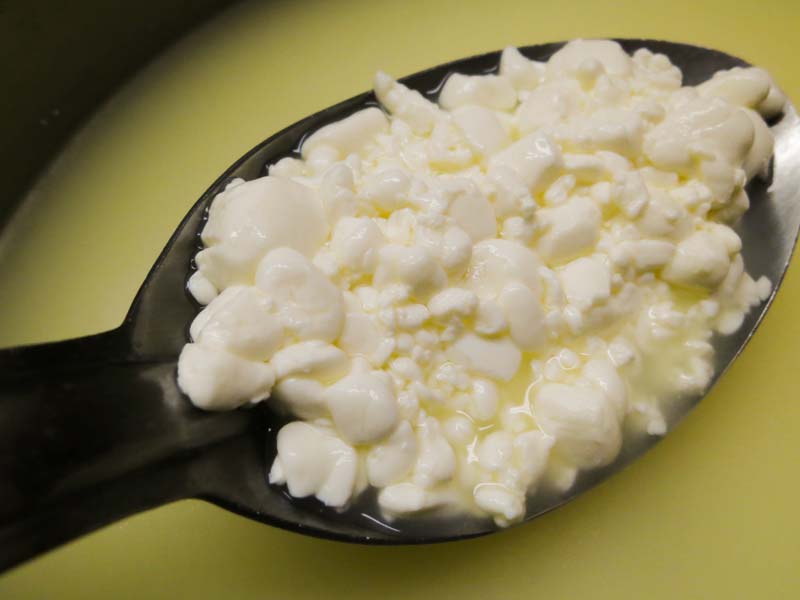
The final curds should be cooked well through and should be examined to see if enough moisture has been removed. A broken curd should be firm throughout and the curds should have a moderate resistance when pressed between the fingers.
When ready the curds can be allowed to settle under the whey.
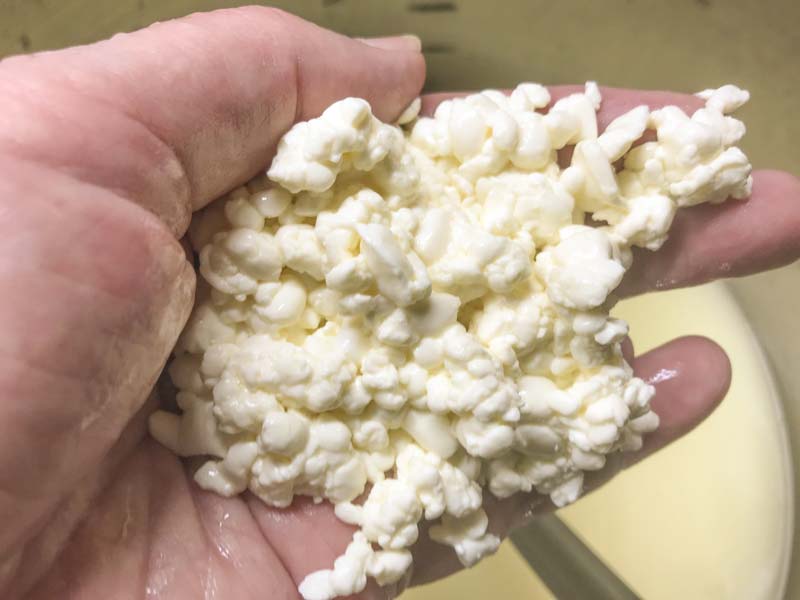
Note: Make a habit of observing the curds and how they come together in a small handful that is lightly compressed and then broken apart. Do they compress well? Do they come apart easily? Over time you will learn to tell when they are dry enough for the particular cheese you are making.
-
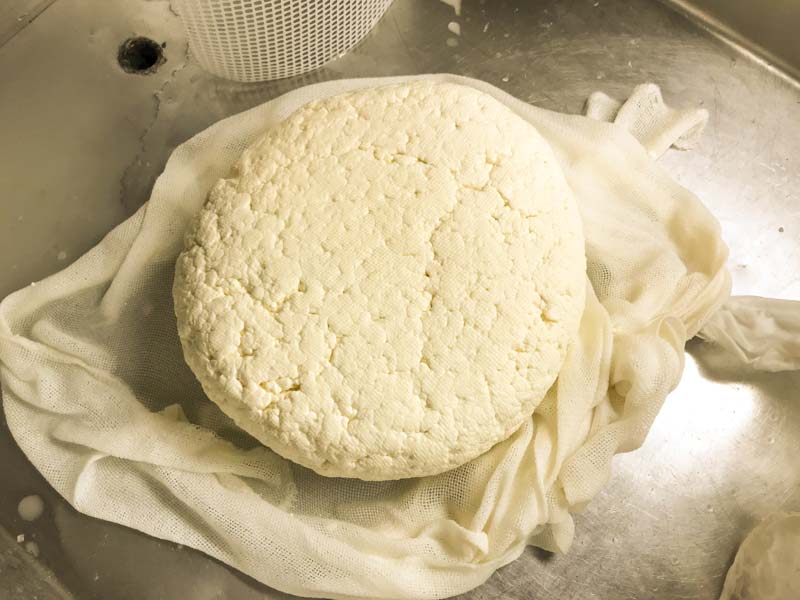
Gather & Form Curds
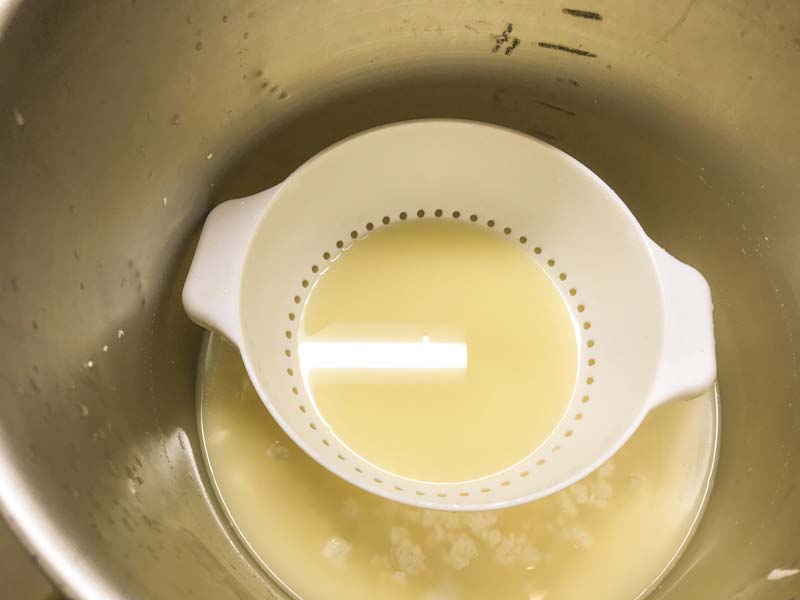
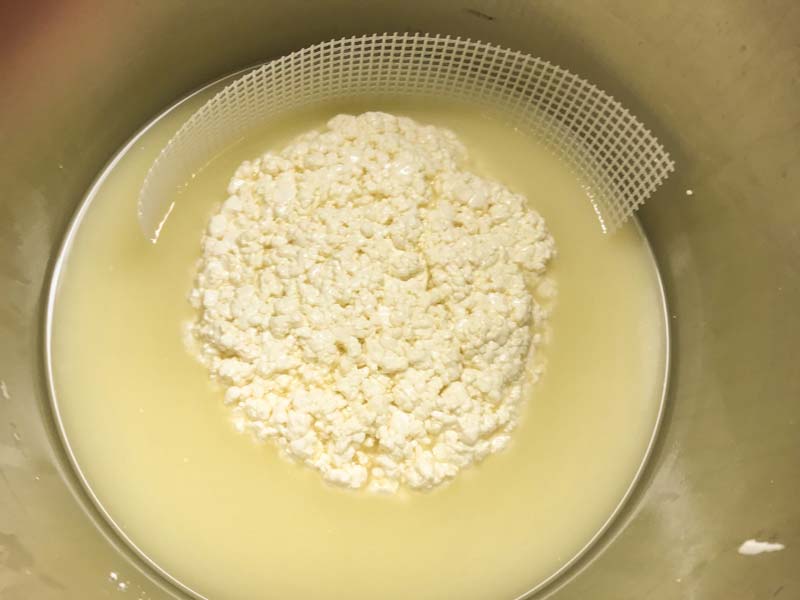
The curds should be consolidated under the whey, before draining.
To do this, drain the whey down to just above the the curd mass and gather the curds into a consolidated mass on one side of the pot/vat. Using a long piece of medium mesh draining mats will help to gather the curd.
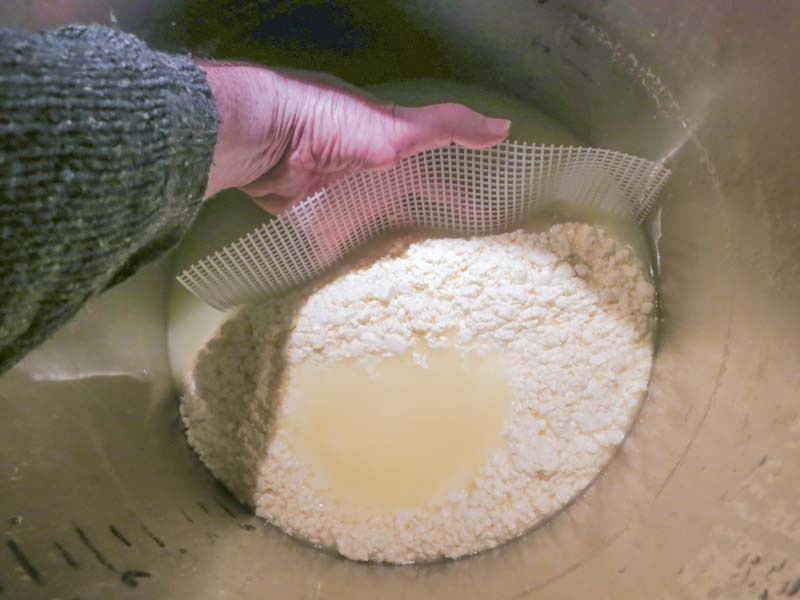
Use light hand pressure on top of the curds to press the mass under the whey. This squeezes the whey out while pressing the curds together and will keep air from filling the spaces between curds.
Roll the curd mass into a round form as you press.
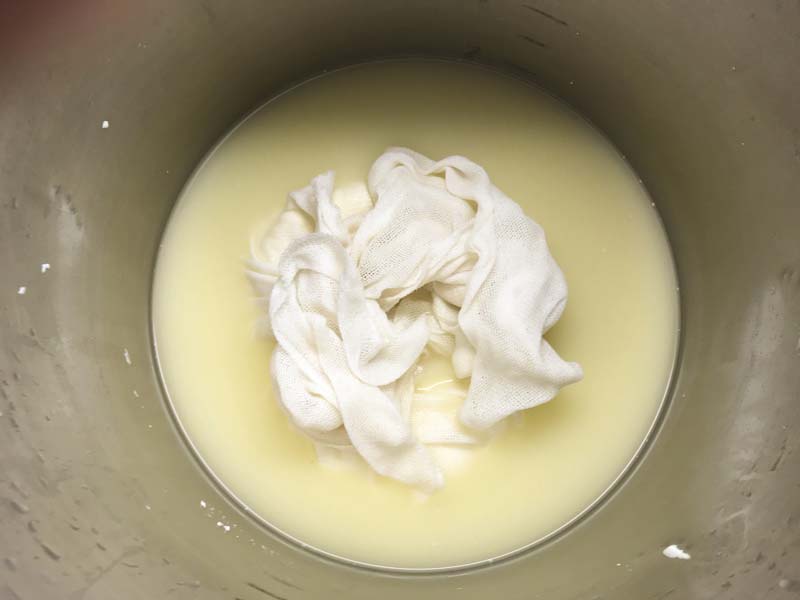
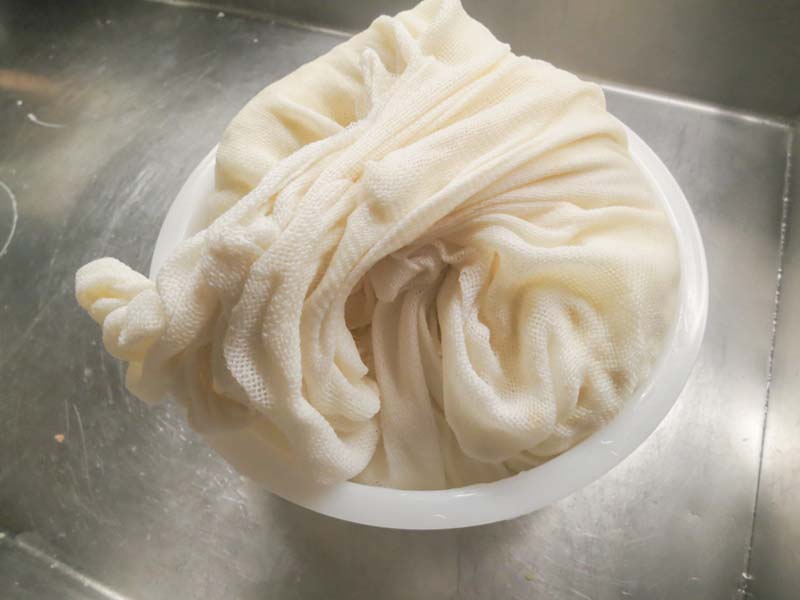
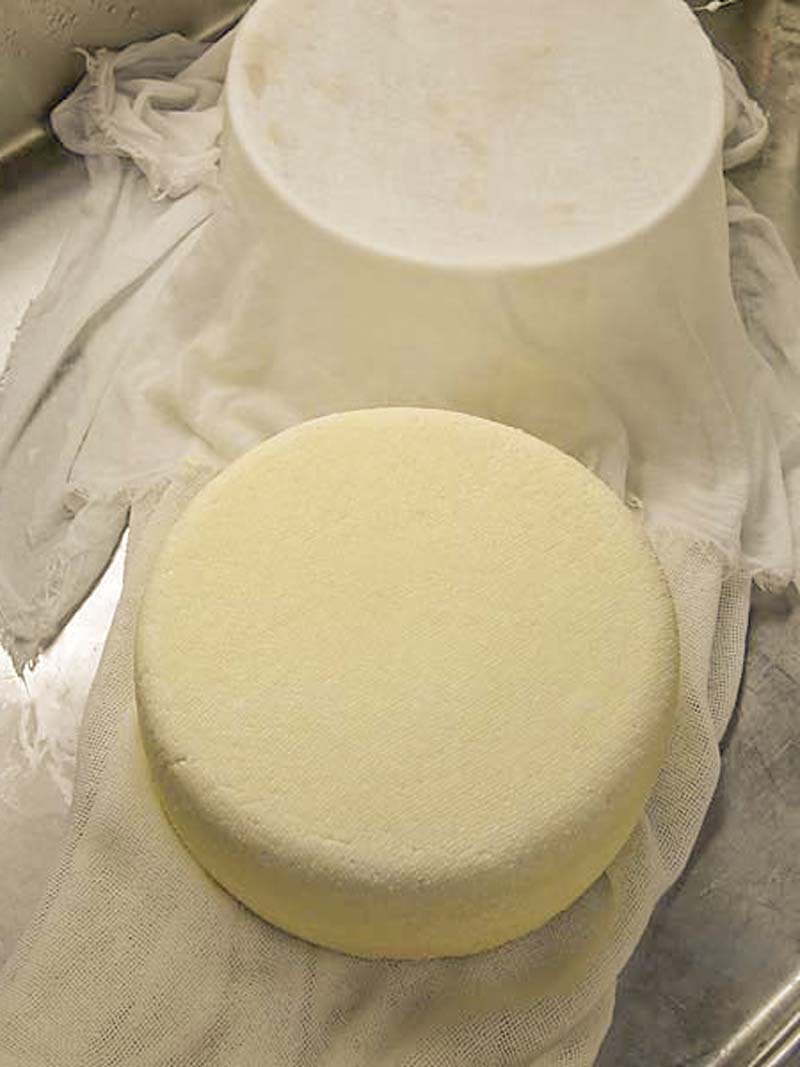
Next place draining cloth over the top of the curd mass while tucking one side underneath the curd mass. Roll the curd mass into the cloth and collect all four corners of cloth. Fold the corners over top of the cheese and apply moderate hand pressure.
The cheese can now be lifted in the cloth and placed into the cheese mold for pressing.
Note: The curd is very elastic and can easily be formed into the cheese mold even if it’s too wide or narrow.
-
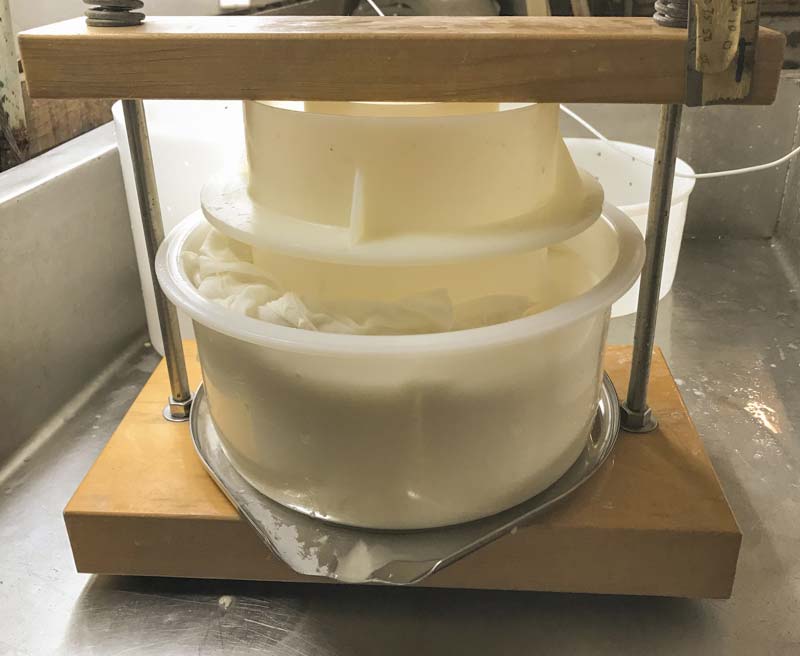
Pressing
Pressing begins very light and slowly increases to a moderate level. While pressing the cheese needs to be kept warm, around 80-85F.
Pressing weights:
Flip and rewrap between each change in weight- 30 minutes at 12 lb
- 1 hour at 25 lb
- 4 hours at 50 lb (flip and rewrap every hour)
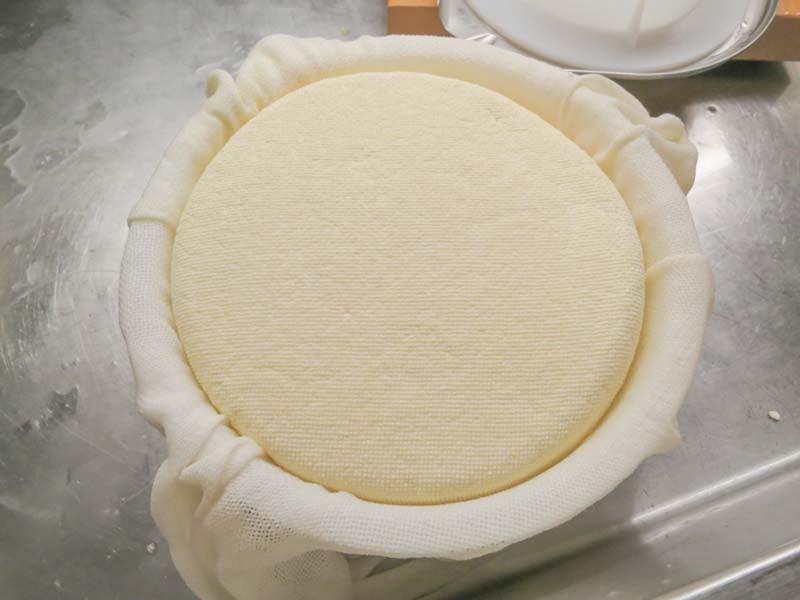
- Overnight at 60-65F in the cheese mold with cloth removed and no weights
If checked the pH will be about 5.5 at this point and will drop to 5.2 by the morning. pH strips are an easy way to check levels for home cheese making.
-

Salting
A saturated brine should be prepared for salting this cheese. Here are More Details on Brining Cheese.
Brine Solution:
- 1 Gallon Water
- 2 1/4 Lb Salt
- 1 Tbs Calcium Chloride
- 1 tsp White Vinegar
Because the cheese will float in the brine, sprinkle 1-2 tsp of salt on the top surface of the cheese, then flip and re-salt the cheese surface about half way through the brining period.
After brining, wipe the cheese surface and allow it to air dry for 1-2 days in a cool location 65-70F with free air movement. The warmer temperature will allow natural surface flora to begin developing yeast.
Note: Do not let the cheese dry so long that it darkens or begins to crack.
-
Aging & Washing
While the cheese is drying make a surface wash by mixing a cup of water with one tablespoon non-iodized salt. Stir this well and add a pinch of Geotrichum and B.linens. Store this mixture in a sealed jar in the fridge.
Begin developing the rind by gently wiping the surface with cool, lightly salted water. This will remove some of the greasy surface that developed in the first couple of days.
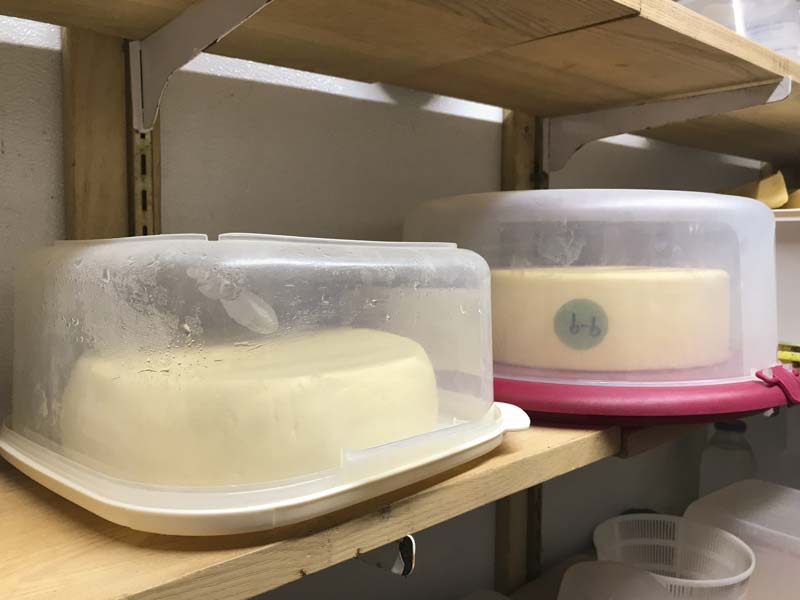
Then move the cheese to a sanitized, covered plastic box with a dry aging board underneath. Place the box in an aging space at 52-54F with 80-85% moisture.
Every 3-5 days, as a white film of mold develops, wash the bottom and sides of the cheese surface with a sanitized cloth dampened in the washing solution. After each wash allow the cheese to dry slightly and then place the cheese, washed side up back into the aging box. Let the cheese rest for a 1-2 days then turn it over and wash the other surface.
Tip: Pour a few tablespoons of the prepared wash into a bowl and then dip the cloth into the bowl, so the solution stays fresh in the jar.
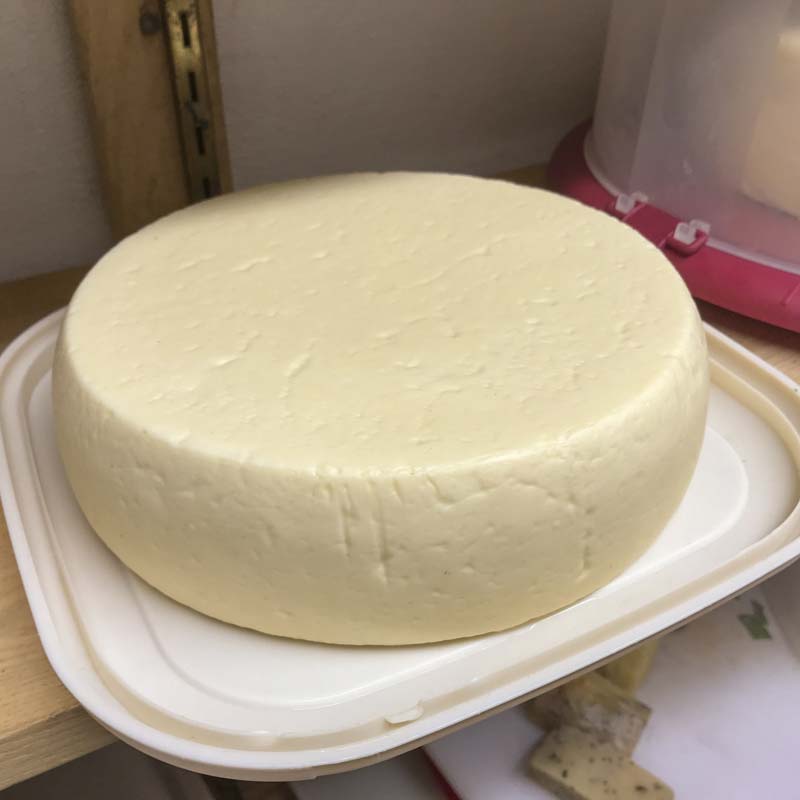
The surface will become damp-tacky but should not be swampy-wet. Within 10 days a slight pinkish red to white surface will develop. The timing will vary depending on moisture and how often it’s washed.
When done properly no blue, dark, or fuzzy mold should grow.
After 3-4 weeks of surface development, wash the entire cheese clean in a light brine solution because too much surface aroma can compete with the sweet flavor of this cheese.
After fully cleaned move the cheese to a cooler location for an additional week or so. Check on the cheese every 5-7 days and wipe any visible bloom down to a thin layer of protection with a clean dry cloth.
The cheese should be ready for the table in 4-6 weeks. At this time it should already be moist and creamy.
If desired, this cheese can age much longer depending on character desired.
Cleaning Aging Boards: Never wash the drying boards with detergent, only use hot water, scrub and dry them in the sun. This will let the boards acclimate and become a safe haven for complex washed rind bios over time.
Note: Because of the high moisture of this cheese the surface needs to be prepared for a competitive rind. This is a purpose driven effort to encourage a protective surface of yeast, mold and bacteria that will outcompete wild flora from establishing.
The goal is to avoid the development of wild molds including Mucor and Blue.