Butter & Cultured Butter Recipe
Ingredients
- 2-4 Pints of Good Quality Cream
- 1 Packet C21 Buttermilk Culture (Optional)
- Salt (Optional)
Equipment
- Good Thermometer
- Blender, Food Processor, Butter Churn (you can even shake a jar full of cream until butter forms)
- Wooden Spoon
- Small Bowl
- Instructions
- Butter & Cultured Butter Info
- Reviews
- Q & A
Making Butter is Super Easy
You can make better butter at home in your kitchen than you can buy in the store these days. In this recipe we'll show you the how and why as well as a few options to add a little "culture" to your life.
Essentially all you need is cream and a jar. Of course you can make it in the mixer or the blender and here I usually make it from ripened cream in the blender. Just pour the cream in, hit the stir button and wait to hear the "chugging" sound.
Start with the cream at about 50-60¡F to make butter. If its too warm, the butter will be very soft and will be more difficult to rinse and knead later on. If too cold, the fat will have difficulty consolidating.
You can start with fresh sweet cream or culture your own cream for more flavor.
-
Selecting Cream
The better your cream tastes, the higher quality your butter will be. Heavy cream is 40% butterfat and 60% milk solids and water.
The cream from Jersey cows produces the best butter because of its higher fat content milk, plus the fact that their fat is dispersed in larger globules than milk from other types of cows and tends to churn into butter more easily. This cream is deep ivory to gold when it is from pastured cows because the plants they eat have higher beta carotene, which colors the cream more than grain.
Can we use pasteurized or even ultra pasteurized cream for this? Yes, But the quality and flavor of the butter will not be the same as using fresh cream. You will probably find it to be better than what you find in the store but fresh cream is always better. The high temperature treatment, while making normal cheese making next to impossible does not affect the butter process as much since the process involves the fat and not the proteins which are damaged by heat. It may affect the flavor and yield though.
-
Fresh Sweet Cream The ideal cream is non-ultra pasteurized, high butterfat content (36-40%), organic, and from pastured cows. Jersey cream makes churning faster, due to larger butterfat globules.
Just using run of the mill cream from the store probably means that you are starting off with better ingredients than the average butter. But if you can find non-ultra heat treated cream from pastured cows, that will vastly improve the flavor.
The hardest part of making good butter is finding good cream. Most of the cream sold in this country is ultra heat treated (UHT).
The best pasteurized cream is vat pasteurized cream, which is heated to only 165¡F for 30 minutes. But vat pasteurized cream is harder and harder to find. - Cream Skimmed from Whey As I travel to visit cheese makers in Europe, I often see the whey being diverted to a separator to remove the cream for butter making. This is done before the whey is heated for Ricotta. Nothing is wasted ther. First to the cheese, then to the butter, then to Ricotta, and finally to the pigs. Nothing is wasted. This is especially true in the Parma region and in the Fontina area of Aosta in Italy.
Here, since I often use fresh Jersey milk, my whey is always rich in butterfat so I make sure the whey goes into a sanitized container when removed from the curds and then allow it to sit overnight at a cool cellar temperature. In the morning, the cream has risen plus the bacteria from the process has ripened for a cultured cream. I can then carefully skim the surface and cool to my butter making temperature. The result is a fabulous cultured butter that goes to my neighborhood "foodie" friends.
-
Fresh Sweet Cream The ideal cream is non-ultra pasteurized, high butterfat content (36-40%), organic, and from pastured cows. Jersey cream makes churning faster, due to larger butterfat globules.
-
Culture Cream (optional)
Commercial culturing is a superficial affair, so don't imagine any brand you have purchased is a model for cultured butter. Industrial butter is cultured in a matter of hours. At home, you can do much better. Unlike factories, you don't need to consider the cost of waiting for cream to ripen. And that's the secret to making extraordinary butter.
Raw cream is naturally full of desirable dairy bacteria and ferments and sours on its own, without the addition of a bacterial culture. Fermentation by lactobacillus bacteria changes the chemistry of cream, making its flavors more complex. Among other changes, it produces lactic acid, making the cream less Òsweet.Ó Culturing helps make churned cream ÒbreakÓ faster into the two products of butter making: butter and buttermilk.
To culture your pasteurized cream simply add a packet of C21 Buttermilk Culture to a quart of cream (adjust proportionately if using more/less). Butter cultures are ÒMesophilic,Ó meaning the bacteria thrive in moderate temperatures. ÒThermophilicÓ yogurt cultures require higher temperatures so are not so effective here.
Pasteurization kills all bacteria, even the beneficial natives. So, if you were to let pasteurized cream just sour naturally, you would be allowing any ambient bacteria that might be lurking, without the natural defenses to control it and the milk would simply "spoil."Bring the cream to 68-70¡F (Do not let it fall below 68¡F or above 78¡F), add the culture and keep covered and warm for the next 6-12 hours. This will totally depend on how much character you would like to see in your butter. Let your taste buds guide you on this.
After this ripening, the cream should be noticeably thicker and have a well developed aroma (buttermilk culture is often called an Aroma Culture). It should taste delicious, slightly sour, and have no aftertaste. If the cream is bubbly, or smells "off", yeasty or gassy, you have a contamination problem: throw the cream away! The problem was probably caused by one of the following:
- The milk was contaminated with other bacteria that are not of the friendly dairy types.
- The area in which the butter has been made is contaminated with yeast from baking etc.
- The cream had been stored near other items in the fridge that impart an oder that is not welcome in the butter (onions, garlic, etc)
-
eparating the Butter
Begin by warming your cream to 50-60¡F.
- Using a Jar Fill your jar 25-50% full of cream. The more cream you have in the jar the longer it takes to form butter because there's less movement of the cream and that's what makes the butter.
-
Uusing a Blender, Food Processor, or Mixer Only fill 25-40% full (otherwise life will become messy). Turn it on at a moderate speed and watch the cream change to thick cream and then begin to separate.
I use my blender on "stir" here.
It really doesn't take long, between 10-20 minutes depending on, cream, temperature, how long you let it ripen, and type of "churn."
You will next notice the sound of the moving cream changing as the cream turns from liquid to whipped cream. You will eventually notice that it will "break" as the butter separates from the buttermilk. As this happens, notice the color of the cream as well, it will start to turn more and more yellow as the butter comes together.
The butter will start clumping together.
-
Rinse the Butter
This step is very important, to keep the butter fresh. The final butter may have some lactose and milk proteins remaining in the liquid and if this is allowed to ferment, the butter may become rancid in a short time. The washing and folding is what removes most of this. Cultured butter lasts longer because this lactose has been mostly fermented out to lactic acid.
When the butter clumps well, pour the liquid off (make sure you keep your buttermilk) and move the butter to a bowl.
Add some fresh cool water and rinse the butter by pressing and folding in the bowl, do this two or three times until the water is just about clear.
-
Drain & Salt Butter
Now, pour off the final rinse water and continue to knead with a spoon until it forms a nice ball. As you knead the butter you'll notice water working out of the butter, keep draining this off as you form the butter into a ball. If the butter is too soft, put in the fridge to harden a bit before continuing.
You can add salt to your butter as your taste prefers during the final kneading. You will notice more liquid coming off if you do.
-
Press or Roll Butter
The butter you just made can now be pressed into any form you desire or rolled into a ball and wrapped or pressed into a special butter mold -for the esthetics.
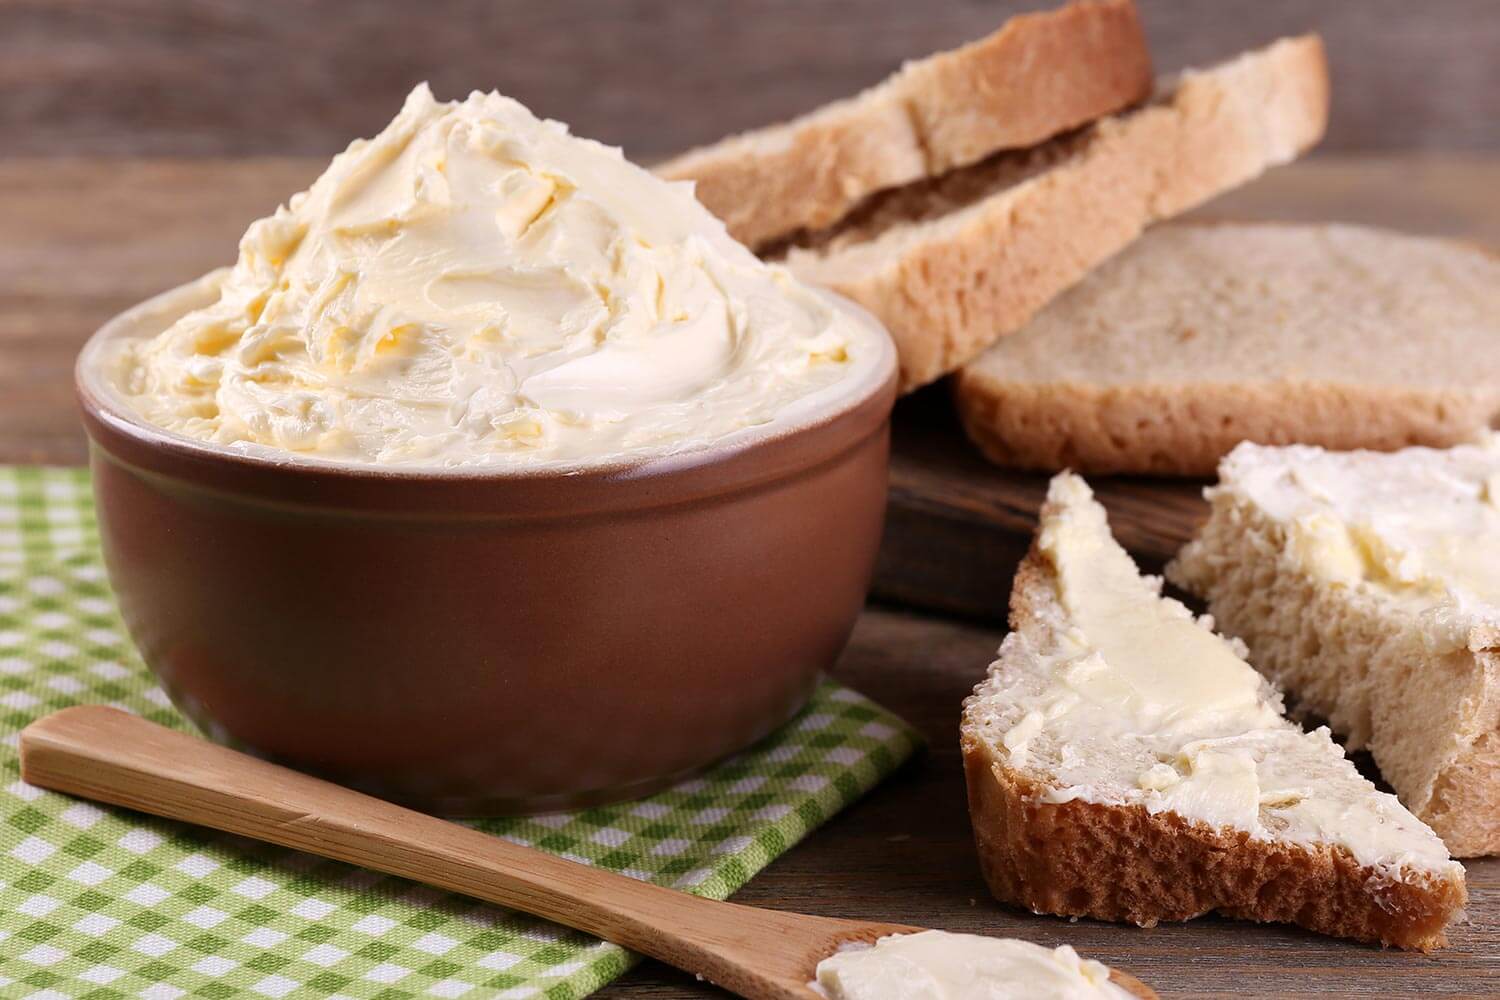
But first, cut your self a nice hunk of that great bread you have in the pantry and smear a good sized portion of this butter on and enjoy.
-
Storing Butter
Simply refrigerate the butter, or for larger batches you can freeze all of the butter that exceeds a few days' supply.
Freezing butter does it no harm because butterfat crystallizes at about 60¡F, so taking it from 35¡F in the refrigerator down to -20¡F in the freezer does not change its texture. Freezing butter will forestall the absorption of other flavors from the refrigerator and keep the butter flavor much cleaner.
In really hot countries where butter is made in quantity, like India, use clarified butter (ghee), with the last traces of water and milk solids removed to help preservation. Finally clarified butter, or ghee, is butter from which all milk solids have been removed through cooking. The resulting product is clear, rather than opaque, and it can be stored for longer periods of time than butter. Ghee is very popular in India. This can be easily made by gently heating the butter and allowing the solids to settle out while still warm. The clarified butter can then be poured off of the solids. This will also not burn when heated.
Historically, the Northern countries such as Ireland and Norway have been found to seal their butter in wooden tubs and then bury them in the bogs where it was cool and without air. Some of these are being found even today.
When migrants from Britain and other northern Europeans cooler climates arrived in warmer countries such as America they resorted to keeping butter down a well or in the "spring house" where cold ground water and evaporation kept things cooler.
After reading through this somewhat lengthy history and process of butter making you might be thinking, "Wow, I think you're is pushing the "cultured" butter thing." Yes, yes, and yes again, but, for the little bit of extra work and the response we get from my friends who love good food, Cultured Butter is well worth the time.
Some History of Butter
References to butter date back to as early as the ninth century B.C. in India, but its "real origin" is credited to the nomadic tribes of Asia around 3500 B.C. A picture of a primitive churn is evident in a Sumerian bas-relief dating from around 3500 B.C.One of the first written references to what we know of as butter comes from India in the form of a ninth-century etiquette manual. It suggests that Hindu brides be given milk, honey, and butter on the day of their wedding.
There is also a reference from the Bible in Genesis: "He said to Sarah to take three measures of meal and knead it quickly and make cakes upon the hearth; and it is said that he went to the herd and fetched a calf, tender and good, and gave it to be dressed, and he took butter and milk and the calf which he had dressed and set it before them and they did eat."
The original process for butter making for the Arabs and Syrians, as we know it, was to use a bag made from goatskin for a churn. The animal was skinned, the skin sewed up tight, with only one small opening where the cream was poured in. The "churn" was then suspended and swung back and forth until the butter separated.
Documents from the first century show that butter was shipped from India to ports of the Red Sea.
When Julius Caesar invaded England, he found that the inhabitants hid an abundance of milk, from which they made butter, but could not make cheese until they were taught that art by their invaders.
What is Butter
Butter is made of butterfat, water, and some milk proteins. Commercial butter is 80–82 percent milk fat, 16–17 percent water, and 1–2 percent milk solids other than fat (sometimes referred to as curd). It may contain salt , added directly to the butter in concentrations of 1 to 2 percent. Unsalted butter is often referred to as “sweet” butter. This should not be confused with “sweet cream” butter, which may or may not be salted. Reduced-fat, or “light,” butter at 40% fat. Well, we shall choose not to discuss that here.
In the US, butter must contain 80% minimum butterfat by law, while in France, butter must be composed of at least 82% fat. Home churned butter will be right up there in the 86% range. Commercial butter is a very uniform dispersion of water in oil. The 80% target fat level and continuous churn processing require such a product.
Batch-churning cream into butter takes about 30 minutes, but it is only in the last few minutes that the butter begins to form. In Brief, the mechanical agitation of the churning process breaks down an emulsifying membrane around droplets of butterfat, allowing the butterfat to solidify as butter.
Butter from the Farm
Up until the early to mid 1900's, most farm wives were expert butter makers. Butter sales were very local and produced on family farms and in small creameries. This butter was usually made in small batches. In those days butter customers were connoisseurs in a way that we are not today. For example, the early spring butter brought a much higher price than any other.
Traditionally, butter making began with the separation of cream from milk by gravity. Just after milking, the milk was allowed to sit in pans or cans until the cream, being lighter, floated to the top of the milk. The cream was skimmed off and stored in a cool place for a few days. When several days' cream had accumulated, it was churned into butter.
This small scale butter making took time and energy, but only needed simple equipment. Low-tech methods were still well-known in rural parts of the USA in the mid-20th century. In the UK it became less common for ordinary families to make their own butter in the course of the 19th century, but the old ways were still used on small farms and in the dairies belonging to grand houses.
In the few hundred years prior to the industrialization of butter making, cream was always cultured before it was churned. Culturing was the result of their practice of keeping several milkings before churning. There was no refrigeration, so the cream was stored in a cool room and the natural bacteria from the milk worked to culture it.
After the cows were milked, the milk was left to settle in a cool place, in shallow pans so the cream would rise to the top. Brass and earthenware dishes were used in the UK in the 17th and 18th centuries, with earthenware becoming gradually more popular. It was found that the earthenware could hold the proper bacteria from day to day.
After half a day or so, the cream was skimmed off and placed in the churn. Small home producers would usually collect a few days of milking to have enough cream for churning, and the natural fermentation would "ripen" the flavor. The cream would, of course, ripen much quicker during the warm months.
Industrial Butter Making
Modern dairy practices ignore seasonal differences by feeding cows an unnatural diet of year-round grain. If you often make butter from good cream, you will begin to notice changes as the seasons progress.
Cream is removed from pasteurized whole milk in continuous centrifugal separators spinning at 30,000 RPM. The resulting cream contains 40% butterfat, and is known as heavy, or whipping cream. From the separator, the heavy cream travels directly into continuous “ribbon” churns, which process it into sweet cream butter and high-fat buttermilk. The buttermilk is high fat because ribbon churns are not very efficient at churning all of the butterfat into butter. This buttermilk is then re-separated to remove the excess butterfat, and dried for industrial applications such as commercial ice cream and baking products, as well as consumer packaged goods like buttermilk pancake and baking mixes.
The butter made this way is called “sweet cream” butter because the cream it was made from was not cultured or acidified.
Types of Butter
Sweet Cream Butter This is a sweet cream, churned from fresh cream, with a mild, creamy flavor. It is most commonly produced by large commercial operations.
Cultured Butter This is a ripened or lactic butter made from soured cream. This should have a fuller and slightly nutty flavor from the natural fermentation.
In past times these cultures were found naturally in the dairies but today we can add these cultures to better control the process.
The cream is cultured before churning for two very specific reasons:
- Adding a lactic acid-producing culture to acidify the cream before churning helped to separate the butterfat during the churning process.
As the butterfat solidified as butter in the churn, the fluid that was drained away became known as “buttermilk,” the by-product of butter-making. - Adding live cultures to the cream also yielded a better butter since they convert sugars (lactose) in the milk to produce lactic acid. This added to the storage life of butter, because any remaining milk sugars could ferment making the butter rancid.
In addition to these practical benefits, culturing the cream before churning gives the butter a unique flavor - one that is very different from the flavor of today's supermarket butter. Before the advent of the large commercial dairies, Minnesota and Wisconsin used to be dotted with small creameries, each with its own particular flavor of butter made from closely guarded family cultures.
These cultures ended up in the churned buttermilk, as well. Although buttermilk initially resembles skim milk when it is removed from the butter churn, the continuing action of the live cultures creates the tart, thick beverage that we know as buttermilk. Before the days of refrigeration, the consistency of buttermilk would change with the seasons: thin and less tart during winter and thick and clabbered in the summertime.
Cultured butter is very popular in Europe but not so popular in the US. The culturing intensifies the butter flavor itself and also introduces a number of subtler underlying flavors that greatly enhance the overall butter experience. The action of the lactic bacteria also helps to break down some of the structure which keeps the fat globules apart. This increases the yield of butter over sweet cream and also makes the butter come much quicker when churning.
If you make your own homemade butter, you have complete control over the type of cultures used for ripening the cream and how long you let them work before churning.
Since water is cheaper than butterfat, most commercial butter is blended down to 80% post churning. Cultured small batch butter ends up at more like 86%. The higher fat butter is more plastic at low temperature, which makes it easier to use in pastry, and the higher fat content also helps to make pastry flakier and brings a more full flavor.
Goat and Ewes Milk Butter Yes, it is possible to get cream and make butter from these milks but due to the very different fat structure, these milks do not rise naturally like the cows milk will do. Therefore a cream separator is required to collect the cream from these animals.
- Reviews
- Questions
- butter
- culture
- recipe
- cream
- teaspoon
- taste
- guidance
- NE Cheese
- cheese salt
- food processor

Easy and Delicious
One quart of Meadow Gold cream (non-ultra pasteurized), half a packet of C21 culture, approximately 8 hours of culturing at 70-ish degrees, two minutes in the blender on "stir" and, voila! A pound of delicious butter and 2 cups of buttermilk.
Great whey to start
I was looking for a way to “dip my toe in the water” and decided to give this one a try. I used 1 pint regular heavy cream off the grocery shelf, cultured it with a heaping tablespoon of cultured sour cream stirred into a covered jar, left it on the kitchen counter for 8 hours, whipped it in my stand mixer till it broke, about 10 minutes, kneaded in cold water as directed, added 1/4 teaspoon kosher salt and gave it a taste. Remarkable difference even without the best ingredients or techniques. Very easy, delicious results, great way to get started.
Delicious
Made cultured butter with this recipe, it was easy and delicious. We used an immersion blender and it worked quickly. The washing step helped the butter keep well for a couple weeks.
Easy as 123 Delicious Too
Ok so I have been making my own bread and yogurt for some time and figured I would try some additional food items like butter and cheese. Used the Buttermilk culture to culture my quart of Ultra-Pasturized Heavy Whipping Cream and let it stand at room temperature for 24 hours. Whipped up my butter in a couple of minutes this morning in my food processor. Followed the NE Cheese recipe and my quart yielded 1.8 lbs of butter, rinsed out the “buttermilk” added 1/4 teaspoon of cheese salt and it tastes delicious. Now I will be adding homemade butter to my homemade breads. Thanks so much for your guidance....this is going to be fun.
Smooth as Silk Butter!
Love making cultured butter with the bulk aroma culture! Whips up fast in the food processor, but try a Blendtec as well. Fabulous on freshly made bread.