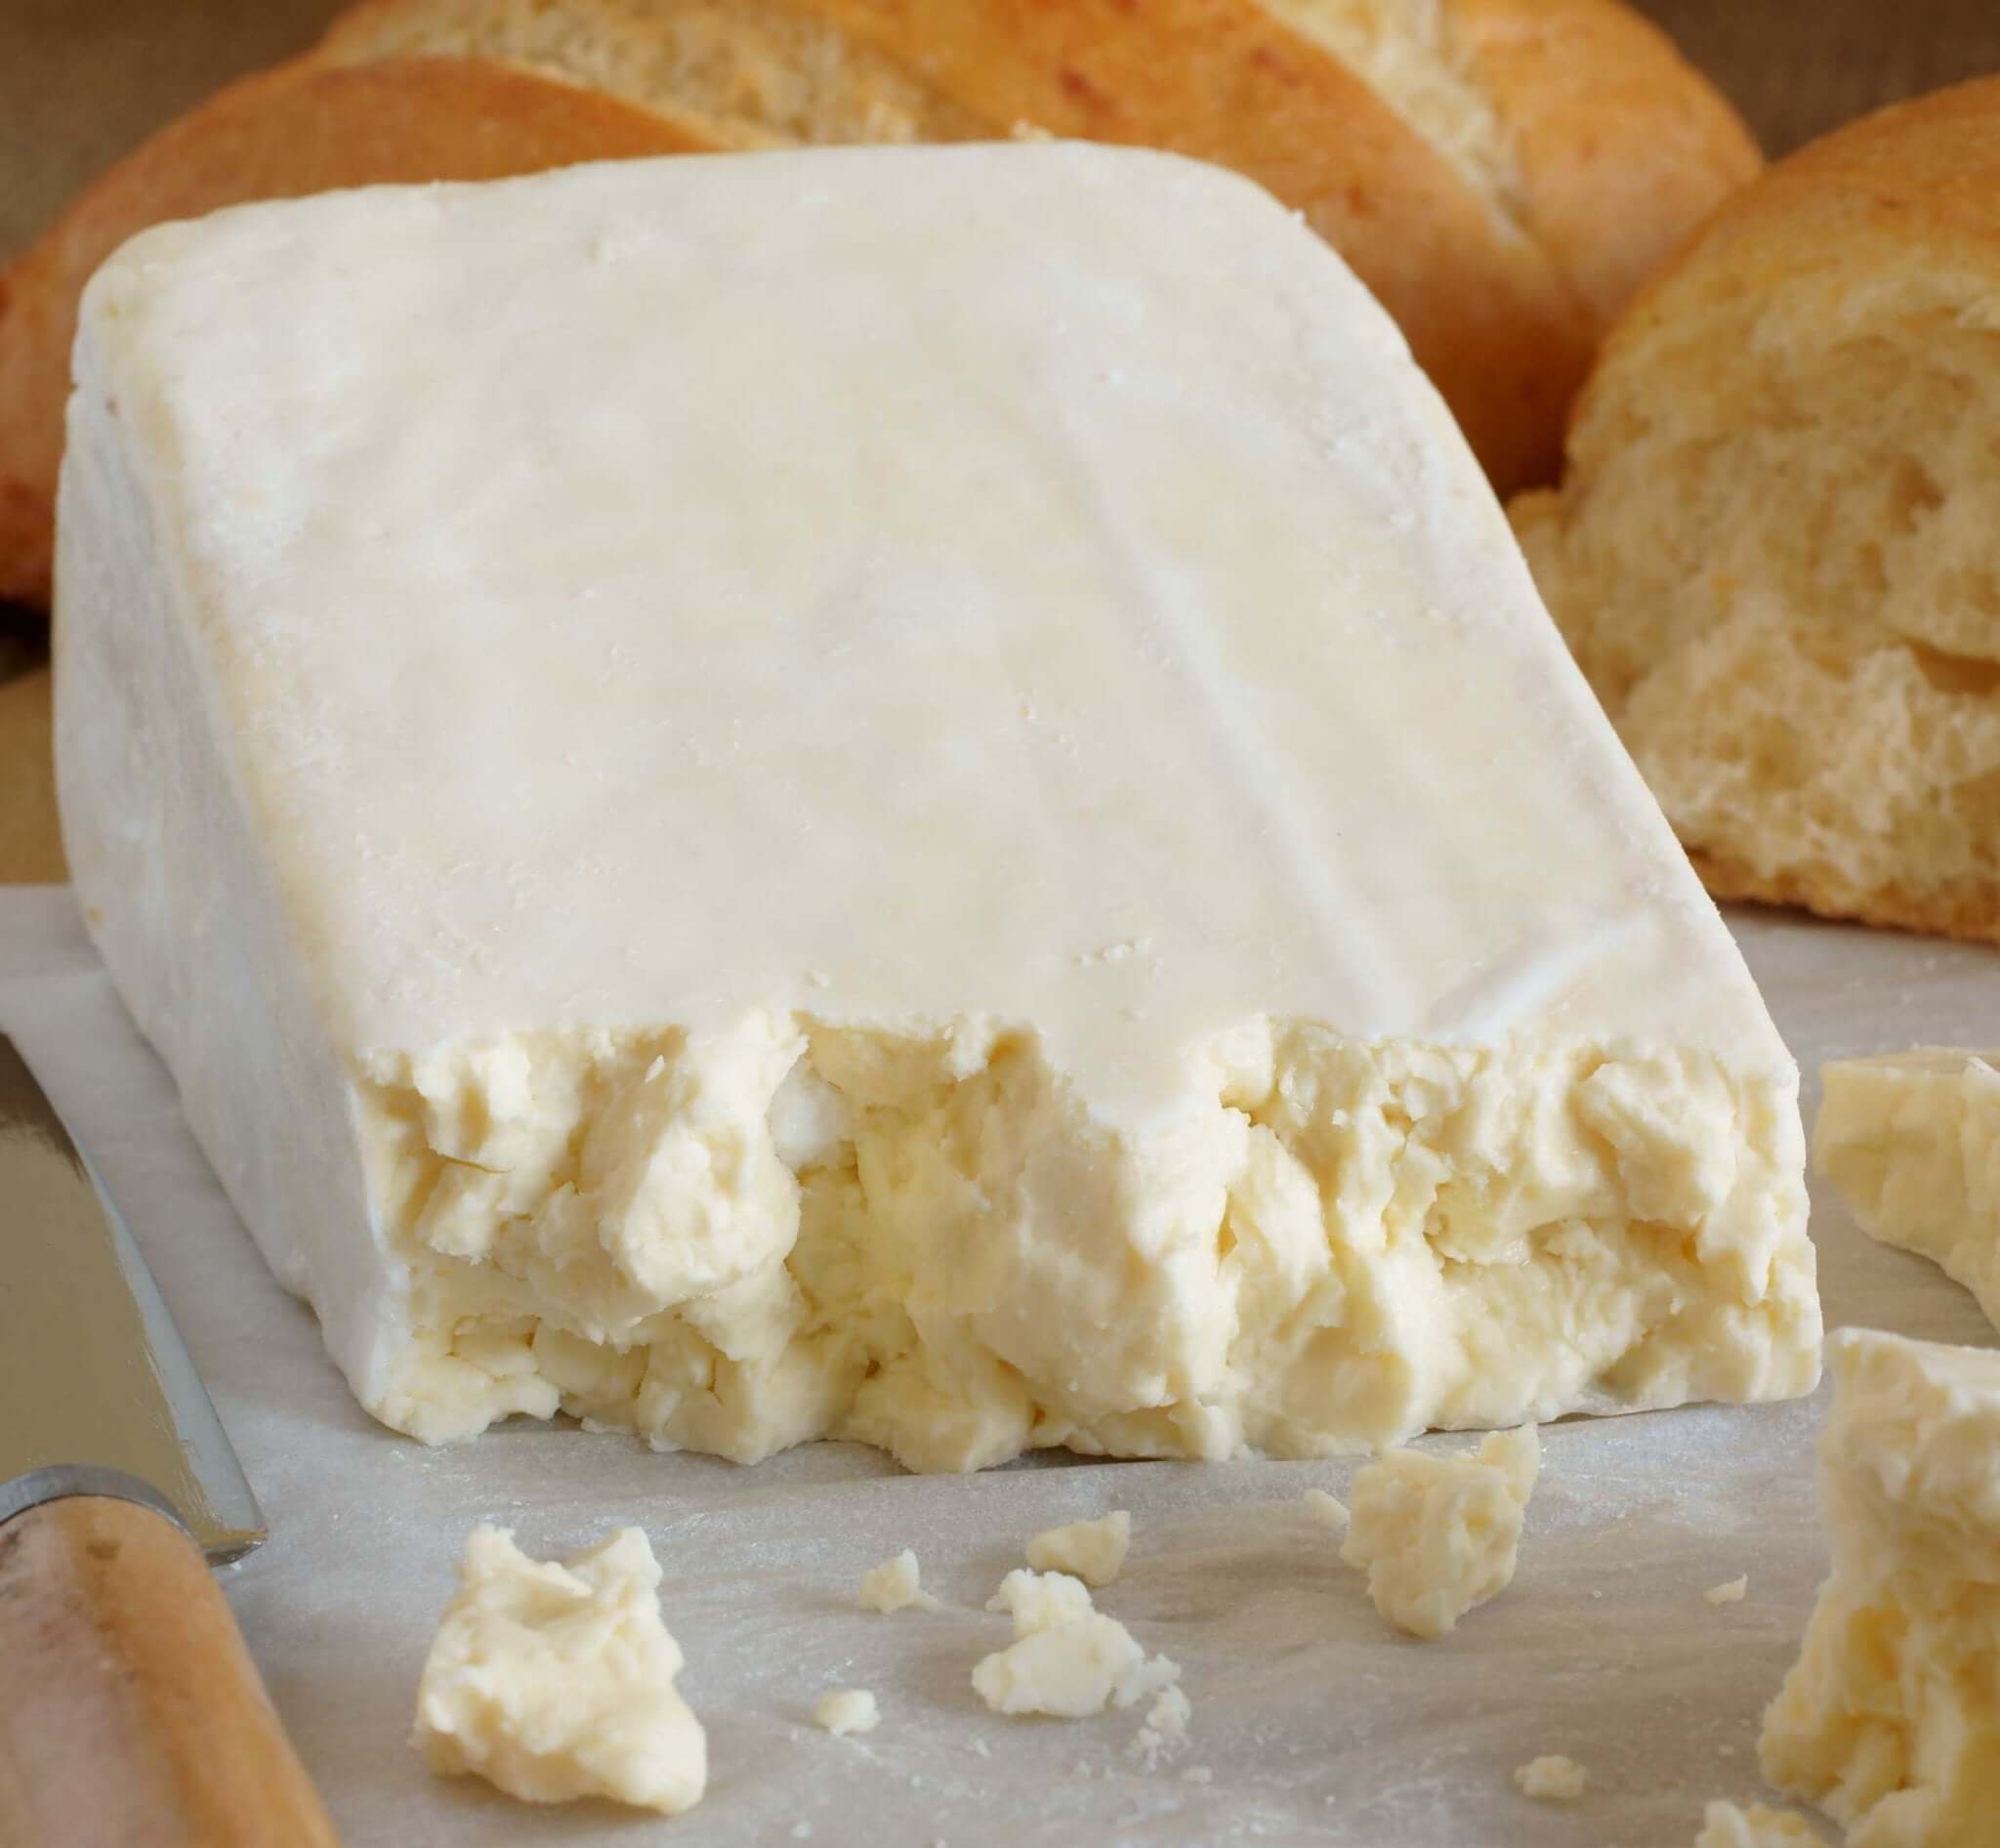
Caerphilly Cheese Making Recipe
Traditionally this is an early ripening cheese although it can be aged longer for more character development.
-
Yield
2 Pounds
-
Aging Time
~2 Months
-
Skill Level
Intermediate
-
Author
Jim Wallace

Ingredients
Total price for selected items: Total price:
Instructions
-

Heat & Acidify Milk
Slowly heat milk to 76F. If using pasteurized milk, add calcium chloride while heating.
Once the milk reaches 76F add the culture. If desired, now is also the time to add mycodore which will provide a more surface while aging. Allow the powder to remain on the surface to re-hydrate for 1 minute, then stir in slowly for several minutes. Continue stirring at this temperature for 10 minutes.
Next, take 5 minutes to increase the milk temperature to 86-88F. Cease stirring and hold this temperature for 45-60 minutes.
Info: Heating the milk to 76F activates some of the mesophilic cultures. Heating the milk to 86-88F is more favorable for both mesophilic and thermophilic cultures.
-
Coagulate with Rennet
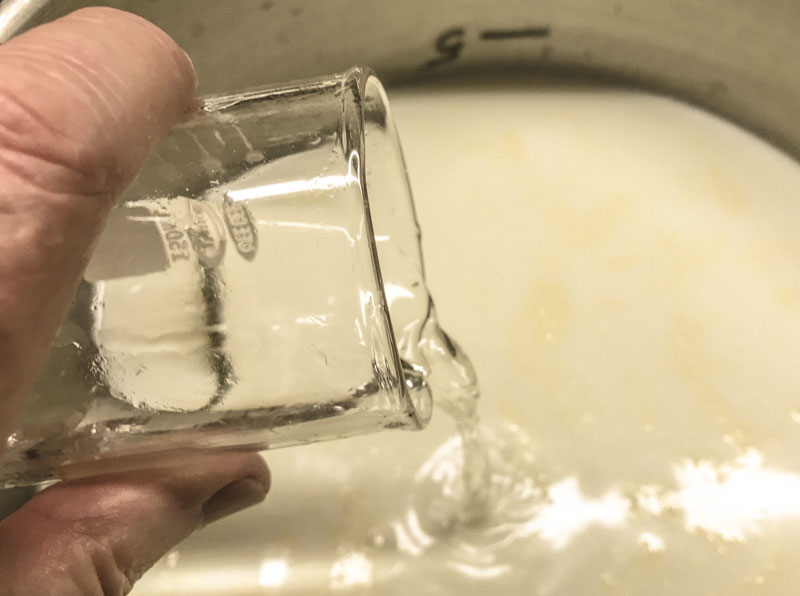
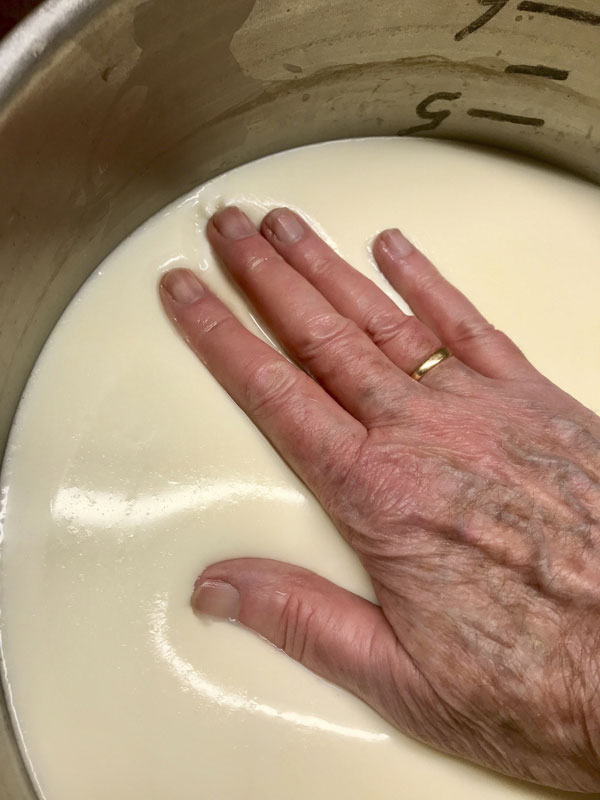
Add single strength liquid rennet and stir in an up and down manor for 1 minute. Let the milk sit quietly for 40 minutes.
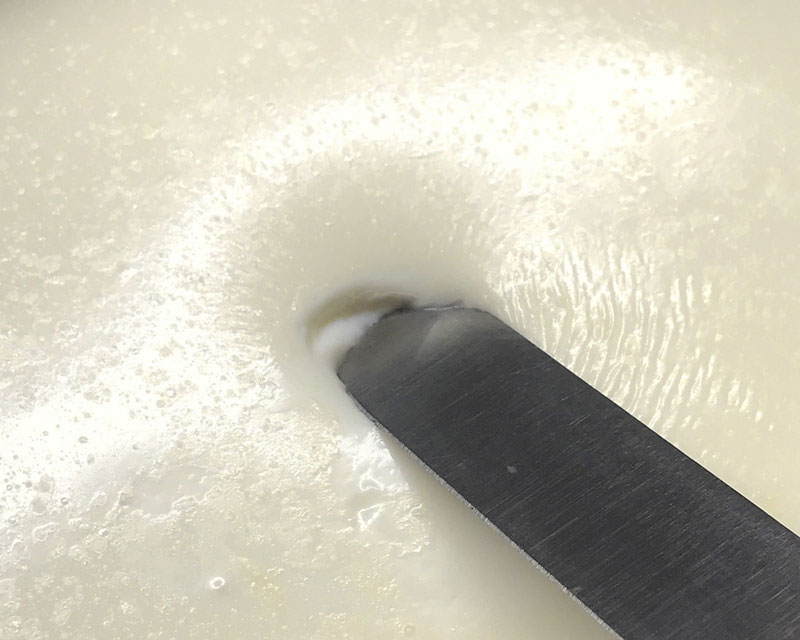
When done, check for a firm coagulation. If needed, allow milk to rest for up to 20 more minutes.
Note: It is ok if the temperature drops a few degrees, although the thermal mass of the milk should keep it warm during this rest.
-
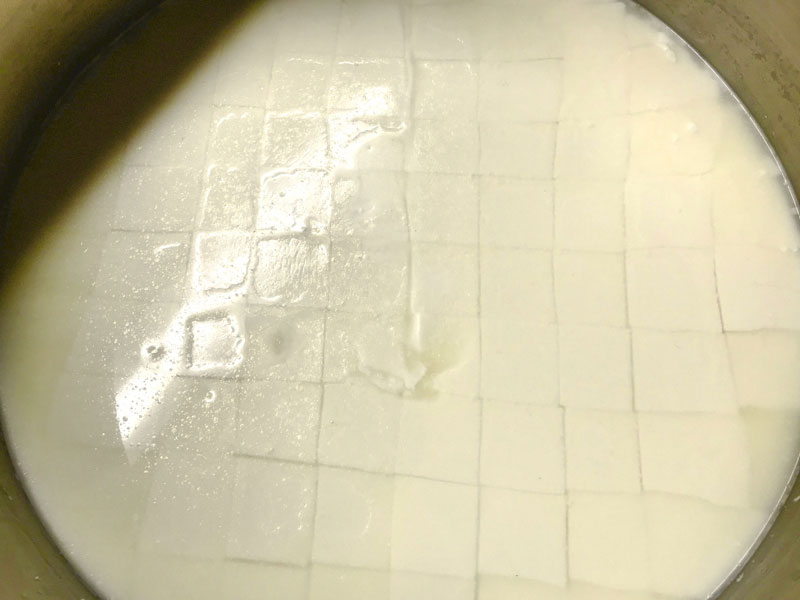
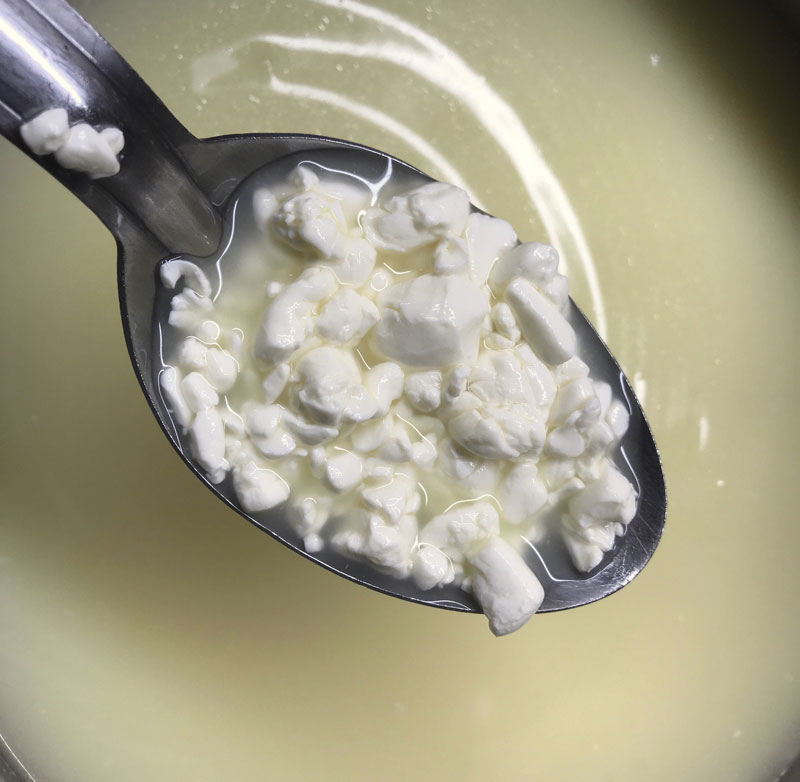
Cut Curd
Evenly cut the curd mass into 1/2” pieces over 5-10 minutes. Allow the cut curd to rest for 5 minutes, so the cut surfaces can heal.
Slowly stir the curds for 20 minutes to help surfaces continue to firm up. If the temperature has dropped heat the curds back up to 86-88F while stirring.
Note: The rest and stir are both important. Without them, the curds may break further and lose too much moisture.
-
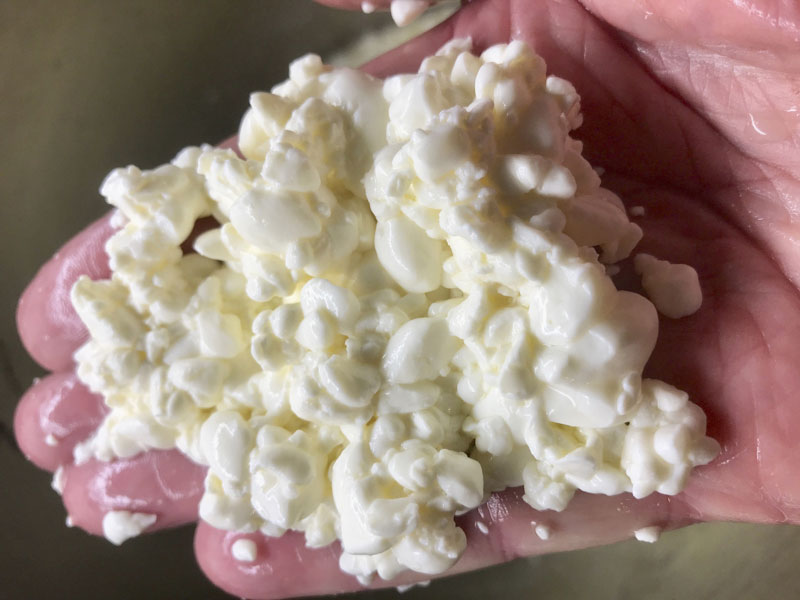
Dry Curds
Heat the curds to 92-96F over the next 15 minutes, continue to slowly stir the curds while heating. This higher temperature will help thermophilic cultures.
Once heated, continue stirring for 45-60 minutes, depending how crumbly you want the finished cheese to be.
The final curds should be cooked well through. A broken curd should be firm throughout and the curds should have a moderate resistance when pressed between the fingers. The final curd should still taste slightly sweet at this point.
When the curds are finished cooking let them settle under the whey.
-
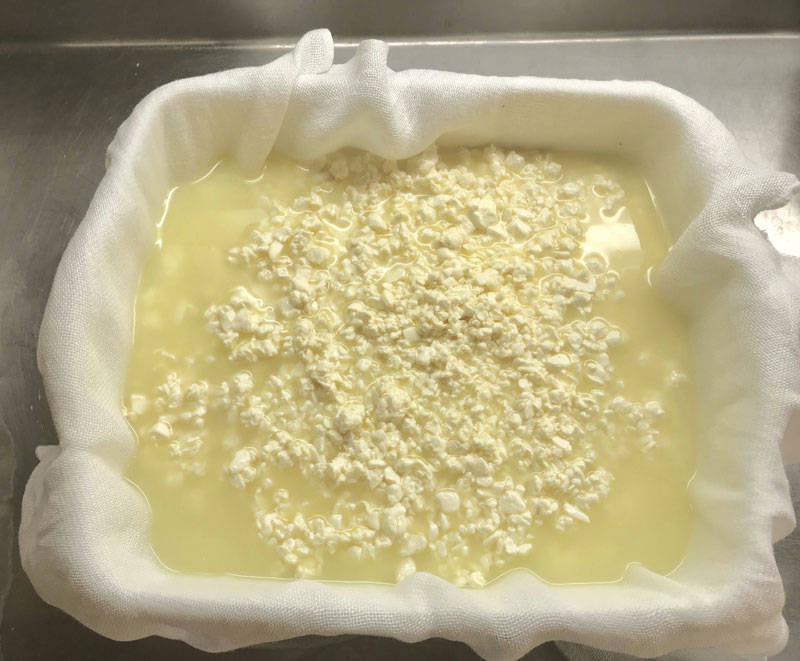
Consolidate Curds
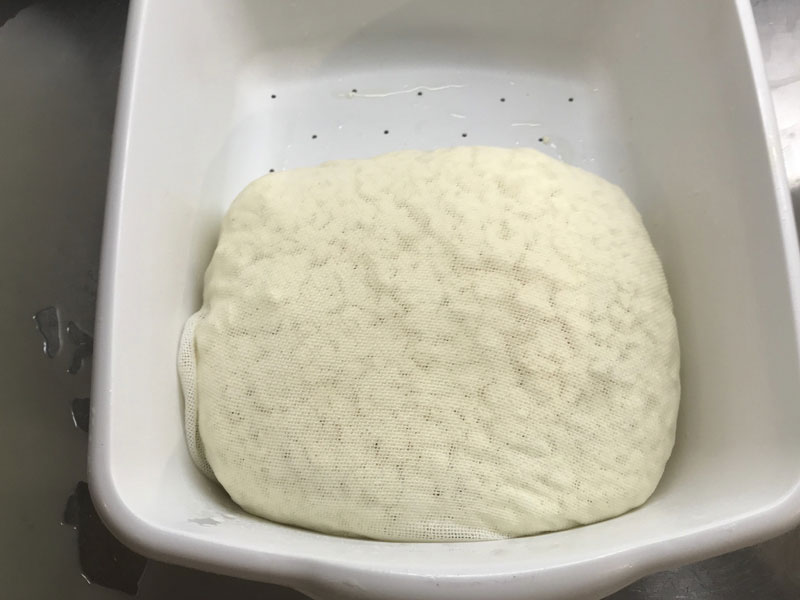
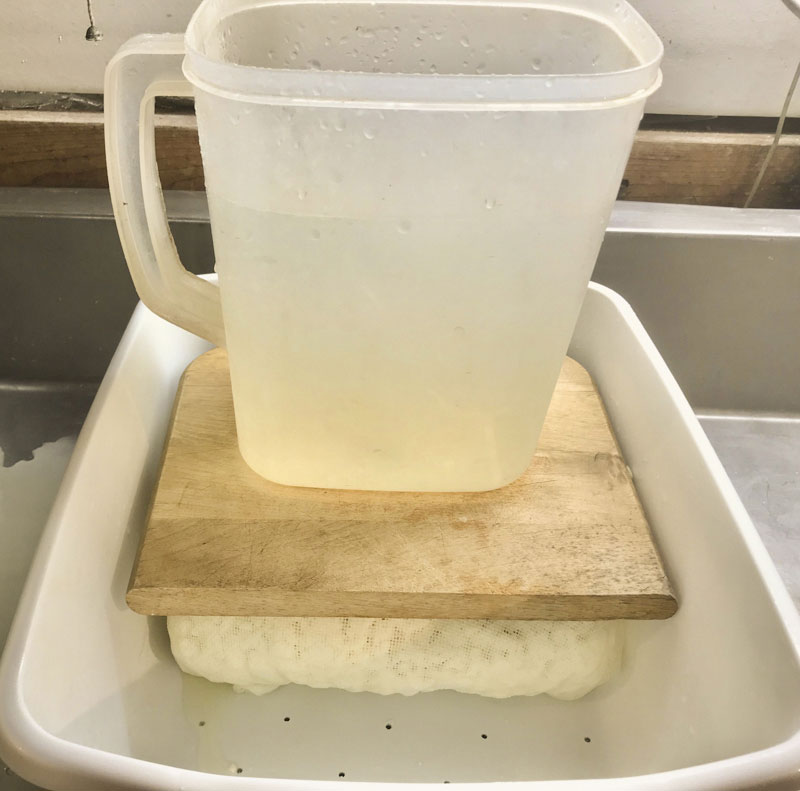
Gently transfer the curd into a cloth lined colander or draining pan. Wrap the curds and to help them consolidate place a board ontop along with a container of warm water.
Keep the curds warm by placing the colander inside an insulated cooler or over a pot of warm water (92-98F).
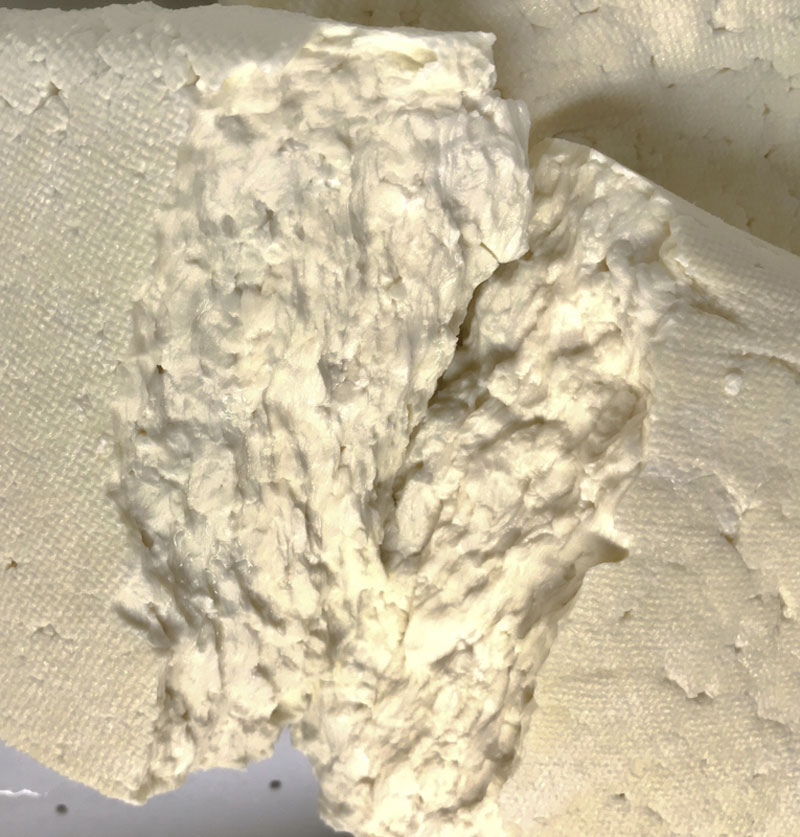
After 15-20 minutes of draining cut the curds in half and re-stack. Repeat this process every 15-20 minutes for and additional 2-4 times, depending on the moisture level.
The final curd should taste neutral, neither sweet or sour. If you have a pH meter it should read about 5.6-5.7 when the curds are finished draining.
-
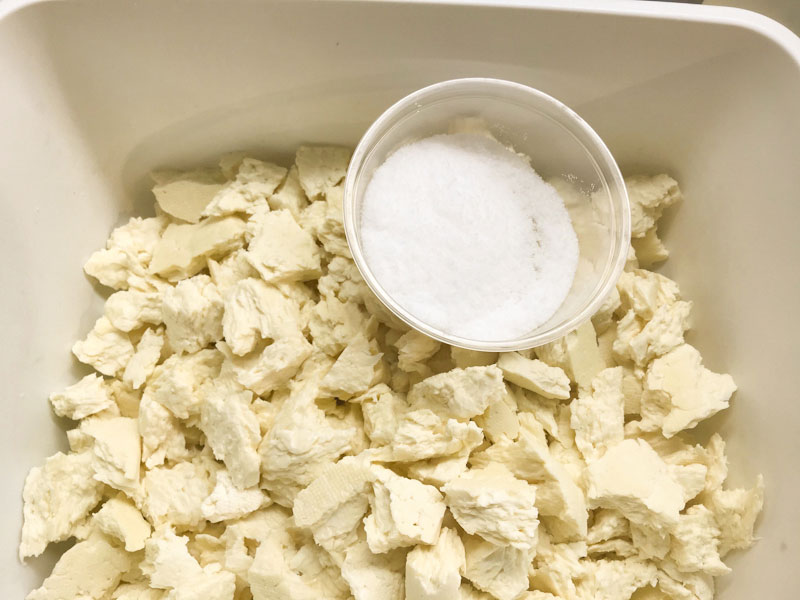
Salt Curds
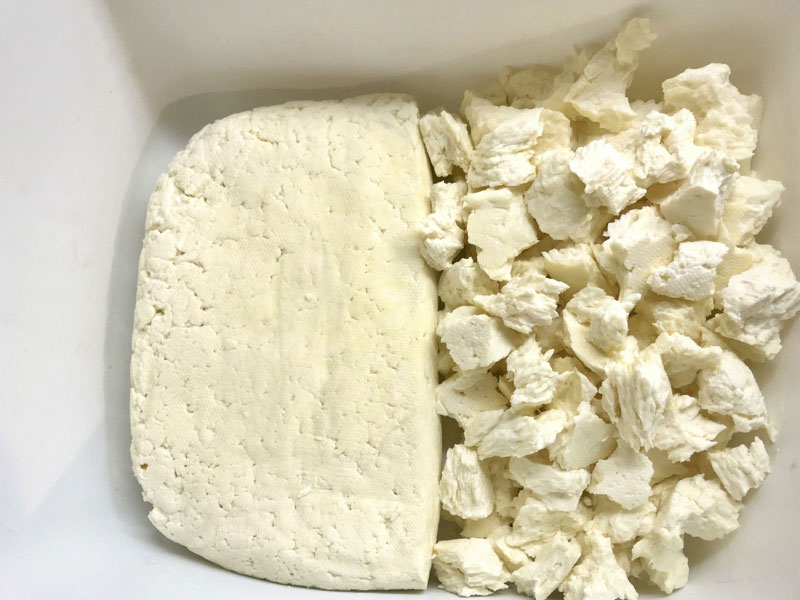
When the final draining is done, break the slab of curd into thumbnail size chunks. Once broken into smaller chunks, weigh and record the final weight of curds.
Measure 1% of the curds weight as salt. Example: 2 lbs curds (32 oz curds) —> 0.32 oz salt (9g salt)
Pour 1/2 of the pre-measured salt over the curds and mix well until no longer gritty.
Info: This light salting helps to quickly get salt directly into the small curds.
-
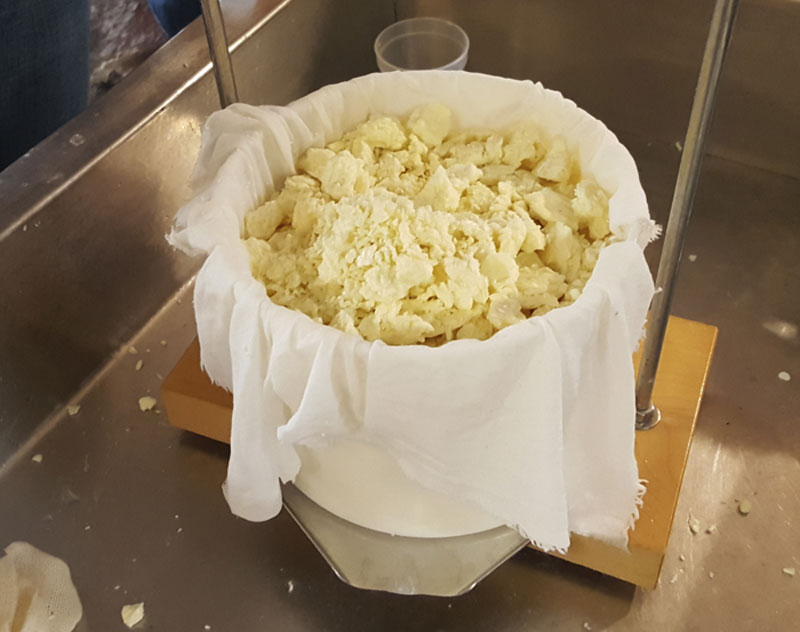
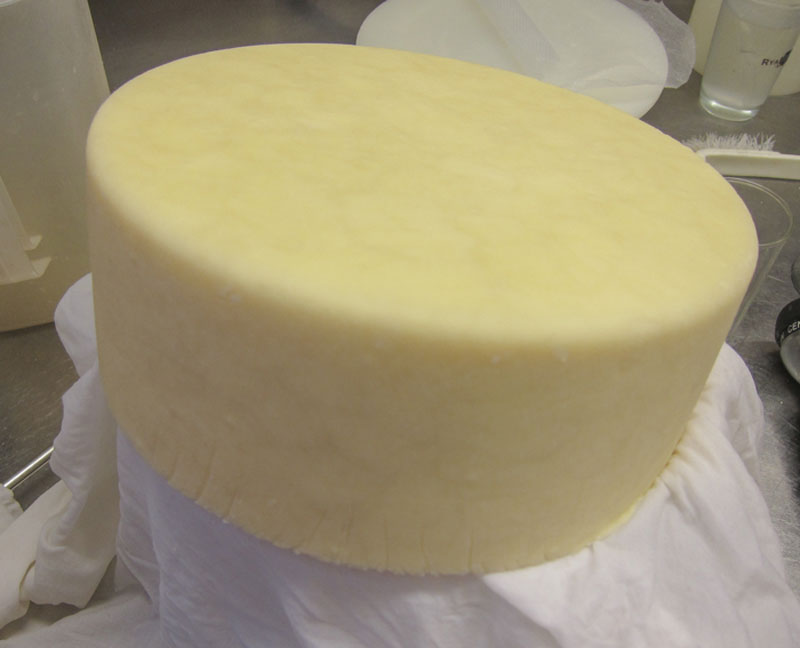
Transfer & Press Curds
Transfer salted curds into a cloth lined cheese mold. Lightly press curds, for 45 - 60 minutes, using just enough weight to consolidate curds into the mold (1-2x cheese weight).
Remove the curds, flip, re-wrap and place back into the lined cheese mold, with the same weight, for an additional 45 - 60 minutes.
After the second pressing, remove the cheese from the mold and unwrap. At this point the pH should be around 5.3-5.4.
Now apply the second half of the pre-measured salt (from the previous step) by rubbing it thoroughly into the surface of the cheese. This salt will go into the cheese much slower and will help to firm the rind while the cheese is aging.
After salting, re-wrap the cheese in cloth and return to the cheese mold for a final pressing of 12-14 hrs; ideally turning the cheese half way through.
Use increasing weight as needed to finish the final cheese. It is finished when all of the holes and cracks are closed, drier curd takes longer.
Info: Salting the curds is what gave Caerphilly the ability to withstand rough handling in the mines for the Welshmen.
-

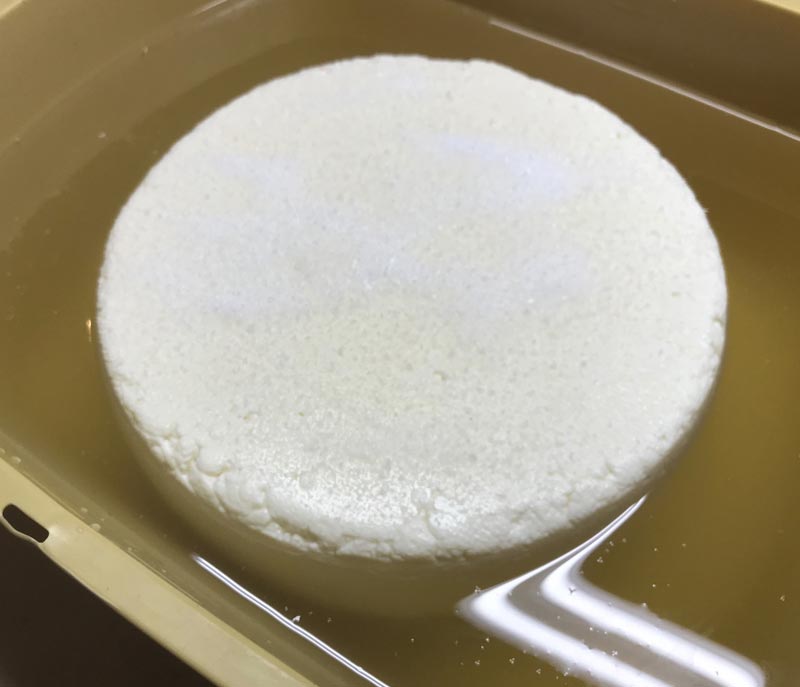
Brining
Once the final pressing is finished remove cloth and mold then place the cheese into a salt brine.
A simple brine formula is:
- 1 gallon of water
- 2.25 lbs of salt
- 1 Tbs calcium chloride
- 1 tsp white vinegar
- Bring the brine and cheese to 50-55°F before using
The cheese will float above the brine surface so sprinkle another teaspoon or 2 of salt on the top surface of the cheese.
Let the cheese soak in the brine for about 45 minutes per 2 lb of cheese. Flip the cheese and re-salt the surface about half way through the brine period.
-

Aging
Remove cheese from the brine and gently dry off the surface. Now place the cheese onto an aging mat and move to it’s final aging space at 52F with 90-95% humidity If needed, a covered container can be used to elevate the humidity while aging.
Turn the cheese daily, because this is a natural rind cheese, expect mold growth in just a few days.
If added in step one, the optional Mycodore powder will help provide a consistent rind with a light, dusty white surface.
A rustic and mottled rind will naturally grow if you omitted Mycodore. This will be similar to the black and white mosaic of Tomme de Savoie.
As molds grow simply pat them down around the surface of the cheese. There is no need to brush this mold off.
Natural molds develop from ambient spores in the environment, if there is little to no development find a good cheese shop with similar natural rinds and rub them over your cheese.
Check the cheese daily for the first few weeks until the rind dries down and adjust the conditions as needed (temperature, moisture, fresh air). As needed switch to fresh aging mats or boards as they become too wet or dirty.
Two months of aging will produce a lovely cheese, although longer aging will allow for more complex flavors and a softening near the rind.
Info: Both types of rind are edible so you can choose to cut them off or or not, personally the rind is where a lot is going on in a cheese and we we find them to be quite interesting; almost all of the time.
Note: If blue/green mold begins to develop, dry the cheese down and reduce humidity.
Cheese Making Supplies
Related Products
You May Also Like


