


Formaggio Val'Campella Recipe
-

Yield
3 Pounds
-

Aging Time
~3 Months
-

Skill Level
Intermediate
-

Author
Jim Wallace


Formaggio Val'Campella Recipe Info
Formaggio Val’Campella Overview
History of Formaggio Val’Campella
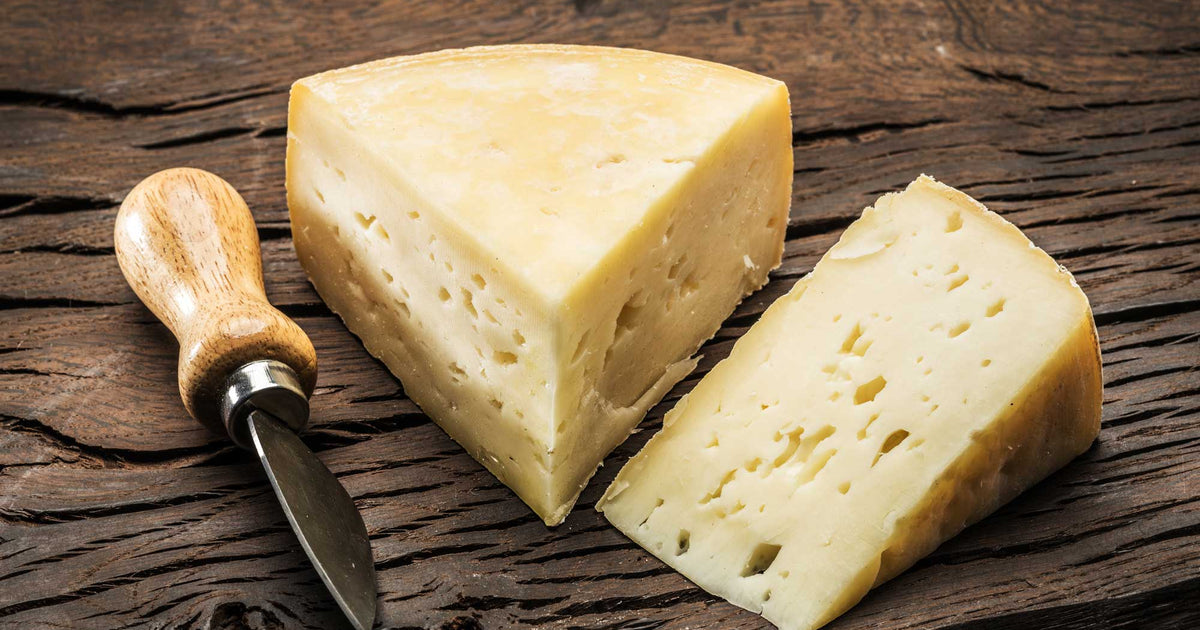
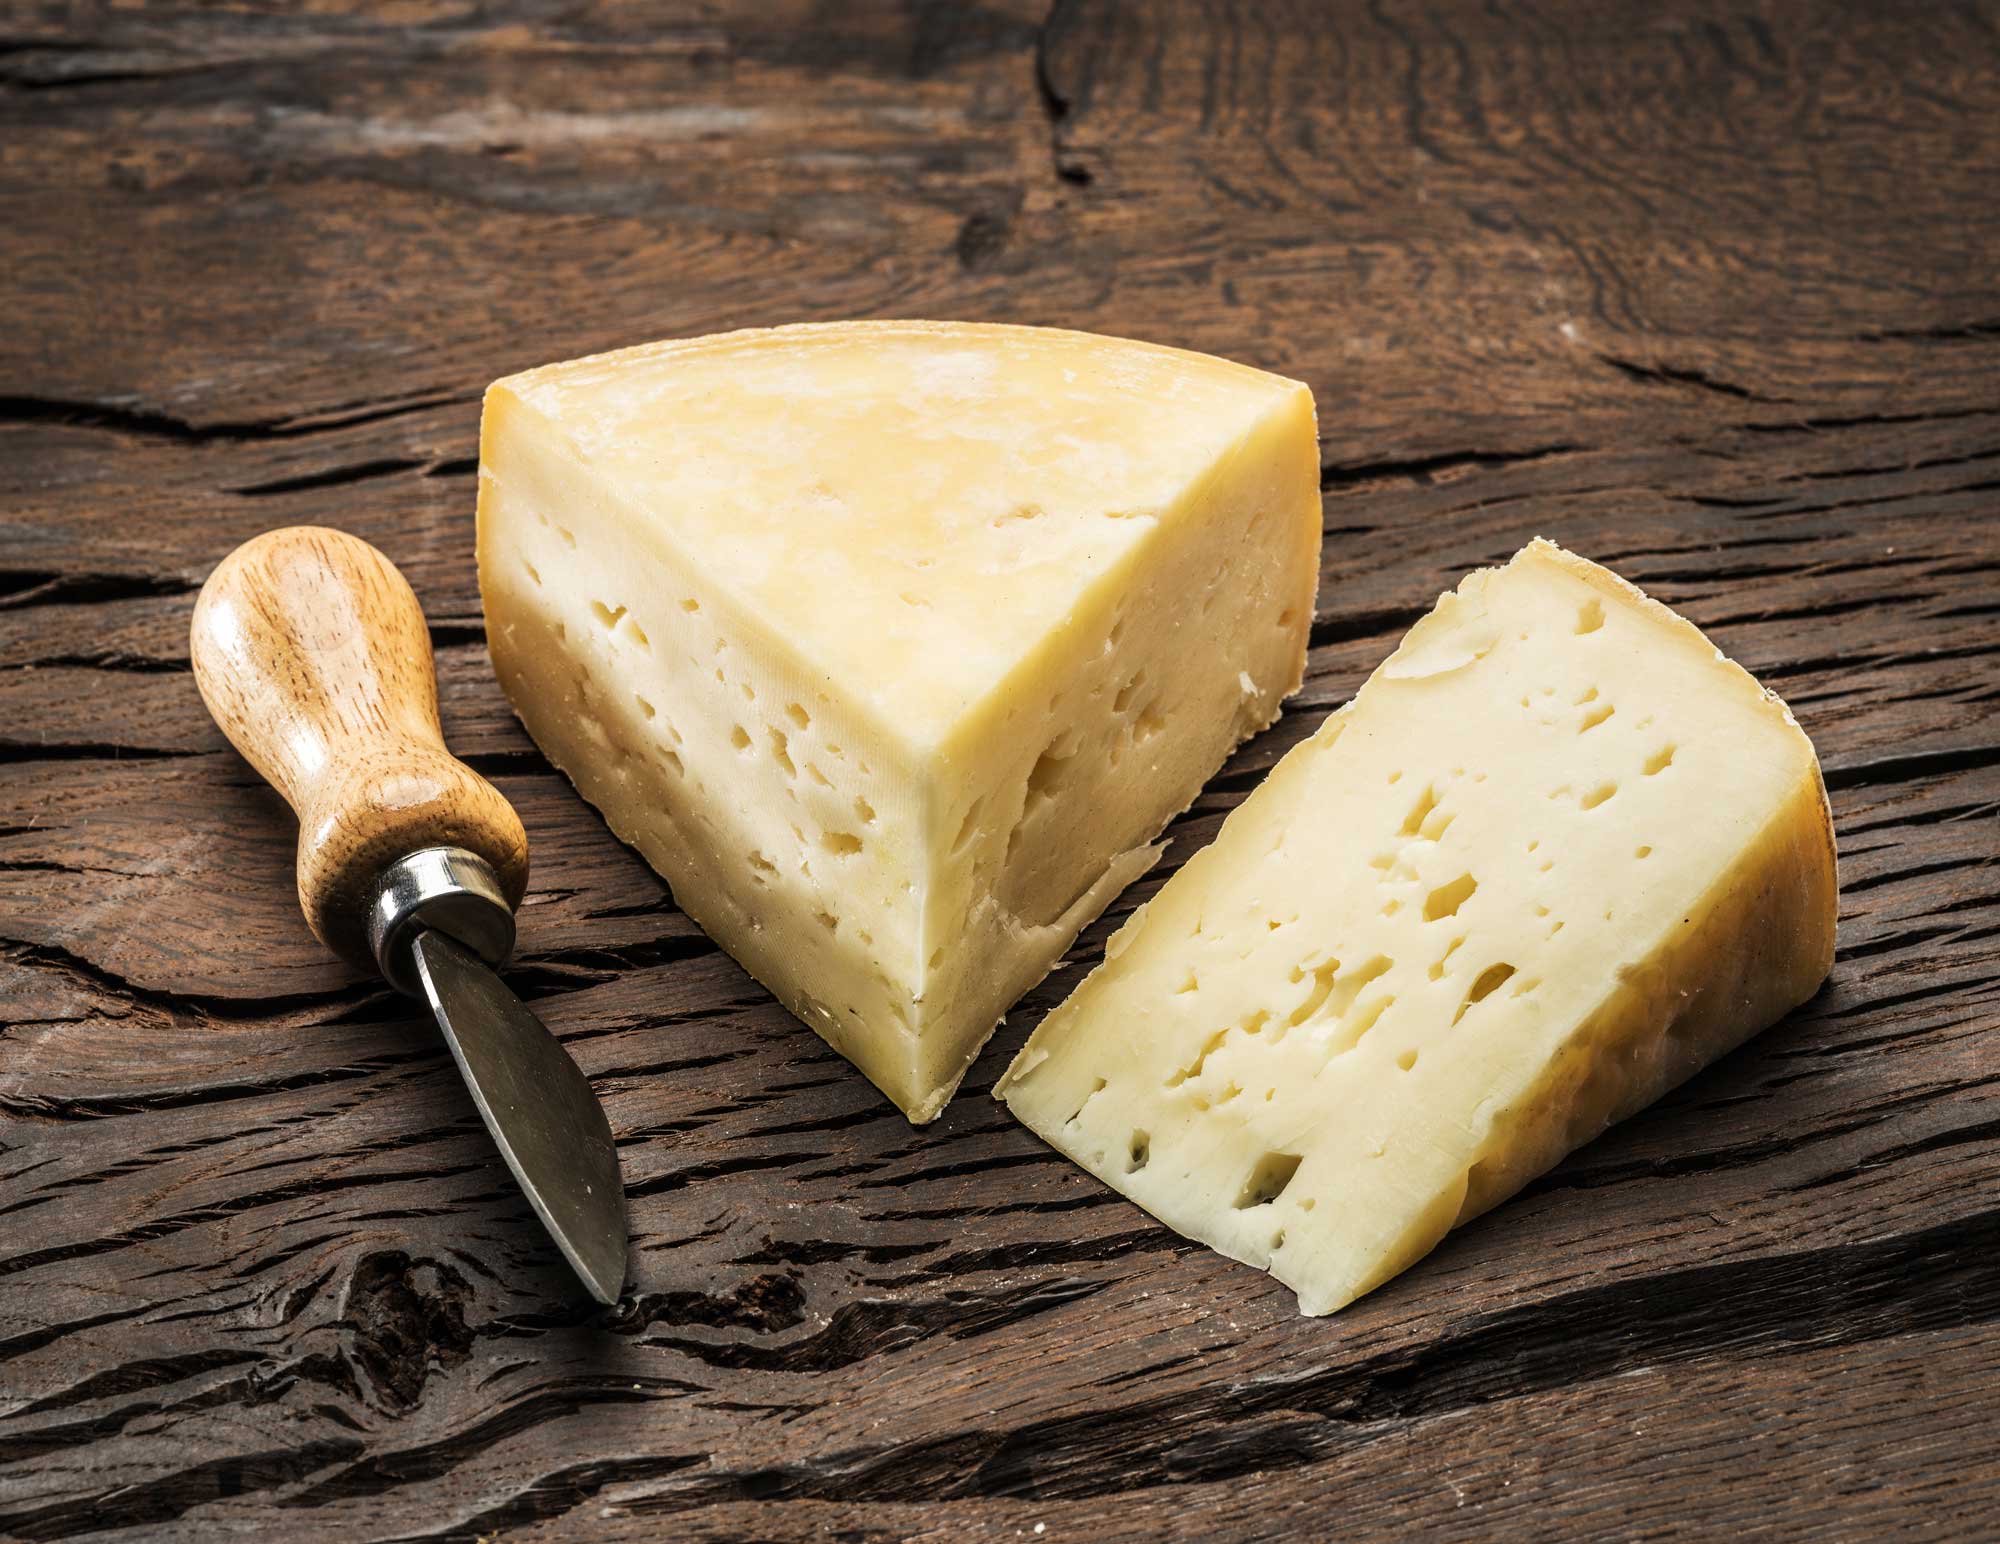
Characteristics of Formaggio Val’Campella
Cheese Making Process
Ingredients
Total price for selected items: Total price:

Instructions
Although this guideline has many steps, it is fairly quick to make. Before making your cheese it’s a good idea to read through the recipe to become familiar the process.
-

Heat & Acidify Milk
Begin by heating the milk to 98F. Do this by placing the milk pot in a larger pot or sink of very warm water (a water bath). If heating milk in a pot on the stove be sure to heat the milk slowly and stir it well as it heats.
If using pasteurized milk add calcium chloride as the milk is heating.
Add and mix in 25g (0.88oz) of salt as the milk is heating. This salt will help slow bacteria and control a sweet flavor.
Note: It is always best to add salt by weight and not by volume because of different grain size.
Once the milk is heated to 98F add the proper culture for the type of milk you’re using (listed in the ingredients above).
To prevent the powdered culture from caking and sinking in clumps sprinkle the powder over the surface of the milk and then allow about 2 minutes for the powder to re-hydrate before stirring it in.
After mixing in the culture let the milk sit quiet at the target temperature for about 45 minutes (30 minutes for raw milk).
Note: At this time begin heating a gallon of water to 140F that will be used in the warm water wash step number 4.
-

Coagulate with Rennet
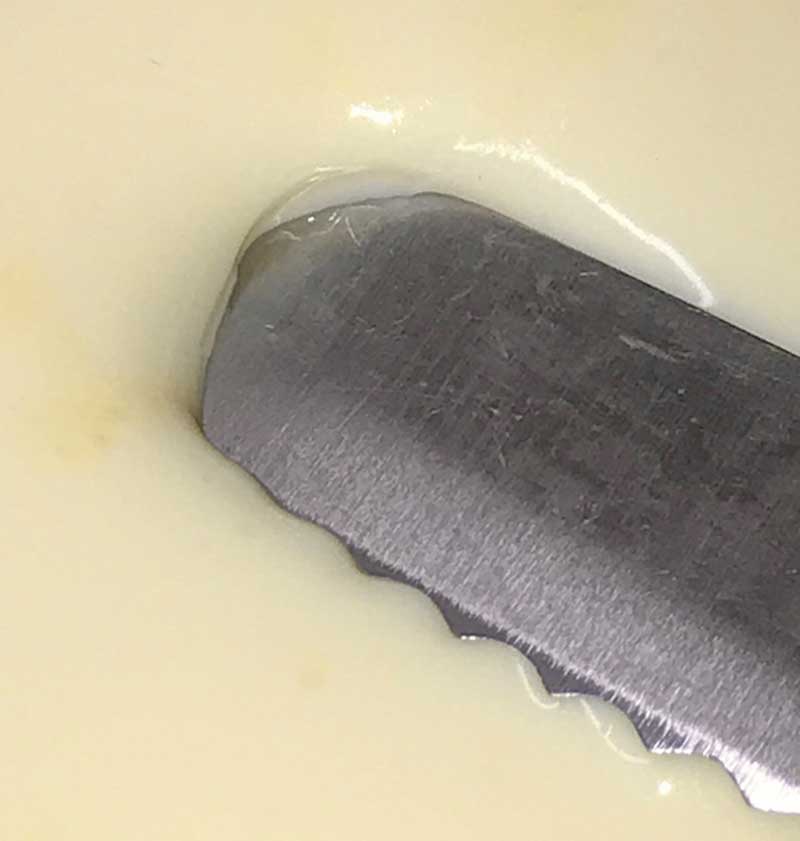
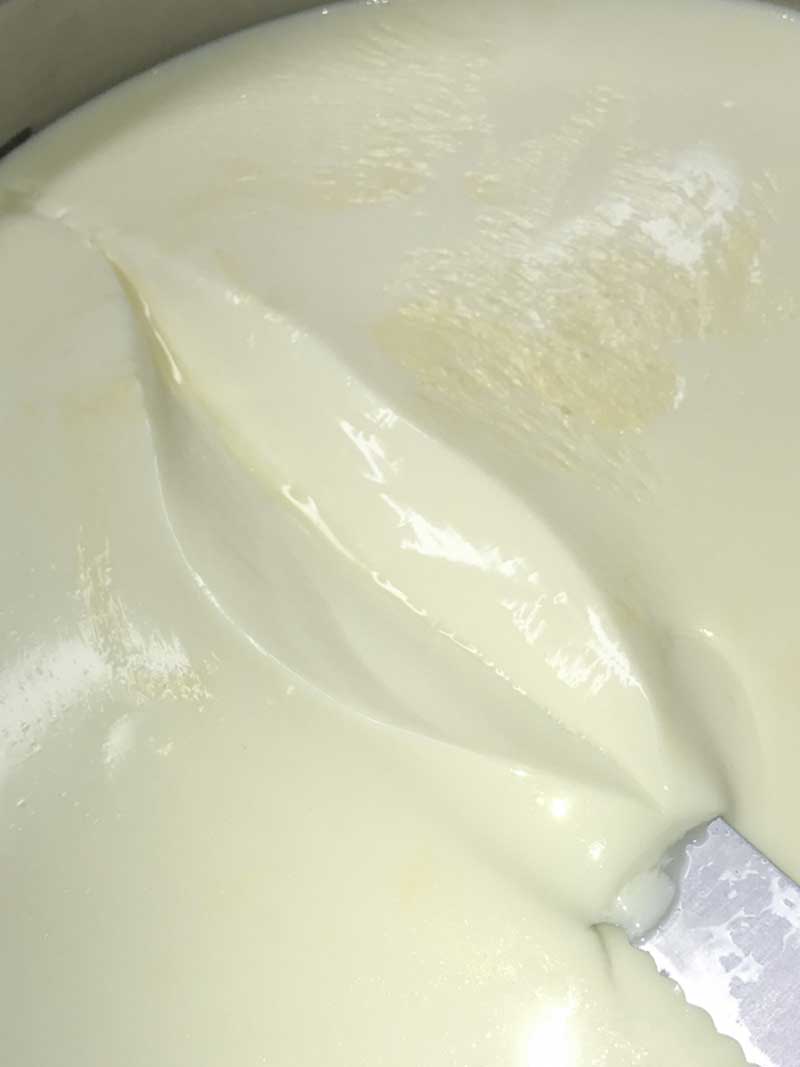
Add rennet and slowly sir in with an up and down motion for 1 minute
Let the milk sit quiet for an additional 25-30 minutes while the rennet coagulates the curd.
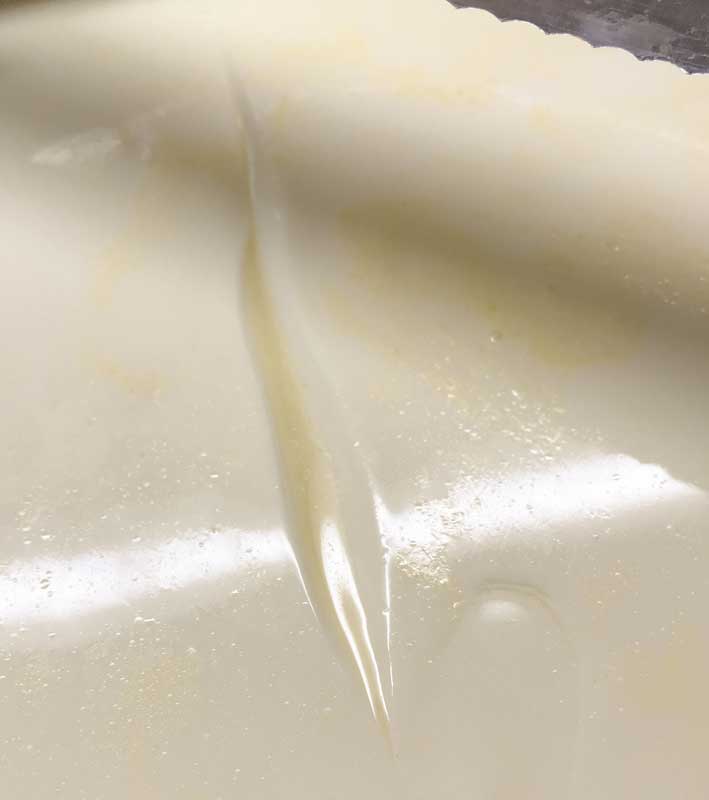
The milk will begin to thicken at about 10-12 minutes, but allow it to coagulate to firmness.
Tip: It is always best to check for a firm coagulation and if needed let sit for as much as 50% longer. The next time you make the cheese, adjust the rennet amount if needed (more rennet for a quicker set).
Note: The thermal mass of the milk should keep it warm during this period. It is ok if the temp drops a few degrees during this time.
-
Cut Curd
Once the milk has set well, it is time to cut the curd. Begin by precutting the curd mass into 1.5 inch vertical strips in both directions, then let the curds rest 2-3 minutes.
Next cut the strips into 3/8-1/2 inch cubes, then let the curds rest for another 2-3 minutes.
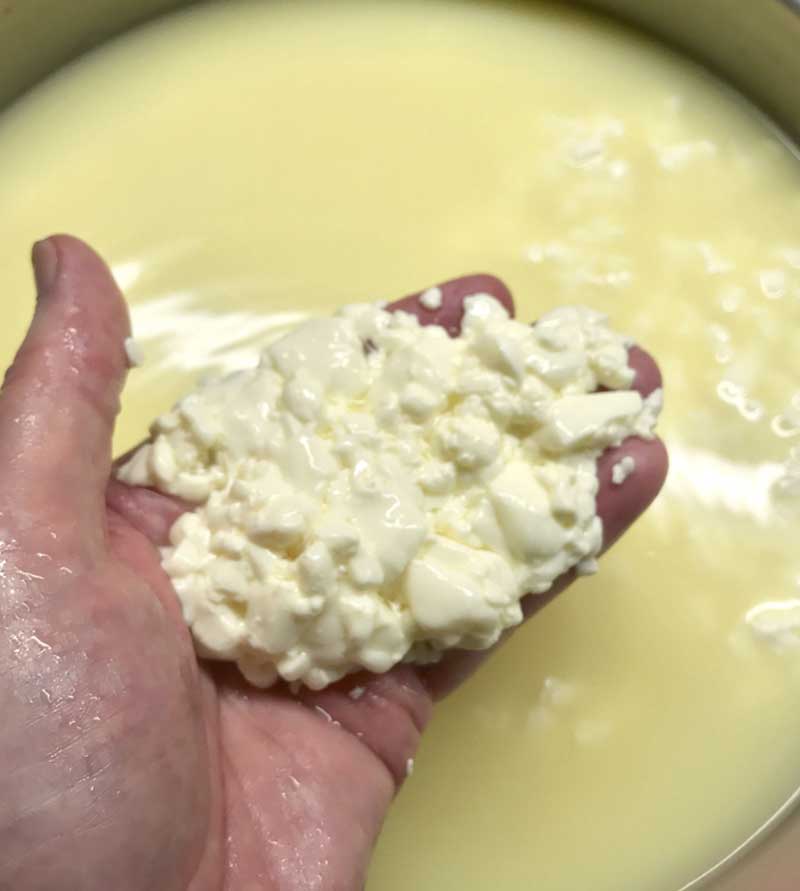
After the final rest slowly stir the curds for 10-15 minutes, just enough to keep the curds moving and not too quickly as to break the curds into smaller pieces.
The rest and stirs are important to prepare for the cooking phase that comes next. Without it, the curds would break further and loose too much moisture.
-
Wash & Stir Curds
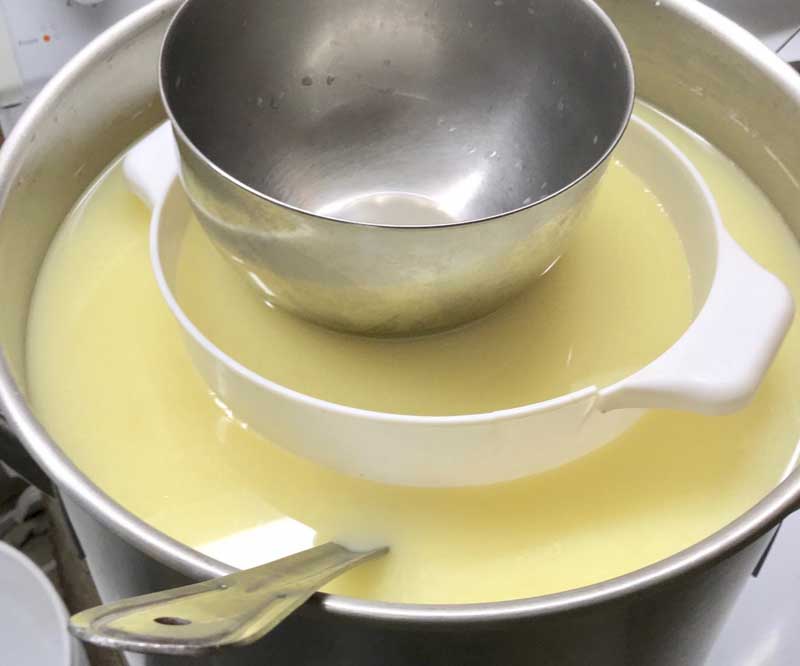
Let the curds settle to the bottom of the pot, then remove 2 quarts of whey. This will slow the culture activity for a sweeter cheese (by removing the bacterias food supply, residual lactose in the whey).
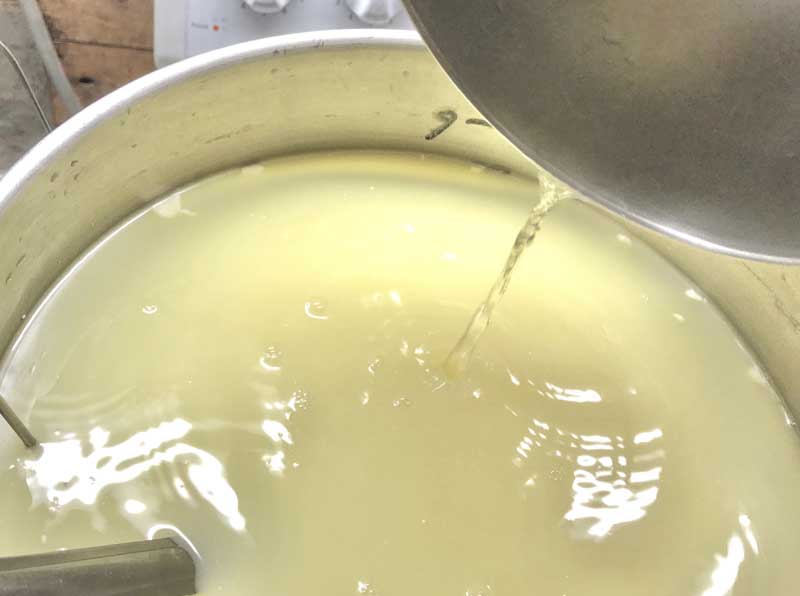
Over the next 20 minutes slowly stir the curds and add warm water, heated to 140F, to the pot to replace the amount of whey that was removed. This should increase the curd temperature to 106F.
As the curds are stirred moisture will continue to be released from the curds.
Once the temperature is 106F, stir slowly an additional 20-30 minutes.
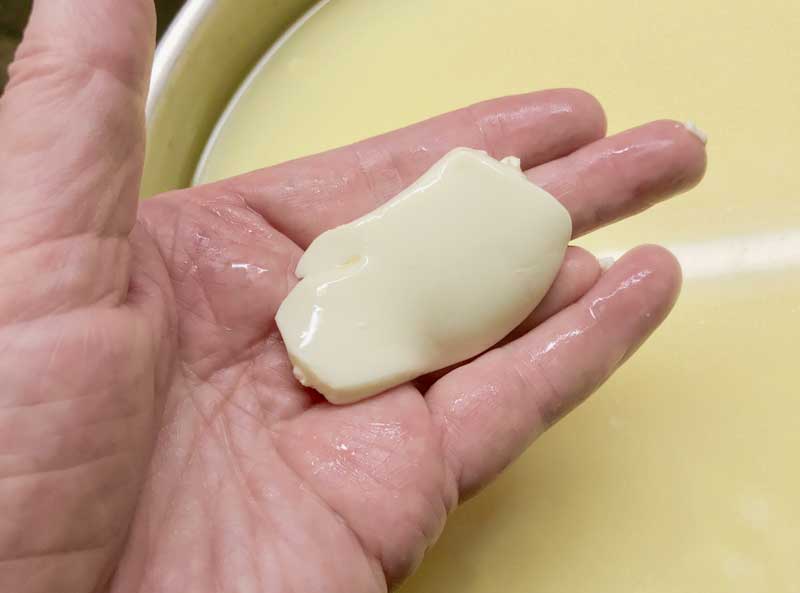
The final curds should be cooked well through and be examined to make sure enough moisture was released. The curds should have a moderate resistance when pressed between the fingers and a broken curd should be firm throughout.
When this point is reached the curds can be allowed to settle under the whey.
-
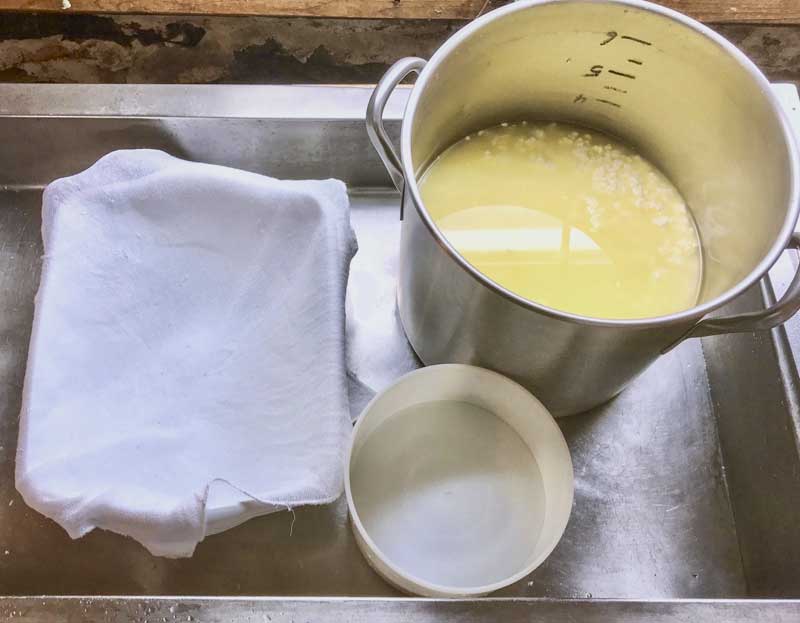
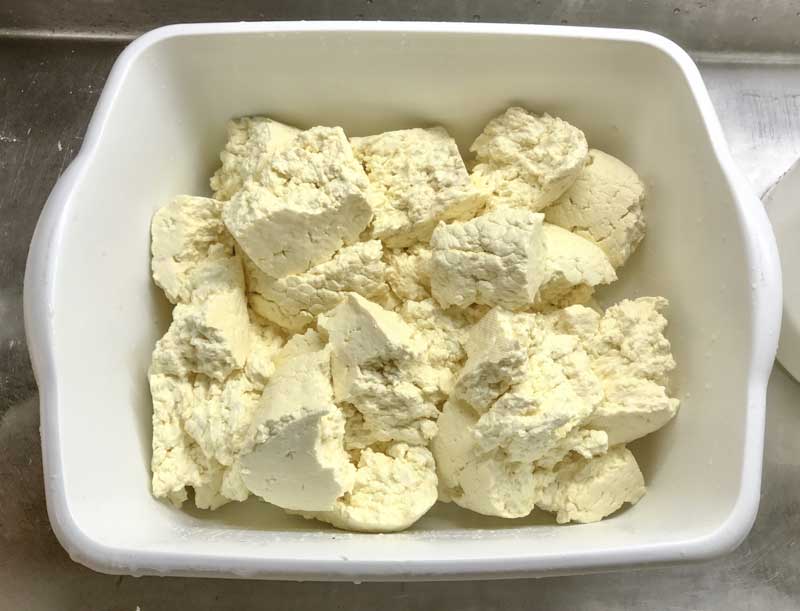
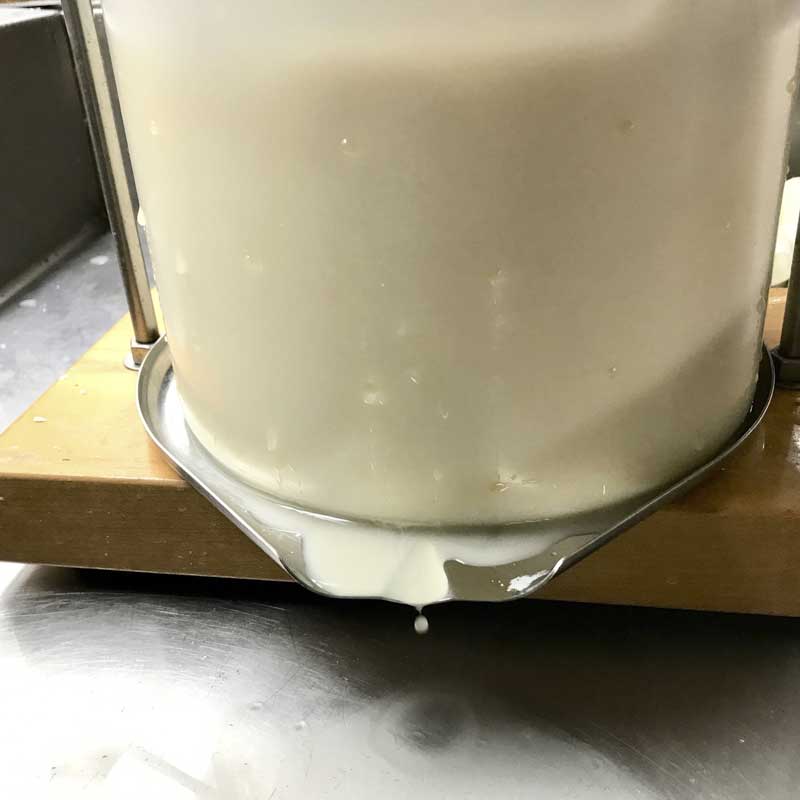
Drain Curds
Once settled the curds can be transferred into a colander or perforated draining pan (as shown) lined with butter muslin. The cloth should be folded over the top surface as well.
Let the curds drain for a few minute, or until the dripping slows. For this cheese the curd mass should be pressed with a moderate to light hand pressing during the initial draining to encourage consolidation (similar to Cheddar).
-
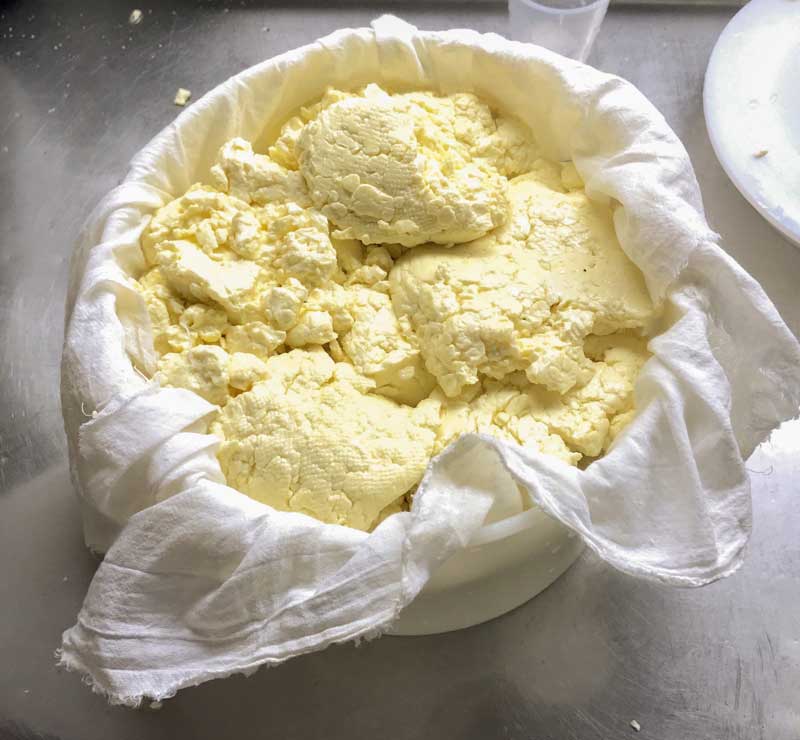
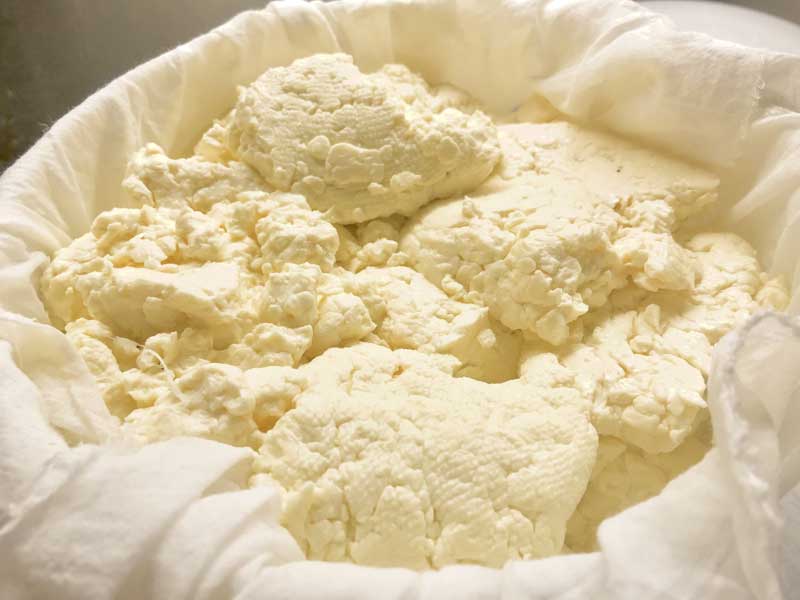
Break Curd Mass & Salt
Once the curd mass has consolidated, open the cloth and begin breaking the curd into smaller 2-3 inch pieces.
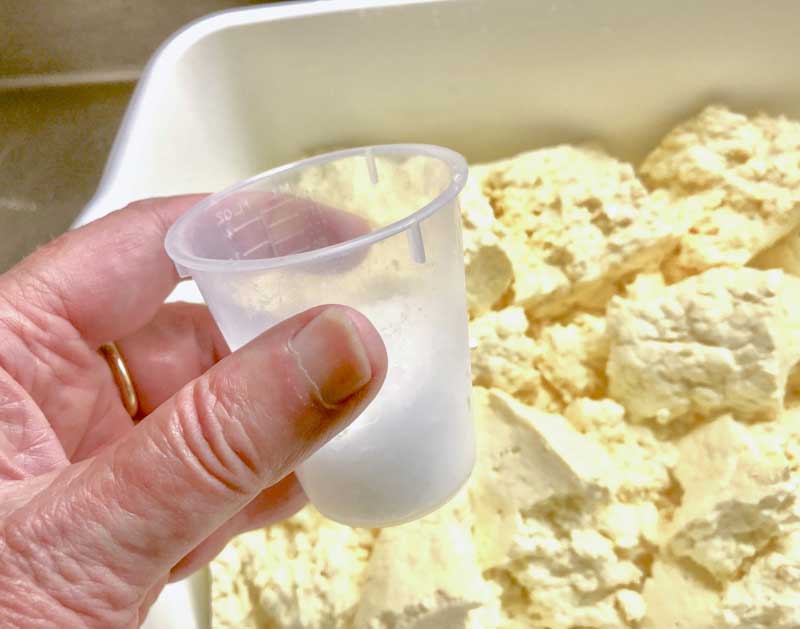
Once the curd is well broken, evenly distribute 25g (0.88 oz) of salt to the curds. Split this into 2-3 cycles of salting with good distribution allowing each dose to form a brine and sink into the surfaces before adding the next (3-5 minutes between each salting).
Note: Before being broken up, the curd mass should have a consolidated texture along with many small mechanical fissures and openings. These will provide an open texture for small gas holes to develop during the ripening time.
-
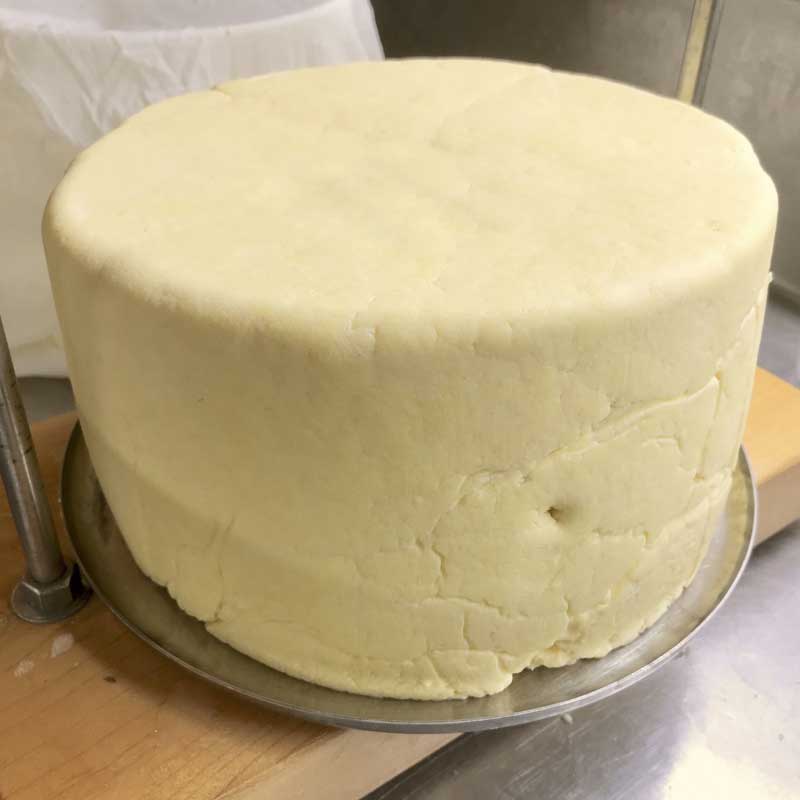
Form & Press Curds
Transfer the salted curds into a cheese mold, pack them in with a very firm hand pressing as each addition of curds is added. Even with packing this will look very loose and bulky.
Next place the follower on top and begin to press the curds following the pressing schedule below.
Initially there may be a small stream or slow drips while pressing. As the cheese is pressed its temperature will continue dropping, towards the end of pressing it should still be around 75-80F.
Between each pressing duration remove the cheese from the mold, unwrap, flip and re-wrap before placing it back into the mold and continuing onto the next pressing duration.
- 10lb for 1 hour
- 10lb for 1 hour
- 15lb for 1 hour
- 15lb for 1 hour
While pressing the curds should still be quite moist and elastic and will eventually form a very well consolidated surface with few cracks and fissures. If the surface is not tight press for longer and/or add a bit more weight.
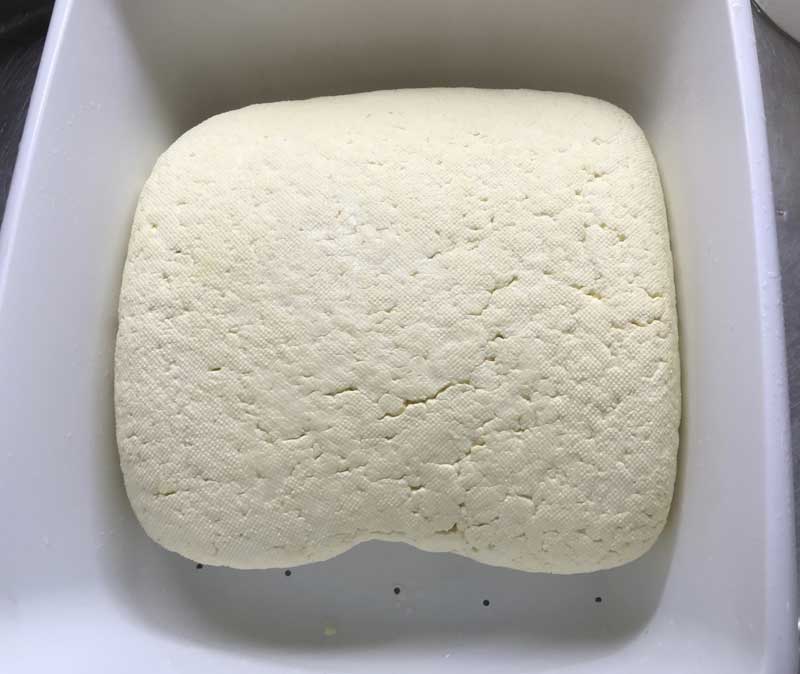
The final cheese should feel very soft and springy. When done move the cheese to a cool space overnight 65-70F and allow it to remain in the cheese mold until next morning with no weight.
-
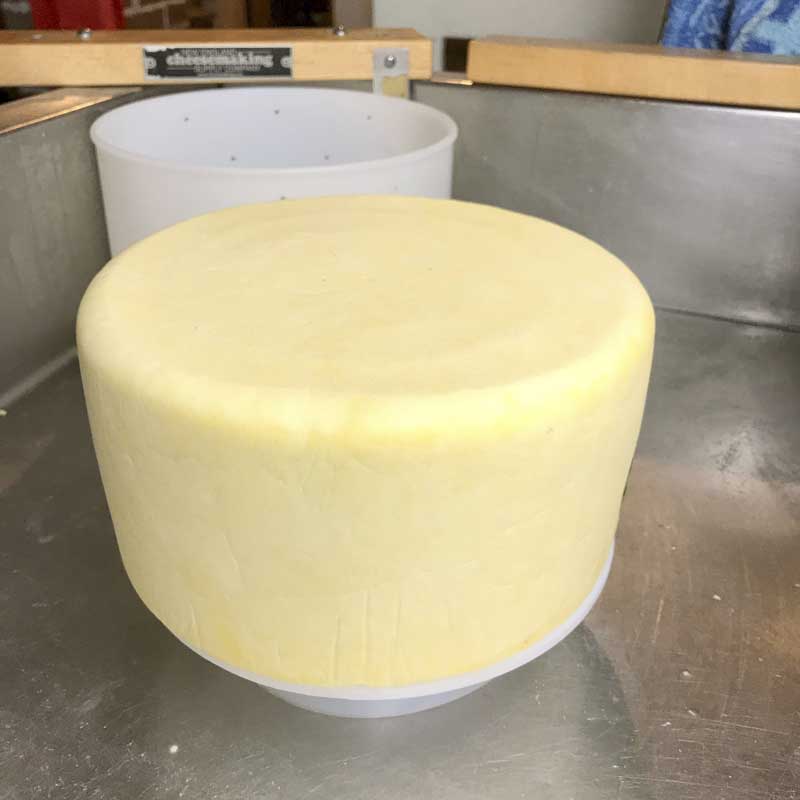
Cool Rest
At this point the cheese should show a very well consolidated surface with no holes cracks or fissures, although it may appear somewhat lumpy
The following morning the cheese will have cooled somewhat, however the final fermentation of natural yeast and bacteria inside the cheese will continue to work.
The cheese can now be removed from the mold and allowed to rest on a wood board or cloth to absorb any residual moisture, while resting cover the cheese with a loose cloth. At this point there is still enough residual lactose inside to feed the slow work of cultures inside.
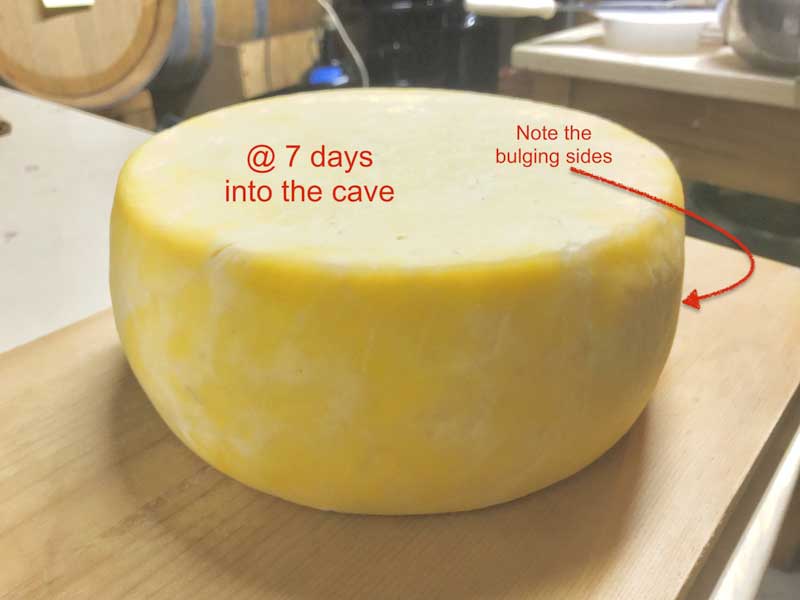
Keep the cheese at 65-70F for the next several days (3-5) as the process continues. Turn the cheese at least twice each day, replace the cloth or board if wet.
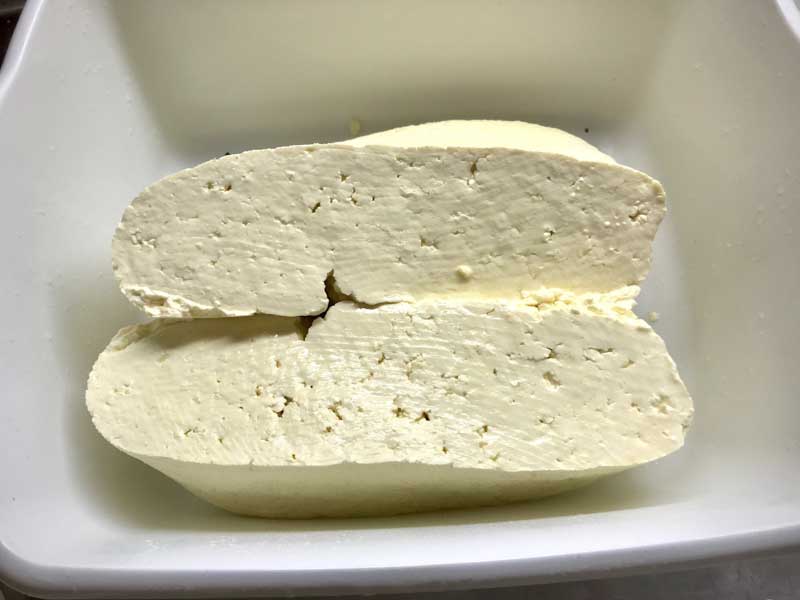
It will be very slow but you should note the sides and top beginning to bulge slightly as the gas is produced (along with a more buttery flavor).
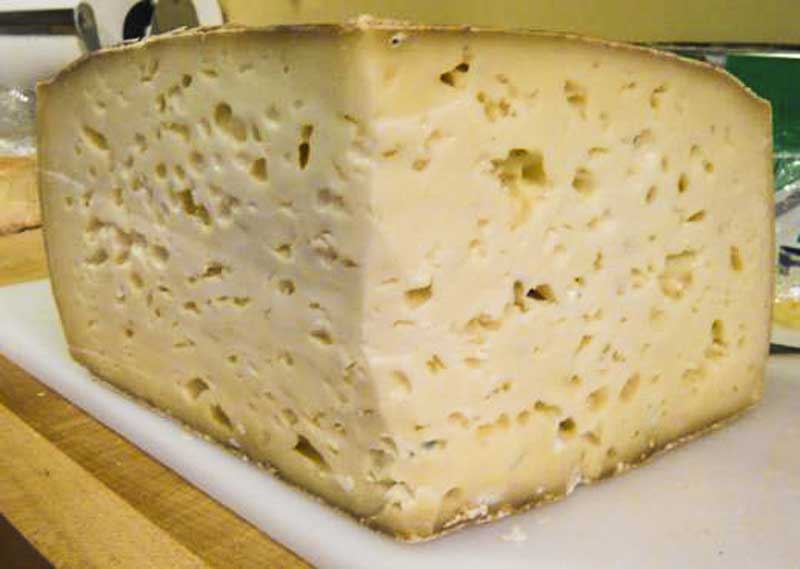
This small amount of gas production as well as flavor is typically held inside the cheese due to the elastic structure created. These are not like the holes in a Swiss style cheese but smaller and irregular holes. They are formed by bacteria and yeast producing small amounts of CO2 that are trapped within during this warmer ripening, after pressing.
When there is a slight gas expansion causing the surface or side bulging the cheese is ready for the final salting. A sharp slap on the surface of the cheese should resonate with a hollow sound rather than the dull ‘thud’ of a firmer and more closed cheese.
-

Dry Salting
This is the third and final addition of salt. This addition will help dry down the cheese and toughen the rind for aging.
Use about 7-8g of salt for each surface. To do this salt one surface and side, and let it form its own brine by pulling moisture from the cheese. Let this be absorbed, rubbing the surface to distribute evenly, then wait to soak in. Then turn the cheese and repeat with the same process. Once the surface seems dry the cheese is ready for aging.
-
Aging
Finally the cheese is ready for a short maturation of 2-3 months in a cave at 52F with 85-90% Humidity.
This cheese should be turned at least daily at first and less frequently as it ages and the rind dries. Any mold appearing on the surface should be brushed clear or wiped with a brine damp cloth.
If the cheese is made a bit drier its aging can continue to 6-9 months for stronger flavors.
Once cut note the beautiful open structure internally and enjoy this beautiful cheese.
Cheese Making Supplies
Related Products
You May Also Like


%20with%20a%20v...
)