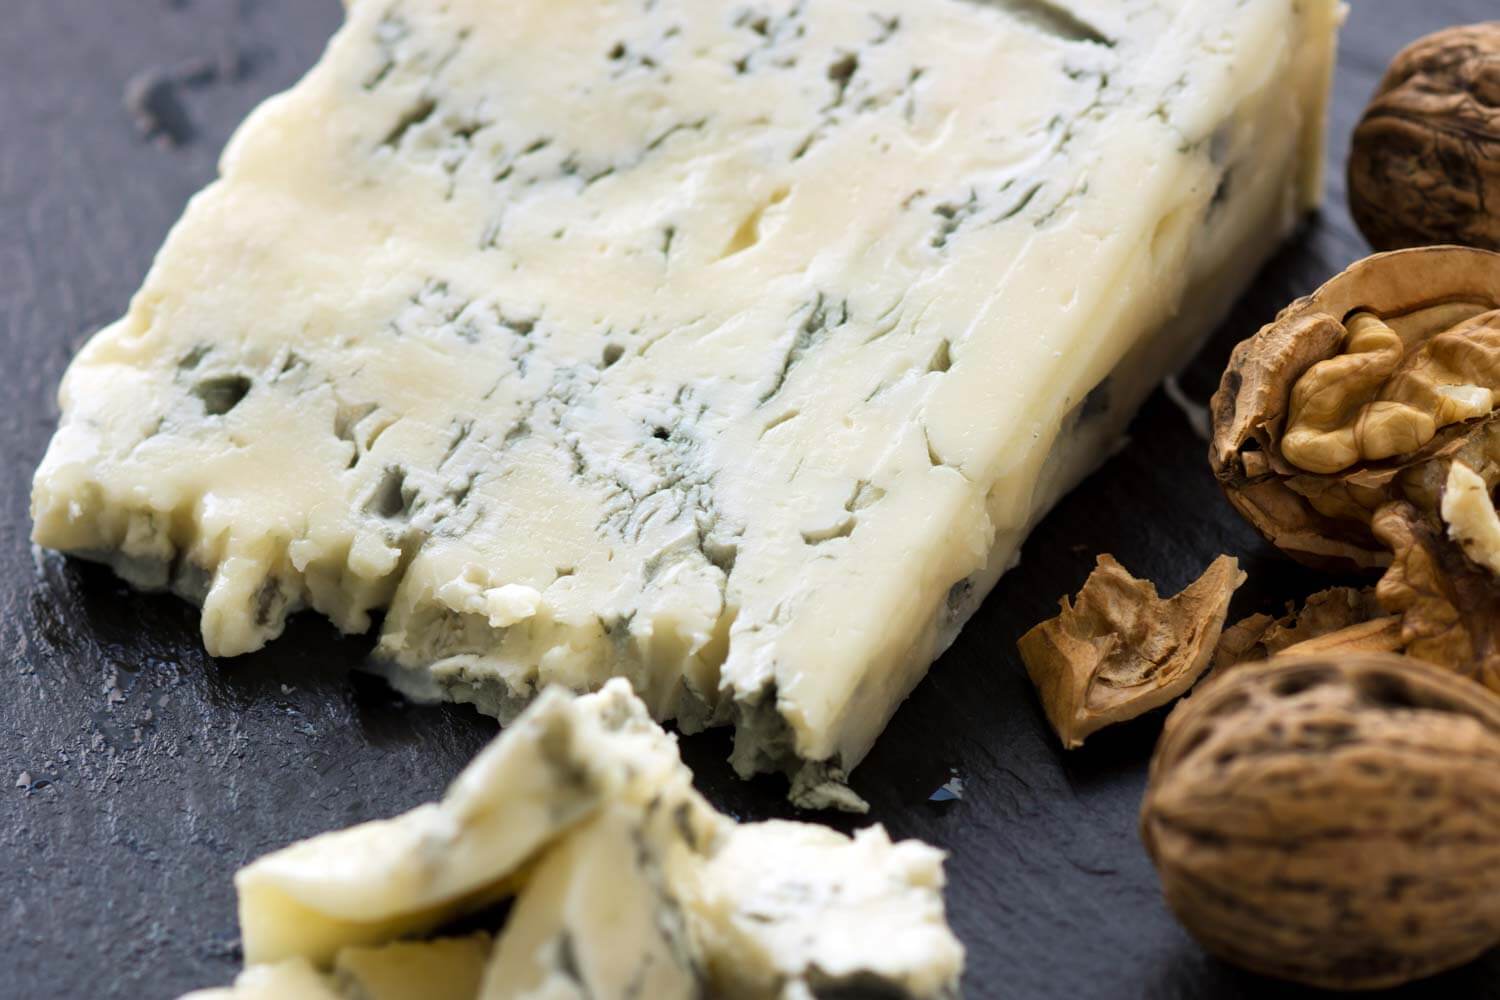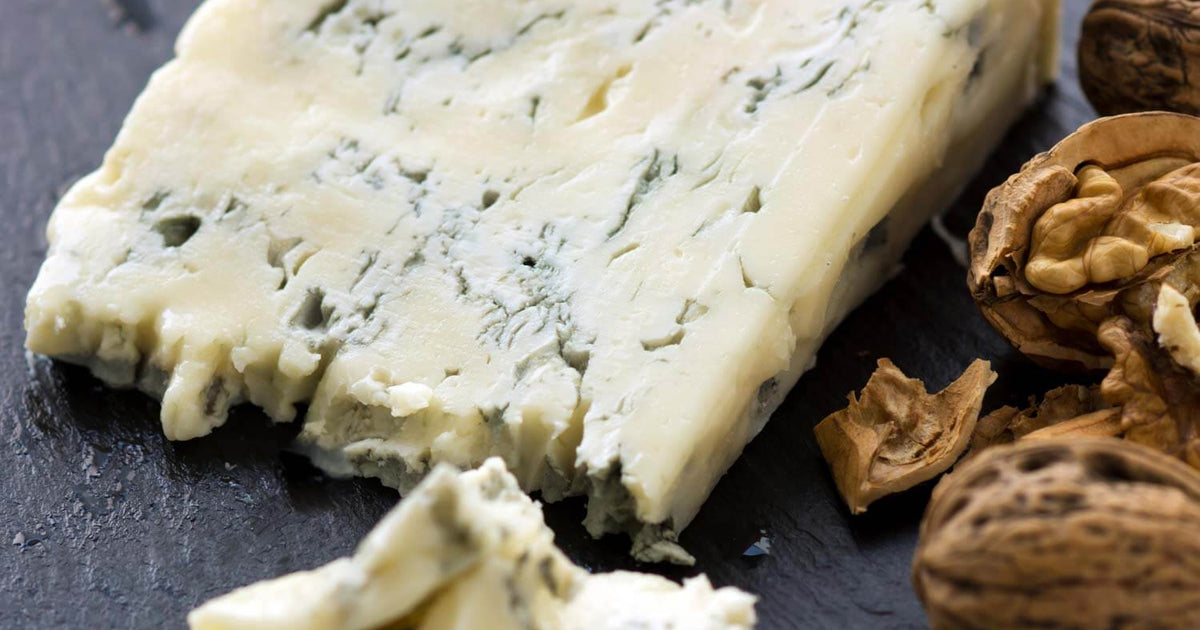
Gorgonzola Dolce Cheese Making Recipe
-
Aging Time
~3 Months
-
Skill Level
Advanced
-
Author
Jim Wallace

Gorgonzola Dolce Cheese Making Recipe Info
Origin of Gorgonzola Dolce
Character and Texture of Gorgonzola Dolce
Flavor and Aging of Gorgonzola Dolce
Serving and Use of Gorgonzola Dolce
Ingredients
Total price for selected items: Total price:
Instructions
-


Acidify & Heat Milk
Add blue mold to a small amount of milk to rehydrate about 1/2 hour before adding it to the full batch of milk. This allows it to acclimate and incorporate well.
Begin by heating the milk to 90F (32C). You do this by placing the pot of milk in a sink of very warm water. If you do this with a pot on the stove make sure you heat the milk slowly and stir it well as it heats.
Once the milk is at 90F the cultures and re-hydrated mold can be added. To prevent the powder from caking and sinking in clumps sprinkle the powder over the surface of the milk and then allow about 2 minutes for the powder to re-hydrate before stirring it in. Stir the milk well then stop stirring and allow the bacteria to work for 60 minutes while keeping at 90F (If the cream tends to rise it is OK to stir it back in briefly).
-

Coagulate with Rennet
Next add the single strength liquid rennet.
The milk now needs to sit quiet for 30 minutes while the culture works and the rennet coagulates the curd . Keep the developing curd at 90F during this time.
-


Cut & Stir Curds
Once the curd has formed well it can be cut. Begin with vertical cuts about 1" apart forming a checkerboard pattern on the surface. Then, using the spoon, break the resulting long strips by cutting crosswise in the vat but being very gentle.
When finished, stir the curds gently for 5 minutes and then allow the curds to rest for 15 minutes with only a brief gentle stir every 3-5 mines to keep them separated.
At the end of this rest, remove about 1.5-2 quarts of whey from the pot.
Again, stir the curds gently for 5 minutes and then allow the curds to rest for 15 minutes with only a brief gentle stir every 3-5 minutes to keep them separated.
This stirring and whey removal will harden the outside of the curds to keep them from matting in the mold. This provides the openings for mold development in the aging cheese. It is important to keep the curds at 90F during all of this.
-


Drain Curds
During the resting period, sanitize a colander and butter muslin for the final curd draining.
The moist curds can now be transferred to the colander lined with butter muslin. They should be allowed to drain for several minutes and a gentle stirring will make sure that the whey drains off. It is essential to be gentle with these curds, since they are very soft, and not break them. You can assist the drainage by pulling up on the edges of the cloth and gently separating the curds.
Counter to what is done in consolidating curds well for other cheeses, the goal here is to keep the curds separate and allow the surfaces to harden somewhat. This will keep them separated when placed in the molds and preserve the open spaces inside the cheese for the blue to grow.
-


Mold Curds
The mold should be sanitized along with 2 of the draining mats. A rigid plate or board placed underneath will also help in turning this cheese. Prepare the mold by laying down a draining mat with the mold placed on top. No cheesecloth needs to be used with this.
The curds can now be placed in the molds. They can be packed in more tightly around the edge to make a better surface for the cheese but the center should be quite loose to assure the proper openings for mold growth.
It is quite important to keep the curds warm for the next several hours while the cultures continue to produce acid. I do this by placing the draining curds in a warm draining table with pans of hot water and an insulated cover and board to keep it all warm. You can easily do this by using a large insulated cooler with warm bottles of water. The target temp is 80-90F for the next 4-6 hours.
There is no weight used on this cheese but the mold should be turned 5 minutes after it has been filled to allow the weight of the cheese to form a smooth surface. The cheese should then be turned several more times during the first hour and then at least 1 time each hour for the next 4 hours.
By the next morning the cheese should be well consolidate but you may see some rough surfaces or openings. Do not be concerned by this.
-


Salting
We prefer to dry salt this cheese because of the open nature of the cheese body. Normally using about 2-2.5% of the cheese weight in salt for this. For this cheese you will need 1 oz. of a medium coarse cheese salt. This will be about 4 tsp. of our cheese salt but it is better to measure by weight because different salts have different weight/volume ratios. For dry salting, use 1/4 of the salt to begin with and apply to the top surface only, then spread it evenly with your hand and pat the salt onto the sides as you go. Allow this to dissolve and soak into the cheese. I generally take the cheese out of the mold for salting and then replace it in the mold for the salt to be absorbed.
The next morning turn the cheese and apply the salt as you did previously.
Repeat this for the next 2 days as well.
-

Aging
The cheese is now ready for aging at 52-54F and 93-95% moisture. If the rind becomes dry, increase the moisture and if the surface becomes excessively wet, decrease moisture. Allow the cheese to age like this for 7-10 days. Then using a sanitized #2 knitting needle, pierce the cheese with holes about every 3/4 to 1 inch.
The cheese should now be ready for its final aging and will be ready for the table in about 90 days.
Cheese Making Supplies
Related Products
You May Also Like


