


Imeruli Cheese Making Recipe
-

Yield
3 Pounds
-

Aging Time
None
-

Skill Level
Beginner
-

Author
Jim Wallace


Ingredients
Total price for selected items: Total price:

Instructions
This easy cheese is wonderful for everyone, even the beginner cheesemaker, and can be enjoyed after just a few days of ripening.
-

Heat & Acidify Milk
Heat the milk to 86F. If heating the milk directly on the stove slowly stir the milk over a gentle heat until 86F is reached.
Once heated, add the culture. To prevent culture from caking and sinking, sprinkle culture over the surface of the milk and let re-hydrate for 2 minutes before stirring it in.
Keep the milk warm and still for 30-60 minutes (the longer time is for pasteurized milk).
Tip: It is best to heat the milk slowly. One way to do this is to set the pot of milk inside another pot or sink filled with warm water heated to 88-90F.
-
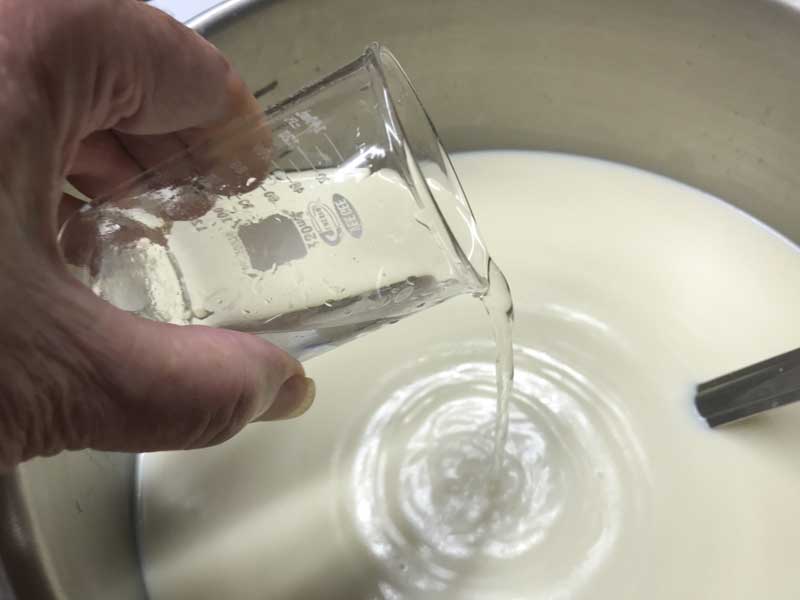
Coagulate
Add rennet and let the milk sit for an additional 60 minutes. The milk will begin to thicken after about 20 minutes, but allow it to coagulate for the full 60 minutes.
Once set, check for a firm coagulation, if curd is too thin it can sit for up to 30 minutes longer.
The thermal mass of the milk should keep it warm during this period. It is ok if the temperature drops a few degrees during this time.
-
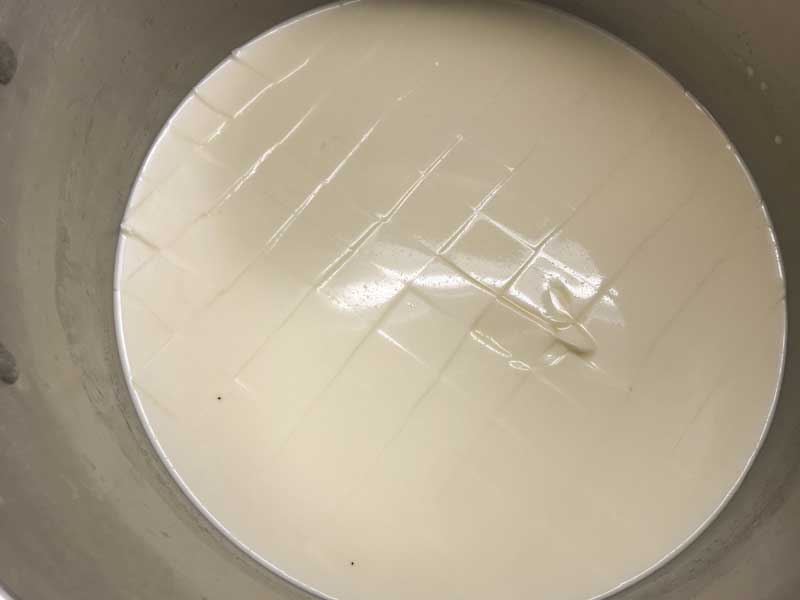
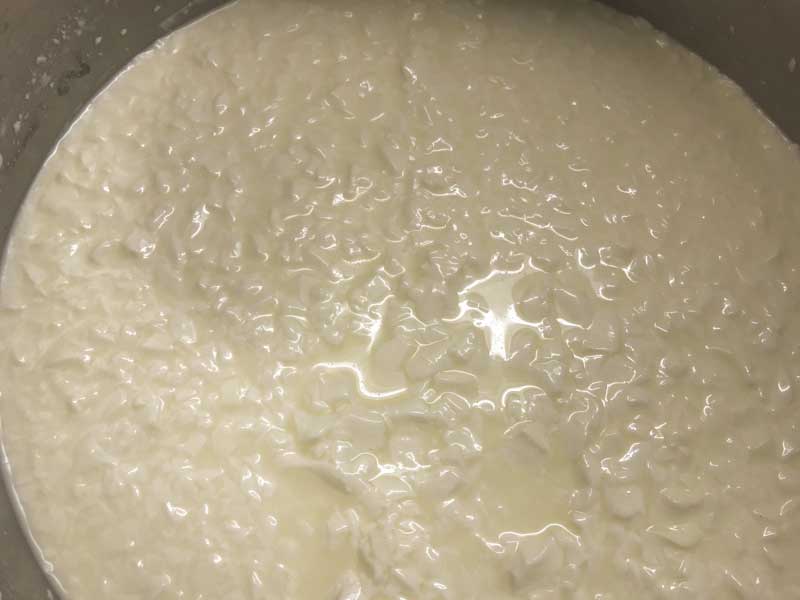
Cut Curd
Once the milk has set well evenly cut the curd mass vertically into 1” strips. After cutting allow the cut curd to rest for 2 minutes, so the cut surfaces can heal.
Next cut the strips into small 1/4” pieces and allow the curds to rest with no stirring for an additional 20 minutes.
Note: There is little stirring in this cheese to preserve the final high moisture for freshness. If you would like a drier cheese, add a bit of time for stirring early in the process
Info: In Georgia, the curds are traditionally cut with a thin branch that has several side branches clipped at 1-1.5”, debarked and boiled of course for sanitizing.
-
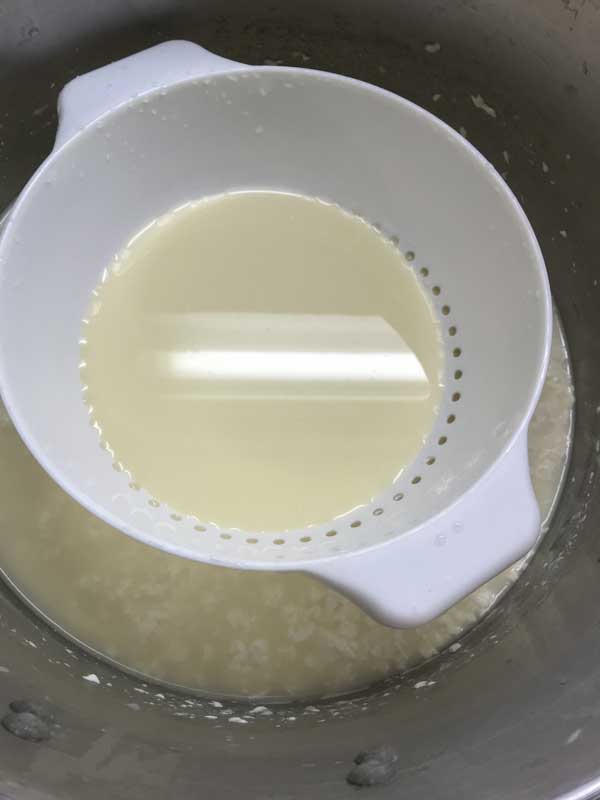
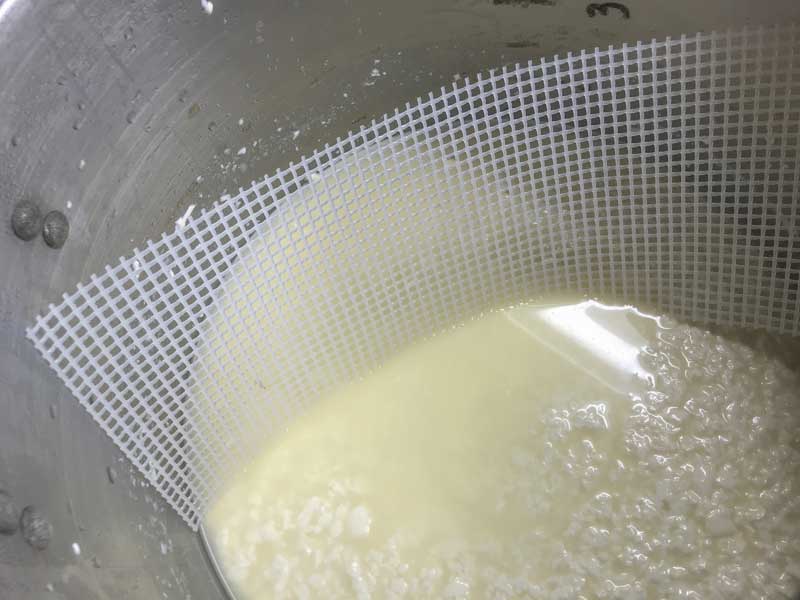
Remove Whey
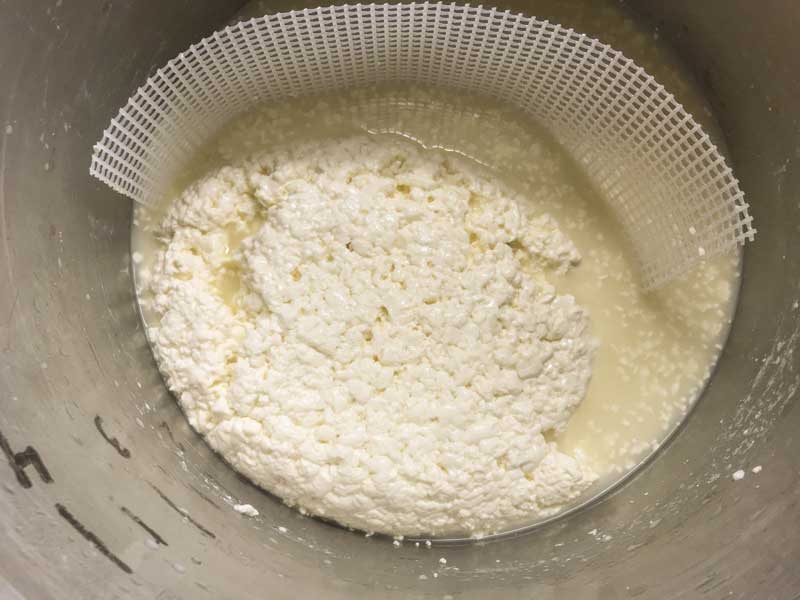
Remove half a gallon of whey from the pot and allow curds to settle again for 30 minutes. Then remove another half gallon of whey. Bring the curds to one side of the pot, consolidating them into a single mass using a bit of light hand presser during this step.
Tip: A long length of medium draining mat is a helpful tool for gently bringing the curds to one side of the pot, as shown in the photos.
-
Transfer Curd
The form should be shallow, the form pictured in this recipe is about 7.5” x 3”.
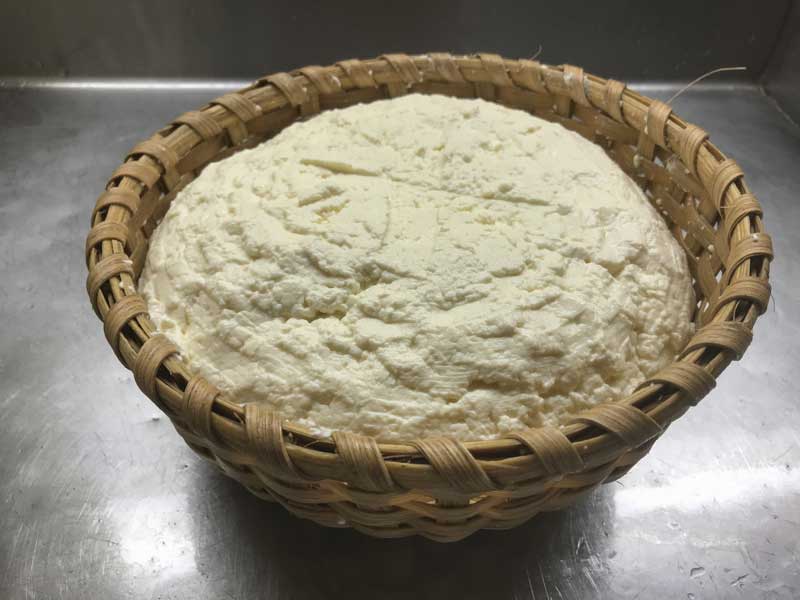
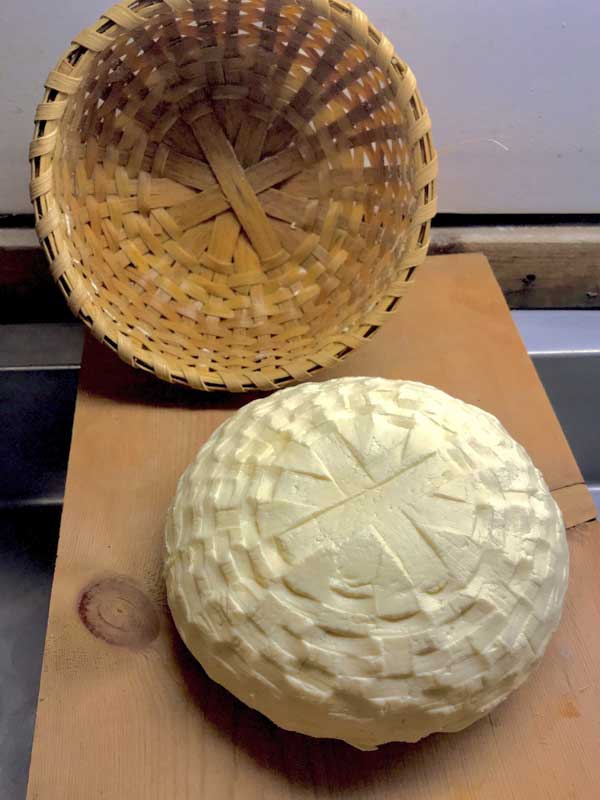
Gently transfer the curd mass into a draining basket or cloth lined colander. Remove the curds and flip them every thirty minutes. Note: the tight weave of a small bread basket allows easy flow of whey and no cloth should be needed.
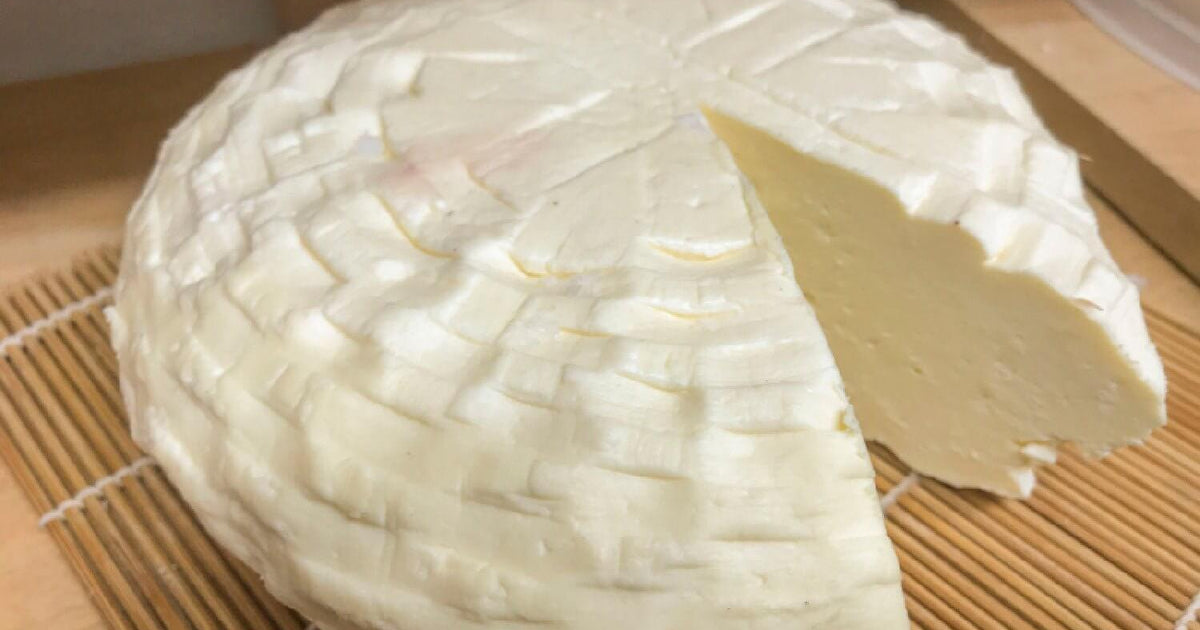
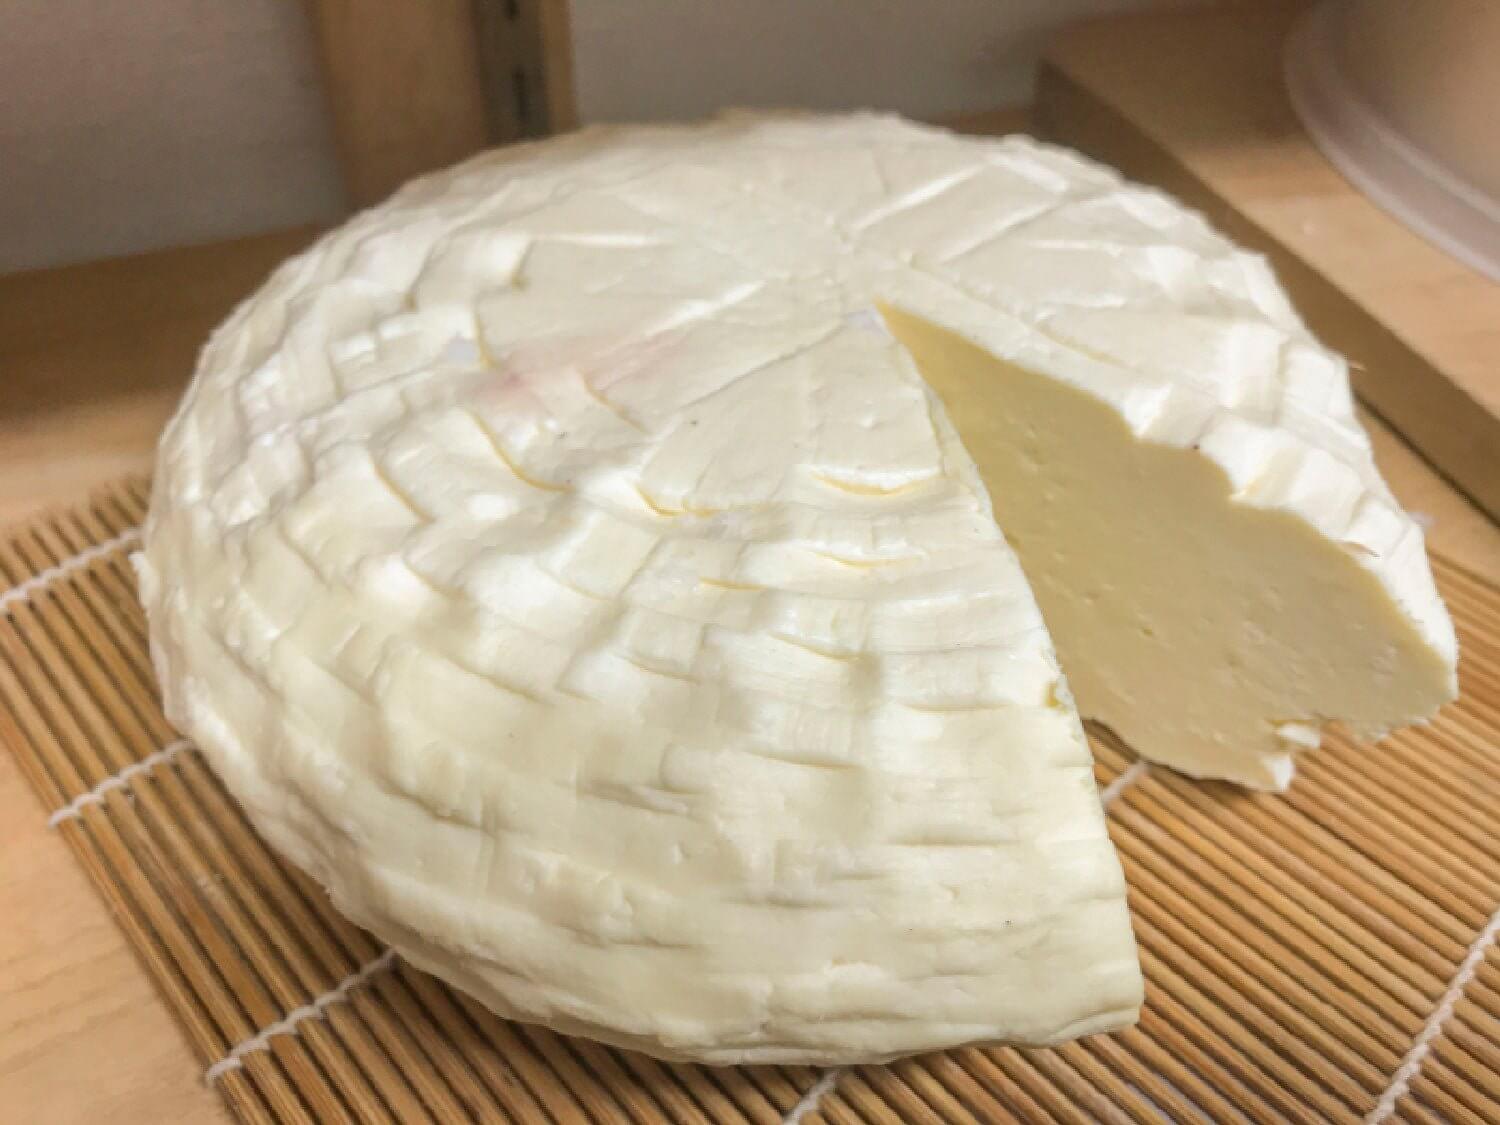
The form I use here is a split ash or willow basket (I had someone make a couple of these many years ago for cheese) I use to finish with the attractive dragon scale pattern.
-
Flipping & Draining
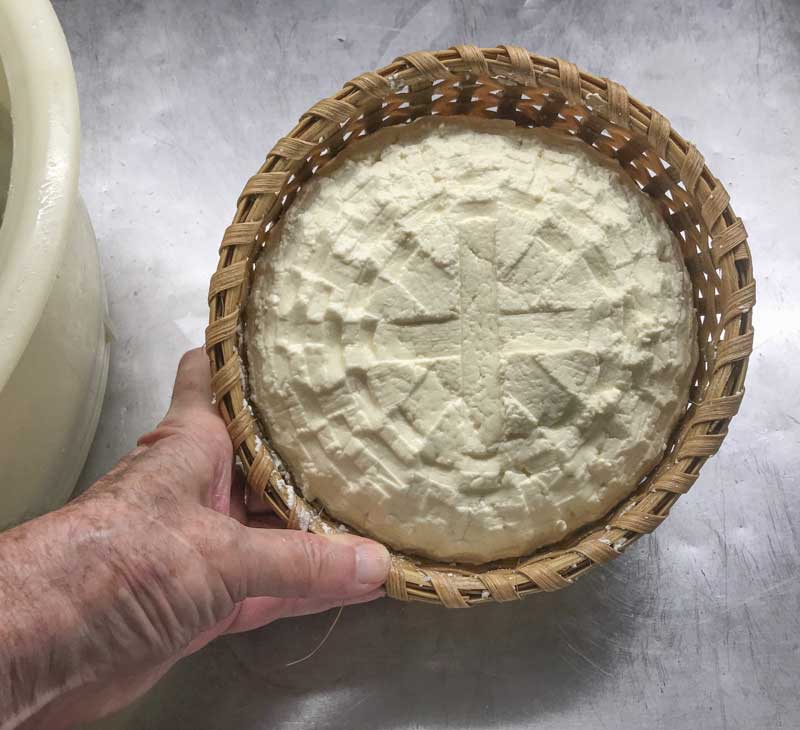
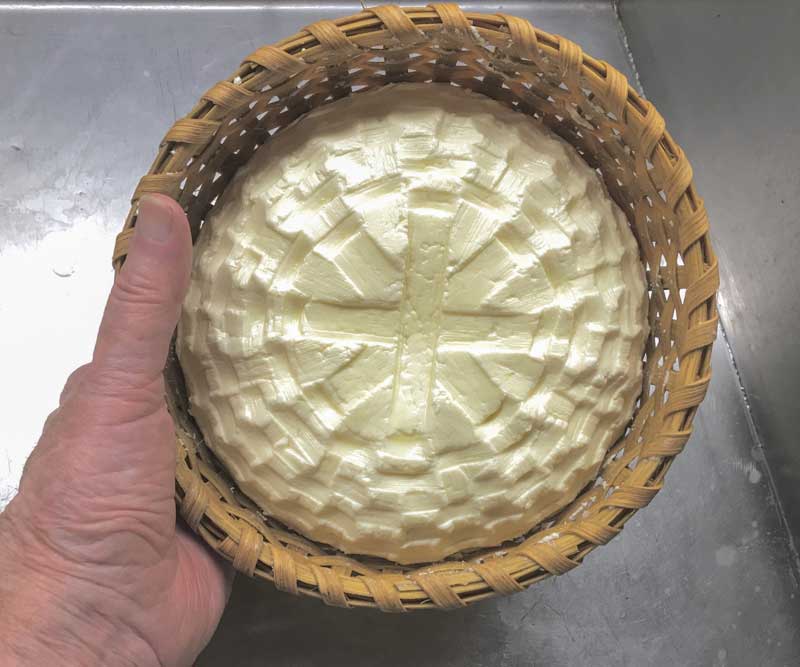
For the first hour of draining, the curds should be flipped and placed back into the form every 1/2 hour, then at hourly intervals for the next 8 hours. At each turn the cheese will take on a tighter surface and more defined pattern of its form.
While draining, maintain a temperature of 75-80F by placing bottles of warm water around the form and covering it with a towel or two for insulation.
Finally, allow the cheese to sit in a cool room and drop to 60-65F overnight.
Tip: Tasting the curd periodically should reveal an initial sweet or neutral taste that will eventually change to a slightly tangy character. This increase in flavor is caused by the culture which will continue to work and produce more acidity with a brighter, tangy flavor.
Note: More whey will continue to run off as the cheese develops more acidity. Remove this as needed, do not allow the cheese to rest in the whey. Set in a pan slightly tilted will keep the bottom of the cheese dry.
-
Salting
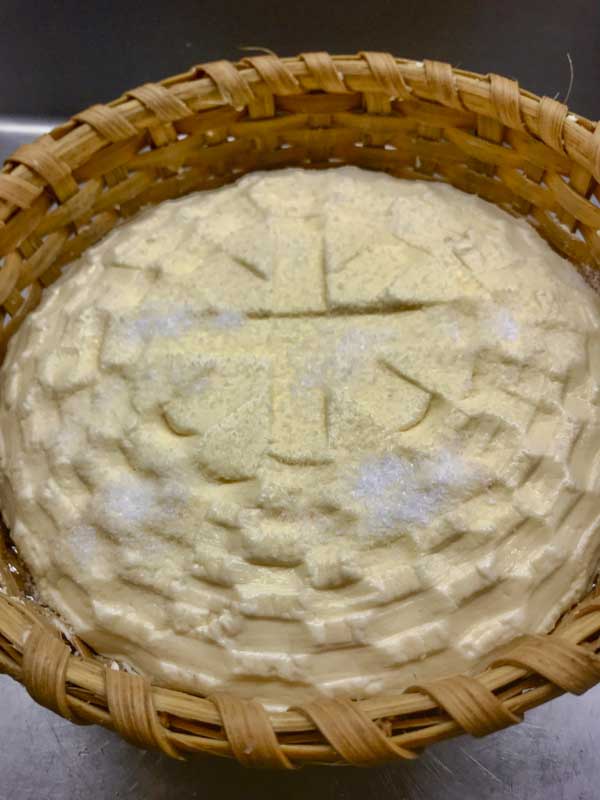
The next morning the cheese needs to be dry salted. The final cheese weighed in at 3.5 lbs (high moisture). Use 1.5% of cheese weight in salt, which came out to 0.85 oz of medium grain salt (approximately 2 heaped tablespoons). Apply 1/3 of the salt to the top and sides, allow this to dissolve in the surface moisture.
By evening the salt has dissolved and been absorbed. Turn the cheese and do the same to this side using the second 1/3 portion of salt. Leave overnight.
The next morning turn the cheese and salt using only half of the remaining portion of salt. Let sit for the day. Use the remaining half portion in the evening, turning and then salting. Leave this to sit in the cool space overnight.
-
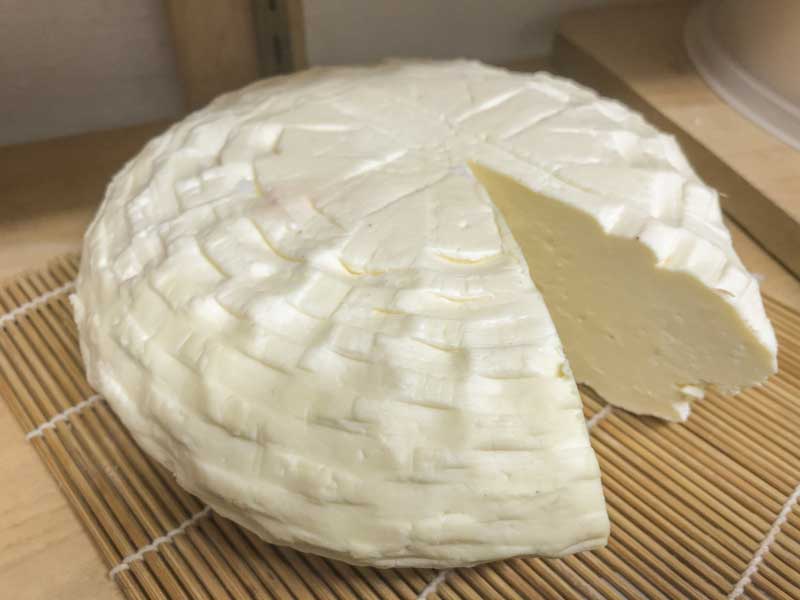
Finished Cheese
Because this is a fresh cheese there are no aging considerations. The high moisture will quickly begin to dry at the surface and some mold will follow if left too long. So the goal is to make it, put it on the table, and eat it. Since it’s so easy to make it’s often made on a weekly basis for those who have access to fresh milk.
If desired, this cheese can be preserved by sealing it in plastic wrap and storing in the fridge for 1-2 weeks. With its softer texture this cheese could also be stored for about month or so in a brine light brine, like feta.
I enjoyed and shared my cheese at day four and anyone who had not tasted a fresh cheese before said they were surprised by how much they enjoyed the fresh tanginess of it.
Cheese Making Supplies
Related Products
You May Also Like


