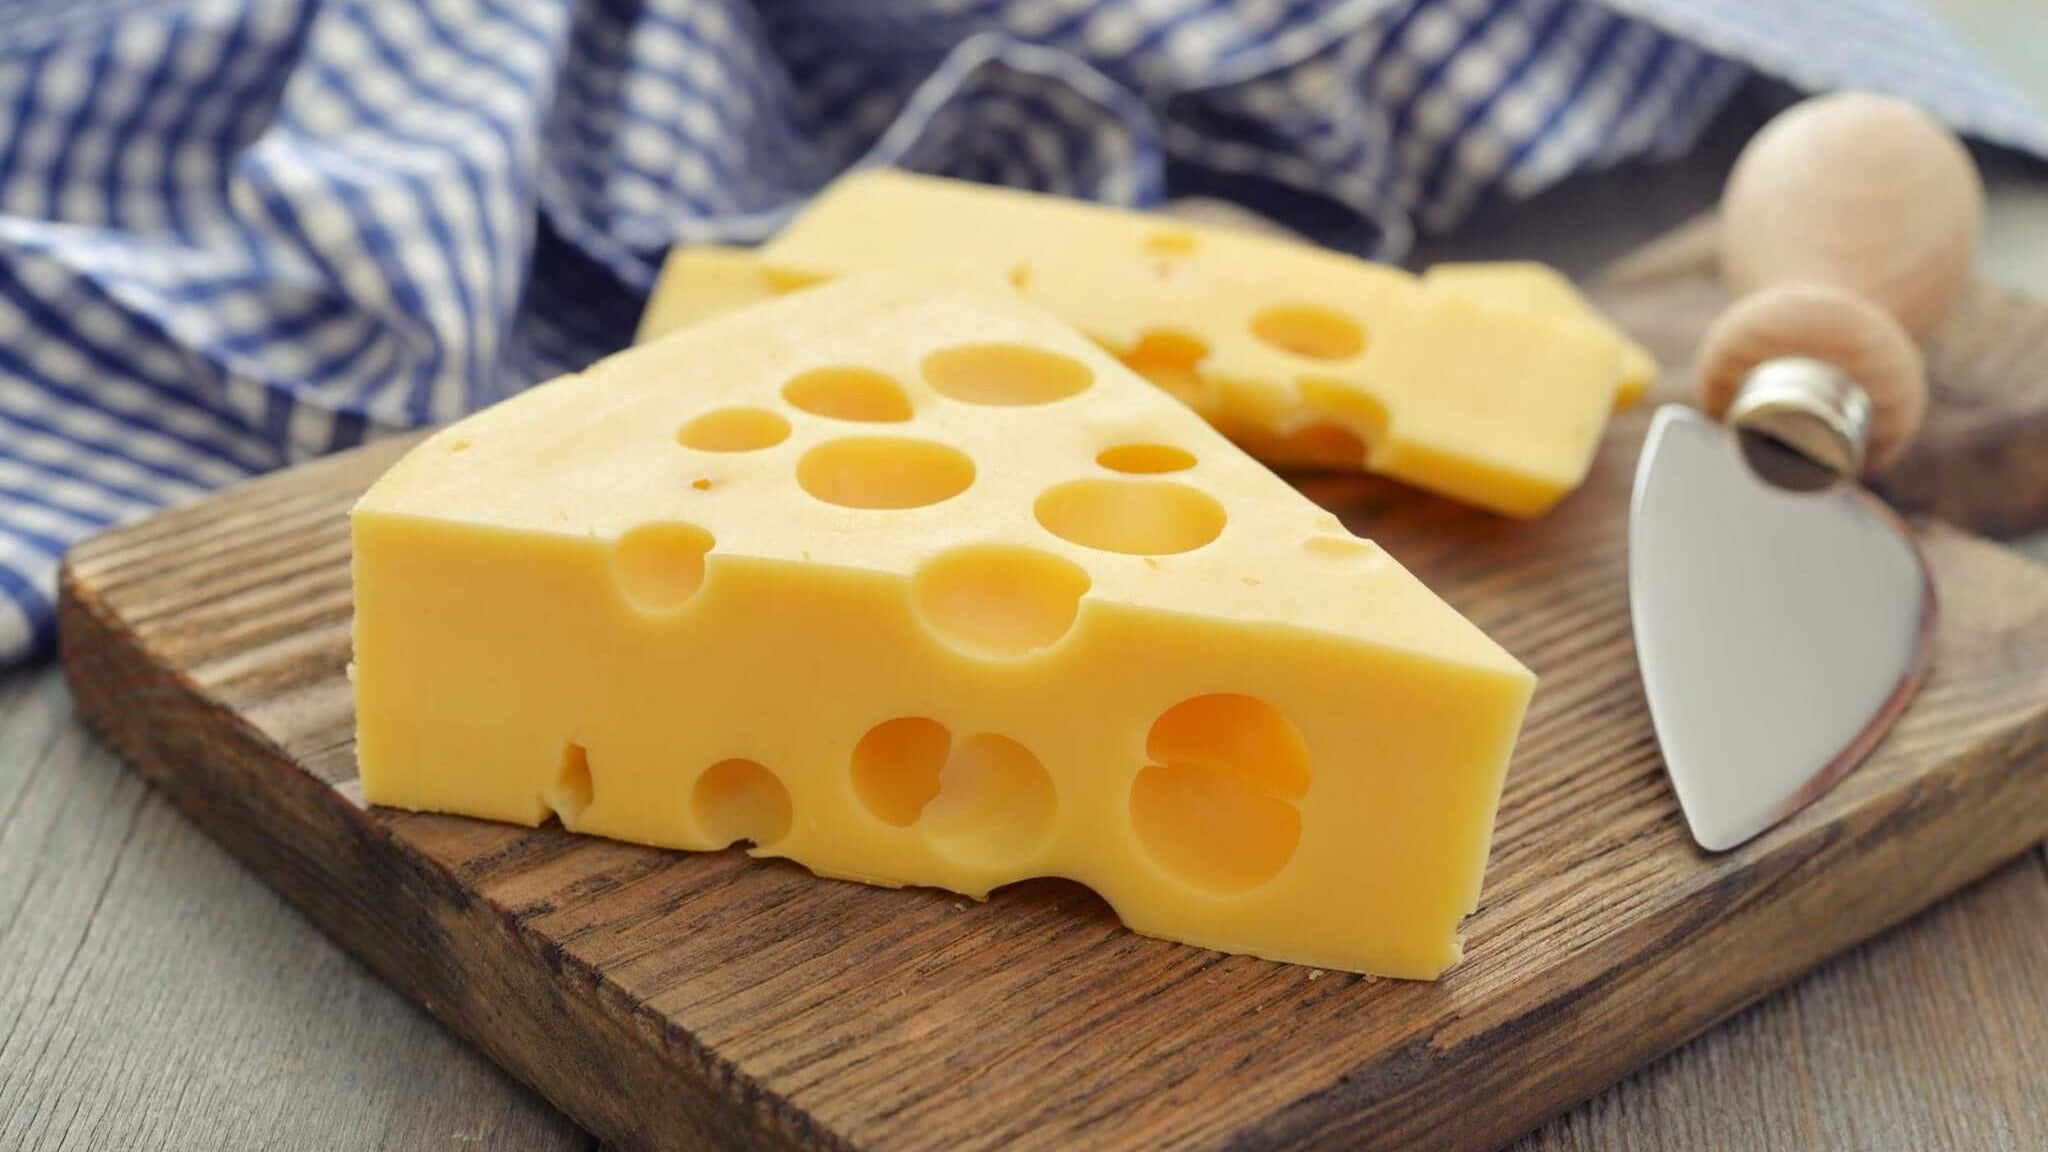
Maasdam Cheese Making Recipe
-
Yield
4 Pounds
-
Aging Time
~2 Months
-
Skill Level
Advanced
-
Author
Jim Wallace

Ingredients
Total price for selected items: Total price:
Instructions
A four gallon batch, as listed above, is best for Maasdam because the larger mass can better contain gas development. However, if you would like to make a smaller 2 lb cheese simply reduce the above ingredients by half.
-
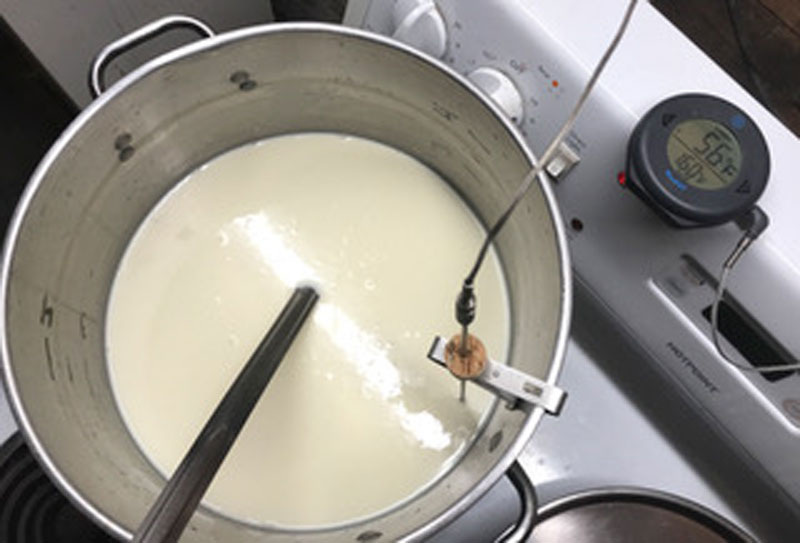
Acidify & Heat Milk
Begin by heating the milk to 92F (33C). If using pasteurized milk, add 3/4 tsp calcium chloride (diluted in 1/2 cup non-chlorinated water) to the milk as it comes to temperature.
Once the milk reaches 92F add the cultures. To prevent them from caking and sinking to the bottom, sprinkle the cultures over the milk’s surface and wait 2 minutes for them to re-hydrate before stirring in.
Now let the milk rest quietly for 60 minutes as the cultures converts lactose to lactic acid.
Tip: To heat, place your pot of milk in a larger pot or sink of very warm water, or directly on the stove, and stir gently while heating at a rate of 2F/minute.
Note: You may notice the culture working very slowly initially, but it will soon become much more active.
-

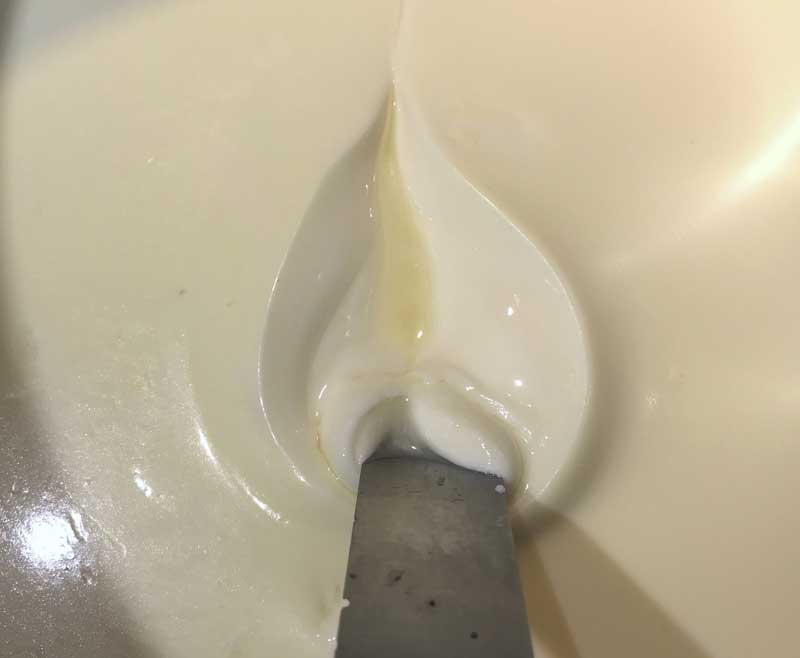
Add Rennet
Add single strength liquid rennet, diluted in 1/2 cup non-chlorinated water, to the milk. Stir with an up and down motion for 1 minute, then let the milk rest quietly for an additional 40 - 45 minutes.
The milk will begin to thicken after about 15 minutes, but allow it to coagulate to proper firmness for the full time.
The thermal mass of the milk should keep it warm while it sets, but it’s ok if the temperature drops a few degrees during this time, you can heat it back to temperature after cutting the curd.
When done, check for a firm coagulation, if it seems to need more time allow it to go as much as 50% longer. If needed, the next time you make this cheese, adjust the rennet amount (more rennet for a quicker set).
Note: At this time, heat another pot of non-chlorinated water to 140F. You will use this later to cook the curds in step 4.
-
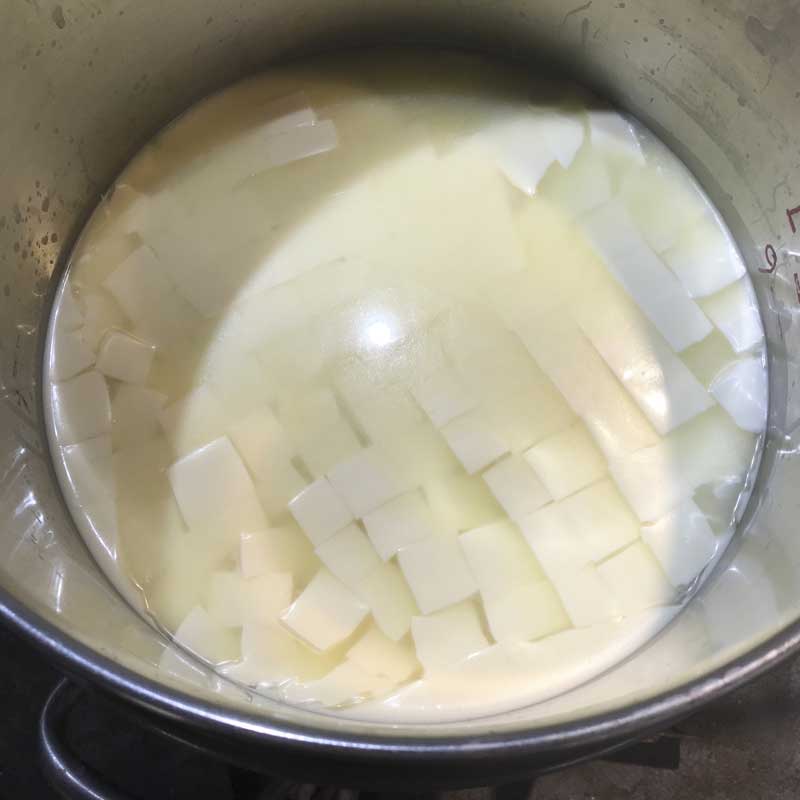
Cut Curd
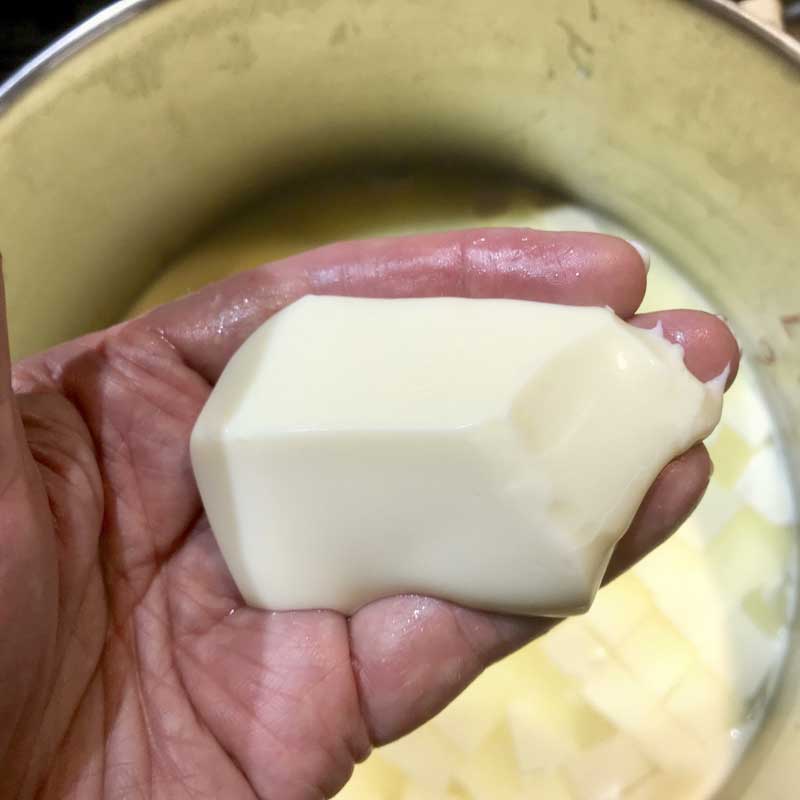
Once the milk has set well, it’s time to cut the curd mass. This is the first step in reducing the curd moisture.
Begin by cutting vertically into a 1” checkerboard pattern, then allow the cut curd to rest for 5 minutes so the cut curd surfaces can heal.
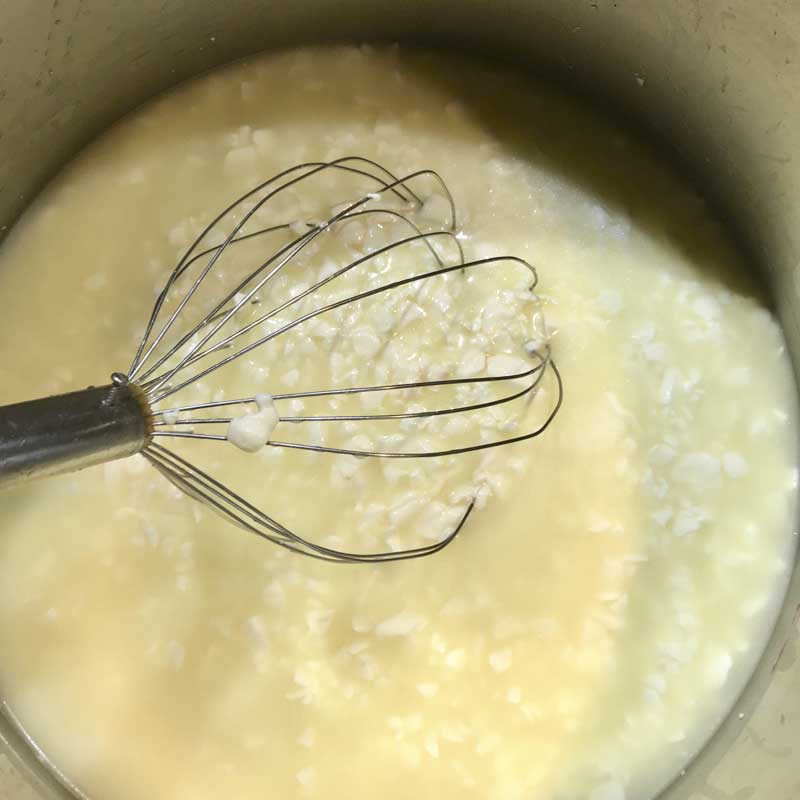
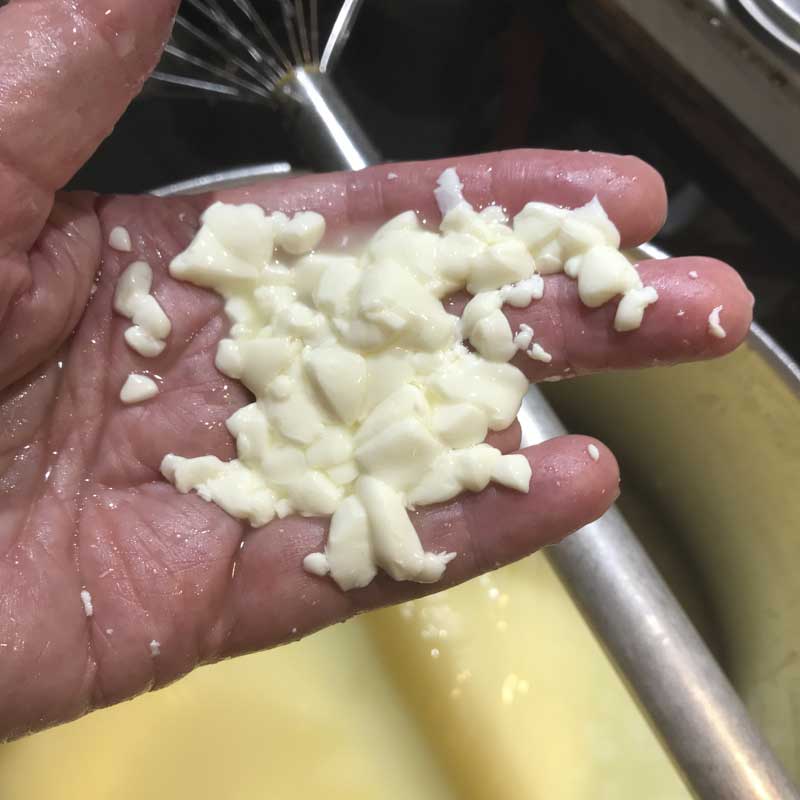
Next, cut the curd mass into pea size pieces, and allow the cut curd to rest for another 5 minutes. A large balloon whisk with a long handle and thin wires is used in the demonstration images, but a flat ladle will work as well.
After resting, stir slowly for 5-10 minutes to help the curd surfaces firm up more. Then allow curds to settle in the vat.
Note: Both the resting and stirring are important to prepare for the cooking phase that comes next. Without them, the curds may break further and lose too much moisture.
-


Wash Curds
In this Dutch method, the curds are heated in a two phase process where the whey is withdrawn and then replaced with warm water. This process removes the bacteria’s food supply, residual lactose in the whey, which will cause the culture activity to slow down, leading to less acid production and a sweeter cheese.
Once the curds have settled at the bottom of the pot, use a strainer and ladle to remove 30% of the whey (4.8 qts for a 4 gallon batch).
Over the next 30 minutes slowly stir the curds while adding an equivalent amount of 140F, non-chlorinated water that was heated in step 2 (4.8 qts for a 4 gallon batch). This should bring the curd temperature up to 102F. The warm water plus the final stirring will help release moisture from the curds.
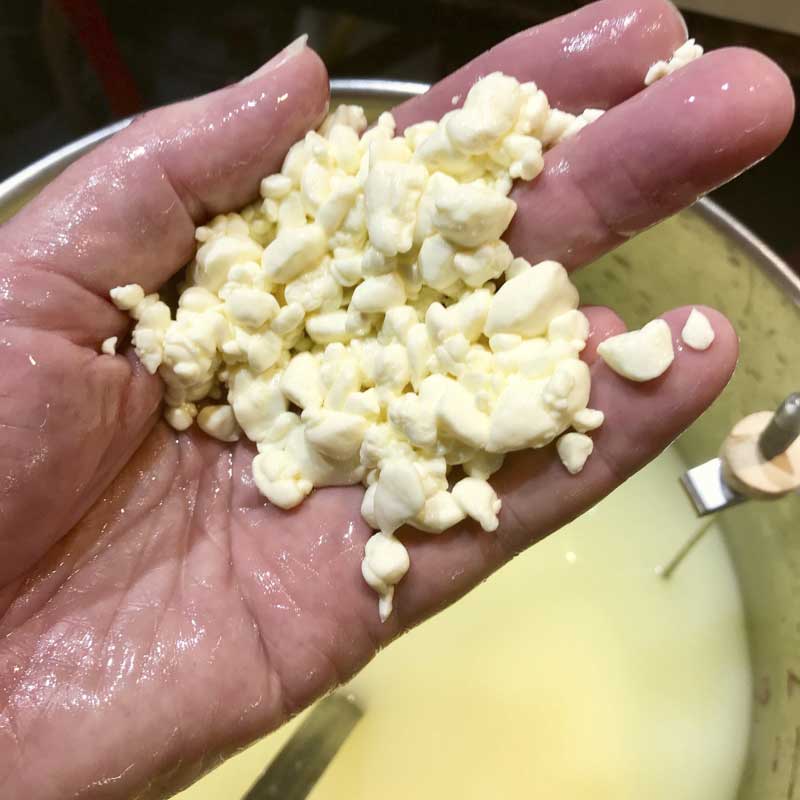
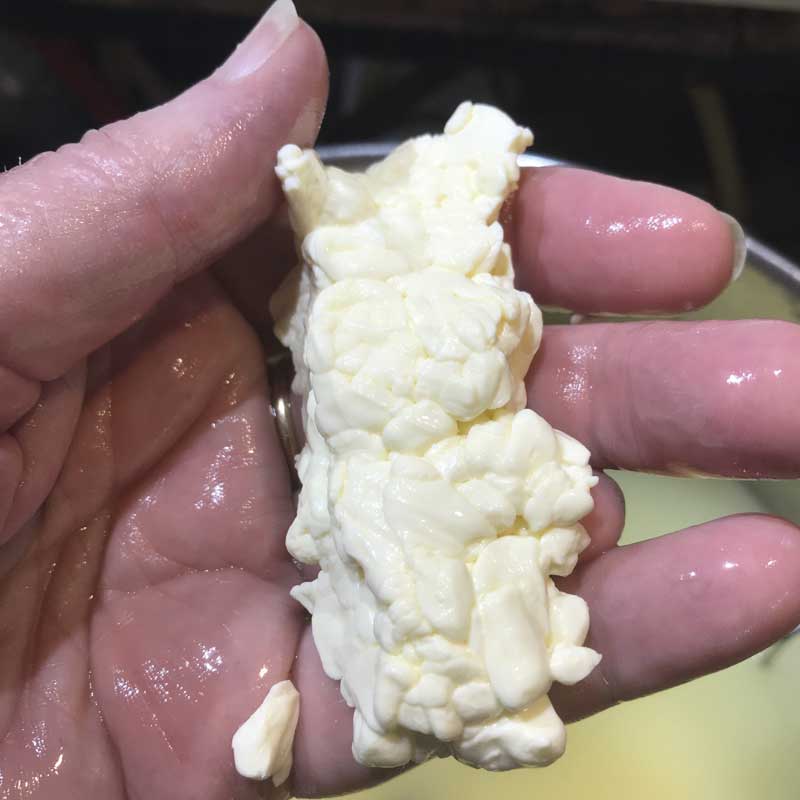
The final curds should be examined to be sure enough moisture has been removes, they should be cooked well through, but not be too dry. The curds should give a moderate resistance when pressed between the fingers while still being somewhat springy and elastic. A broken curd should have consistent medium firmness throughout.
Note: If the curds still feel too soft, stir slowly for another few minutes and check again.
-
Transfer Curds
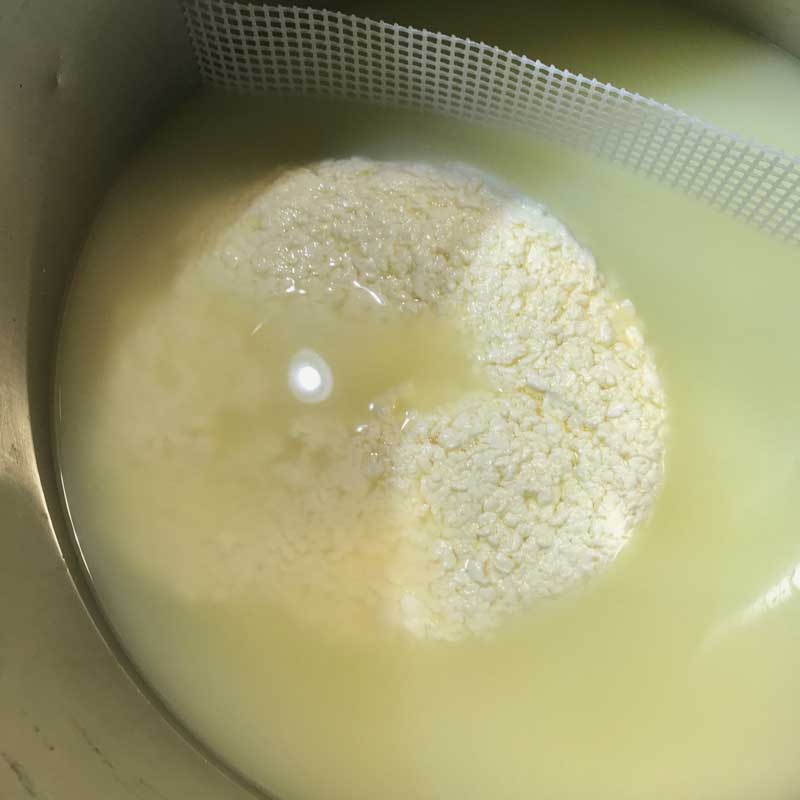
After washing the curds allow them to settle for 5 minutes, then remove the whey down to about 1 - 2 inches above the curd mass.
Once the whey is removed gather the curds to one side of the pot and apply a firm hand pressure to consolidate them into a combined mass. Pressing the curds together under the whey will squeeze out any trapped whey without allowing air pockets to form. This will make for a very tight and compact cheese. The curd should still be quite warm (around 95F) and elastic.
Now, line a cheese mold with draining cloth, pick up the compacted curd mass and place it into the lined mold. Press the curds firmly into the shape of the mold.
The young cheese now needs to be kept warm for the bacteria to continue converting lactose to lactic acid. The thermal mass of the cheese will help keep it warm, but it can be helpful to also cover or otherwise insulate the cheese when continuing on to pressing in the next step.
Info: At this point the young curd mass has not developed much acidity, so the whey running off will be quite sweet, much like milk. The young cheese will need to be kept warm for the bacteria to continue converting lactose to lactic acid (the whole idea behind preserving milk as cheese.)
-
Pressing
This pressing will begin very light, and increase only as needed
Begin with a light weight of 8-12 lbs, and press for 15-20 minutes. Then un-mold the cheese, flip it, place it back into the cloth lined mold, and reapply the weight.
Continue to un-mold and flip the cheese every hour for the next 3 ½ - 5 hours to assure an even consolidation. With each turn the cheese will have formed a smoother surface, cooled slightly, and rest lower in the mold.
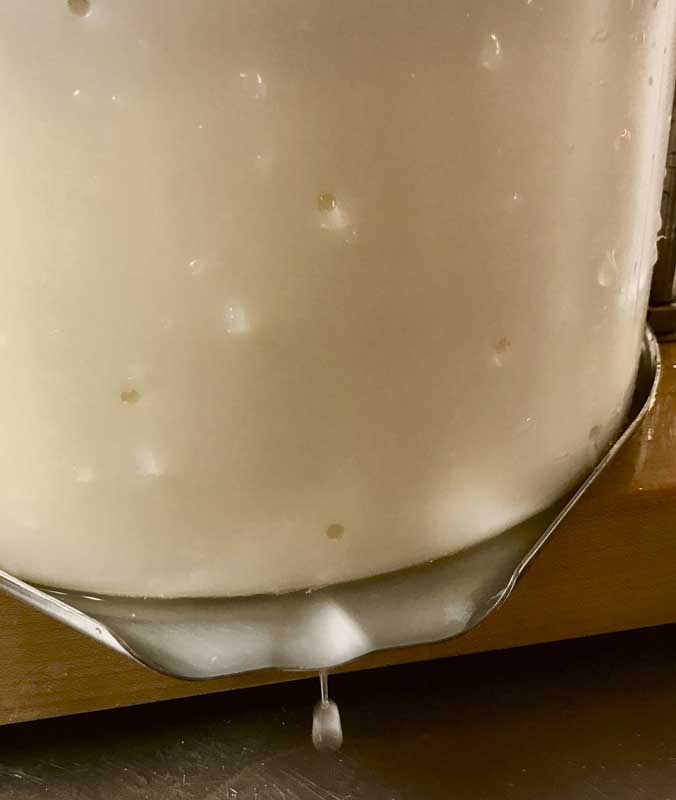
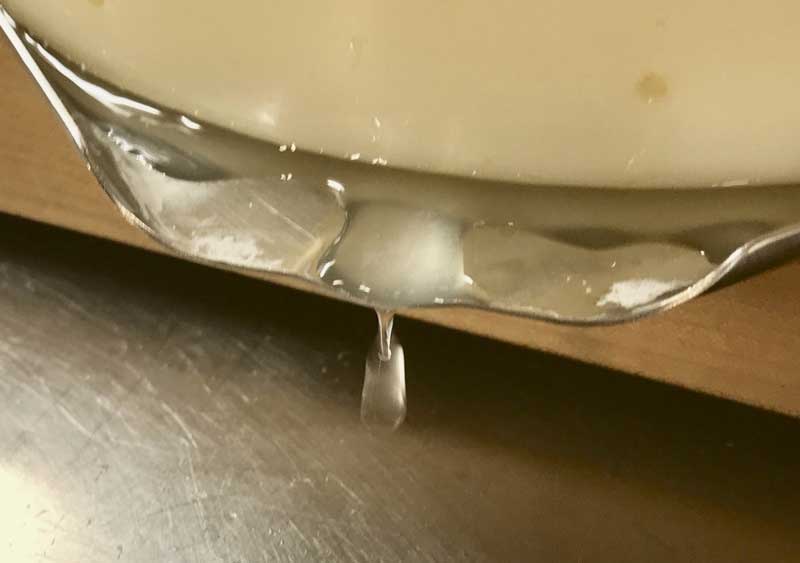
The rate of whey draining should begin as an initial thin stream, then slow to a matter of drops during pressing. This rate should continue to slow over the full course of pressing, as the cheese slowly cools, and the residual moisture from the curds decreases.
The cheese mold should show tears of whey weeping from the sides very slowly. When this stops increase the weight slightly, up to 20 lbs.
Monitor the whey drainage and acidity levels to determine if adjustments need to be made to the weights or press time.
Once the whey no longer tastes distinctly sweet (~pH 5.6) yet not acidic, un-mold the cheese, remove the cloth, place the cheese in the mold without the cloth, and move it to a cooler room (60 - 65F) to rest overnight.
Note: If the whey tastes slightly acidic, move the cheese in its mold to a container of cold water for several hours (even overnight) to more rapidly chill and slow the bacteria.
-
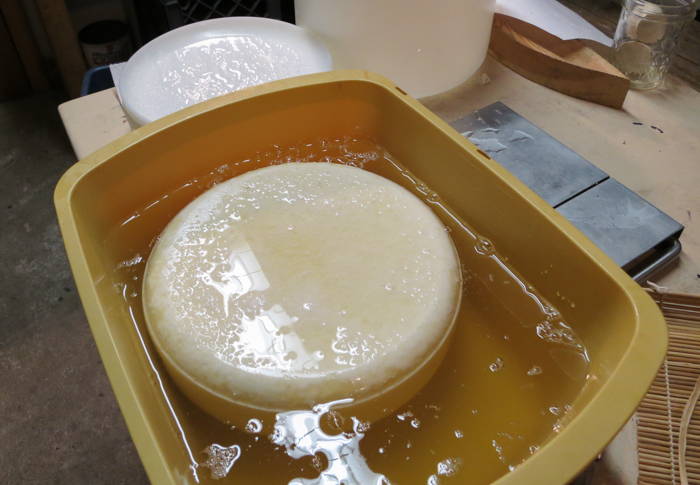
Brining
A saturated brine is needed for this step. Details for making a brine can be found here.
Simple brine formula:
- 1 gallon of water
- 2.25 lbs of salt
- 1 tbs calcium chloride (30% solution)
- 1 tsp white vinegar
Remove the cheese from the mold and place it in into the saturated brine for about 8 hours (2 hours per pound of cheese).
The cheese will float above the brine surface, so sprinkle 1 - 2 teaspoons of salt on the top surface of the cheese.
Flip the cheese and re-salt the top surface halfway through the brining time.
At the end of the brine bath, wipe the surface and allow the cheese to surface dry for 12-24 hours in a cool area (65 - 70F) with free movement of air.
Note: Do not let the cheese darken excessively or begin to crack.
-
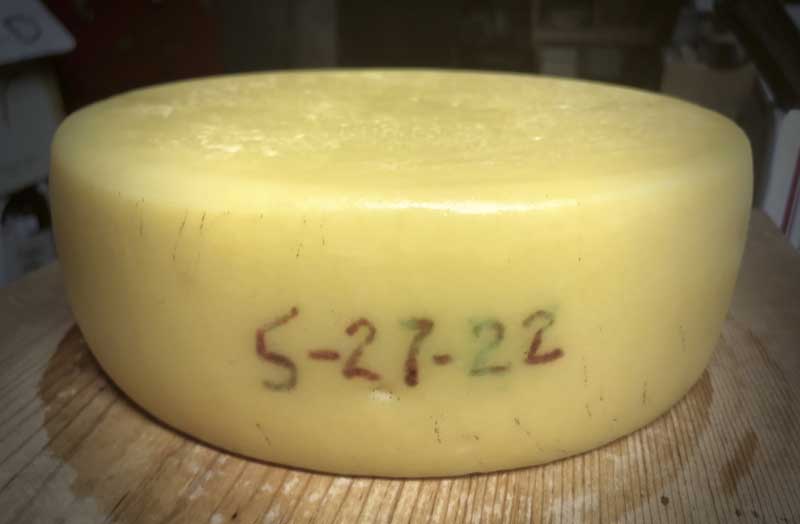
Aging
Aging will occur in 3 phases, this will allow the cultures to work together to build the structure of the Maasdam.
First Phase (Initial Cool Aging) Place the cheese in an aging space at 52 - 54F with 80 - 85% humidity for about 10 - 14 days. During this time the initial protein changes occur which will help develop elasticity to trap the gas that forms in the next phase.
Second Phase (Warm Aging) Shift the cheese to an aging space at 64 - 68F with 85 - 90% humidity for about 10-14 days. During this time the Propionic Shermanii culture will produce bubbles of CO2, giving the cheese its distinctive holes and swelling it in size. Turn the cheese at least once or twice a day to keep the holes evenly distributed.
Third Phase (Final Cool Aging) Return the cheese to the cool aging space at 52 - 54F with 80 - 85% humidity for 2 - 4 months to develop the final flavor and character of the Maasdam cheese.
Note: You may find the holes in your cheese do not develop into a large “commercially produced" version which the industry has spent many decades perfecting. Yours may be smaller or even non-existent. But no worries, we can say from personal experience it is still be a great cheese.
Impediments to Hole Development:
- Too much acid developed before the washing stage
- Excess salting, which limits the gas producer
- The curds may have been dried excessively
- Insufficient initial cool or warm aging phase
Cheese Making Supplies
Related Products
You May Also Like


