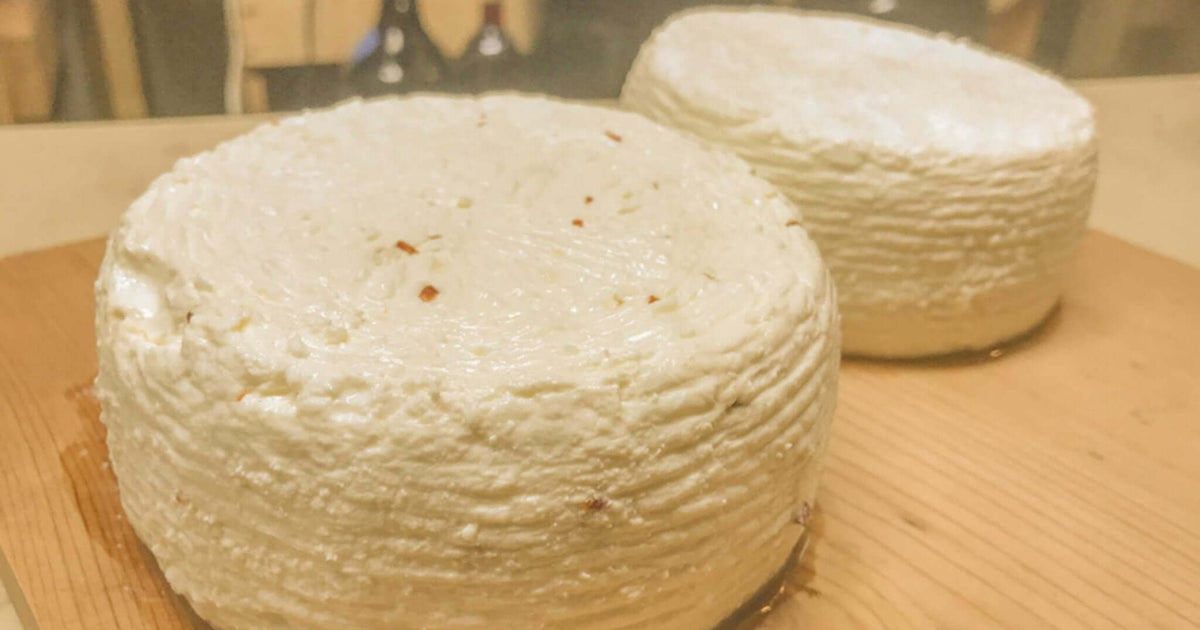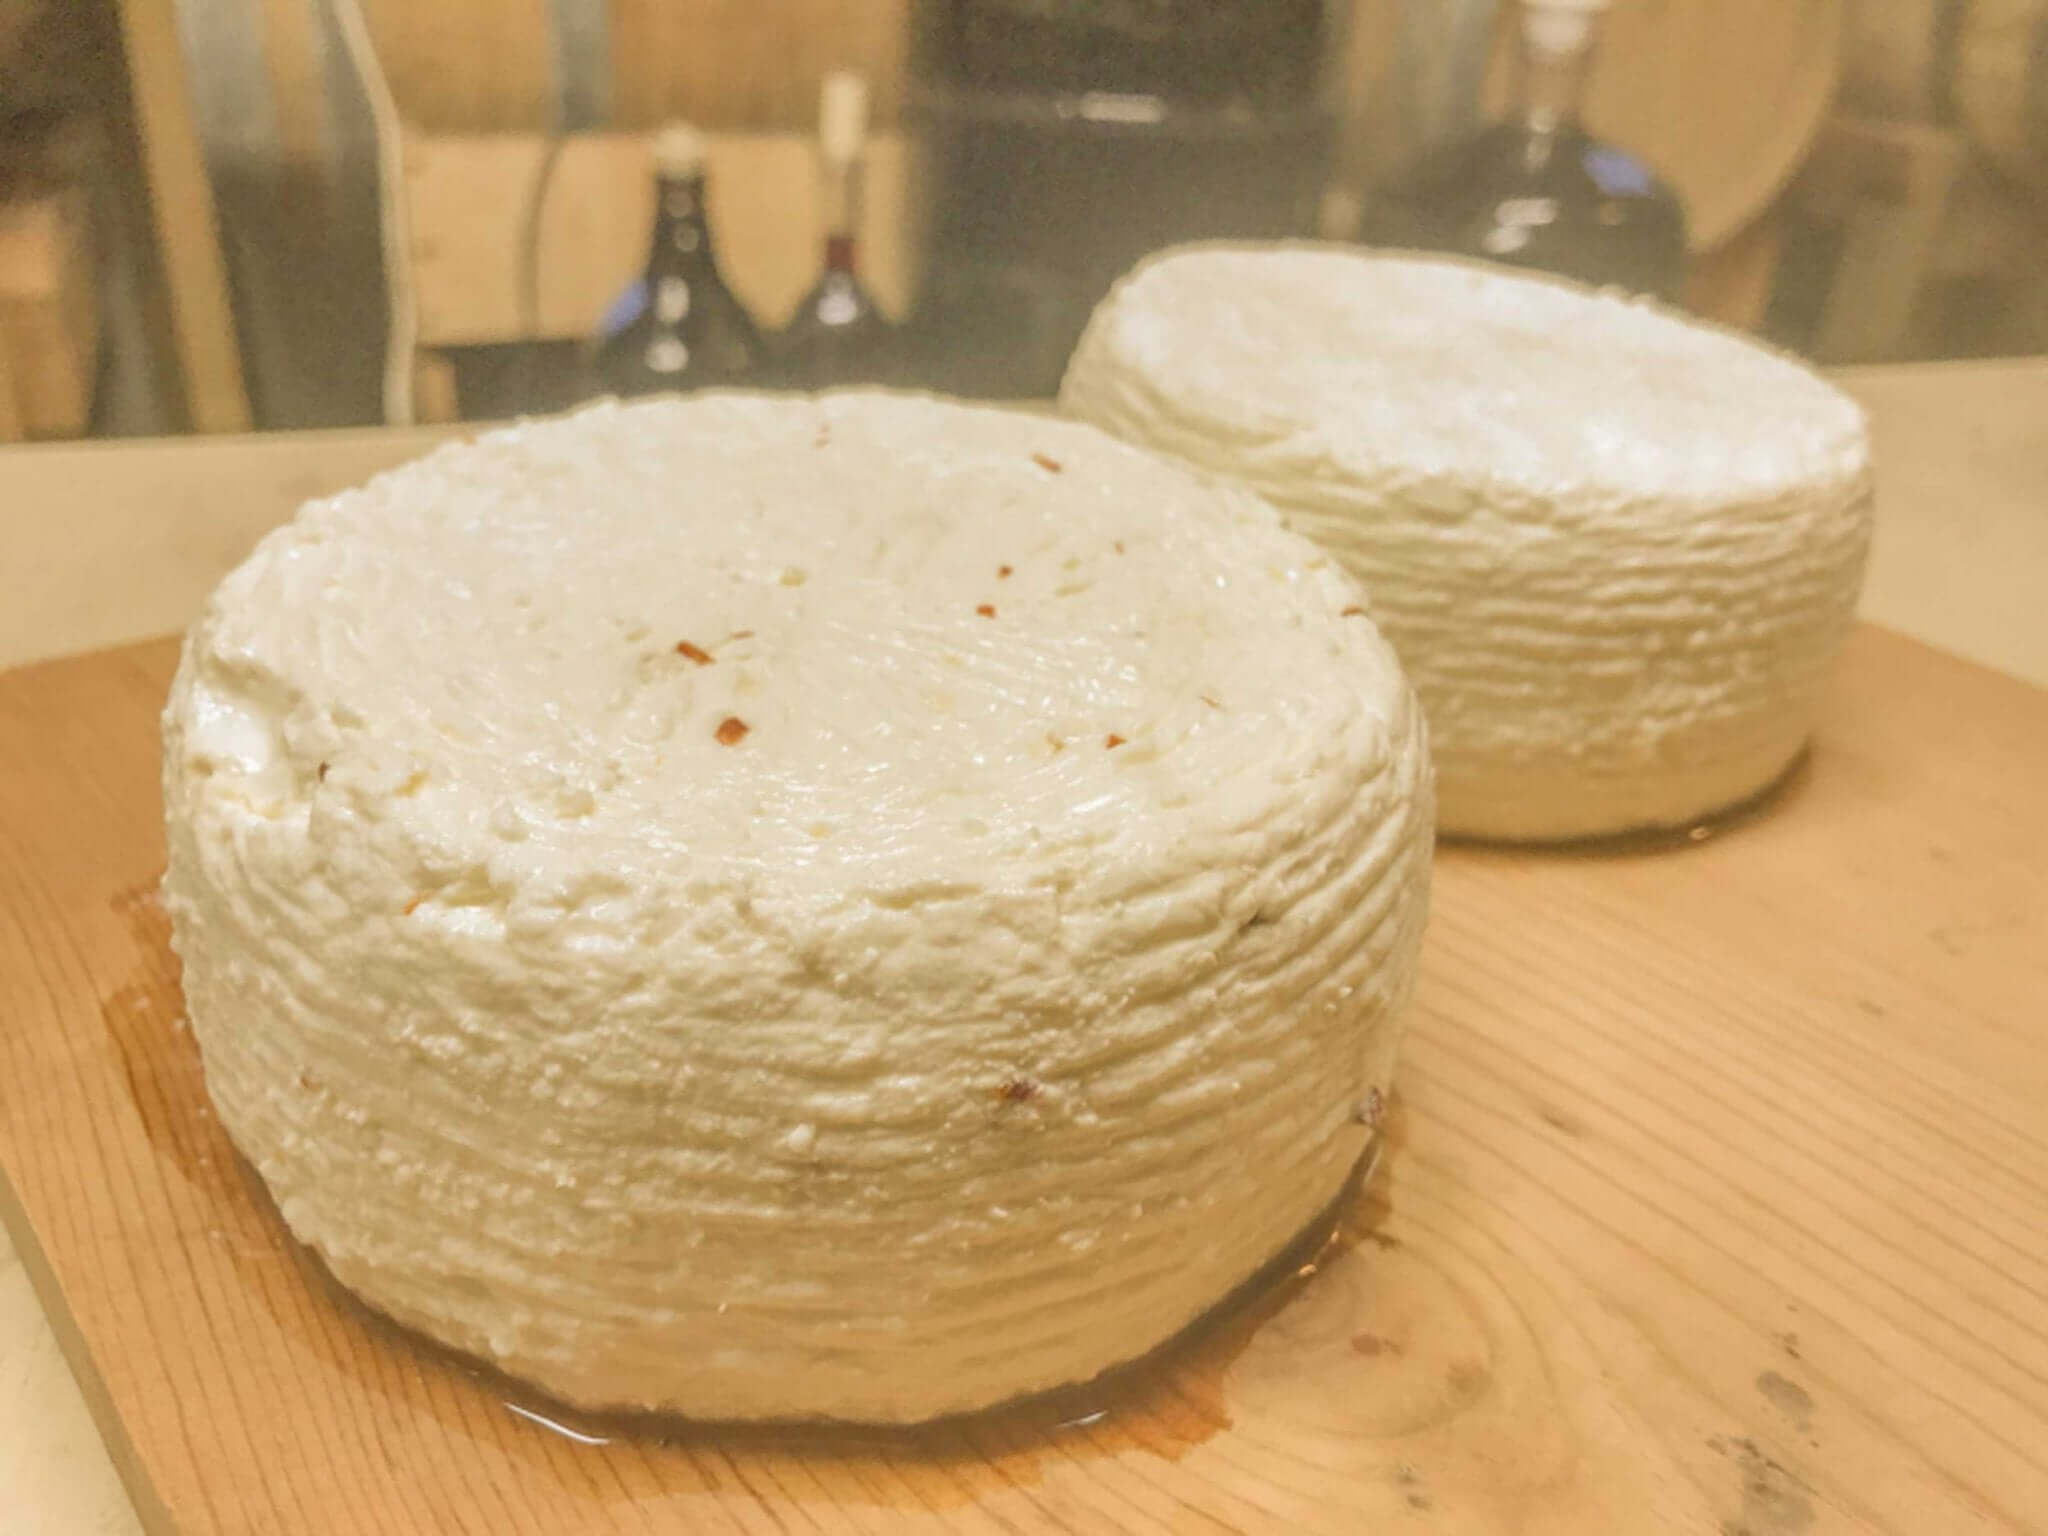
Primo Sale Recipe
-
Yield
2 Pounds
-
Aging Time
None
-
Skill Level
Beginner
-
Author
Jim Wallace

Ingredients
Total price for selected items: Total price:
Instructions
The most interesting thing about cheeses marketed as PrimoSale in the shops and market stalls of Italy is their wide range of moisture levels. Some are wringing wet and seem barely able to hold themselves together without collapsing while others are quite firm.
Although they are not ripened and dried like Canestrato, they can be dry enough to last even longer. The primary reason for this wide variety comes from the stirring time, before draining and forming the curds, and the amount of time the curds drain in their molds.
-
Heat & Acidify Milk
Because PrimoSale does not undergo much fermentation, it’s a great showcase for milk quality. When making this cheese I like to source high quality local Jersey milk but any high quality milk can be used.
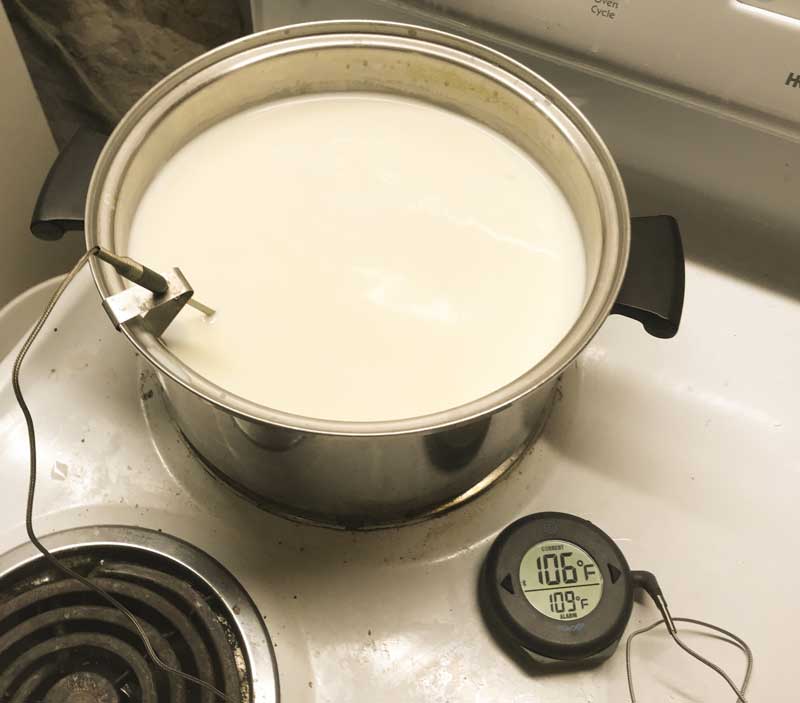
Begin by heating the milk to 106F. Do this by placing the milk in a pot or sink of very warm water. If you heat in a pot on the stove be sure to stir the milk while heating it slowly.
Once the milk reaches 106F, add 1-1.25 oz of salt and stir well for about 5 minutes.
Info: Adding salt to the milk is an unusual step and likely goes back to a time when milking was not as clean a process as today. Salt can help discourage wild, non-dairy bacteria, while also slowing the general fermentation. This will help the sweet milk flavor carry through to the final cheese. After adding the salt Add 1.5-2 oz of prepared Bulgarian yogurt and mix in well. Let the milk sit quietly for 30 minutes.
Note: if using a different prepared yogurt let the milk sit for 60 minutes because the cultures will work slower.
-

Coagulate with Rennet
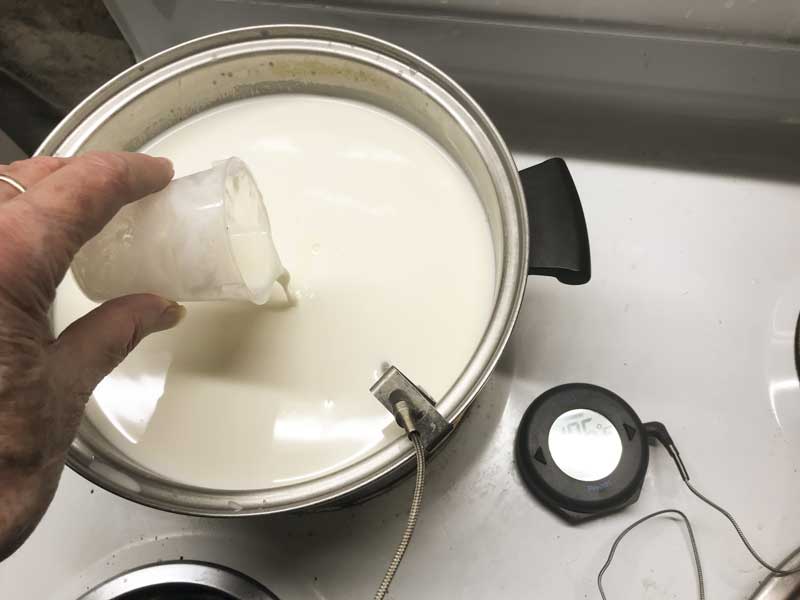
Dilute the rennet in ¼ cup cool, non-chlorinated water before adding, so it incorporates evenly into the milk.
Once diluted, add the rennet to the milk and gently stir in with an up and down motion for 1 minute.
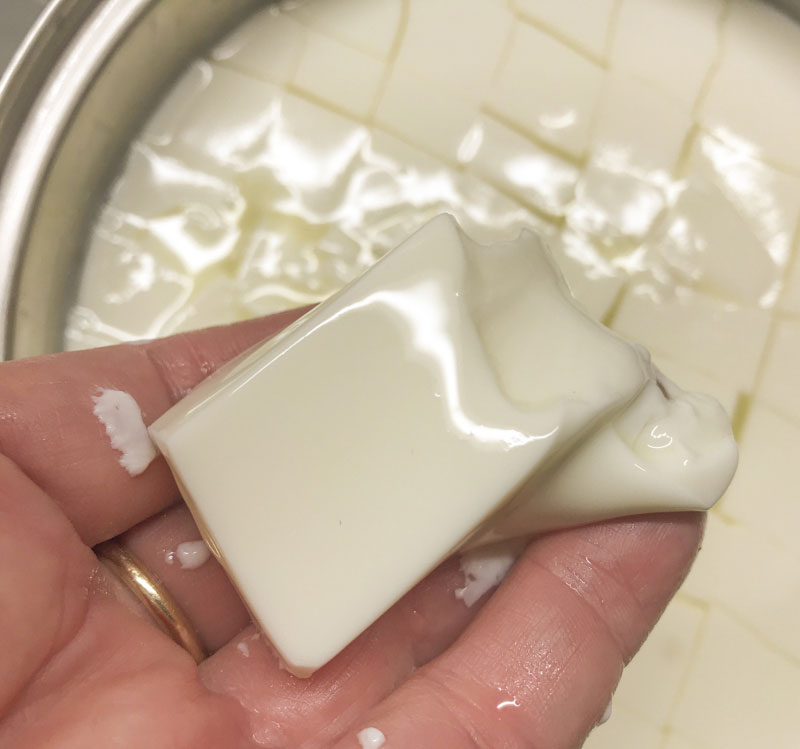
Let the milk sit quietly for 45-50 minutes while the rennet coagulates the milk.
When done check for a firm coagulation, if needed allow the milk to sit for as much as 50% longer. For your next batch adjust rennet as needed needed (more rennet for a quicker set).
The thermal mass of the milk should keep it warm while coagulating but it’s ok if the temperature drops a few degrees.
-
Cut Curd
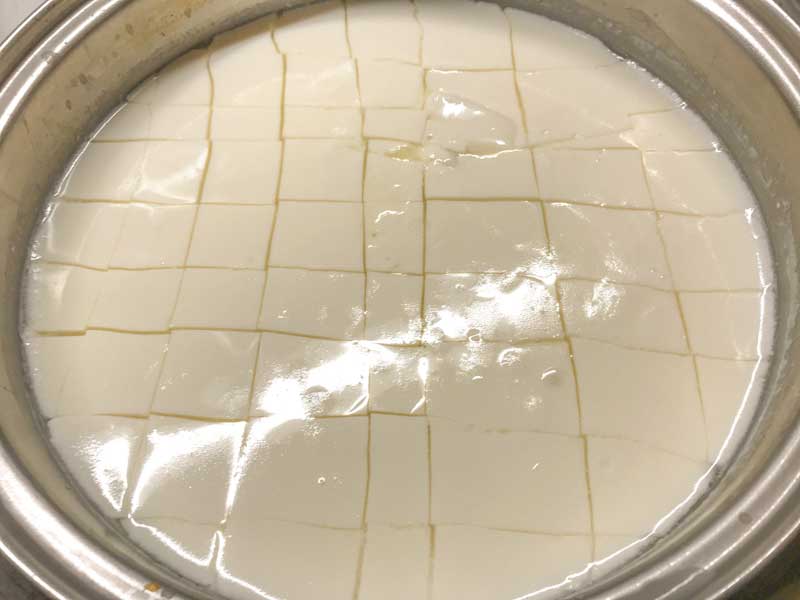
Once the milk has set well, cut the curd vertically into a checkerboard pattern, with the cuts spaced about 1-1.5 inches apart. After this cut let the curds rest 5 minutes.
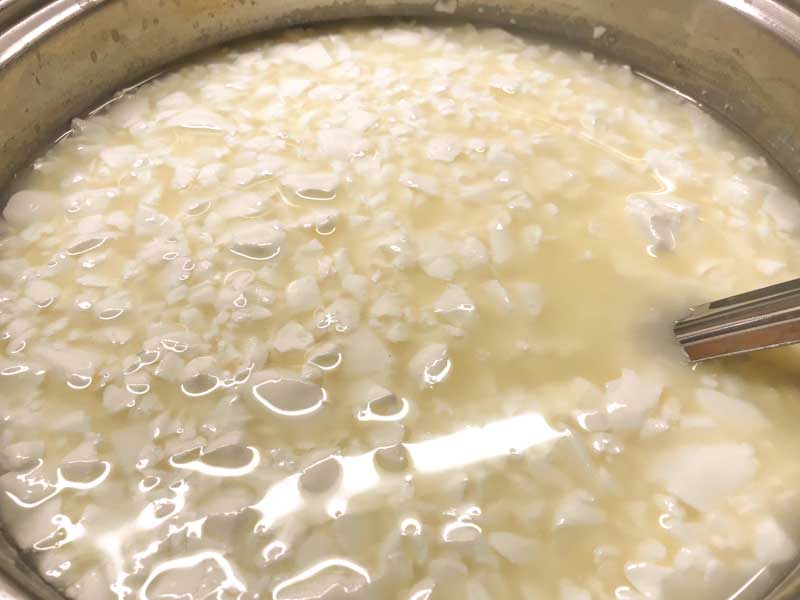
Next, cut the curd as evenly as possible into 3/8-5/8 inch cubes (about the size of a hazelnut), and allow the cut curds to rest for another 5 minutes. This short rest lets the cut surfaces heal.
After the short rest, slowly and gently stir the curds for 10-20 minutes. During this time the cut surfaces will continue to heal and become more firm. This stirring time will control the dryness of the final cheese. The longer it’s stirred, the drier the final cheese.
Note: If needed bring the curd temperature back up to 106F while stirring.
-
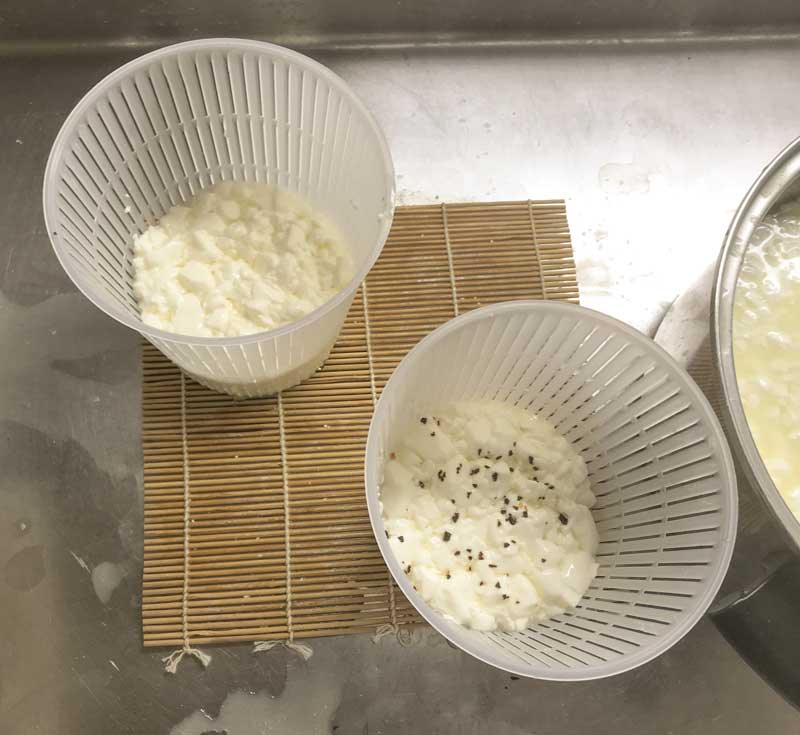
Transfer Curds
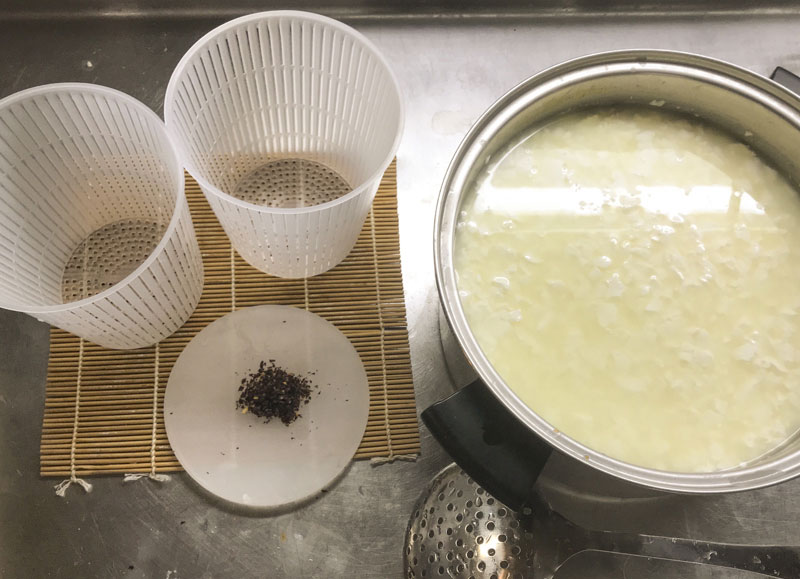
Now it’s time to drain the curds and form the cheese. Make sure the molds are sanitized and ready, so you can drain the cheese right away.
Begin by letting the curds to settle to the bottom of the pot. Once settled, remove the whey down to the top of the curd mass.
Give the curds a quick stir to make sure they are well separated. Then begin transferring the curds into cheese molds.
While transferring the curds, layer in any desired herbs, spices, or dried peppers. When done the molds should be heaped to the top with curds (they will drain to about 1/3 this height in the following step).
-
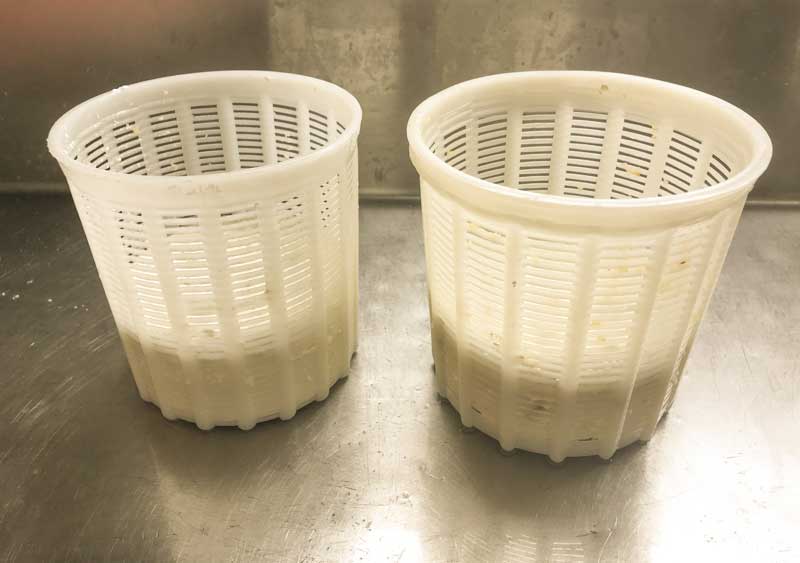
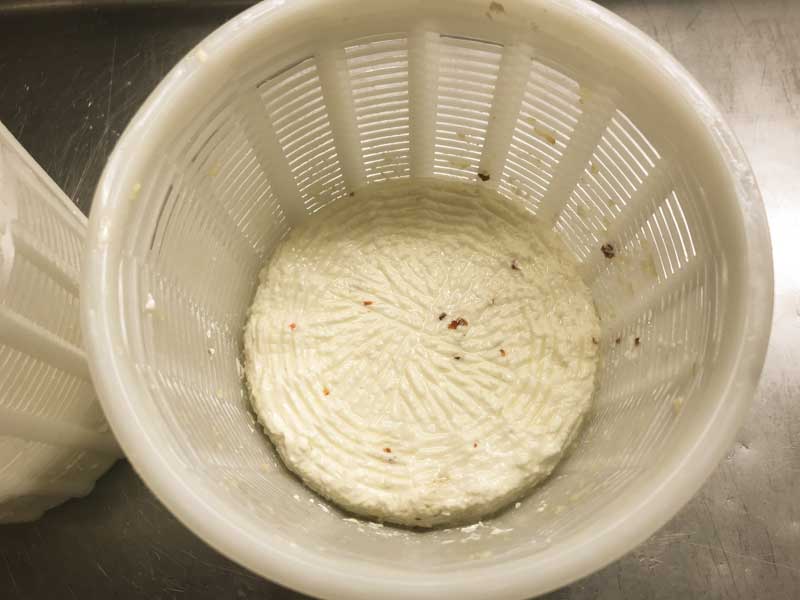
Drain Curds
Allow the curds to drain and consolidate in their molds. The weight of the curd mass will allow for proper consolidation so no pressing or weight is needed.
While draining the curds should be kept warm, around 70-80F for the first few hours, then the temperature can slowly cool.
Begin turning the curd mass as soon as it seems firm enough.
- Turn 1 - As soon as the curds have consolidated
- Turn 2 - After 20-30 minutes
- Turn 3 - After an additional 30 minutes
- Turn 4 - When the whey stops dripping move into the fridge where the cool temperature will stop the culture.
Optional: If desired, after draining, a small amount of salt can be used to dry salt the exterior. But, with the addition of salt in the milk this is not always needed. Additional salt can be added at any time, even after removing from the fridge, just give it enough time to dissolve and sink into the cheese.
-
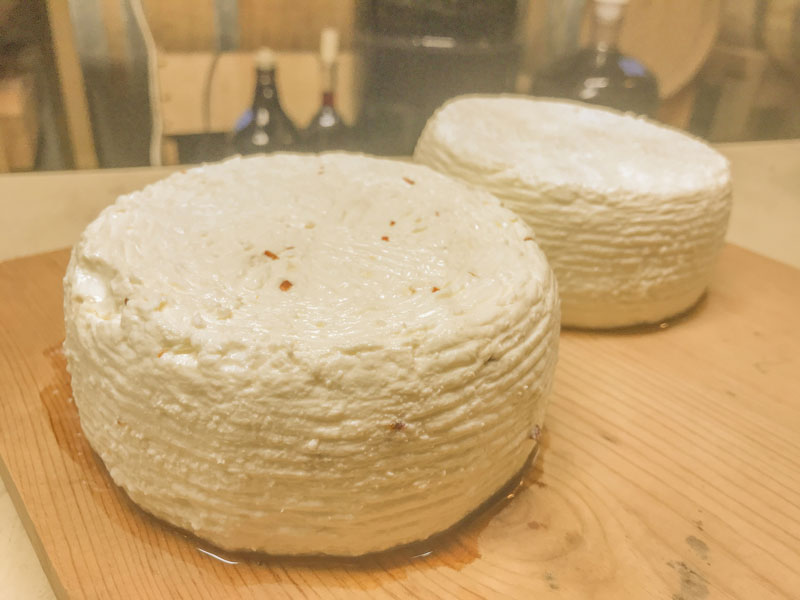
Aging (Not Really)
There is no aging needed for PrimoSale, it’s simply ready for the table the next morning. Although you can wait a day or so before tasting. To store the cheese should be loosely wrapped in waxed paper and placed in a container in the fridge. A folded absorbent towel under the cheese will wick away any excess moisture.
At around a week to ten days as it nears the end of its shelf life, PrimoSale will tend to become a bit sour. This is a cheese meant to be enjoyed fresh, and in Italy bought fresh daily.
The sky is the limit with the flavors you can incorporate into PrimoSale. Try out these toppings and let your imagination run to delicious places!
- Savory Tomato Basil Mint PrimoSale | Take tomato (seeds and gel removed) basil and mint, and layer them in as you spoon curds into the molds.
- Spiced PrimoSale | Make a paste of turmeric, nutmeg, and paprika, and spread it over the top of the curds as they drain to give the cheese a beautiful color and amazing flavor.
- Sweet Whiskey PrimoSale | Roughly chop nuts and raisins. Soak them for 30 minutes in 1 Tbsp whiskey, then use as a topping over your finished cheese.
- Honey Strawberry PrimoSale | Top your PrimoSale with slices of fresh strawberries, and a drizzle of honey for an Italian style breakfast.
Cheese Making Supplies
Related Products
You May Also Like


