


Provolone Cheese Making Recipe
-

Yield
3 Pounds
-

Aging Time
~4 Months
-

Skill Level
Advanced
-

Author
Jim Wallace


Provolone Cheese Making Recipe Info
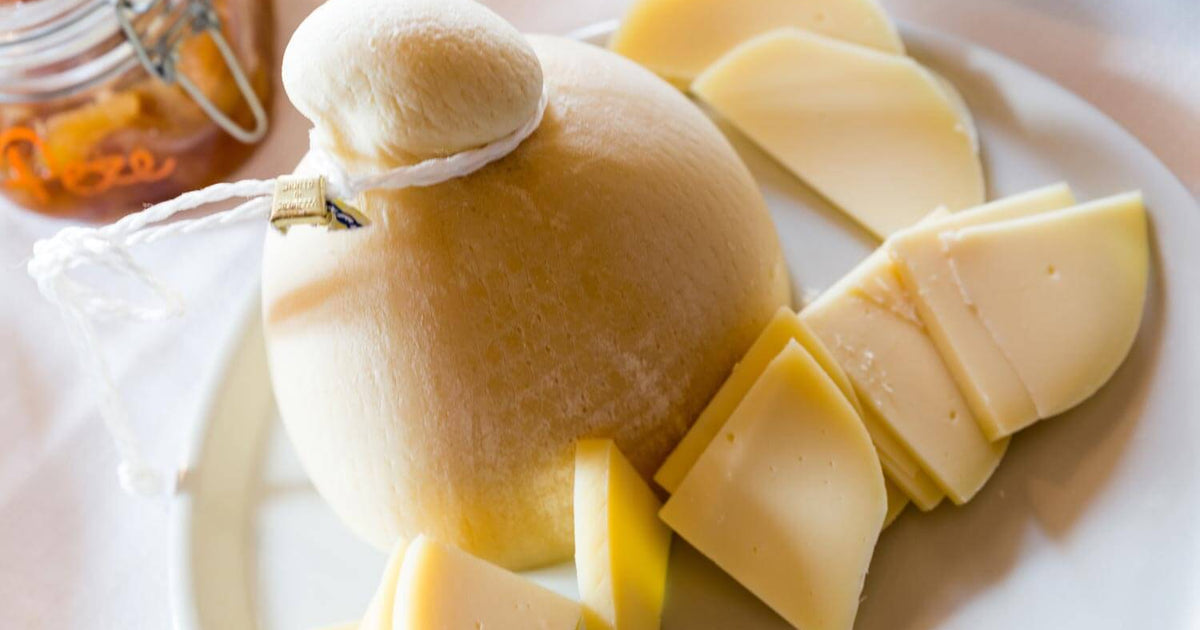
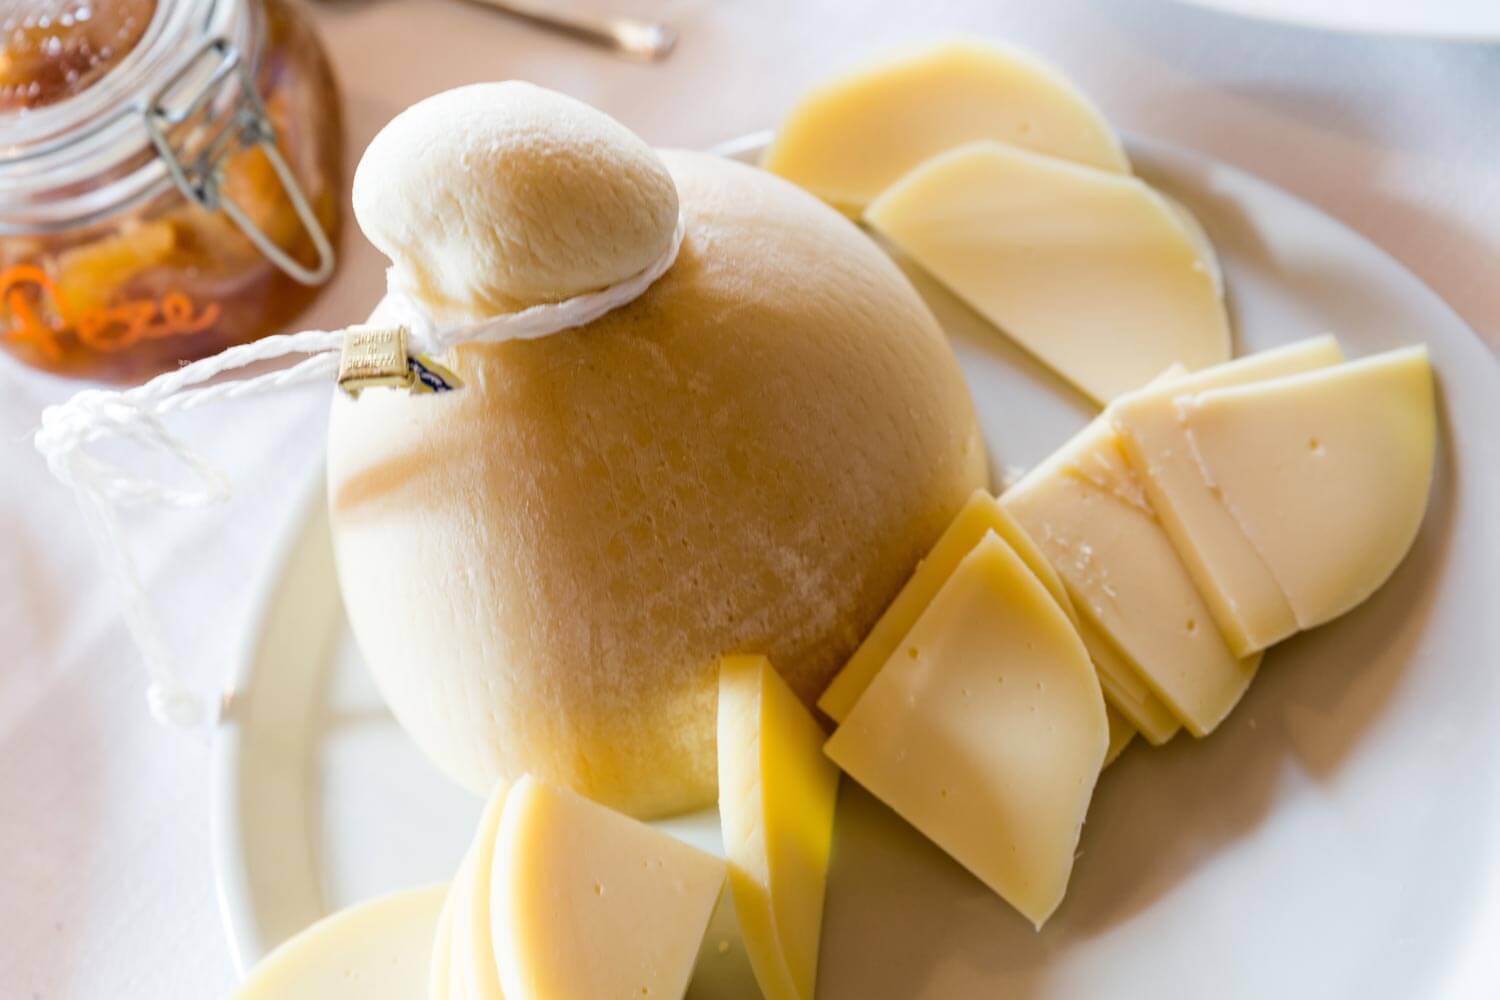
About Provolone Cheese
Provolone’s Origins and Evolution
Crafting Provolone Cheese
Shapes, Styles, and Aging
Ingredients
Total price for selected items: Total price:

Instructions
The cheese I have made in this recipe is intended for longer aging, to develop a higher flavor over time. Although I have used 6 gallons of milk in my step by step photots, I have scaled down the recipe details for a 3 gallon batch size to make it more manageable for home cheese makers. To increase the batch size, simply increase all ingredients proportionately.
I have not used any Lipase in this recipe because it seems to produce a flavor I do not like in aged cheese, as it breaks down the fat in a full fat milk to a slightly rancid flavor. But, Lipase is of course an option and can be added, if desired.
-

Heat & Acidify Milk
Begin by heating the milk to 90F (32C). You do this by placing the milk in a pot or sink of very warm water. If you do this in a pot on the stove make sure you heat the milk slowly and stir it well as it heats.
Two cultures to add for this cheese:
- 1/2 Packet C101 Mesophilic Culture or 1/4tsp MA11 Culture
- 1.5% of Prepared Bulgarian Yogurt. For 3 gallons of milk, this will be 5.75 ounces of yogurt.
Note: You can substitue Y1 Bulgarian for 1 packet C201 Thermophilic Culture, or 1/2 tsp TA061 Culture, but it may take longer to reach the final acid.
Once the milk is at 90F the culture can be added. To prevent the powder from caking and sinking in clumps, sprinkle the powder over the surface of the milk and then allow about 2 minutes for the powder to re-hydrate before stirring it in.
Allow the milk to ripen for 30 minutes once the cultures have been added and stirred in and sits quietly at the target temperature of 90F.
-

Coagulate with Rennet
Then add about 2 ml (.4 tsp) of single strength liquid rennet.
The milk now needs to sit quietly for 30-45 minutes while the culture works and the rennet coagulates the curd. The thermal mass of this milk should keep it warm during this period. It is OK if the temp drops a few degrees during this time.
The milk should begin to show signs of initial coagulation at 12-15 minutes and the final firmness for cutting will be at 30-45 minutes.
-

Cut Curd
When the curd is ready you will notice that a firm gel has formed. The simple test is to insert a clean finger into the curd at a 45 degree angle and then slowly lift the coagulated curd. A clean split and whey filling in the split will indicate a proper set.
Now it is time to cut the curds.
Begin by making parallel cuts about 1/2 -3/4 inches apart. Then turn the pot 90degrees and repeat ending with a checkerboard of cuts on the surface. Then with your spoon or ladle cut these crosswise until you have a pot full of curd cubes. Be gentle at this point because the curd will be very soft. Final curd cut should be to peanut-corn kernel size ~3/8"
Once the curds are cut, stir them gently for 10 minutes. You should note more whey being released.
-


Cook Curd
Now it is time to begin drying out the curds. This will be done by increasing the heat slowly to 112-118F (44-48C). The heat needs to be increased slowly at about 3-5F (1.5-3C) every 5 minutes at the beginning. The total cooking time will be 45 minutes and may be extended to 1 hr. if the curds are still soft.
The final curds should be cooked well through and should be examined to make sure that enough moisture has been removed. A broken curd should be firm throughout and the curds should have a moderate resistance when pressed between the fingers.
When this point is reached the curds can be allowed to settle under the whey. If you can measure pH or Titratable Acid% you will find that at this point the acid has developed to a pH of ~ 6.0-6.1 or TA% of .16-.18 . This should be at about 2-3 hrs after adding the culture.
-


Drain Curd
At this point the whey can be removed to the curd level and curds can be transferred into a colander for draining.
Allow the curds to drain well in the colander and consolidate 1 hour while keeping draining curds suspended in a pot with warm whey or water at 100-105F (photo to the left). This will encourage the culture to continue acidifying the cheese.
After 1 hour cut into 1" slabs similar to cheddar and stack back in the colander, still keeping at 100F+. These curds will consolidate again. This will allow any residual whey to drain to a dry curd during the final acid development.
The final acid should develop in another 2-3 hours when the curd will have developed a final acid pH of 5.2-5.3.
While waiting for the acid to develop, begin heating hot water OR if you have made ricotta from your fresh whey previously drained use the remaining hot whey. It should be heated to 175-180F for the stretching phase.
If you are working without a pH meter, a simple test will be to cut a small strip from the consolidated curd mass. Immerse this in hot water or whey (185F). If the curd stretches into a long strand then the pH is correct. If not, allow the curd mass to continue developing acid for another 15-30 minutes before trying again.
-


Heat & Stetch Curd
Once the curd mass has developed its final acid it should have formed a nice consolidated mass and is ready for the final heating and stretching.
Slice into 1/4-1/2 inch strips, add water at 175-180F and allow it to absorb heat, until the curd stretches easily.
Stretch the curd in the tub by kneading and stretching to develop the elastic curd typical of the Pasta Filata style. The final form can be made stretching the curd in the tub by pulling up sides like a jug and forcing curd from the top down inside the opening formed at the top. Finally, close off the top and seal the opening in very hot water- then pinch and twist this off.
The final form is done here by shaping the form into a cylinder and then rolling back and forth on the draining table until a good smooth cylinder is formed. I then place this into a tall cylindrical container and place it back into the hot whey to get the final form.
-


Salting & Aging
The cheese is now finished off by soaking in a saturated brine for 12 hours, drying for a day or two and then moving it to the cave where it will be hung for aging. Caution should be taken to keep the surface from drying out and cracking.
If mold appears, it should be removed with a brine soaked cloth. At 1-2 weeks it can be rubbed with oil to reduce mold growth.
The aging room temperature should be 52-58F and 80-85% humidity.
This cheese will be ripe in 4-9 months but can be aged longer for a stronger flavor.
Cheese Making Supplies
Related Products
You May Also Like


%20cheese,%20first%20made%20in%20southern%20Italy%20but%20now%20also%20made%20in%20other%20parts%20of%20Italy%20and%20in%20the%20United%20States,%C2%A0particularly%20in%20Wisconsin%20and%20Michigan...
)