Spice Infused Cheese Making Recipe
-
Yield
4 Pounds
-
Aging Time
~2 Months
-
Skill Level
Advanced
-
Author
Jim Wallace

Ingredients
Total price for selected items: Total price:
Instructions
I like to use fresh, raw Jersey milk with this recipe but any good quality, full fat pasteurized milk should work. Along with the Jersy milk I’m using KAZU culture because it contains an aromatic culture blend that provides a more open texture, in addition it also has Helveticus bacteria that provides a nice warmth to the final flavor.
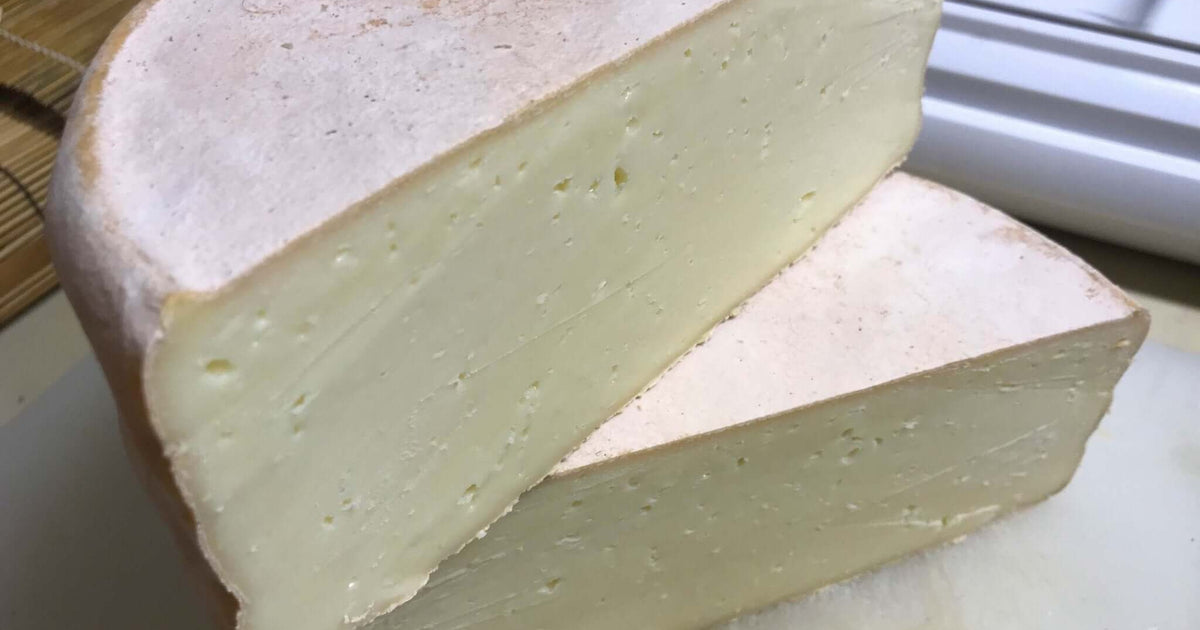
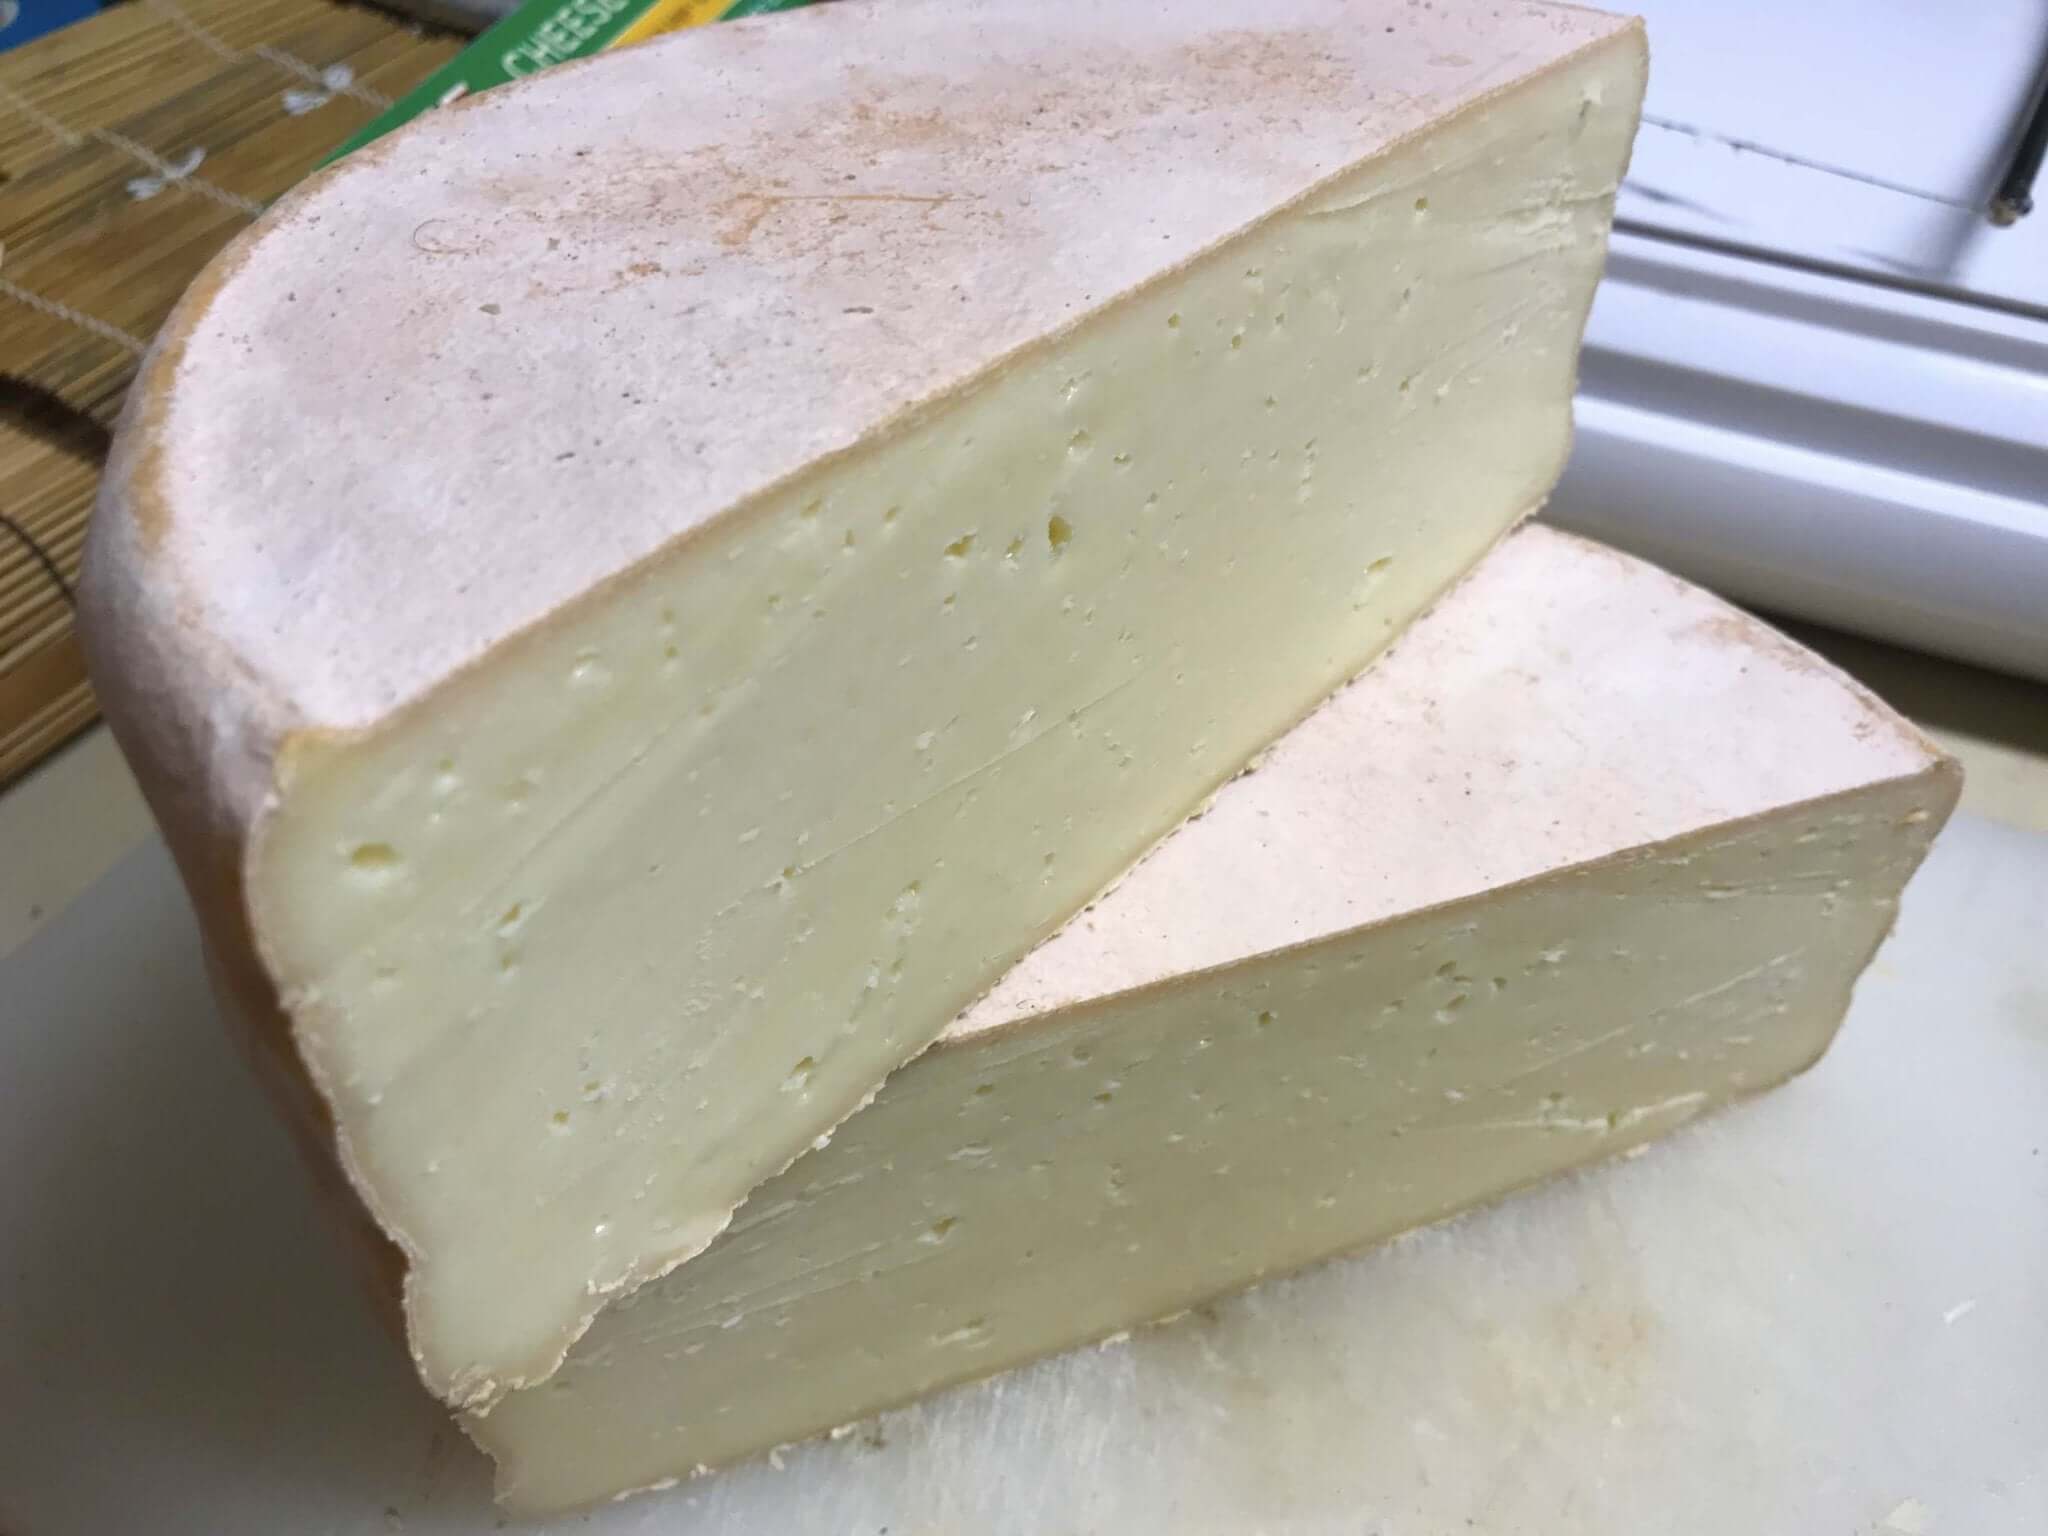
When making this cheese I was not looking to wax or work with a bloomy or washed rind. Because of this, I turned to my new favorite surface ripening culture, MYCODORE. This culture is great for developing a protective surface and does not break down the body of the cheese.
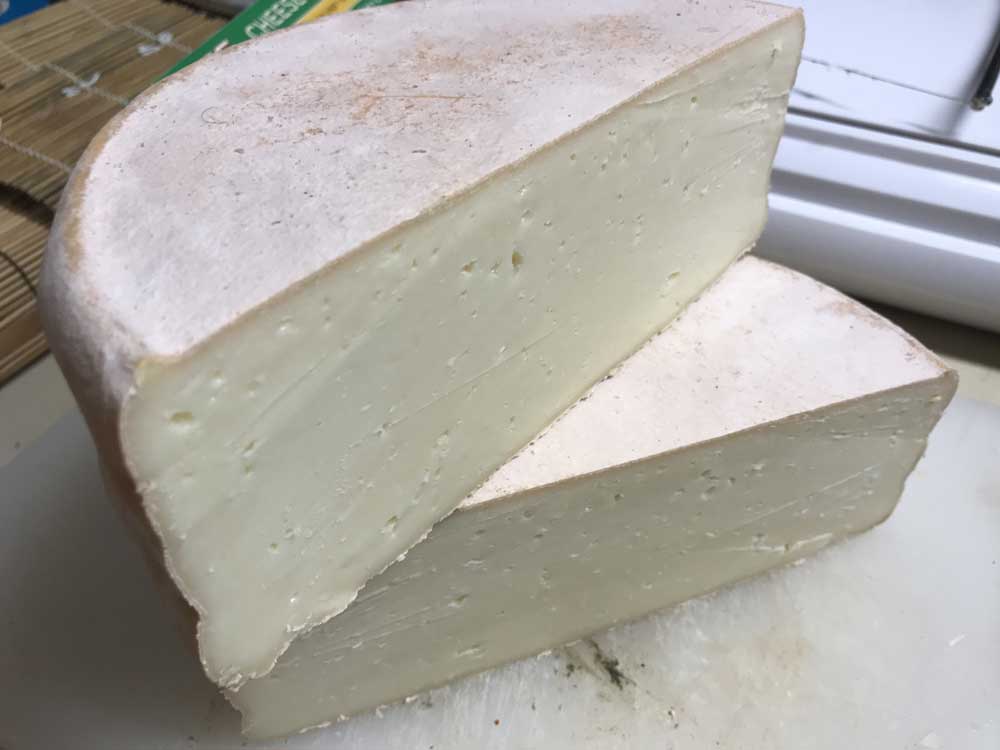
The surface grows in as a light, dusty white to cream color with low growth for a nice thin rind that is quite consumable. It also does a great job at excluding other undesirable molds.
The underlying moisture of the cheese encourages a light rosy development under the MYCODORE that adds a beautiful presence at the table.
-
Heat, Infuse & Acidify Milk
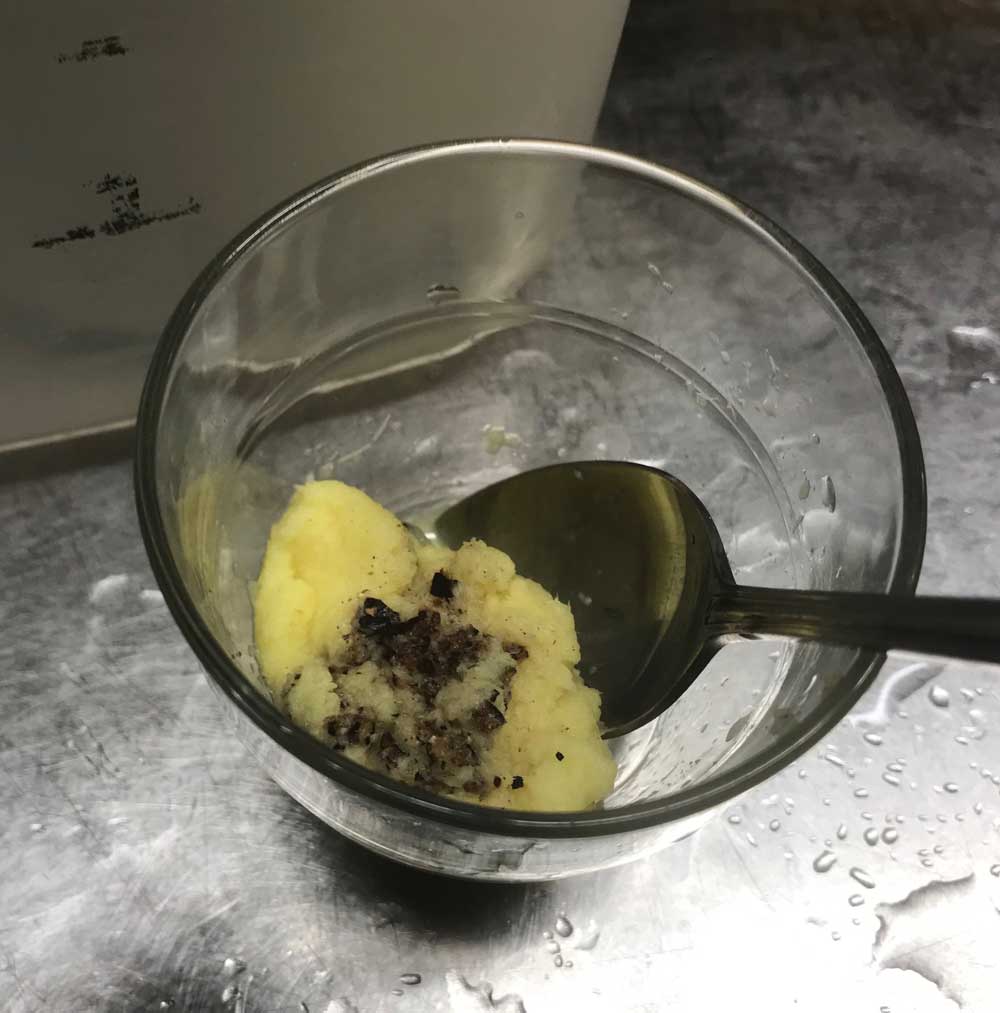
Prepare spices to infuse milk by finely grating the ginger and crushing the Cardamom and Juniper berries well.
Once you have prepared the spices, pour 1 qt of the milk into a small pan and heat to 75F. Once heated add the spice mix directly to the warm milk and stir well, maintain 75F.
In a large pot, begin heating the remainder of the milk to 75F. Give the spiced/milk infusion an occasional stir to make sure the spices are in good contact with the milk and not settling to the bottom. It normally takes about 30-45 minutes to heat the larger volume of milk to temperature. This should be adequate time to infuse the flavors into the smaller batch.
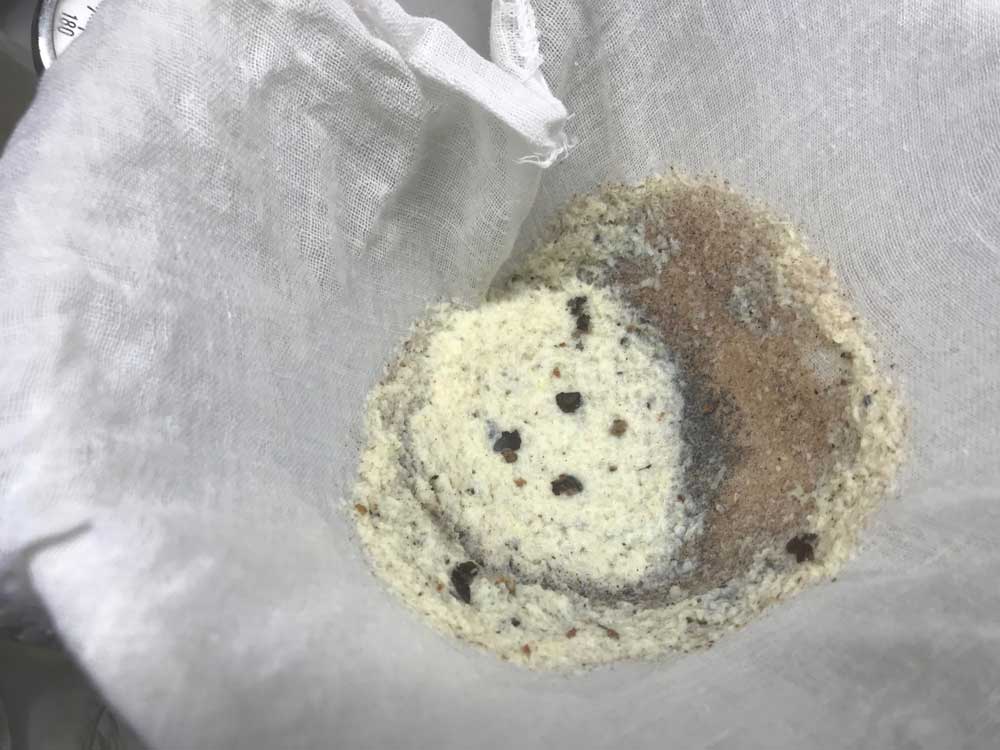
Once the main batch of milk reaches 74F, use a piece of draining cloth to strain the spices from the infused milk then add the strained, infused milk into the large pot with the rest of the milk.
Add the cultures to the milk and mix in then let the milk rest 75F for 45 minutes. This lower temperature is to help the Mesophilic portion of the culture produce a more buttery flavor. At the end of the 45 minute rest, raise the temperature to 88F and let the milk rest for an additional 45 minutes. This will allow the acid producers to begin working.
-

Coagulate with Rennet
Now add 3.5ml of single strength liquid rennet and let the milk rest for 45 minutes while the rennet coagulates the curd.
The milk will begin to thicken at about 12-15 minutes, but allow it to coagulate to firmness at about 45 minutes.
It is always best to check for a firm coagulation and if it seems to need longer allow it to go as much as 50% longer. The next time you make the cheese, adjust the rennet amount if needed (more rennet for a quicker set).
Note: The thermal mass of the milk should keep it warm during this period. It is ok if the temp drops a few degrees during this time, you can heat it back to temp after cutting.
-
Cut Curds
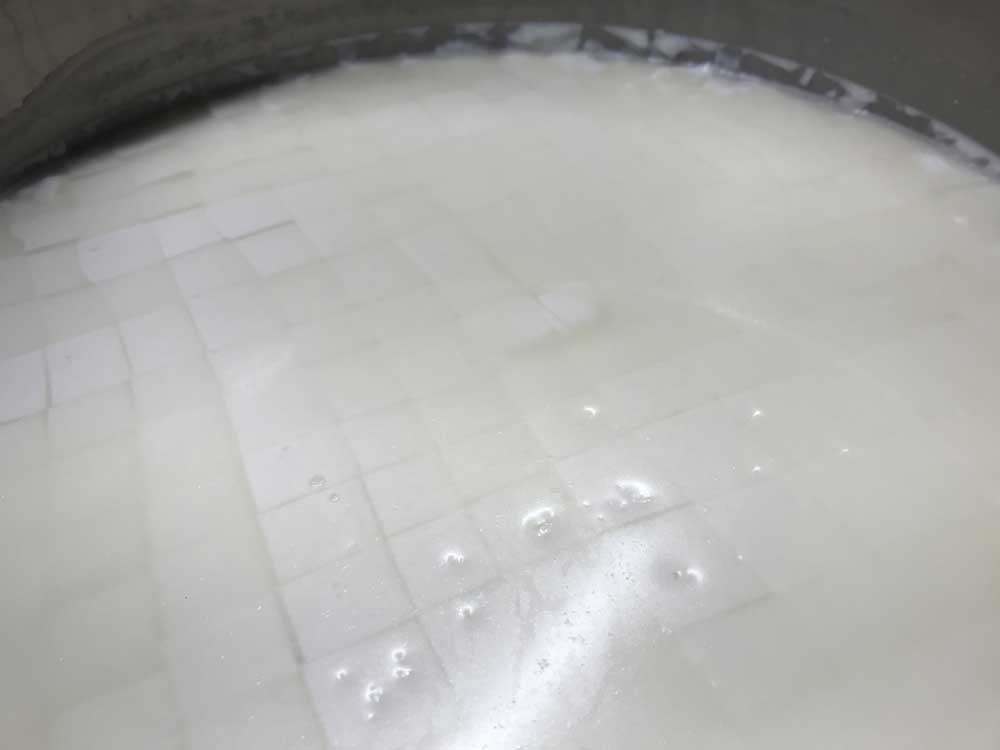
Once the milk has set well, it is time to cut the curds. This is the first step in reducing the curd moisture.
Cut the curd mass as evenly as possible to about hazelnut to medium bean size pieces, and then allow the cut curd to rest for 5 minutes, so the cut curd surfaces can heal. After 5 minutes, stir slowly for 15 minutes, to allow the curd surfaces to firm up more.
This rest and stir are both important to prepare for the cooking phase that comes next. Without it, the curds would break further and loose too much moisture.
-
Wash & Cook Curds
Following the brief stir above, allow the curds to settle, then remove 30% of the whey (4.8 qts for 4 gallons). This will slow the culture activity by removing a portion of the bacteria's food supply (residual lactose in the whey). This process is referred to as washing the curds and will help to produce a sweeter cheese.
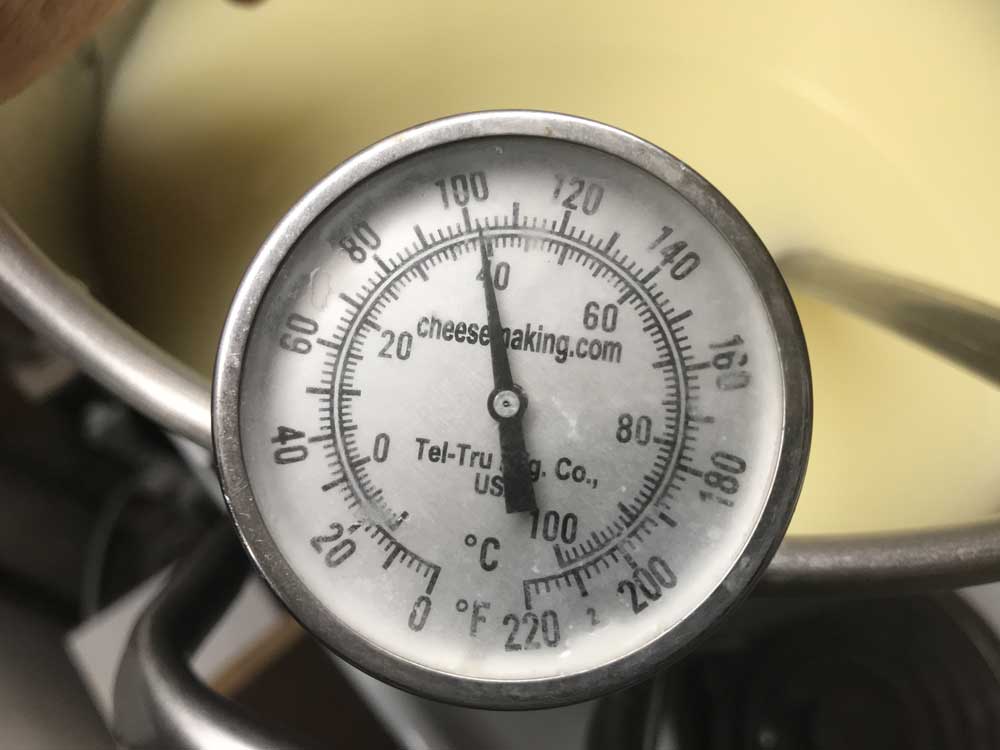
After removing the whey, slowly replace it with the same volume of clean water heated to 130F. While slowly stirring the curds, this should increase the curd temperature to 102F over 15 minutes. The warm water plus the final stirring will help moisture release from the curd.
Once the temperature reaches 102F, stir slowly for an additional 20-25 minutes.
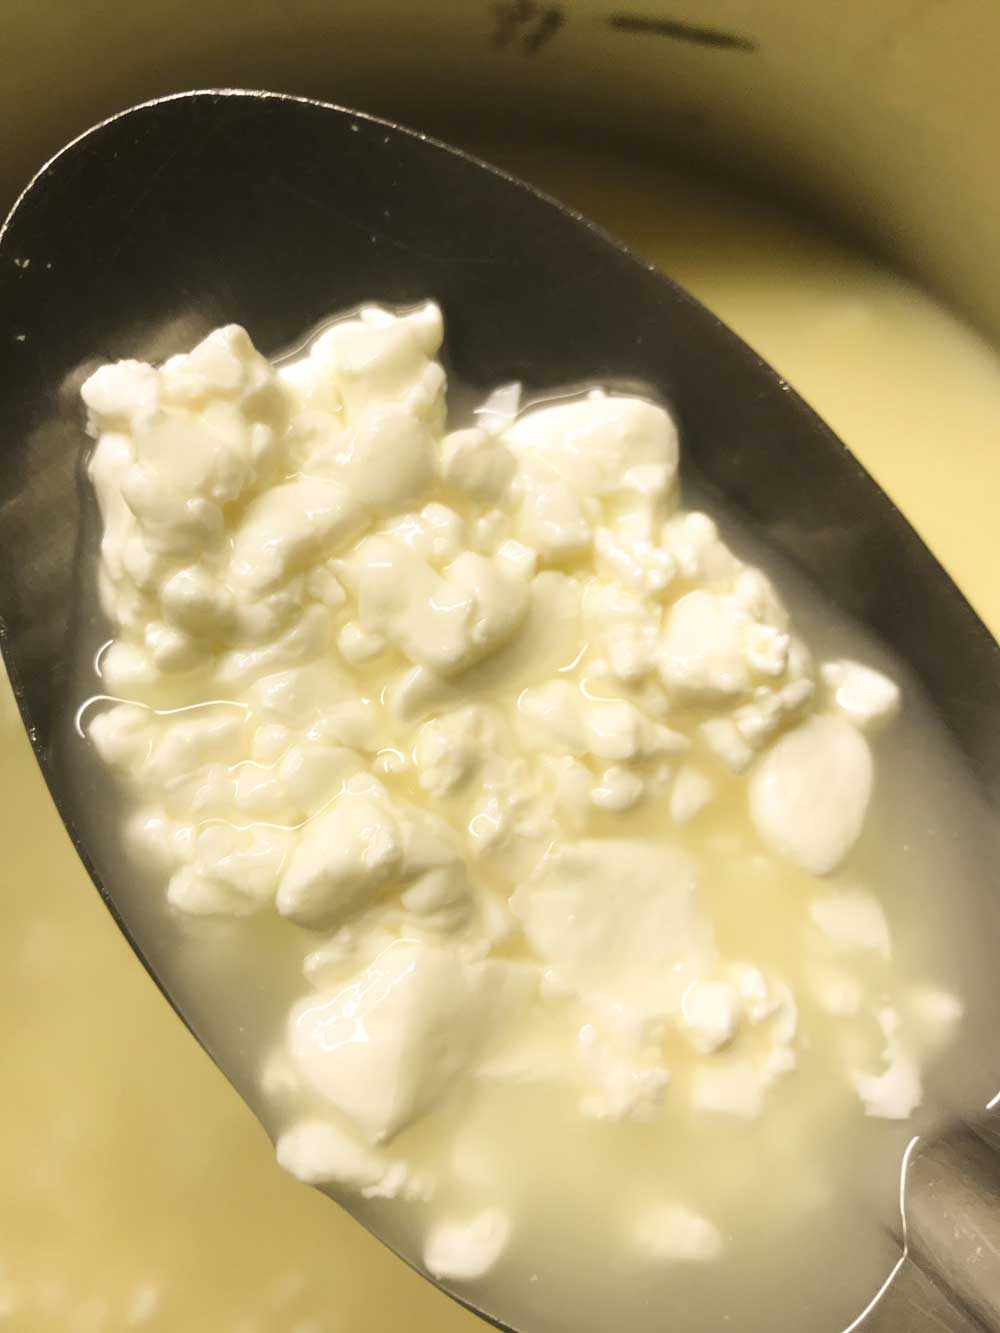
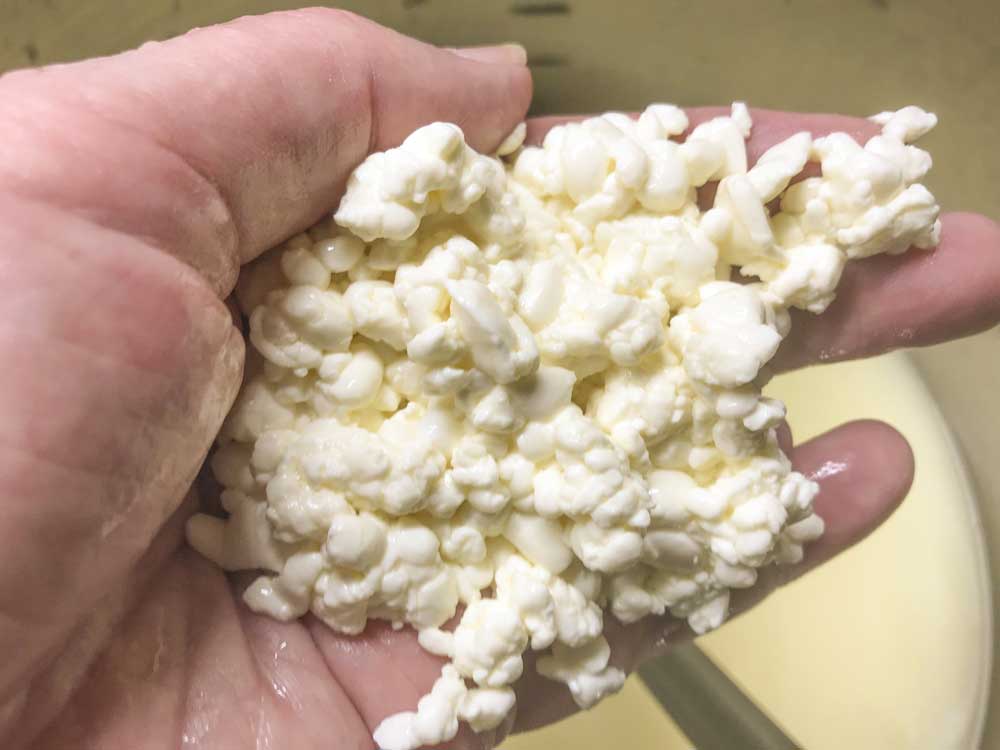
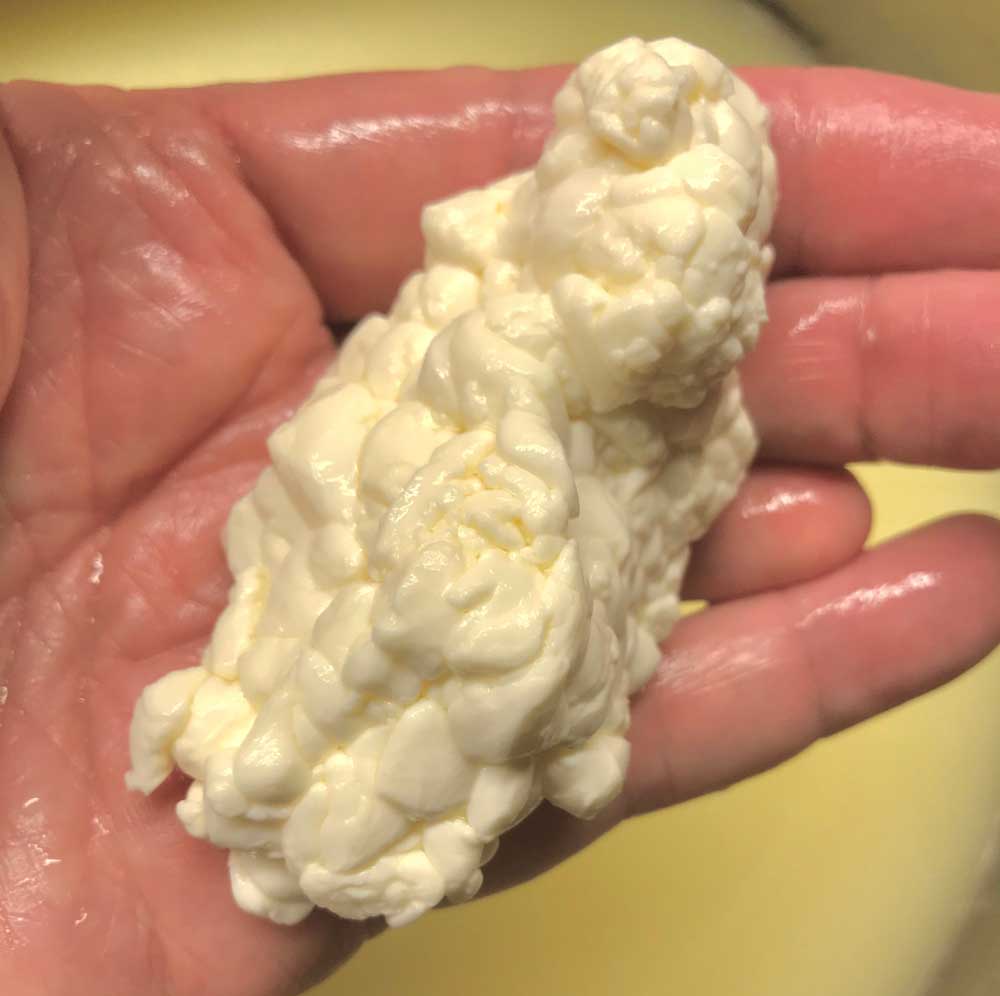
The final curds should be cooked well through and should be examined to make sure that enough moisture was removed. A broken curd should be medium firm throughout and a small handful, when compressed in your hand, should yield and separate easily with a bit of pressing with your thumb.
When this point is reached the curds can be allowed to settle under the whey.
-
Transfer Curds
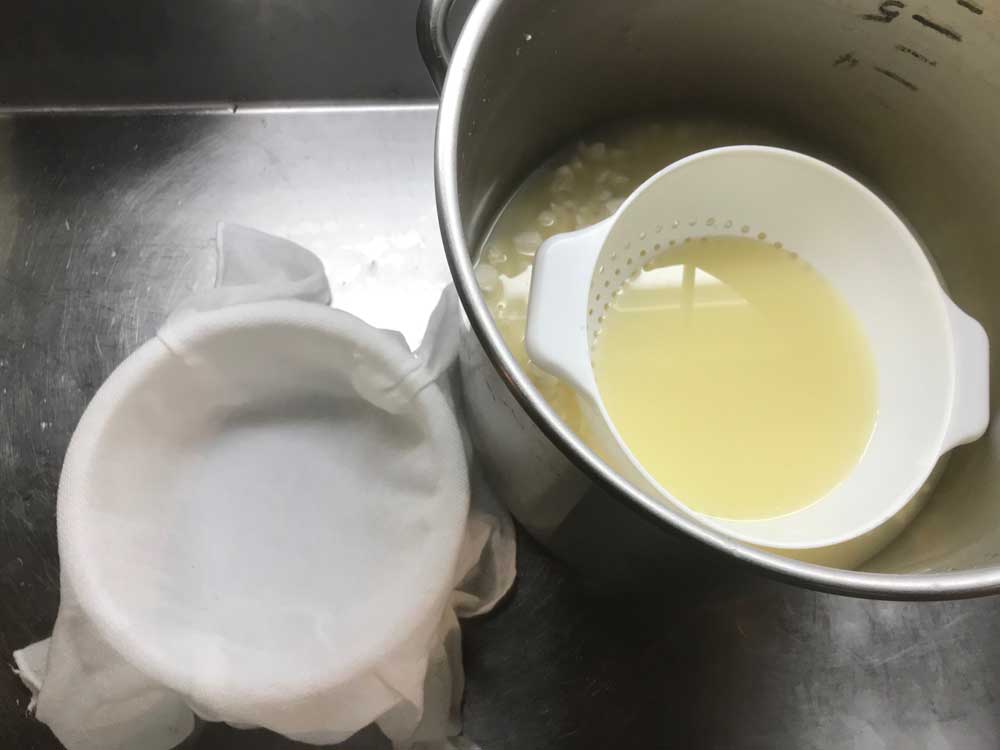
Line your mold with sanitized draining cloth to prepare it for the curds.
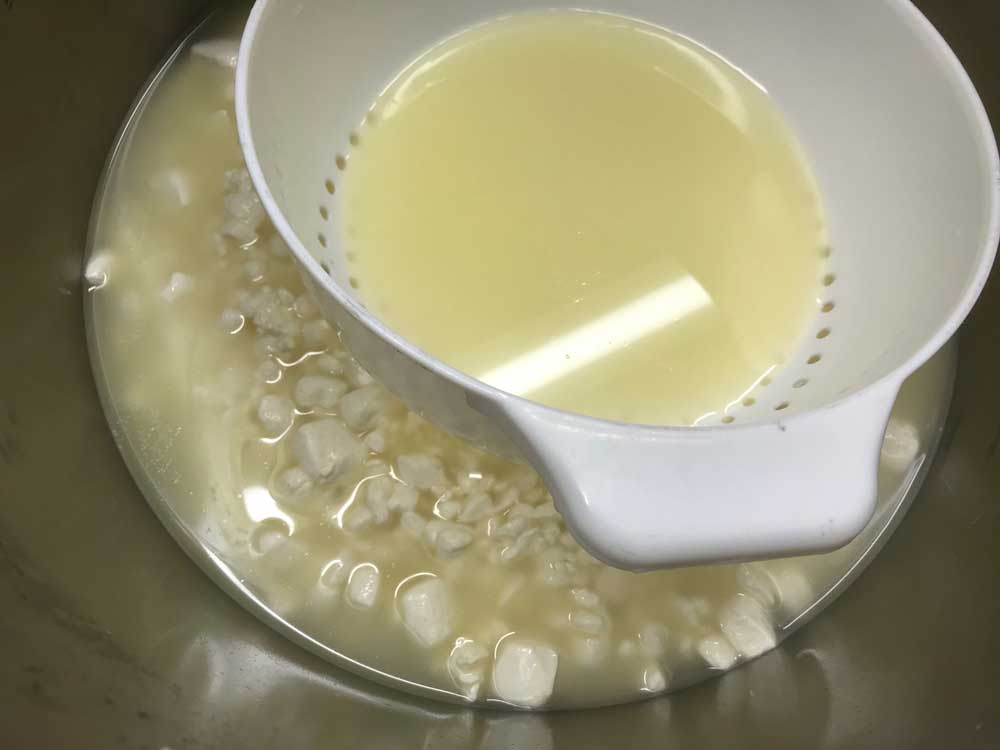
Remove the whey in the pot down to about an inch or two above the curd level then begin transferring the curds into the cheese mold. The curds can be packed into the molds with a medium firm hand press as you go.
Once transferred, fold the cloth neatly over the top of the curds to prepare for pressing.
-
Pressing
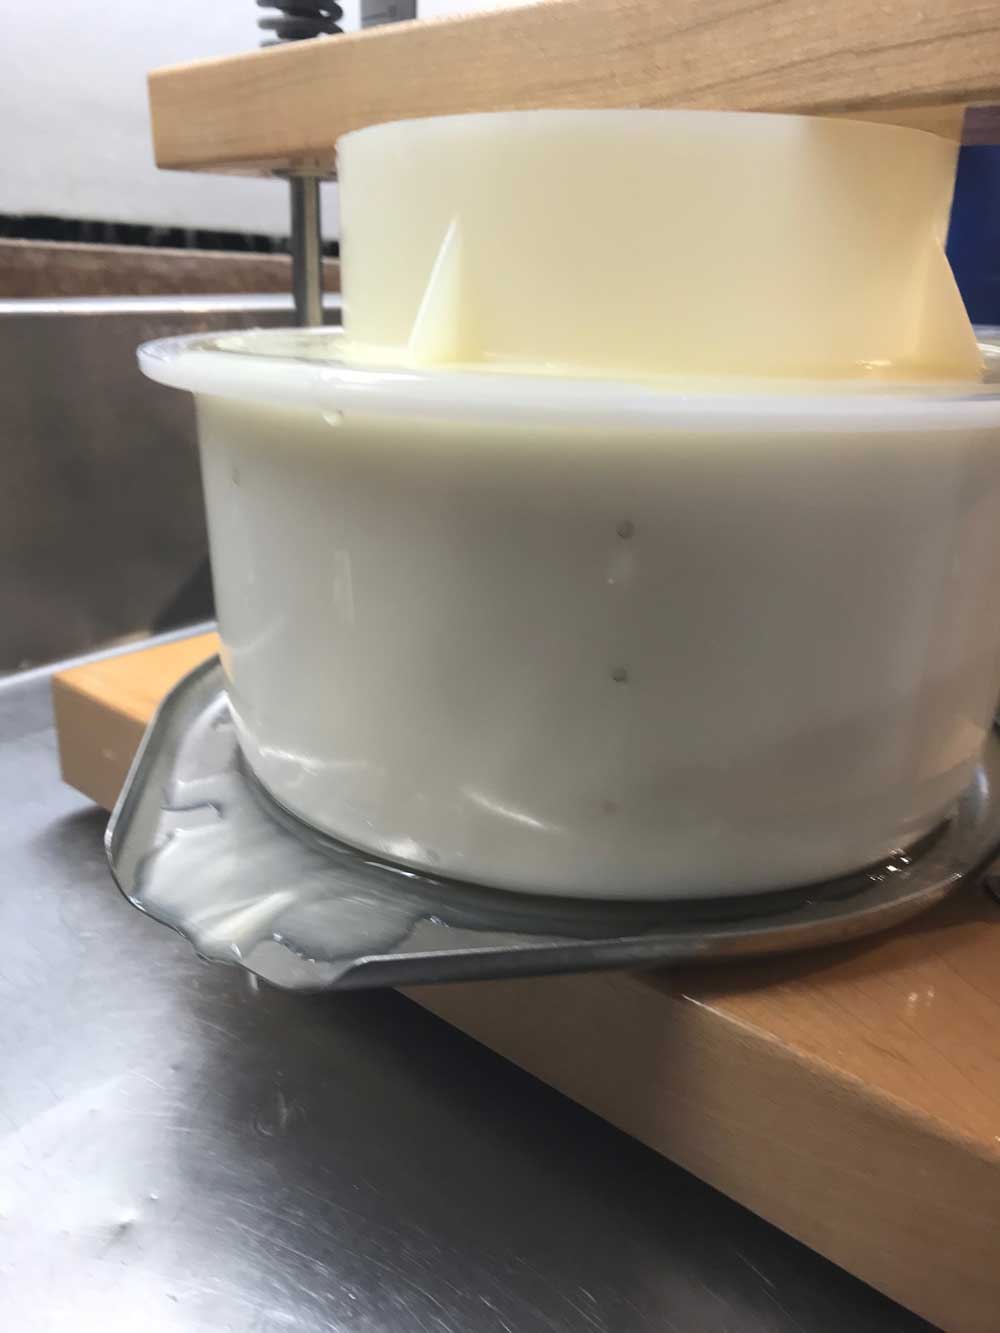
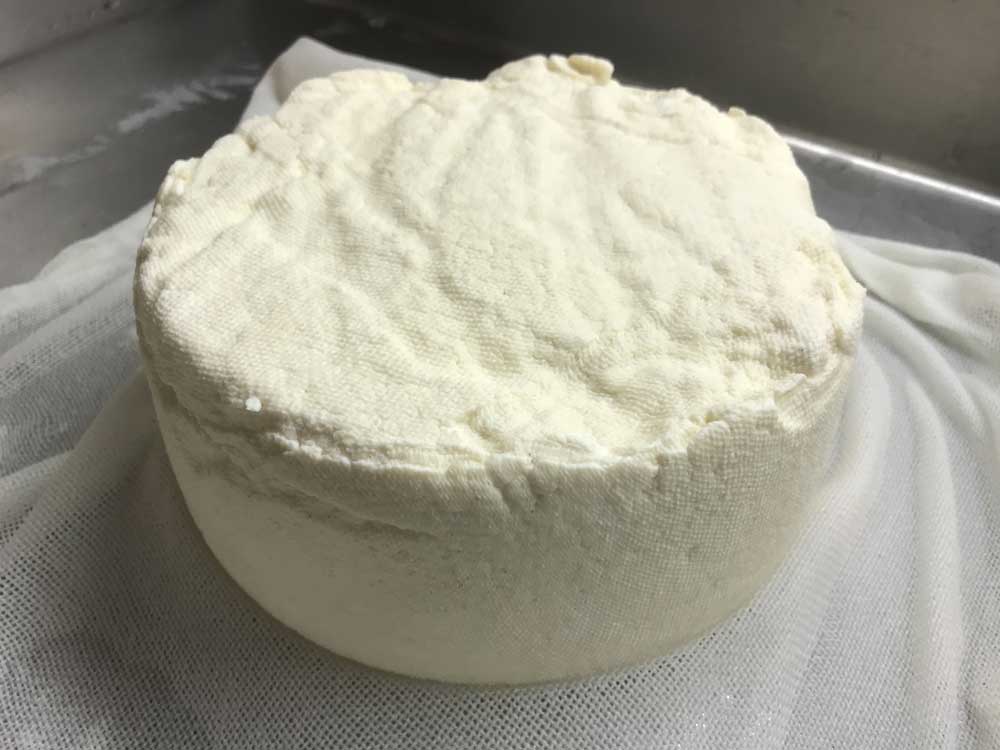
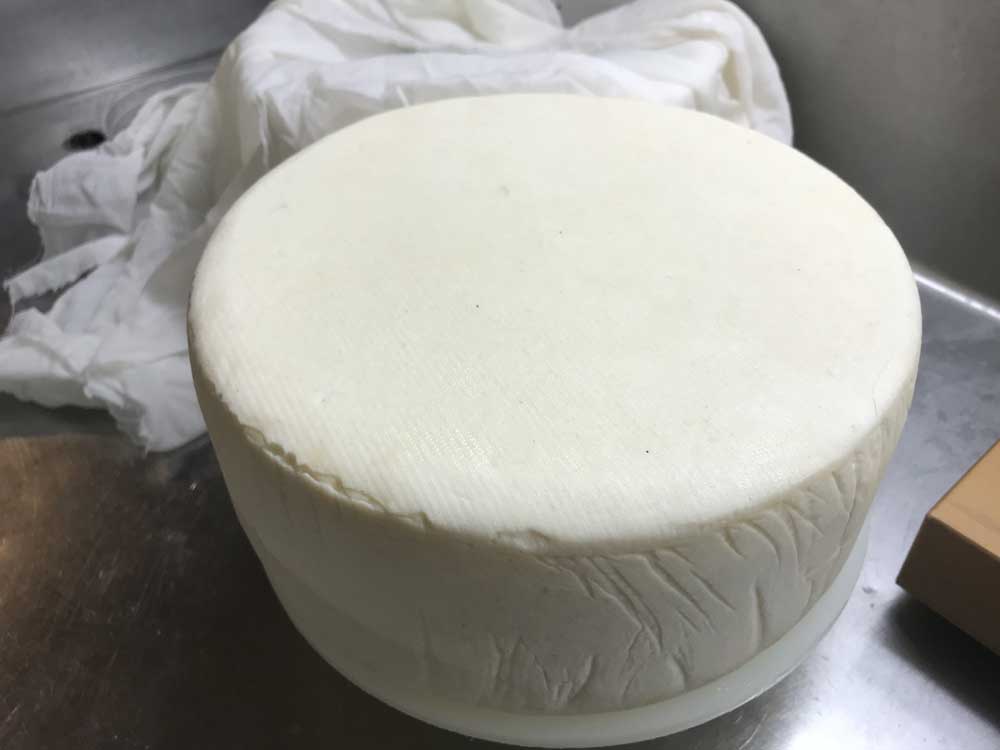
Place the cheese mold into a press. The cheese should be removed from the press, unwrapped, turned, rewrapped, and put back into the press at the below intervals to assure an even consolidation. At each turn you will notice the cheese has formed a smoother surface and rests lower in the mold.
- 30 minutes at 12 lb
- 30 minutes at 25 lb
- 1 hour at 50 lb
- 2 hours at 50 lb, or until the surface openings are gone Overnight with no weight
The rate of whey running off should begin as a very thin stream and quickly reduce to a matter of drops. This is a good rate of whey removal during pressing and it will slow even more as the residual free moisture is released.
The form should show tears of whey weeping from the form very slowly. When this stops you can increase the weight slightly.
After pressing, allow the cheese to sit in a cool space overnight (60-65F) covered with a damp cloth to keep it from drying. The final weight of the cheese should be about 5-5 1/4 lb.
-
Salting
You should have a saturated brine prepared for salting this cheese. You will find all of the details you need on brining here.
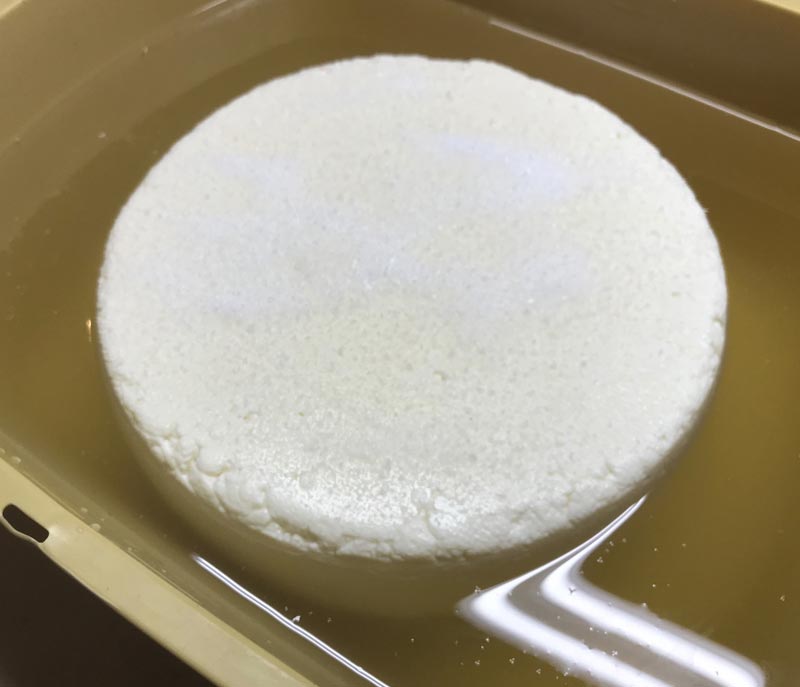
A simple brine formula is: 1 gallon of water, 2.25 lbs of salt, 1 tbs calcium chloride (30% solution), and 1 tsp white vinegar.
The cheese now needs to be set in the brine for about 2 hours per lb of cheese.
The cheese will float above the brine surface so sprinkle an additional 1-2 teaspoons of salt on the top surface of the cheese.
Flip the cheese and re-salt the surface about half way through the brine period.
At the end of the brine bath, wipe the surface and it to a cool space, 60-65F with a high moisture of 85-90%. This high moisture can be best achieved in a covered plastic tray or box. Allow the cheese to rest here for 2-3 days while ambient yeast and geotrichum begin to develop. You should begin to notice a slippery or greasy feel to the surface.
Prepare the surface wash: While the cheese is resting, mix a surface wash of 1 cup boiled water, that has been cooled, to 1 tbsp salt and a pinch of MYCODORE culture. Set this mixture aside in the fridge. It will be used as a surface wash to prepare the cheese for aging.
-
Aging
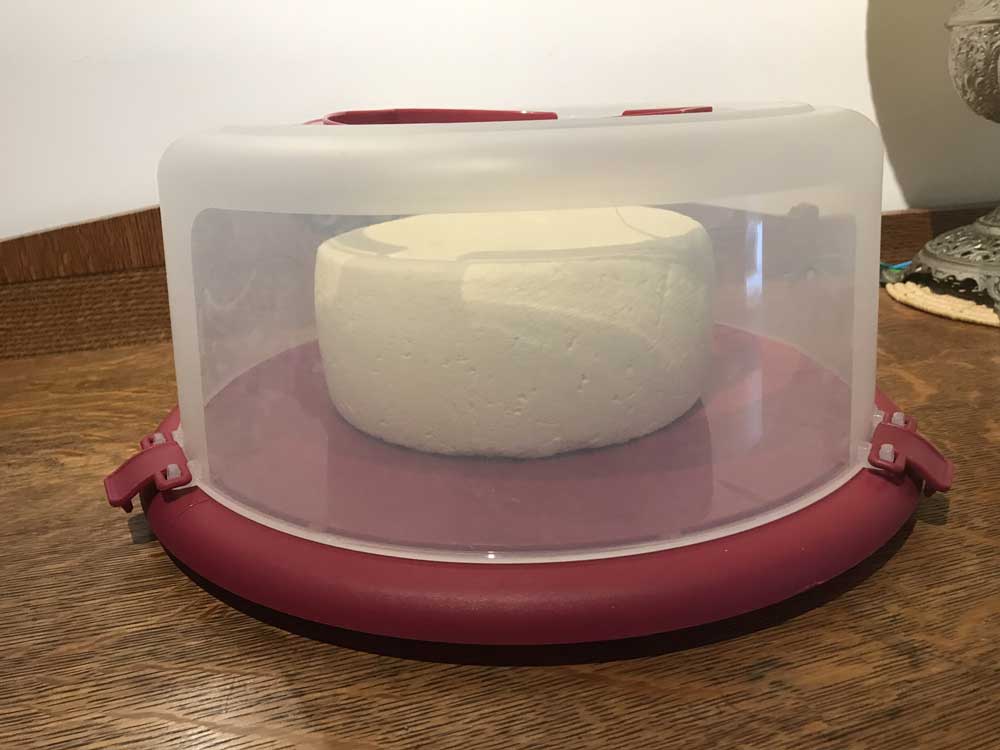
This cool aging phase begins with a cool water wipe down to remove some of the greasy surface from your cheese. After wiping it down, move the cheese to a covered plastic box with a wood aging board cut to size on the bottom. The target temperature for aging this cheese is 52F with a moisture of 90-95%.
As soon as the surface has been wiped down, begin using the wash, you had prepared above, on just the top surface and sides of your cheese. You only need a small amount of wash on a sanitized cloth. I like to pour a few tablespoons of the prepared wash onto the cloth so the wash stays fresh. After each wash, allow this surface to dry slightly and then place it washed side up on the aging board. Allow this to rest in the aging space for a day or so and then turn it over and do the other surface.
Repeat this again in 3-5 days, as you see a white film of mold developing. The surface will become damp or tacky but do not allow it to get swampy or wet. Within 10 days you should notice a slight cream to rosy color developing. If done properly no blue, dark, or fuzzy mold should grow. That is the beauty of the MYCODORE rinds. If the surface growth is not appearing, repeat the wash cycle once more.
The rind should eventually develop into a creamy white with an underlying rosy color and the aroma should be pleasant and fresh with the underlying aromatics of the spices used to infuse the milk. The spice blend should be balanced and harmonious with the character of this cheese.
Turn the cheese every day or two and replace the board if it builds up residuals or becomes too moist. If you notice other unwanted surface molds leave the cover slightly open to reduce moisture.
The final cheese should be ready for the table in 6-8 weeks.
Note: The aging boards will harbor beneficial and complex bios from aging cheese over time. Never wash your boards with detergent, just scrub them with hot water and dry them in the sun. This will preserve the natural bios for future aging.
Cheese Making Supplies
Related Products
You May Also Like


