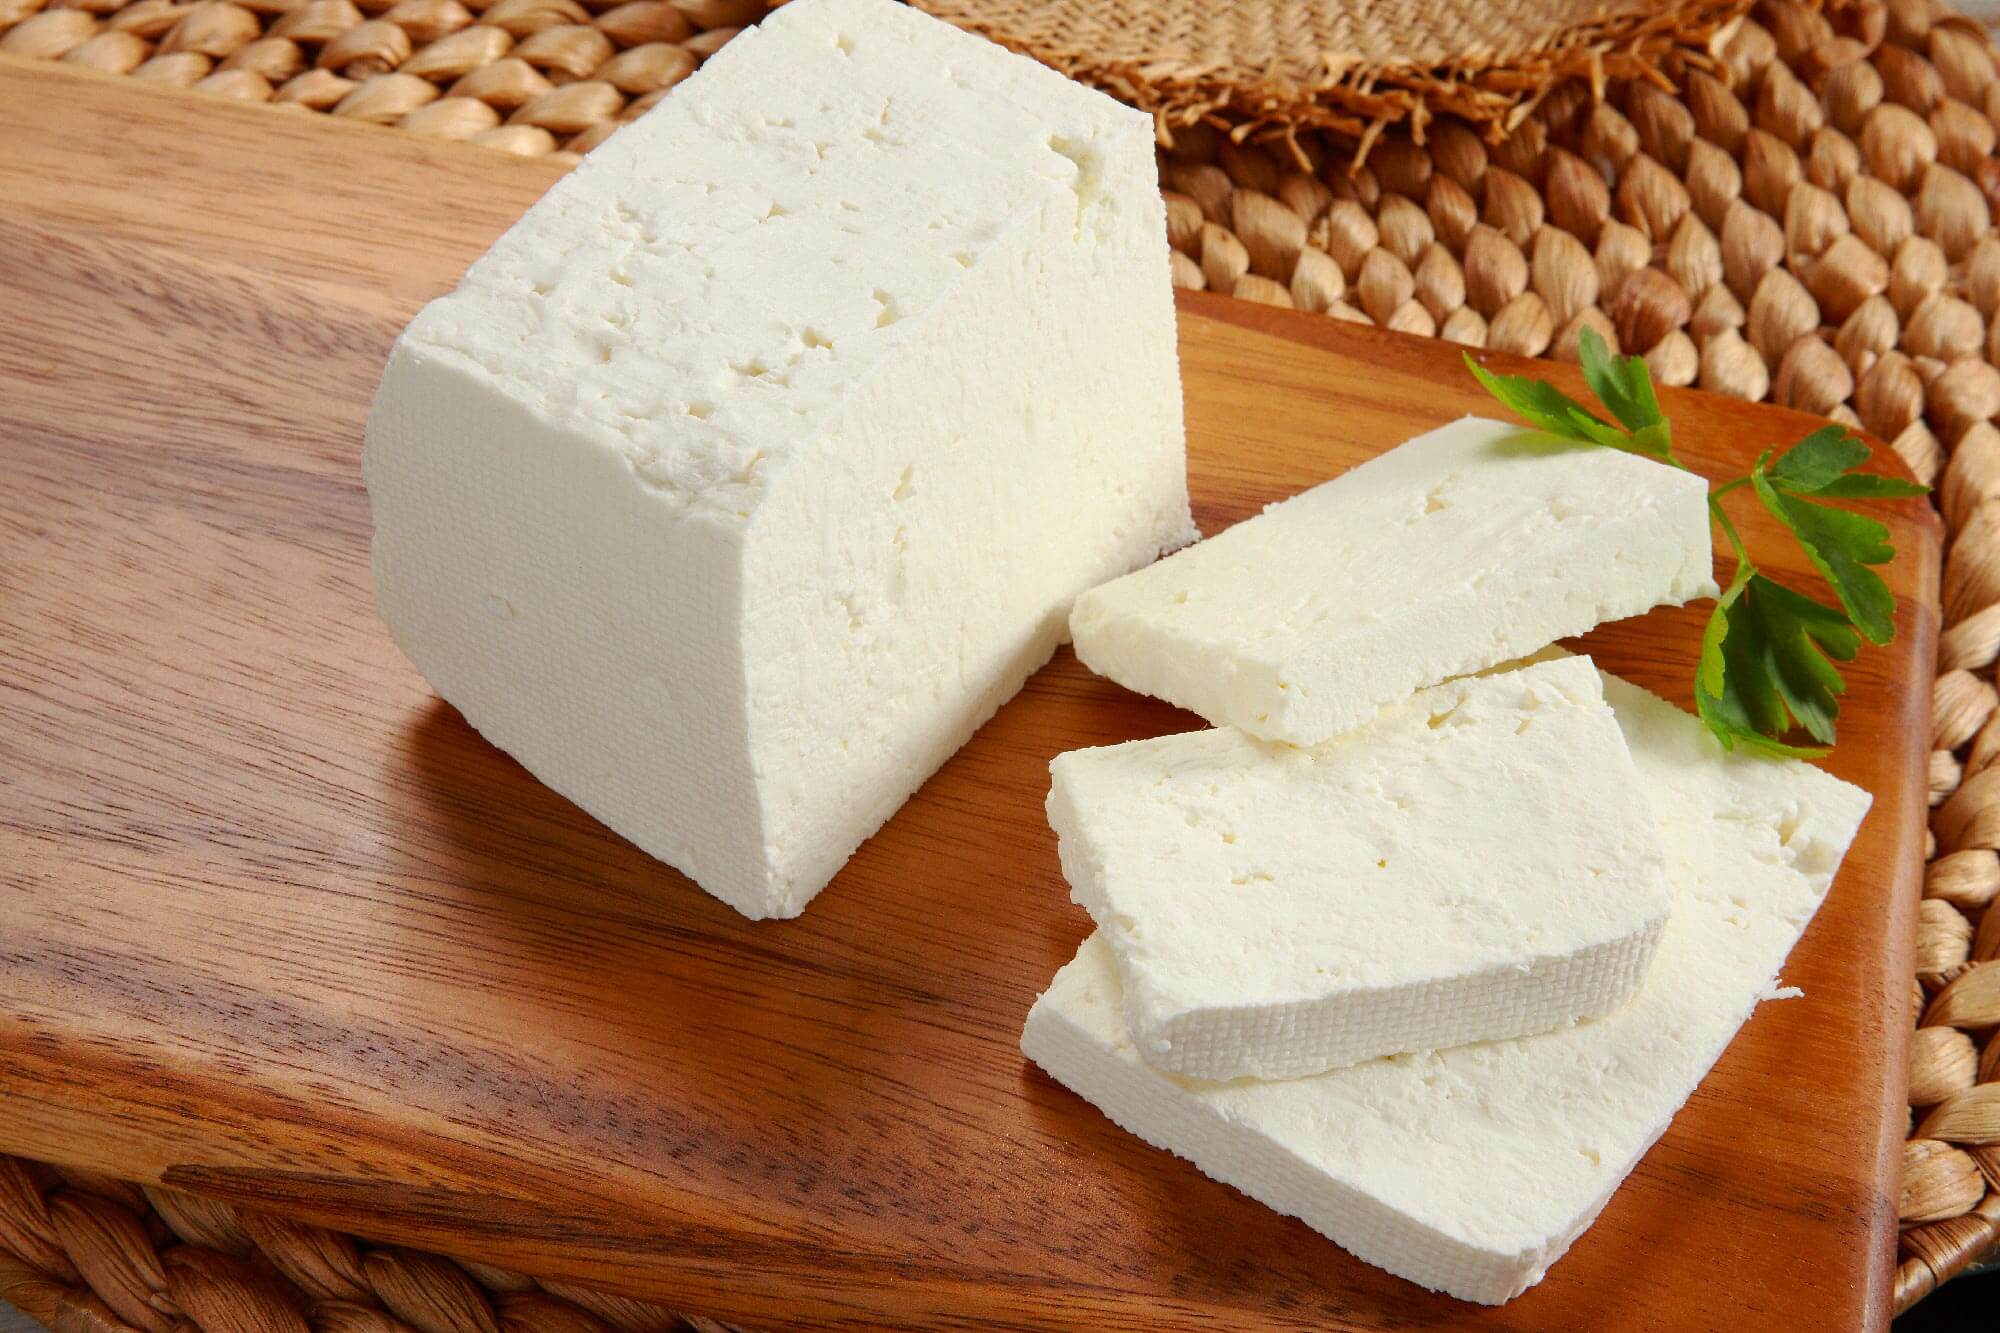
Telemea Cheese Making Recipe
-
Yield
2 Pounds
-
Aging Time
None
-
Skill Level
Beginner
-
Author
Jim Wallace

Ingredients
Total price for selected items: Total price:
Black Friday Sale! Up to 20% Off Sitewide

Instructions
A white brined cheese from Romania that evolved with nomadic herders of long ago. This cheese quick and easy to make cheese was made on a daily basis using primitive equipment that could be carried from place to place. Over the centuries as people moved from the mountain and dry lands of Iran and Iraq into Eastern Europe this cheese continued to evolve.
Telemea can be a bit tangier than other similar styles but it evolved in the same manner as Feta and other eastern European cheeses. But, unlike those other cheeses Telemea is pressed with a small amount of weight and has a texture that becomes softer and creamier after a week or so of aging.
-

Heat Milk
Begin by heating the milk to 96F. You do this by placing the milk in a pot or sink of very warm water. If you do this in a pot on the stove make sure you heat the milk slowly and stir it well as it heats
Once the milk is heated add and mix in the prepared Yogurt culture. Let the milk rest quietly for 30 minutes.
Note: If using 1/4 tsp MA 4001 (1/8 for raw milk) instead of the prepared yogurt the milk will need to sit quietly for an 1 hour instead of 30 minutes.
-

Add Rennet
Add single strength liquid rennet and stir slowly in an up and down motion for only about 1 minute. Let the milk rest for an additional 45-50 minutes while the culture continues to work and the rennet coagulates the curd.
The milk will begin to thicken after 15 minutes, but allow it to coagulate to full firmness at about 45-50 minutes.
It is always best to check for a firm coagulation and if needed allow it to go as much as 50% longer. The next time you make the cheese, adjust the rennet amount if needed (more rennet for a quicker set).
The thermal mass of this milk should keep it warm during this period so do not stir, It is ok if the temperature drops a few degrees.
-
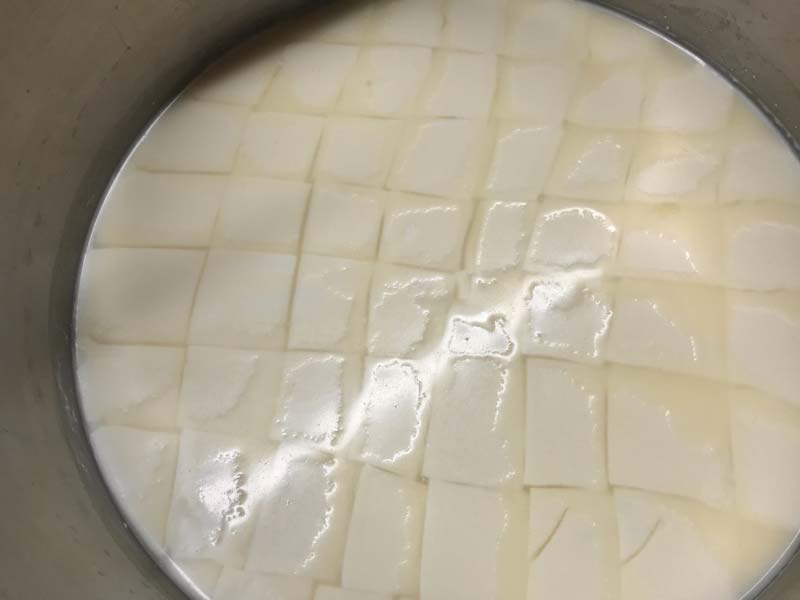
Cut Curd
Once the milk has set well it is time to cut the curds. This is the first step in reducing the curd moisture.
Cut the curd mass into 1-1.5” strips, be sure to only make vertical cuts as in the photo shown. Allow the cut curd to rest for 3-5 minutes, so the cut surfaces can heal. Notice how much whey rises between these cuts after the brief rest period.
That’s it, there is no stirring or cooking for this cheese.
-
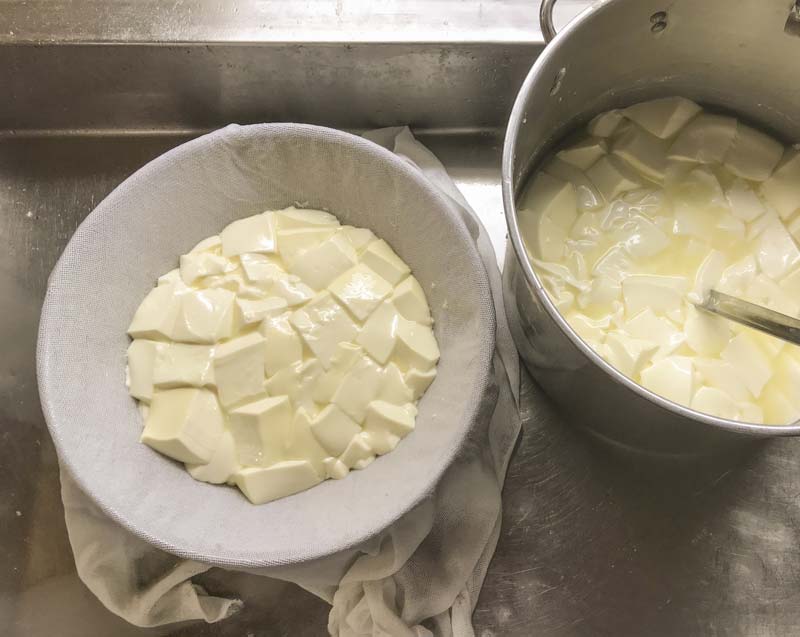
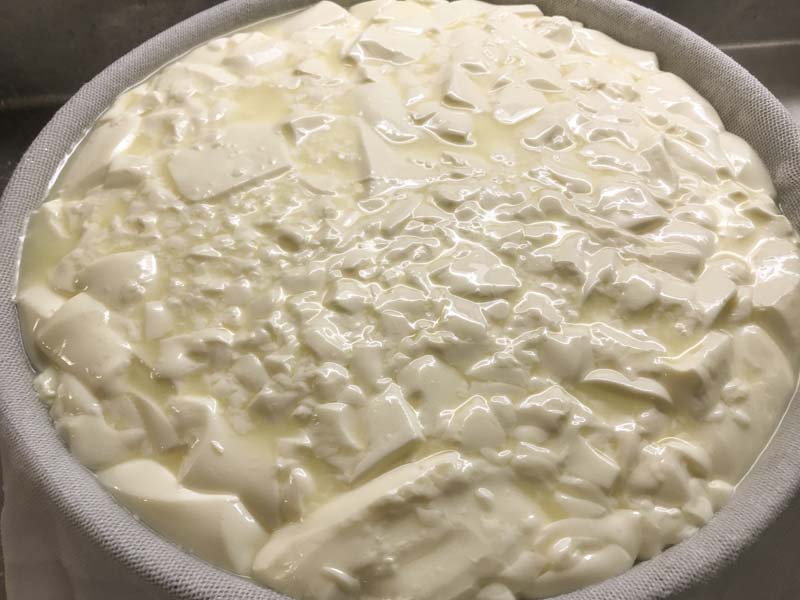
Drain Curd
You are now ready to begin separating the moisture through a slow and easy draining. All thats needed is the colander(s) or drain pan with drain cloth and a ladle (I prefer the perforated types).
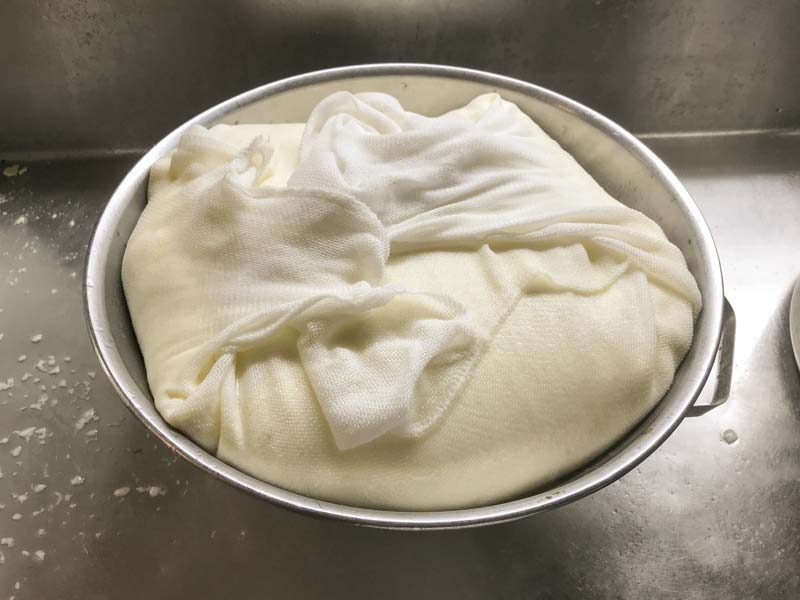
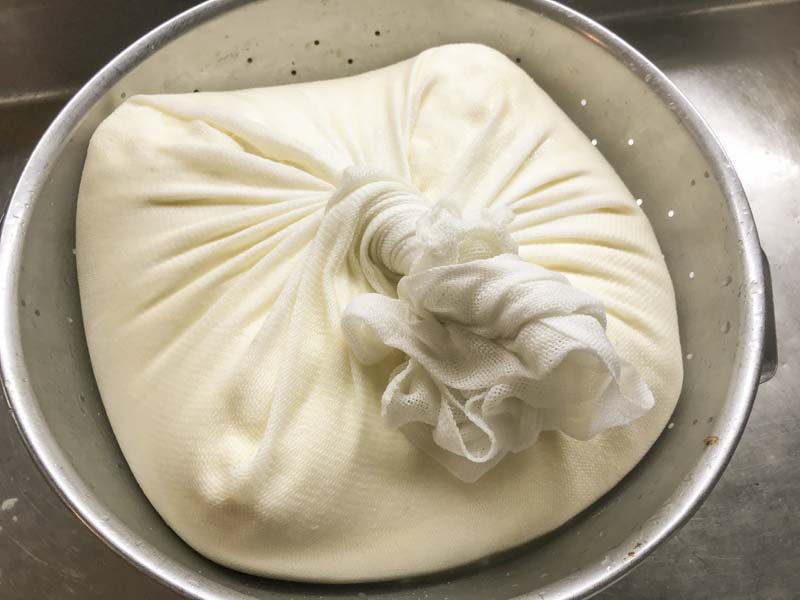
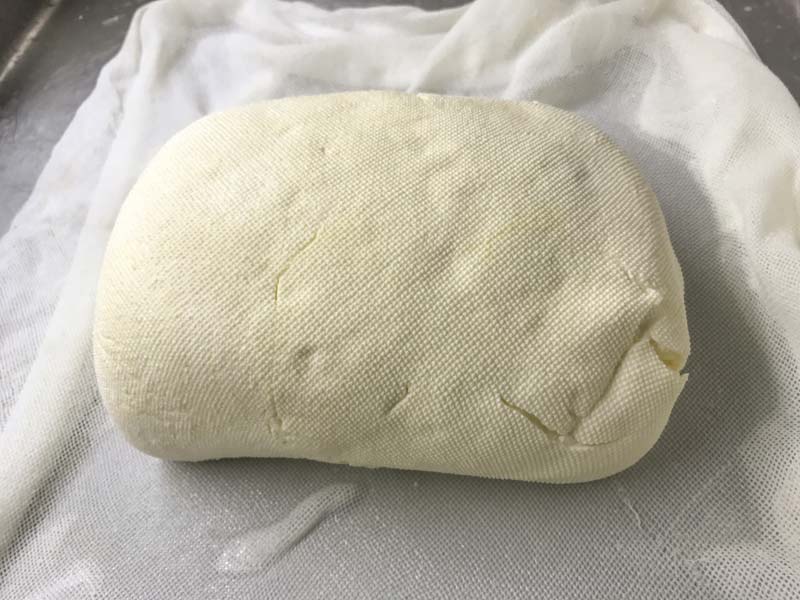
Carefully transfer a ladle of curd at a time, without breaking the curd, into a large, cloth lined colander. Once all of the curd has been transferred, fold the edges into a squarish shape and allow the curd to drain for 5-10 minutes.
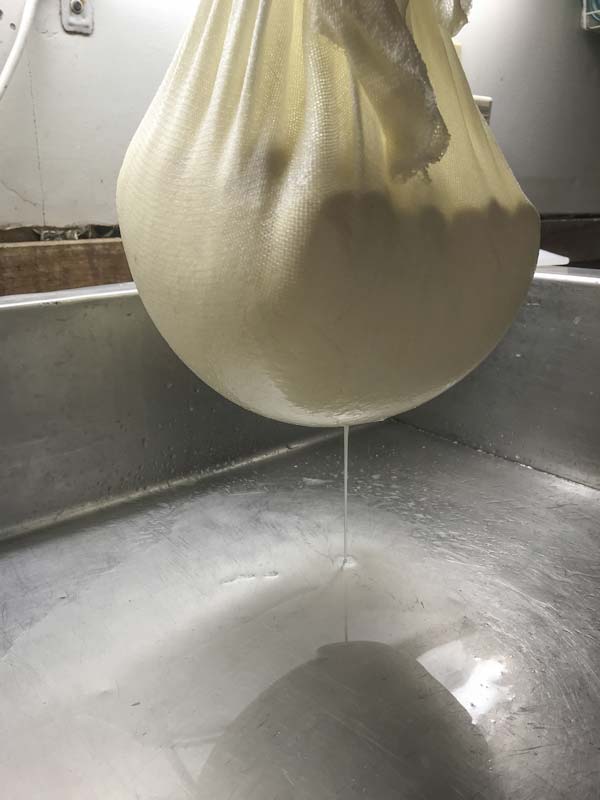
After the short draining lift one edge of the cloth at a time moving the curd mass to the center and tie the cloth into a bag that can hang. Find the place to hang the curd over a bowl or pan to collect the draining whey.
Try to keep the temperature of the draining space around 69-74F while draining.
The whey will drain steady at first, and eventually slow to consistent drips, and then to the sporadic drops. You may need to open the draining cloth and mix the curds to encourage additional draining.
Tip: I usually listen to the rate of draining while focusing on other things to know if the draining has stoped abruptly.
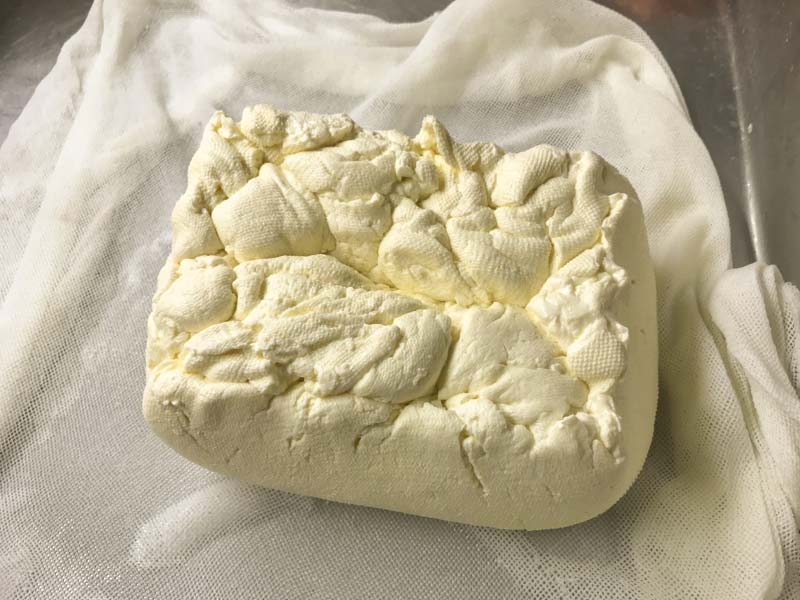
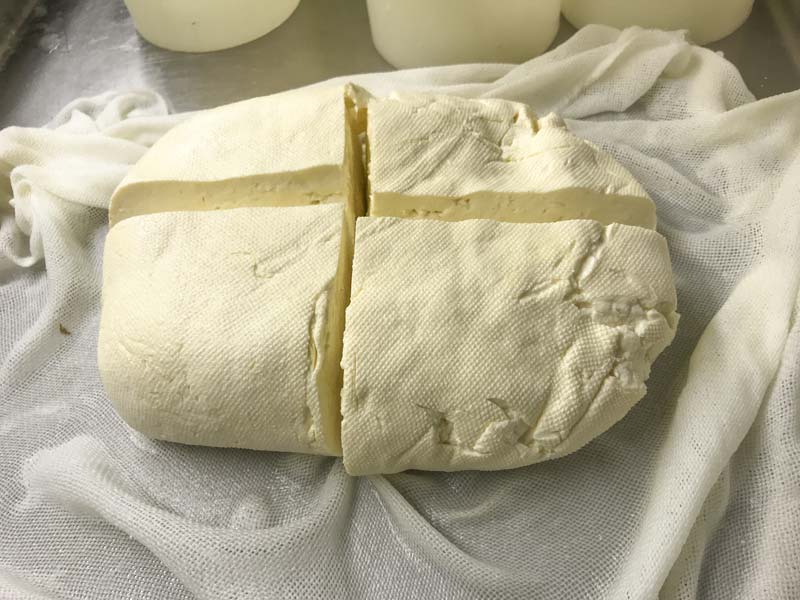
Once the dripping slows enough and the curd appears dry open the cloth and cut the curd to fit into the cheese mold.
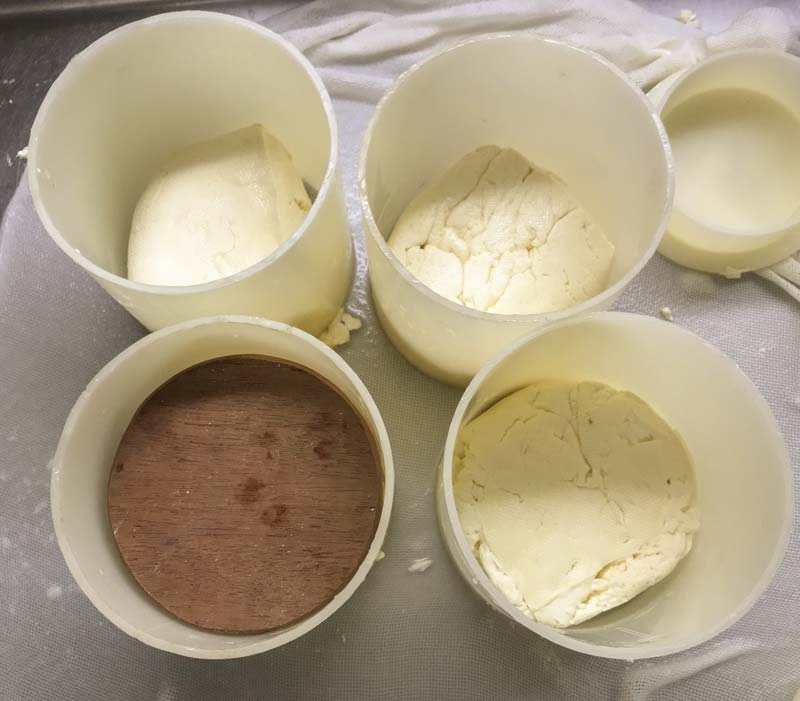
As you can see in the photos my drained curd mass is almost square like and can be cut evenly into 4 pieces. The curd at this point is quite elastic and can be formed into appropriate shapes to fit the mold. I simply drop/squeeze the cut pieces into the mold.
Note: If you don’t mind random shapes then you can simply just leave the cut pieces (no mold) and place a board on top for the pressing weight.
-
Press Curds
For this cheese pressing is not too critical and can easily be done as a single mass with a board or inside cheese molds (no need to line the molds with cloth), just press on-top of a good draining cloth or mat to allow whey to run off.
If using a cheese mold add a follower on-top to support the weight.
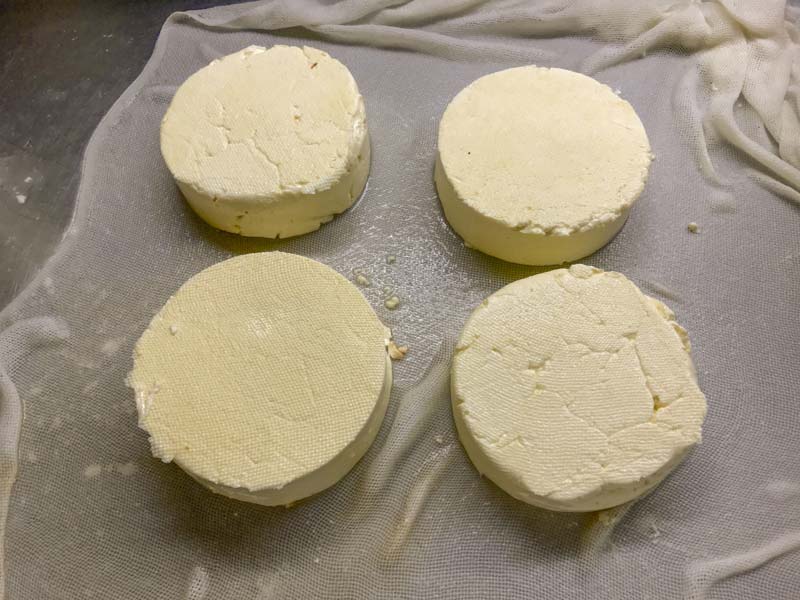
When ready add a .75-1 lb weight to each cheese for 1 hour then turn the cheese and press with the same weight for another hour.
Tip: The pressing weight is normally 1.25-1.5 times the weight of the cheese.
-


Salting
For dry salting the individual (4) cheeses sprinkle about 1/2 tsp of a medium grain cheese salt on top of each cheese and wait a few hours for the salt to dissolve and absorb.
Once absorbed, turn the cheese over and salt the other side. Often times the first salting is applied in the evening and the second salting is applied the following morning.
Note: Instead of dry salting this cheese could be placed into a 15-16 hr saturated brine. But, this will make for a very salty cheese.
-
Aging
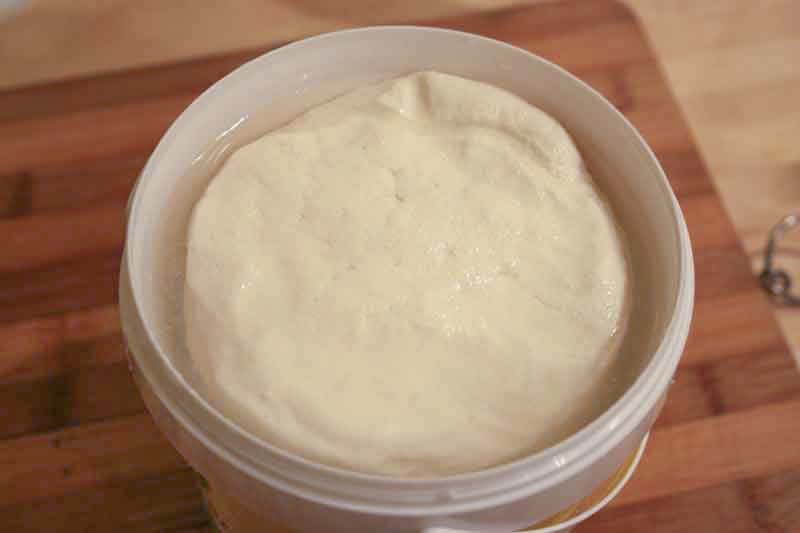
This cheese will be ready for the table in a few days and will stay in good shape for a week or 2 if placed in a container and stored in the fridge. Let the cheese warm to room temperature before enjoying.
If desired, Telemea can also be aged for quite some time in a 12-14% brine solution. When making the 12-14% brine also add 1 tbs white vinegar and 1-1.5 tsp of Calcium Chloride per liter of brine.
Once placed into the brine add a weight on top to keep the cheese submerged. Seal the container and store it in a cool room.
If the additional brining time makes the cheese too salty soak the cheese overnight in milk to remove some of the salt.
Get up to 20% Off Sitewide
Early Access Black Friday
You May Also Like


