


Tete de Moine Cheese Making Recipe
-

Yield
4 Pounds
-

Aging Time
~2 Months
-

Skill Level
Advanced
-

Author
Jim Wallace


Tete de Moine Cheese Making Recipe Info
About Tête de Moine
History of Tête de Moine
Characteristics of Tête de Moine
Traditional Cheese Making Methods
Ingredients
Total price for selected items: Total price:

Instructions
This is a wonderful guideline for intermediate Cheesemakers. Because it is a Semi-Firm style, this cheese is a great way to learn about developing a natural washed rind before moving onto a higher moisture and softer washed rind style.
You can think of this cheese as a Semi-Firm Washed Rind Alpine style cheese.
-

Heat & Acidify Milk
Begin by heating the milk to 95F (32C). You do this by placing the milk in a pot or sink of very warm water. If you do this in a pot on the stove make sure you heat the milk slowly and stir it well as it heats.
Once the milk is at 95F, the culture can be added. Also add the two ripening cultures at this time.
Here are a few different culture options for this recipe:
- 1 packet C201 as suggested (reduce by 40% if using raw milk)
- 1/4 tsp Thermo B can also be used but the culture blend is slightly different
- 1/4 tsp TA061 can also be used but it is not as complex of a culture
To prevent the powder from caking and sinking in clumps, sprinkle the powder over the surface of the milk and then allow about 2 minutes for the powder to re-hydrate before stirring it in.
The milk now needs to be kept at this target temperature until it is time to increase for cooking the curds. Hold the milk with culture quiet for the next 60 minutes to allow the culture to begin doing its work. It will be very slow initially but will soon kick into its more rapid rate of converting lactose to lactic acid.
-

Coagulate with Rennet
When you have ripened the cheese for the described time above, add about 1/2 tsp (2.5 ml) single strength liquid rennet.
The milk now needs to sit quietly for 25 minutes while the culture works and the rennet coagulates the curd.
The milk will begin to thicken at about 12-15 minutes, but allow it to coagulate to firmness at about 25 minutes from adding rennet. The set may be slightly softer than you are used to but this is normal for Alpine style cheeses.
It is always best to check for a firm coagulation and if it seems to need longer, allow it to go as much as 50% longer. The next time you make the cheese, adjust the rennet amount if needed (more rennet for a quicker set).
The thermal mass of this milk should keep it warm during this period but do not stir. It is OK if the temp drops a few degrees during this time, you can heat it back to temp after cutting.
-


Cut Curd
Once you have determined that the milk has set well, it is time to cut the curds smaller. This is the first step in reducing the curd moisture.
Cut the curd mass as evenly as possible to about 1/4-3/8” pieces, and then allow the cut curd to rest for 5 minutes, so that the cut curd surfaces can heal.
Then stir slowly for 10 minutes, lifting from bottom to top, to allow the curd surfaces to firm up more. The rest and stir are important to prepare for the cook phase that comes next. Without it, the curds would break further and lose too much moisture.
The cut curds will look quite soft as seen in the final picture above.
-


Cook Curd
Now it is time to begin drying out the curds. This will be done by increasing the heat slowly to 116-118F (46-47C).
Do this steadily over 15-20 minutes.
This is a differential of 21-23 degrees and seems faster than you may be used to (typical of Alpine and Parma style though). It works because the curds are cut small and the heat can reach the center of the curd quicker.
If using a water bath it would be advisable to raise the bath temperature slightly in advance of the cooking phase to reach your cook temperature on time.
The final curds should be cooked well through and should be examined to make sure that enough moisture has been removed.
The final test is to press a small handful of curds slightly in the hand until they consolidate. Then a slight pressure from the thumb should show a tendency to just begin to release. This sequence is shown below.
When this point is reached the curds can be allowed to settle under the whey.
-


Forming
This will begin with the cloth lined mold, prepared and sanitized previously, and sitting in an area to accommodate the whey running off as it drains.
The curds should have settled well by now and the whey can be ladled off to just about an inch above the curd mass.
Next give the curds a quick stir and transfer the curds to the mold. Even out the surface when filled.
Within a few minutes the curds should drain down and the whey flowing should slow. Pull the cloth up and remove wrinkles as much as you can. Then evenly lay a tail of cloth over the surface and place the follower on top.
Note: For this cheese the curds are removed from the whey much earlier than most other cheeses. The shorter time allows for less acid development and this causes less calcium to be stripped from the curds. This will play a huge role in developing the elastic character of the alpine style.
The acid development will continue through the pressing cycle and longer though to develop the final acidity. Because of this, the pressing and long hold afterwards need to be kept warm (80F) to assure the lactose conversion completes.
-


Pressing
Next the consolidation of the curds begins. For pressing we should begin very light and slowly increase the press weight to a moderate level:
- 30 minutes at 8 lbs.
- 30 minutes at 8 lbs.
- 60 minutes at 15 lbs
- 120 minutes at 15 lbs
The rate of whey running off is simply a matter of drops and not a stream of whey being released, as shown in the photo above. This is a good rate of whey removal during pressing and will slow even more as the residual free moisture is released. The form should show tears of whey weeping from the form very slowly. When this stops you can increase the weight slightly as shown above. The cheese should be removed from the press, unwrapped, turned, rewrapped, and put back to the press at the above intervals, to assure an even consolidation. At each turn you will notice the cheese has formed a smoother surface and rests lower in the mold.
Post-pressing remove the cloth and move the cheese to a cool space overnight left in the mold.
If you have a pH meter or the pH strips from our website, the final pH of whey running off will be about 5.5 when you move it but should drop to 5.2 by morning in the cool room. This long slow acid development will play a big part in the final texture of the cheese.
The final weight of the cheese should be between 3.5-4#
-

Salting
You should have a saturated brine prepared for salting this cheese. You will find all of the details you need on brining here. A simple brine formula is:
1 Gallon of water to which is added 2.25 Lbs of Salt, 1tbs. Calcium Chloride (30% solution), and 1 tsp. white vinegar.
The cheese now needs to be set in the brine for about 2-2.5 hours per lb. of cheese.
The cheese will float above the brine surface so sprinkle another teaspoon or two of salt on the top surface of the cheese.Flip the cheese and re-salt the surface about half way through the brine period.
At the end of the brine bath, wipe the surface and allow the cheese to surface dry for a day in a cool area (65-70F) and with free movement of air. Do not let it darken or begin to crack. It should still feel moist to the touch.
-


Aging
You are now ready to move the cheese to your aging space. The aging space should be about 52-54F and a high moisture of 93-95%. I normally use a plastic tray or box with cover to achieve this. The proper moisture at this temp will usually show a fog of condensation on the cover bit if it drips the humidity is likely too high and should be reduced. Summer time here I usually maintain my cave at about 90+% because I do many high moisture cheeses. Winter it drops to about 80-85% because I focus on longer aged cheeses with less moisture.
This is a Washed Rind cheese that will develop a smear coat of tan to pink mold (B.linens) and naturally overgrows with a whitish mold (Geotrichum). Once these develop, any other molds tend to be excluded due to the salt content of the wash. No foreign blue or black molds should appear.
Washed Rind Procedure
Prepare a wash for this phase the day you make the cheese.
To make the wash: A cup of water, plus one tablespoon of non iodized salt. Stir well and add another pinch of both Geo and B.linens (just for insurance since you already added it to the milk) as noted above. Store this in a sealed jar in the fridge until use.
The pictures above include a previously developed washed rind development that I often wash first to transfer the bacterial/mold complex to the new fresh cheese. I feel that this maintains my cellar character for my cheeses. This does speed up the surface development but if starting out and you have no older surfaces to wash first, the new surface should only take a few more days to develop.
- Begin using the wash on just the top surface and sides. You only need a small amount on a sanitized cloth for this, and can store the remaining sealed jar in fridge for up to 2 weeks.
I usually pour a few tablespoons of the prepared wash on the cloth and store the rest so that I do not have to mix fresh each time.
Allow this surface to dry slightly and then place it washed side up in the in the aging space. - Allow this to rest in the aging space for a day or so and then turn it over and do the other surface.
- Repeat this every 3-5 days as you see a white film of mold developing. The surface will become damp or tacky but do not allow it to get swampy or show free moisture.
- Within 10 days you should notice a slight pinkish/orange surface developing. If done properly; no blue, dark, or fuzzy mold should grow. That is the beauty of the washed rinds. It took the monks years to figure this out for us.
- By 2 weeks you should have a full mold color and you can let it age. If you see a dryness on the surface a clear water wash wipe will help
How long should the aging go for? This depends on the character you want. This is a semi-firm cheese so I tend to let the mold grow for a while. Too much surface aroma competes with the sweet flavor of the cheese. Once I brush the surface clean at 3-4 weeks, I normally extend maturation by another 2-3 weeks. It can go much longer, depending on character desired. You should not wax this one.
If you want a stronger cheese move it to a cooler space of 40-42F.
Note: Never wash your aging boards with detergent; just hot water and brush scrub then dry in the sun for a day or so (UV tends to sanitize). They tend to harbor the complex blend of washed rind bios over time.
- Begin using the wash on just the top surface and sides. You only need a small amount on a sanitized cloth for this, and can store the remaining sealed jar in fridge for up to 2 weeks.
-


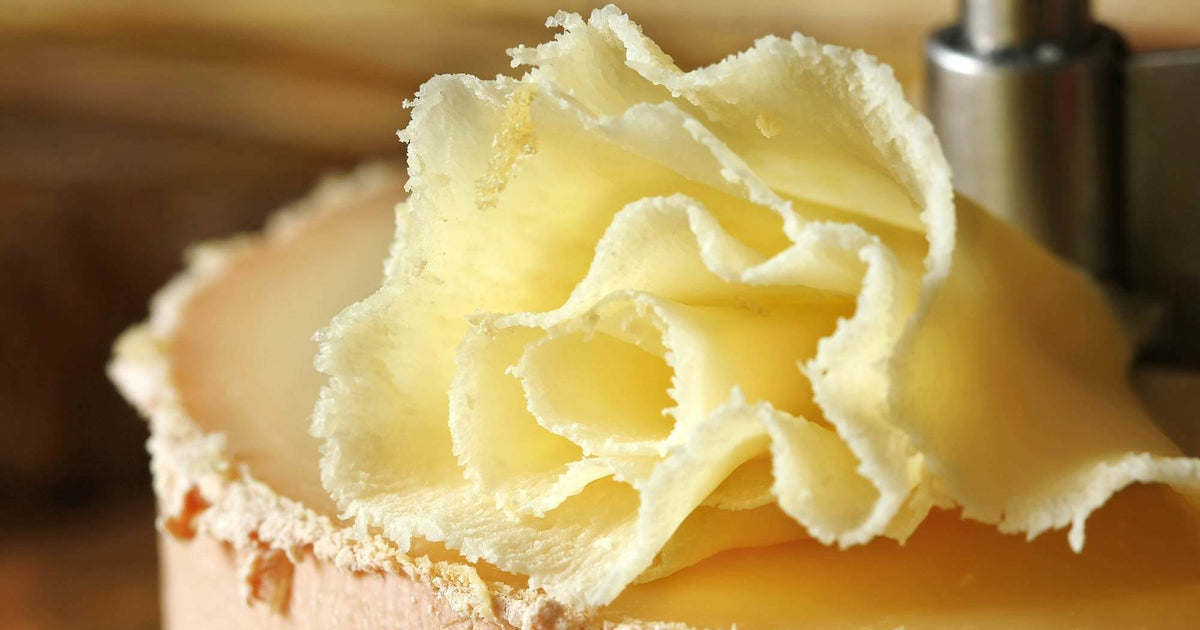
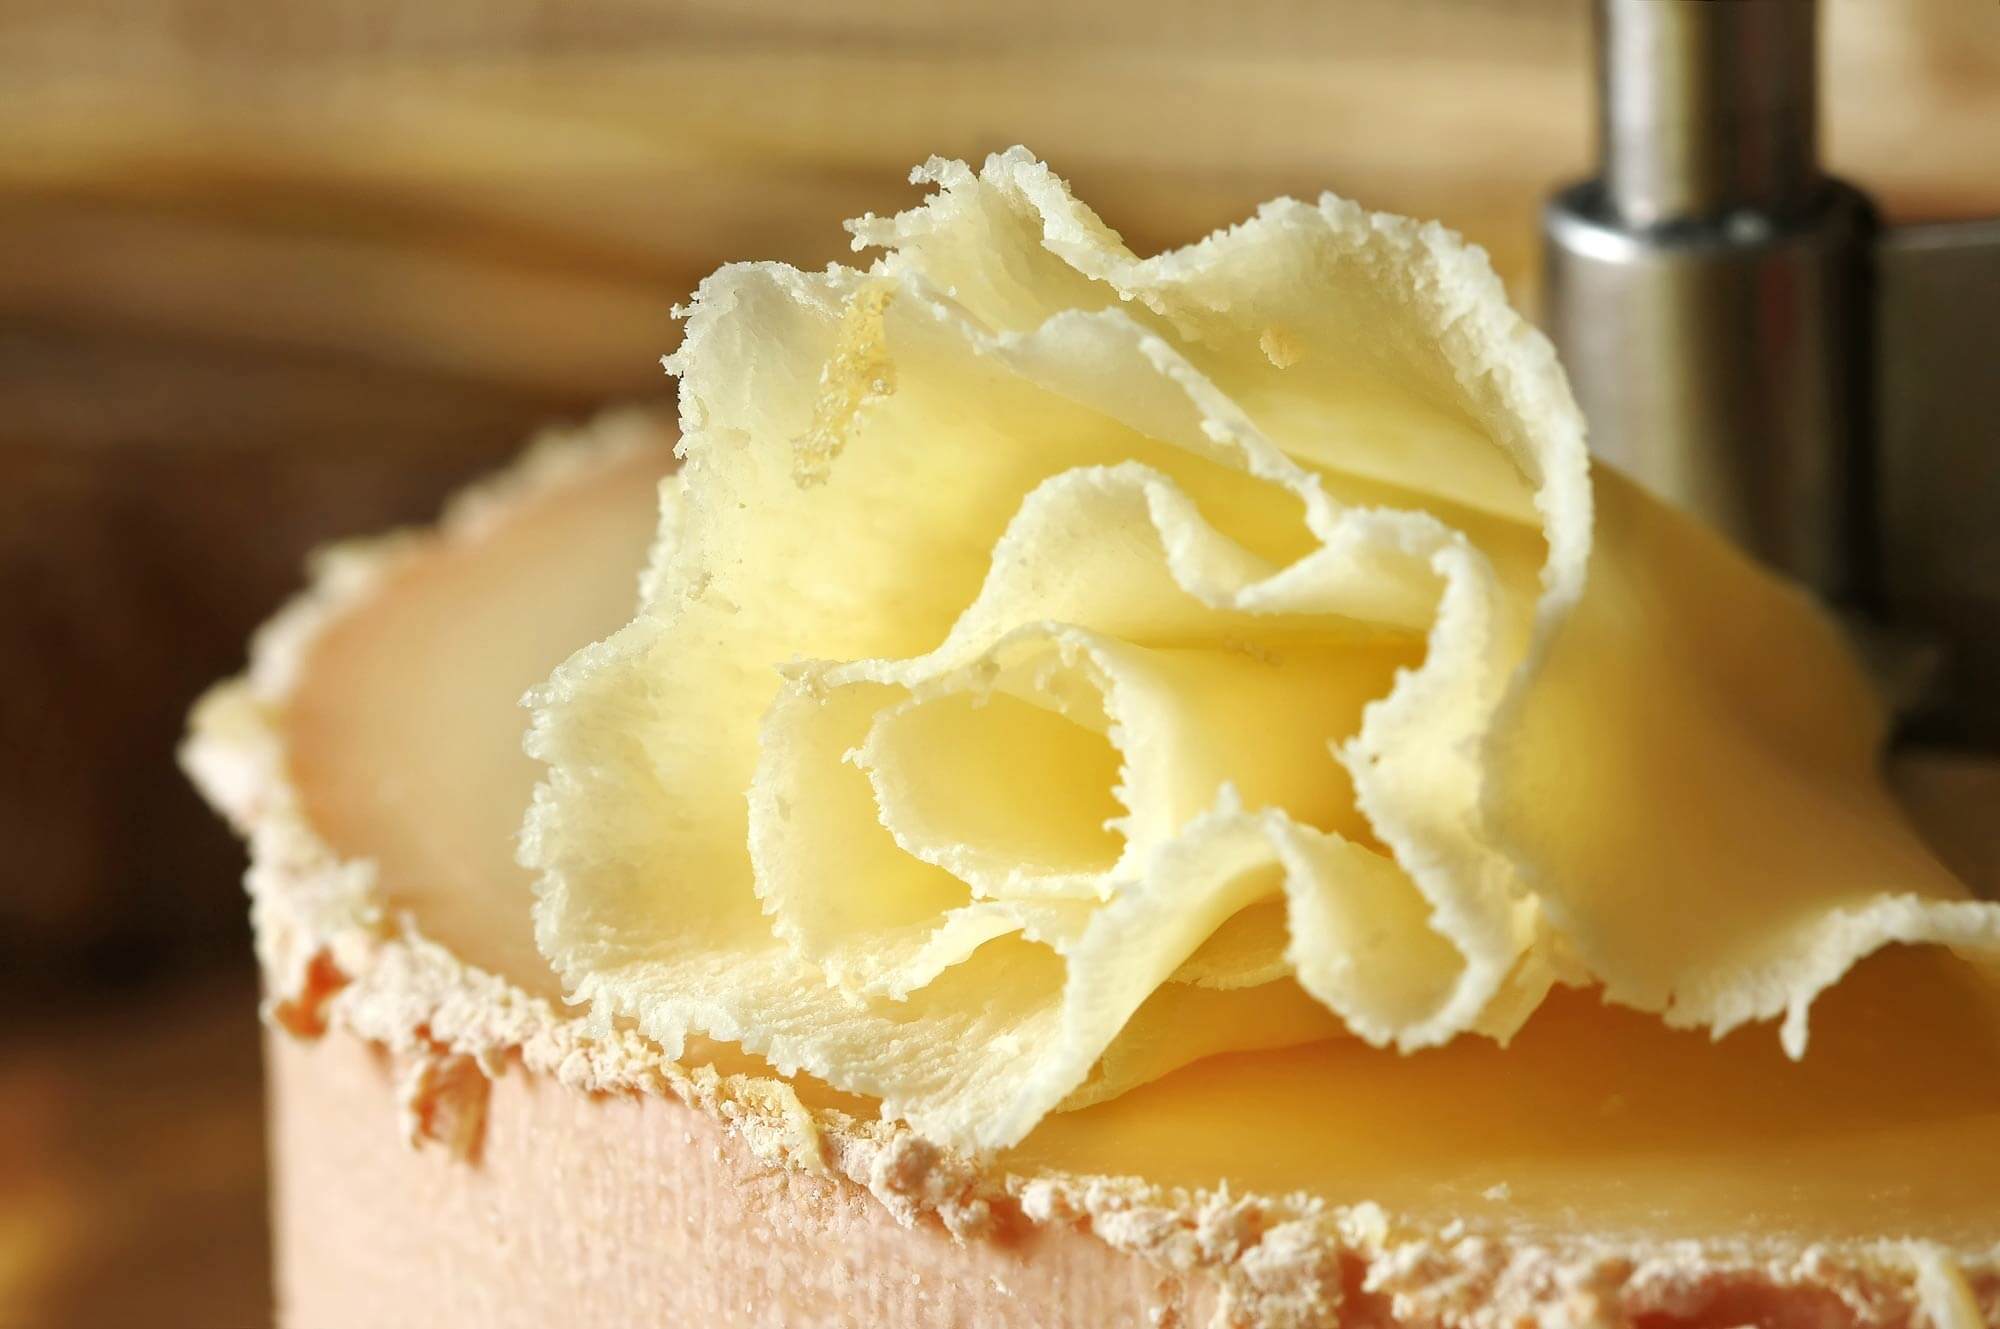
Finished Cheese
This is the showy part for Tete de Moine. The special tool used to shave it into the beautiful florets is an added expense but is great if you get invited to lots of parties with your cheese.
However, you can just do it the old way as well by scraping the surface with a flat bladed knife or just using a cheese plane with thin slices.
The flavor is described as spicy, fruity, salty, beefy, and sometimes "barnyardy." Older versions of the cheese have a stronger aroma and taste, and many people prefer younger cheeses, around 4 months old.
A longer maturation period gives it a spicier flavor and more delicate body.
Cheese Making Supplies
Related Products
You May Also Like


