


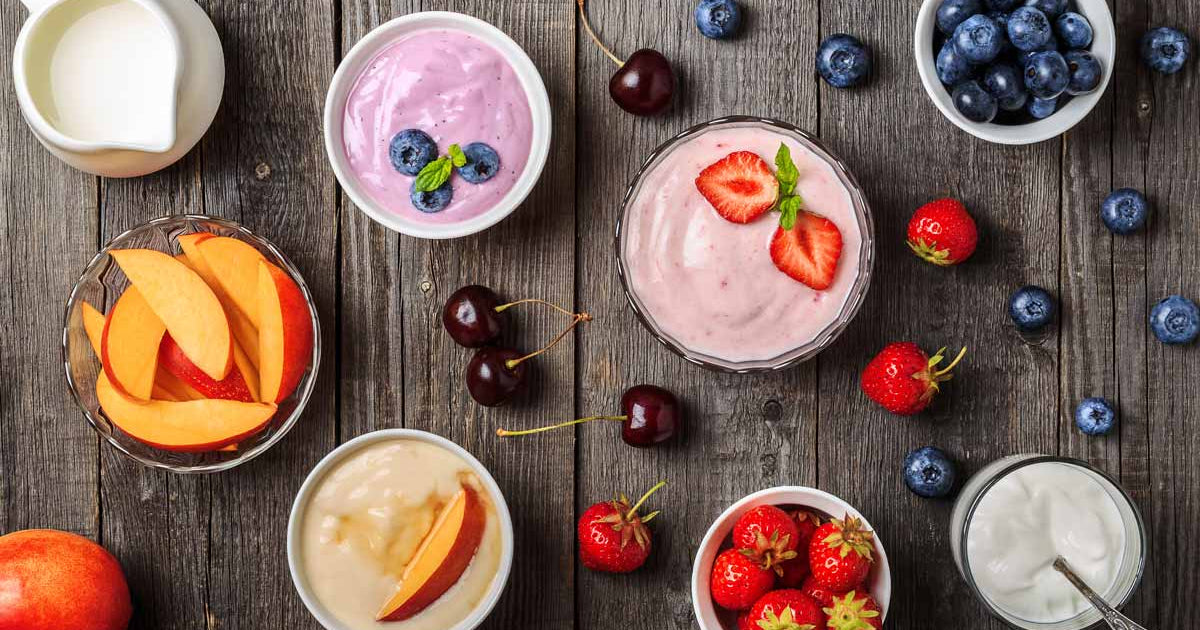
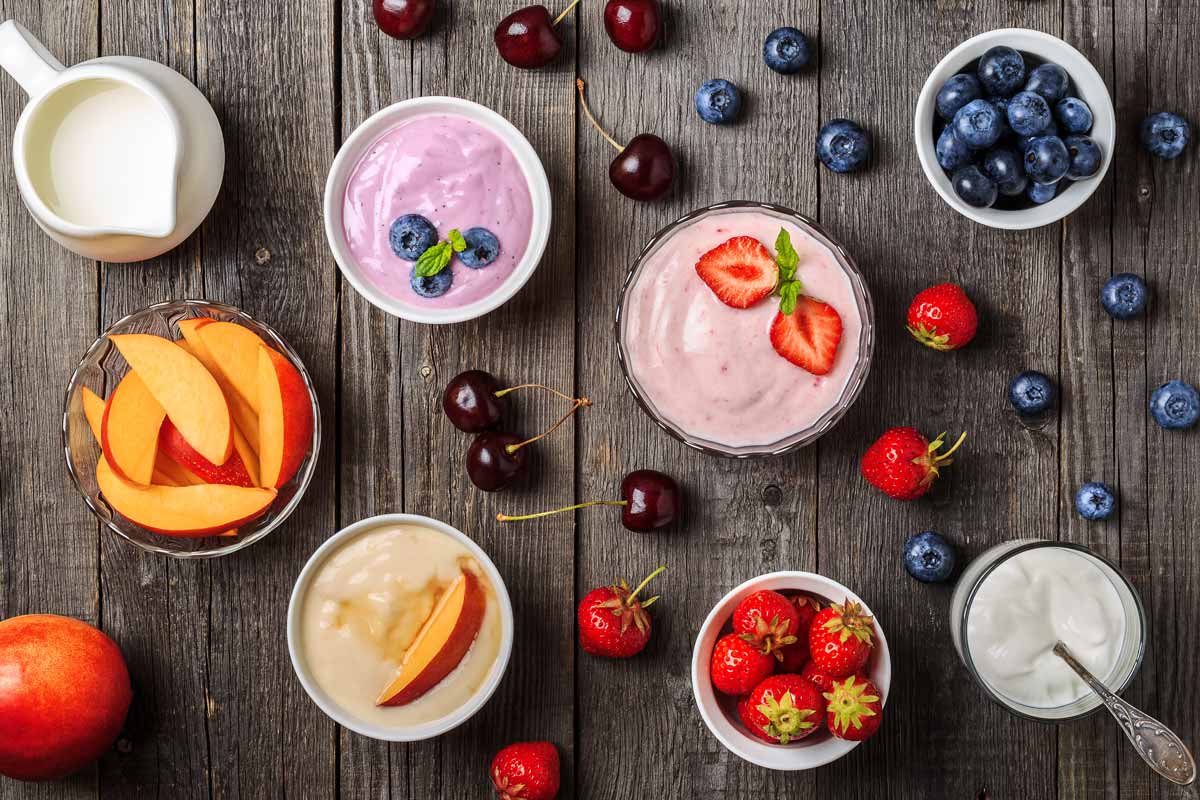
Yogurt with Fruit Recipe
-

Yield
1 Pound
-

Aging Time
None
-

Skill Level
Beginner
-

Author
Jim Wallace


Yogurt with Fruit Recipe Info
History of Yogurt with Fruit
The Yogurt Making Process
Cultures Used for Yogurt Making
Styles of Yogurt with Fruit
Ingredients
Total price for selected items: Total price:

Instructions
When selecting milk for making yogurt, you do not need to be concerned about high temperature processing because in this process we begin with a high heat step; although the use of ultra-pasteurized milk may lead to excessive texture and perhaps some caramelized flavors from the high temperatures used.
For these trials, I have intentionally chosen a local milk that is normally problematic in cheese making due to high temperature pasteurization since it is pasteurized at several degrees higher than needed. I have done this to be sure that these milks work for the yogurt and they most certainly do.
High fat or low fat milk can be used here. The higher fat will have more flavor, but if adding flavors lower fat should be no problem. The best tasting milk, of course, makes the best yogurt. Raw milk can also be used because the heating process will eliminate most harmful bacteria.
-


Heat Milk
Begin by heating 1/2 gallon of milk to 180F. This will be the step that transforms certain proteins in the milk into texture producing components for the yogurt. Without this step you may have a very thin and watery yogurt.
For these yogurts, we are looking for a more fluid yogurt and I find that controlling the temperature of heating to 175-180F is best. Also, do not hold for any time at this temperature because we do not want the yogurt to be too thick or grainy.
For your first batch, stay at the higher end of the scale and if your yogurt ends up too thick, simply reduce the initial heating temperature for your next batch but not to below 175F or you will have little to no yogurt texture.
I begin by placing the milk jug into a pan of hot water and begin heating it while I prepare my yogurt containers and the incubation containers for the real work. I then pour the milk into my pot over a low flame and continue the heating slowly to 180F.
-


Cool Milk & Add Culture
So, we began by heating to 180F. Once the milk is at this temperature, you can begin cooling the milk.
This is best done in a sink of cold water and changing the water frequently. The final temperature should be about 112-114F.
The culture can be added at this point. To prevent the powder from caking and sinking in clumps, sprinkle the powder over the surface of the milk and then allow about 2 minutes for the powder to re-hydrate before stirring it in. Make sure your method of incubation is ready.
With good insulation in the ripening chamber, this should stabilize at 110F. Initially you may want to check the temp half way through but this will release some of the heat from the thermal mass.
-
Add Culture
When the milk reaches the proper temperature, yogurt culture can be added. If using our yogurt culture, add 1 full packet to the milk and mix in thouroughly.
Tip: In exchange for a yogurt culutre, you can use 1 heaping tablespoon of cultured yogurt, per quart of milk. With this method, the yogurt can change the culture balance and successive batches may become more acidic. We sugest using this method 8-10 times before starting a new culture.
Info: Yogurt culture is a mix of Streptococcus Thermophilus and Lactobacillus Bulgaricus plus any probiotic additions the culture may contain.
-


Incubate Yogurt
This is the incubation stage and I find that 110F for about 3 hours works well here. But, if your yogurt seems too thin then use more time. At this phase the bacteria are working at their optimum rate, as long as the temperature is correct and they are given enough time. They are now converting the lactose (milk sugars) to lactic acid for that nice sharp yogurt taste. They are also producing some typical flavors in the yogurt.
Once the incubation is finished you will see that the yogurt has taken on a firmer texture along with a tarter flavor. You may also notice a little bit of whey on the surface. This is an indication that the milk now needs cooling to avoid becoming too tart. Excess ripening here will lead to a very sharp flavor, whey separation, and a grainy texture for the yogurt. Initial cooling to 68-77F will slow the bacteria and the acid production. This is the point where we add flavors and break the texture for a smoother yogurt.
Once you have your fermented yogurt, you can add flavors and stir to a consistency you like.
The following flavor additions are all for 1 quart of yogurt to allow you to divide a 2 quart batch into separate 1 quart flavor experiences. If you like making a full 2 quart batch, you can simply double all of the ingredients below for a 2 quart addition.
Fruit and Spice Combinations
-

Mixed Berries
Puree the following ingredients:
- 1/2-1 cup of frozen or fresh berries (I use mixed berries)
- 1 Tbs raspberry preserve
- 1-2 tsp local honey (to suit your taste) for brighter fruit
- 1/16 tsp citric acid (you could use 1/2 a lime) optional
-

Peach
Puree the following ingredients:
- 2 peaches
- 1-2 tsp local honey to your taste for brighter fruit
- 1/16 tsp citric acid (you could use 1/2 a lime) optional
-


Mango Banana Lime
Puree the following ingredients:
- 1/2 to1 whole peeled mango
- 1/2 to 1 whole ripe banana
- 2 tsp local honey
- juice of 1 lime
-

Cardamom
This one is more savory than sweet and was a big hit with my semi-pro tasting panel.
- 1-1.5 Tbs Cardomom pods cracked with a heavy pan or in a mortar to release the seeds
- This is an infusion, so add to the milk as you are heating it and strain from the warm milk before adding the culture and ripening the yogurt
- I found that we liked this one showing the tartness of the yogurt as a more savory drink but you could add some honey to suit your taste
-


Add Fruit or Spices to Yogurt
This one is more savory than sweet and was a big hit with my semi-pro tasting panel.
- Start with 1 qt of cultured yogurt chilled to 68-77F.
- Add flavor puree to yogurt.
- For a drinking yogurt, stir vigorously. For a swiss style yogurt, only stir as needed to incorporate the ingredients. The swiss style will firm up after chilling for 1-2 days for a thicker yogurt.
- Pour into serving jars.
- Chill to 36-39F for 1-2 days and enjoy.
-

Additional Notes
If you find that your final yogurt is too thick, you can make adjustments by adding a bit of milk to it and stirring well. We have found that we like it the textur
- Also, using a lower initial temperature and even a shorter incubation time will yield a thinner textured yogurt.
- The use of different strains and balances in your yogurt culture will change the texture of the final product.
- Lower fat will yield a thinner yogurt.
- As in most of our recipes, the important thing is always to make them the way you want.
In addition to all of our experimenting with yogurt texture and flavors over the past few months, we have taken it upon ourselves to taste some of the commercial examples of drinkable yogurt and kefir both here and in Europe since we have been researching cheese making in Italy and France during the month of September.
We have found many examples in France and Italy with a wonderful smooth texture and limited sugar added - more like what our home made experiences have shown.
In America we have found that some of the commercial examples are quite good, but a few problems we have found are:
- Many tend to have too much sweetener added
- Many have left a rather chalky or slight gritty texture due to the additions of thickeners, etc.
- The commercial examples are much more expensive than what we can make at home.
The research for this month's recipe was a lot of fun. Exploring flavors and additions and changing the texture of yogurt, I made a lot of food-centric friends very happy with my samples.
The key with this months recipe is to have fun with it and try different additions. So until next month, Arrivederci from Italia!
Cheese Making Supplies
Related Products
You May Also Like


