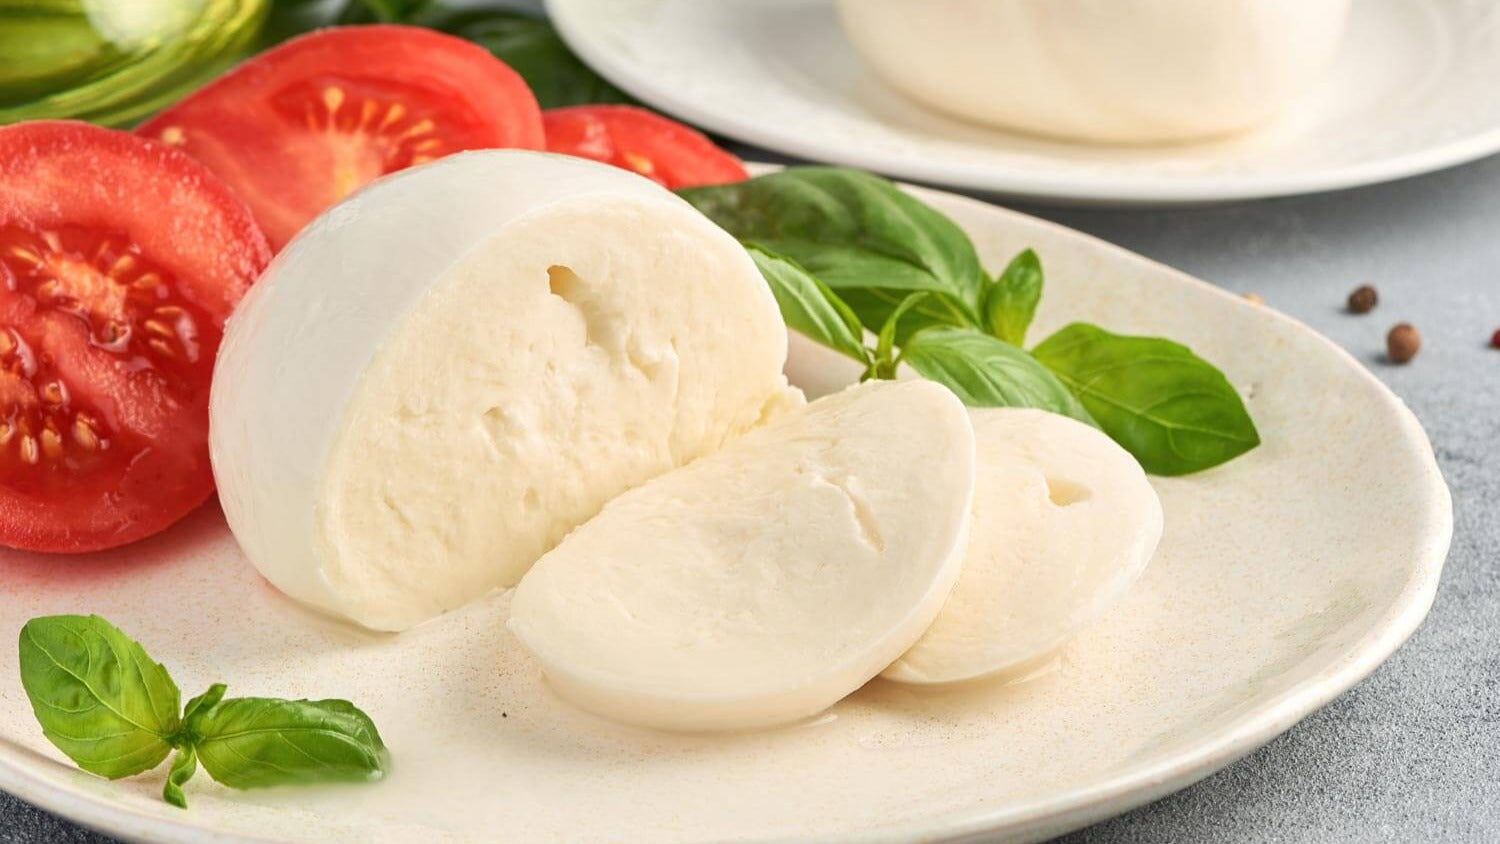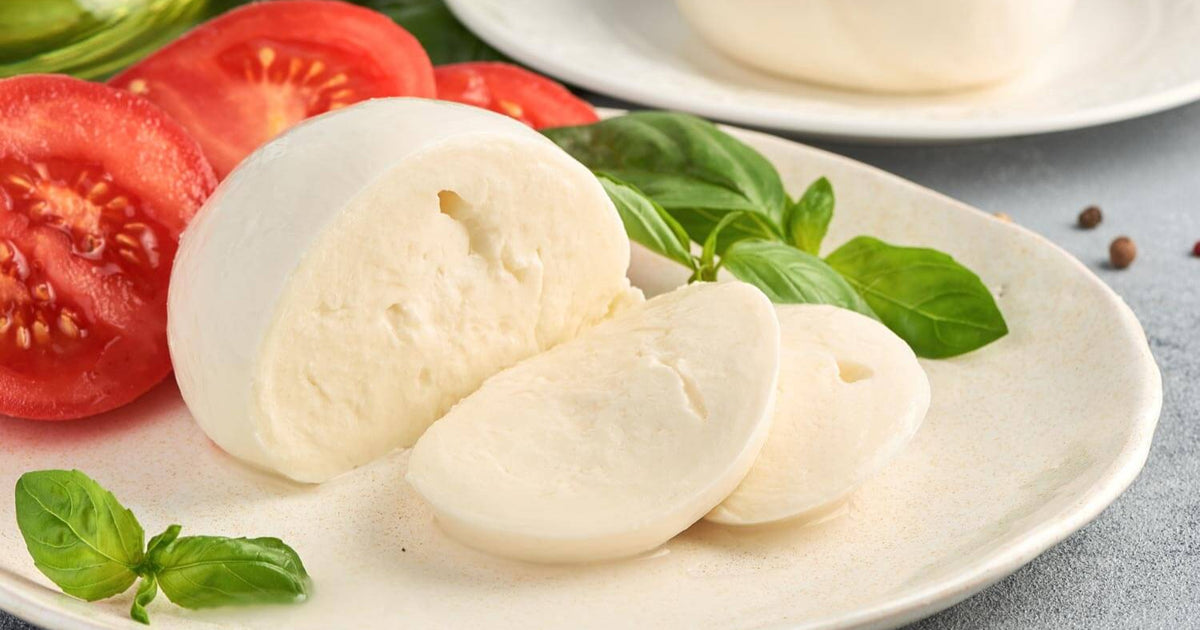
30 Minute Mozzarella Recipe (no microwave)
-
Yield
1 Pound
-
Aging Time
None
-
Skill Level
Beginner
-
Author
Jim Wallace

Ingredients
Total price for selected items: Total price:
Instructions
Choosing the Right Milk
- Make sure the milk you use is not ultra pasteurized.
- You can use homogenized or non-homogenized milk.
- Farm fresh milk is a great option if you can find it locally.
- Low fat milk will work, but the cheese will be drier and less flavorful.
-

Prepare Work Area
Do not prepare any other food while you are making cheese. Put all food products away.
Move all sponges, cloths and dirty towels away from your work surface, wipe your sink and stove with soap and water. Finally use your antibacterial cleaner to wipe down all surfaces.
-


Prepare Rennet
Crush 1/4 tablet of rennet and dissolve in 1/4 cup of cool non-chlorinated water, or add 1/4 tsp single strength liquid rennet to the water. Set your rennet mixture aside to use later.
-


Mix Citric Acid & Milk
Add 1 1/2 tsp. of citric acid to 1 cup cool water, pour this into your pot.
Now, pour cold milk into your pot quickly, to mix well with the citric acid. This will bring the milk to the proper acidity to stretch well later.
-

Heat Milk & Water
Heat the milk slowly to 90°F. As you approach 90°F, you may notice your milk beginning to curdle slightly due to acidity and temp.
Note: If you're having problems with milk forming a proper curd, you may need to increase this temp to 95°F or even 100°F.
Fill a pot with water and begin heating it to 175°F, to be used in step 8.
-


Add Rennet
At 90°F, remove the pot from the burner and slowly add your rennet (which you prepared in step one) to the milk. Stir in a top to bottom motion for approx. 30 seconds, then stop.
Cover the pot and leave undisturbed for 5 minutes.
Check the curd after 5 minutes, it should look like custard, with a clear separation between the curds and whey. If the curd is too soft or the whey is milky, let it set longer, up to 30 more minutes.
-

Cut & Cook Curd
Cut the curds into a 1" checkerboard pattern.
Place the pot back on the stove and heat to 105°F while slowly stirring the curds with your ladle (if you will be stretching the curds in a hot water bath, rather than using a microwave, heat to 110°F in this step).
Take the pot off the burner and continue stirring slowly for 2-5 minutes. (More time will make a firmer cheese)
-


Transfer & Drain Curd
With a slotted spoon, scoop curd, from the pot, into a colander. Allow the whey to drain into another bowl.
When done transferring the curd to the colander, pour whey back into the pot. Rest the colander with curd in the pot of whey, to keep the curd warm.
Add a little salt to taste, about 1/4-1/2 tsp. The salt will work into the cheese in the following steps. You can fold the curd over on itself as it drains to increase the amount of whey running off.
The more you work the curd at this point the drier the Mozzarella will be.
-


Heat & Stretch Curd
Begin by pouring some of the hot water, that has been simmering on the stove, into another bowl, adjust the temperature to about 175F. This will be too hot for your hands so have thick rubber gloves or use a spoon to work curd in the hot water.
Cut or break the curd into 1-2 inch pieces and begin placing them into the hot water. Work the curd quickly by pressing them together and folding over in the hot water to facilitate even heating.
As the curd begins to meld together pull it from the hot water and begin stretching it. If the curd does not stretch check and adjust your water temperature and re-submerdge the curd.
At first it may be lumpy but as the curd stretches, it will become smooth. Stretch it out several times and fold it back on itself. If it begins to cool, you will notice it tear, place it back in the hot water to re-heat.
When it forms a consolidated mass, stretches like taffy and develops a sheen it can be formed into a ball for the final cheese.
-

Enjoy & Chill
The Mozzarella is now finished, you can now enjoy your fresh mozzarella. To chill the mozzarella, you can make a brine with 2-3 tbs. of salt plus 2-3 tbsp of clear whey in a quart of very cold water. This will chill the cheese and help it hold it shape.
Cheese Making Supplies
Related Products
You May Also Like


