Brick Cheese Recipe
Ingredients
- 4 Gallons of Milk (not ultra-pasteurized)
- 1/2 tsp MM100 or 1 Packet C21 Buttermilk Culture (30-40% less culture for raw milk)
- 1/16 tsp Bacteria Linens
- 3/4 tsp (3.75ml) Liquid Rennet
- Salt for Brine
- Calcium Chloride (for pasteurized milk)
Equipment
- Good Thermometer
- Knife to Cut Curds
- Spoon or ladle to Stir Curds
- Large Cheese Mold
- Draining Mat
- 5 lb Weight (a jar with 2.5 qts of water)
- Two Ply Washed Rind Cheese Wrap
- Instructions
- Brick Cheese Info
- Reviews
- Q & A
-
Acidify & Heat Milk
Begin by heating 4 gallons of milk to 88°F (31°C). You do this by placing the milk in a pot or sink of very warm water. If you do this in a pot on the stove, make sure you heat the milk slowly and stir it well as it heats.
Once the milk is at 88F the culture and b.linens can be added. To prevent the powder from caking and sinking in clumps, sprinkle the powder over the surface of the milk and then allow about 2 minutes for the powder to re-hydrate before stirring it in.
Then allow the milk to ripen for 10 min. (this is a very short time because we need a very slow acid development to produce a sweet cheese).
-
Coagulate with Rennet
Then add about 3/4 tsp (3.7 ml) of single strength liquid rennet.
The milk now needs to sit still for 30 minutes while the culture works and the rennet coagulates the curd. You will notice the milk beginning to thicken in about 15 minutes but wait 30 minutes until you see a good curd.
The thermal mass of this milk should keep it warm during this period. It is OK if the temperature drops a few degrees during this time.
-
Cut Curds & Release Whey
Begin by cutting the curd into 3/4-1 inch squares, then allow this to rest 2-3 minutes for the cuts to heal. The curd will be very soft and this will prepare for a more even cut size.
Then, cut the curd to 3/8" to 1/2" pieces as evenly as possible. I use a large whisk with thin wires which I have expanded to a globe shape for this as shown below. Rest again about 5 minutes giving it a very gentle stir every minute or so to keep from matting.
The curd remains quite soft and tends to slump back into a single mass at this point, so careful stirring is important until it firms up more.
The whey should have begun to rise, so now stir gently for 10 minutes (the curd is still quite soft at this point). The curd will begin to firm up during this phase.
-
Cook the Curds
Now it is time to begin drying out the curds. This will be done by increasing the heat slowly from 88-100°F over 45-60 minutes (the longer time for a drier curd). A slow and constant stir should keep the curds from breaking while encouraging the whey to be released.
During the cooking (scald), the curds will begin to take on a firmer look/feel and will remain separate more noticeably than during the initial cut and stir.
-
Remove Whey & Wash Curds
This step is very important in slowing the acid production required for the sweet cheese body.
Allow the curds to settle and remove 25% of the original milk volume (1 gal) as whey (this will deprive the bacteria of lactose and slow its acid development).
Immediately, add back cool water at 65°F until the curd temperature drops to 85°F (this will slow the bacteria even further with the cooler curd).
Then continue stirring until the curd is firm enough to mold. The final curds should be cooked well through and should be examined to make sure that enough moisture has been removed. A broken curd should be firm throughout and the curds should have a moderate resistance when pressed between the fingers.
Too much moisture and the cheese will develop late acid and a pasty texture in the aging room.
Too little moisture and the cheese will not consolidate well or ripen correctly due to lack of moisture for enzyme transport.
When this point is reached, the curds can be allowed to settle under the whey and then the whey can be removed down to the curd level again.
-
>Molding & Pressing
The curds can now be transferred to a sanitized mold sitting on a draining mat.
- They should be allowed to drain for 15 minutes with no weight.
- Then turn (#1) at 15 min.
- Turn again (#2) and add 5 lbs weight (2.5 qts water) for the traditional brick mold of 5"x10" (50"sq). Our large cheese mold (M2) is about this same size.
Yes, I realize my form above is not a traditional Brick shape but it's what I have here and it works quite well.
Note: If making a smaller 2 lb. cheese and using the basket mold, it has a surface area of about 20"sq. so use 2 lbs of weight or about 1 qt of water as weight.
Only apply the weight for 2-3 hrs then allow the cheese to sit in molds overnight with no weight. Turn the cheese again in the mold when removing the weight.
It would be wise to place a damp cloth over this to keep the cheese from drying out. Try to keep the cheese between 70-75°F during this time.
-
Salting
You will need a saturated brine prepared for salting this cheese, find all of the details you need on brining here.
A simple brine formula is:
- 1 gallon of water
- 2.25 lbs of salt
- 1tbs. calcium chloride
- 1 tsp. white vinegar
- Bring the brine and cheese to 50-55°F before using.
The final weight of the cheese will be about 4.5 lbs
The cheese now needs to be set in the brine for about 10 hours (about 2.25 hrs per lb. of final cheese). The cheese will float above the brine surface, so sprinkle a small amount of salt on the top surface of the cheese. Flip the cheese and re-salt the surface about half way through the brine period.
At the end of the brine bath, wipe the surface and allow the cheese surface to dry a little for several hours. The surface will darken some what during this time.
-
Aging
There are two types of brick cheese that are made exactly the same until they get to the curing room:
1. Stronger and more traditional aromatic cheese
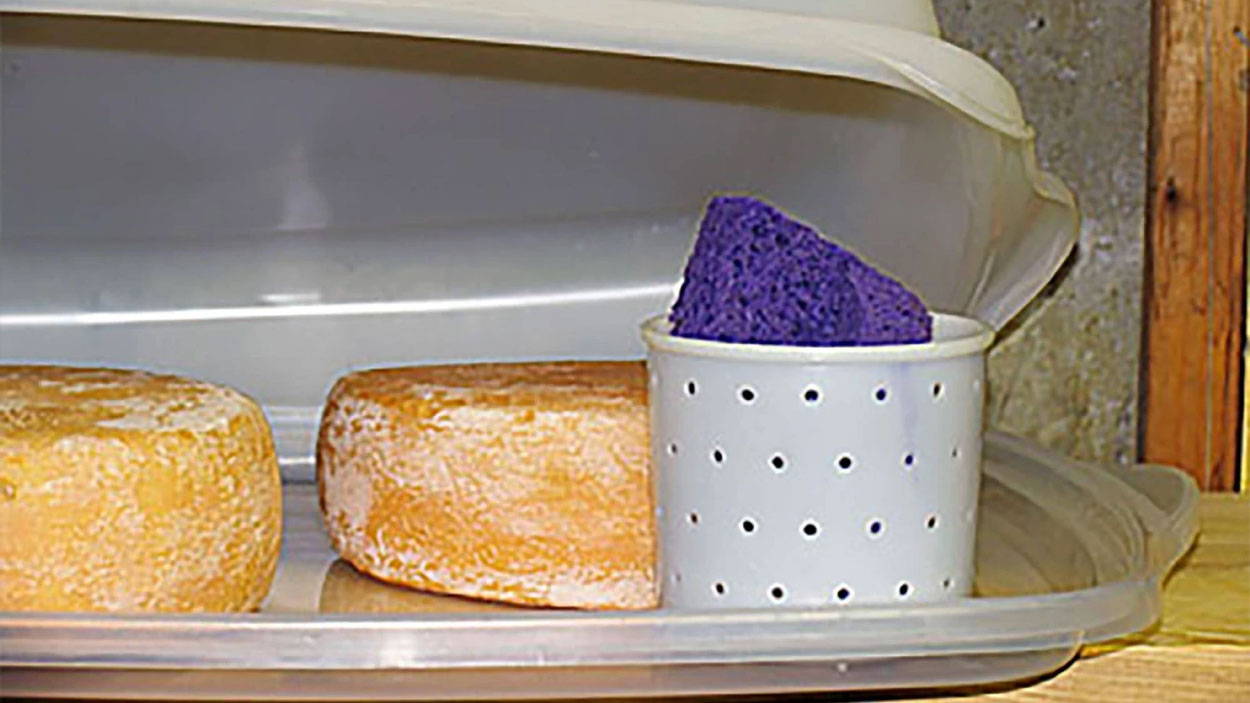
In the curing room the aged Brick is kept at 68-70°F and 90-95% moisture and is washed and rubbed daily with a light brine for 7 to 10 days. By then it should have developed a good bacterial growth on the surface and should be simply turned daily for the next 7-10 days. It is then wrapped and cold stored at 42°F until ready (2-3 months total ripening time).
2. Milder and less pungent version
This is kept in a 55°F and 90-95% humidity space for 2 days and washed daily (Widmer simply dips this cheese with no wash). This may then be dried and wrapped on the 3rd day and moved to cold storage.
Note: The light washing brine can be made up with about 1-2 tbls. salt to 1 cup of cool water. Begin with the lower dose and if other molds become a problem, increase the salt.
A good wrapping paper for this cheese is our 2 ply washed rind paper which contains a layer of sulfated parchment to control the surface growth and a poly layer to control moisture loss. Joe Widmer tells me that he wraps first with parchment paper and then with foil.
An American Classic
Unfortunately, like the Colby cheese, this cheese is not always produced as it was originally intended. Therefore it meant another 'cheese quest' for me to find a cheese making procedure similar to the Brick cheese that was developed in the late 1800's by John Jossi.
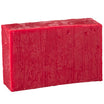
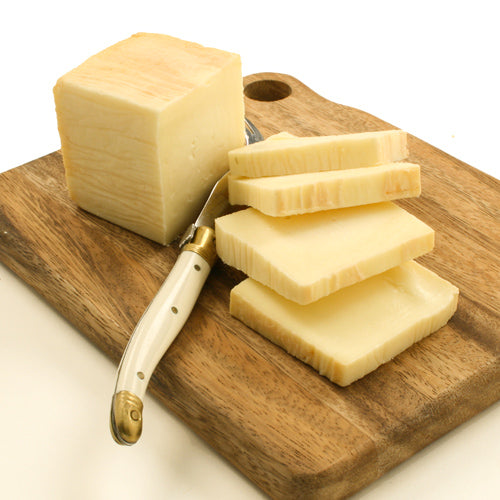
Brick cheese is a cheese developed in and primarily produced in Wisconsin today. It is made in a brick-shaped form as well as being pressed only under the weight of 1 regular building brick. The color ranges from pale yellow to white, and the cheese has a sweet and mild flavor when young, and matures into a strong ripe cheese with age. It is medium-soft, crumbles easily and is somewhat sticky to the knife. Brick cheese is well-suited to slicing for sandwiches, specifically grilled cheese sandwiches, or appetizers and also melts well.Wisconsin Brick Cheese
When I first decided to make this cheese as the monthly recipe for April, I felt that it would be a rather straight forward, easy, and early aging cheese (the magic combo!) for our cheese makers.
Well, this proved to be wrong. As I began to dig back into the literature from many sources I found procedures going back to the early 1900's but very few similarities between the various methods. I think the reason for this could be that the cheese was developed in the small scale dairies of the late 1800's and then soon moved to production in the larger cheese factories. I am sure that changing customer expectations had something to do with this as well, as consumer taste moved toward the milder flavors.When I first decided to make this cheese as the monthly recipe for April, I felt that it would be a rather straight forward, easy, and early aging cheese (the magic combo!) for our cheese makers.
Well, this proved to be wrong. As I began to dig back into the literature from many sources I found procedures going back to the early 1900's but very few similarities between the various methods. I think the reason for this could be that the cheese was developed in the small scale dairies of the late 1800's and then soon moved to production in the larger cheese factories. I am sure that changing customer expectations had something to do with this as well, as consumer taste moved toward the milder flavors.
Fortunately, I remembered back to my visit with Widmer Cheese in Wisconsin several years ago. Joe Widmer is the 3rd generation cheese maker in a business that his grandfather started in 1922. Joe's grandfather came to Wisconsin from Switzerland (as you can see by the flags above the entrance to their plant).
Joe is still making cheese in the original building his grandfather started making cheese in as well. This was a common split level construction for the cheese makers of the time with the family living upstairs, the cheese aging downstairs and the cheese making room set off a half level from each. When I visited Joe, his family was still living there but not the cheese making.
Joe has maintained the traditional process for Brick Cheese that was handed down to him. He even presses his cheese with the same bricks used by his grandfather for weights. Now that's a true legacy!
What is Brick Cheese
Brick Cheese is an American original that is intended to be a drier and milder version of the traditional Limburger cheese.
It was developed in 1877, by John Jossi, a Swiss-born American cheese maker. Jossi came to America in 1857, from Switzerland with his parents and the family. They settled first in upstate New York, but two years later Jossi was managing a small cheese plant in southwest Wisconsin. He soon married the daughter of a local cheese maker and moved back to New York where he spent a few years working in a larger Limburger plant.
A Bit of History
It was during that time that Jossi came up with his idea for what was to become Brick cheese. He developed a cheese that was milder but firmer than Limburger. He also wanted a lower level of the red molds that grew on the outer rind and developed the flavor of the cheese. Part of his plan was the idea of using bricks to press the cheese as well as forming into a brick shape.
In 1877, Jossi came back to Wisconsin to manage a newly built cheese plant where he set out to produce Brick cheese. His plan was quite successful and quickly led to the spread of the Brick recipe. Over the years he taught the recipe for Brick to a dozen other Wisconsin dairies. In 1883, he gave the cheese factory to his brother, who later sold it to Kraft (the story of dozens of small Wisconsin dairies).
Variations in Style
Much of the Brick produced today is of a more commercial nature and milder than the original Brick was intended to be.
Joe Widmer's solution to accommodate the milder flavor desired by some of today's customers, was to make the same cheese but allow it to go through two different aging programs:
The traditional cheese undergoes a warmer aging after brining. It also receives the traditional salt and water wash to encourage the bacteria growth that produces the stronger flavor and tan/red color of the surface. This creates enzymes that allows the cheese body to soften a bit more during ripening.
His milder version, after brining, is dried off in a short time, wrapped, and moved to a cooler room to develop a much milder flavor.
So, there is the same cheese production, with 2 different aging programs, yielding 2 very different cheeses. Thus, he has something to please many tastes. One of my favorite sayings is "Same .. Same .. but Different" and I think that applies here.
Here is a note I recently received from Joe:
"At one time the surface ripened brick was the only one we made. Then in the late 1950s and early 60s other cheese makers started to make brick cheeses that were not surface ripened and people started to ask if we had this type of brick. The other cheese makers were able to make this mild cheese and call it brick, because by legal definition all they had to do is have the right fat and moisture and there was no requirement to surface ripen the product. Well, we had to also start making the mild variety to stay up with these fake brick competitors. At first the surface ripened outsold the milder version by 3 to 1. In recent years more and more people started turning back to the original product. I think this is due to people being more well traveled and adventurous with funky foods as well as the increasing interest in specialty cheeses."
The Process
Now lets look at the basics of making a Brick cheese:
- The cheese begins as a semisoft cheese. It was at one time made with natural dairy bacteria from the herd, but today the cheese receives a lab-prepared culture that is mostly of the aromatic Mesophilic type (although several earlier processes show varying Thermophilic additions) and is ripened at a moderate temperature.
- The final cheese is intended to be a relatively sweet cheese with higher moisture. This is accomplished by using:
- Low culture additions
- Short pre-rennet ripening times
- Early whey (lactose) removal to slow acid development
- The addition back of cooler water to increase the moisture in the curd body
- The cheese is molded in a traditional brick form, usually 5"x10" with a very light weight of about 5 lbs (that of a single brick).
- Traditionally, the natural red rind was developed from ambient yeast and bacteria encouraged by ongoing light salt brine washes. These washes also discouraged the growth of other bacteria and molds.
- Reviews
- Questions
- body
- co-workers
- rind paper
- child
- brick cheese
- creamery
- version
- name
- brick
- color

Perfect Name for a Perfect Cheese
So I was intrigued by the name and shape and figured I would give this one a try. So as pictured about after 3 months of aging with a brief time in my warmer "cheese cave" I moved my Brick to the cooler refrigerator wrapped in washed rind paper. I went for a medium arromatic cheese and when I took some to work for my co-workers to sample most said it was buttery with a mild and uniform flavor. It also melts nicely. As shown in the attached picture it developed a nice color and semi-soft body. Very nice cheese, give it a try.

Thank you!
A very detailed recipe. Easy to follow. I went with the mild version. My mom used to take me to a creamery as a child and buy brick cheese. This was it!
The go to universal cheese
I grew up with brick cheese in northern Virginia, but it is unheard of where I now live in south eastern North Carolina. We make it regularly here at home using a slightly modified version of this recipe. after the make and press, we age at room temp for 2 weeks, washing every other day. Then, it goes in the fridge, wrapped in paper, and then covered in foil. At 5 weeks, we unwrap, wash, and rewrap. When done, after another 5 weeks, it is very red and stinky. We give it a final wash and short air dry before using. We use it for Detroit pizza, and lasagna. Awesome grilled cheese on our homemade bread. The final wash keeps the aroma in check, and encourages the neighbors to give it a try. a four gallon batch yields a square loaf of over 4 lbs. every time. Brick is a very versatile, and tasty cheese. I urge everyone to give it a try.