


Cacioricotta Recipe
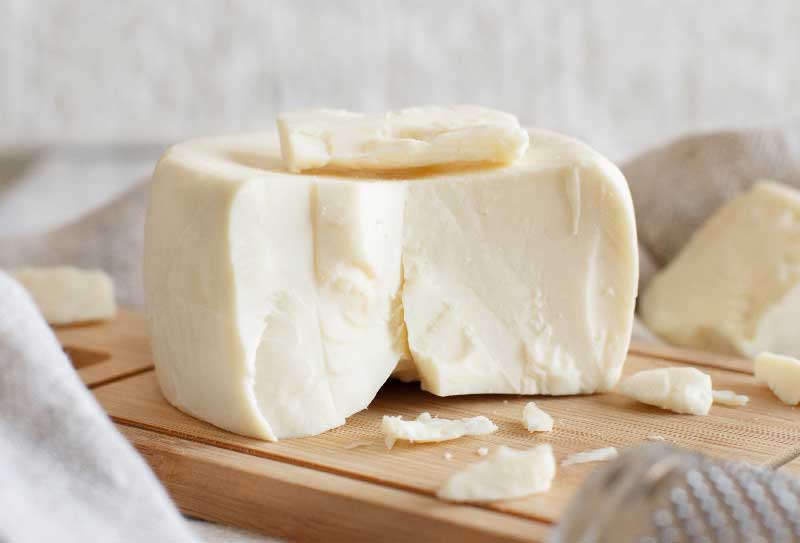
Fragrant, salty, and slightly acidic, Cacioricotta has a white, crumbly paste without holes. It really showcases the character of the milk, which could be cow, goat, sheep, or a combination.
Cacioricotta can also be dried and aged to develop a stronger, tangier character with a dryer texture suitable for grating.
-

Yield
2 Pounds
-

Aging Time
~1 Month
-

Skill Level
Beginner
-

Author
Jim Wallace


Ingredients
Total price for selected items: Total price:

Instructions
Overview: You may be familiar with making Ricotta from whey or milk, or the separate process of making a rennet coagulated cheese. Cacio Ricotta is unusual in that it combines these two procedures, in succession, in the same pot. Here is an overview of the recipe below.
- Milk is heated to 195F and held at that temperature for several minutes. This high heat destabilizes the whey proteins so they can be released into the milk, incorporate with the casein cheese proteins, and later become part of the nourishment in the final cheese.
- Heat is reduced and a cultured yogurt is added to the cooler milk. The milk is allowed to ripen and rennet is added for a firm primary coagulation. The resulting curds are then cut, stirred and drained in a cheese mold.
-

Heat & Cool Milk
Slowly heat the milk to 195F. Add salt (and calcium chloride, for pasteurized milk) and slowly stir the milk while heating.
Hold the milk at 195F for 15 minutes, then quickly cool it to 108-110F by placing the pot into a sink of cold water. Add hot or cold water to the sink, as needed, to ensure you reach the correct temperature.
Info: The salt addition this early is unusual, but will slow the bacteria activity of the yogurt culture later, thus preventing an overly acidic cheese.
You may recognize this as the standard Ricotta method and it will function to free up the whey proteins for this cheese. These whey proteins are normally lost when the whey is discarded in regular cheese making.
-
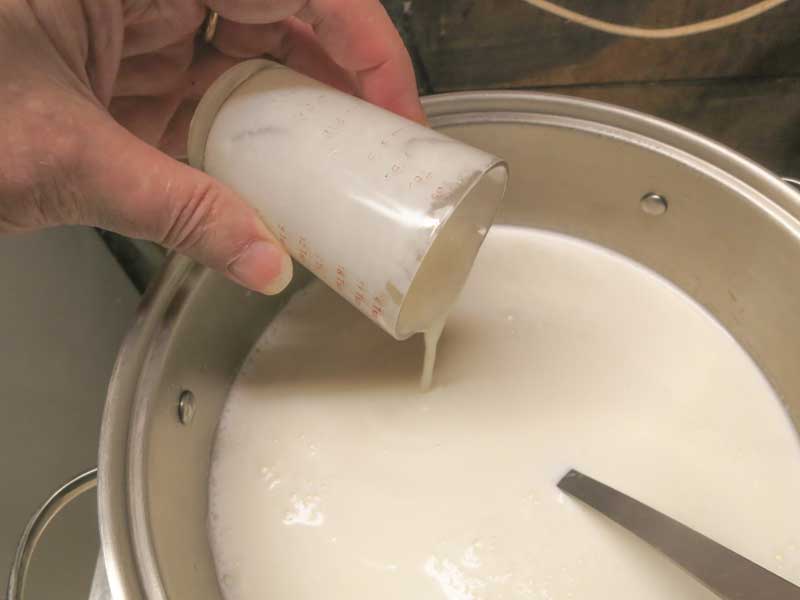
Add Culture
Add the cultured yogurt to the milk and stir it in well. Do not let the milk rest after stirring in the yogurt, proceed directly to the next step, adding rennet.
Tip: Stirring the yogurt thoroughly before adding it to the milk will help break up any clumps.
-
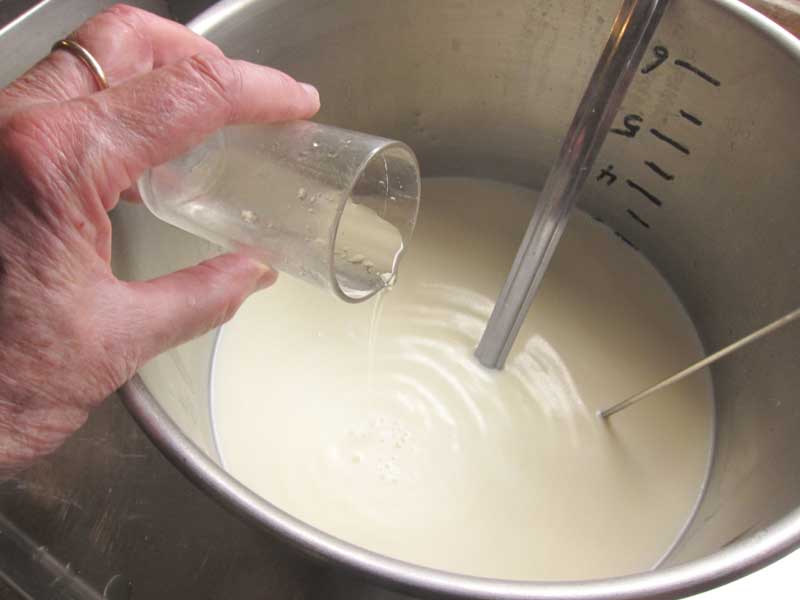
Coagulate with Rennet
Add rennet to the milk and gently mix in for 1 minute. Let the milkt sit quietly for 1 hour while the culture works and the rennet coagulates the curd. During this time, it’s helpful to maintain the milk’s warm temperature by placing the pot in a sink full of slightly warmer water, or by wrapping the pot in heavy towels.
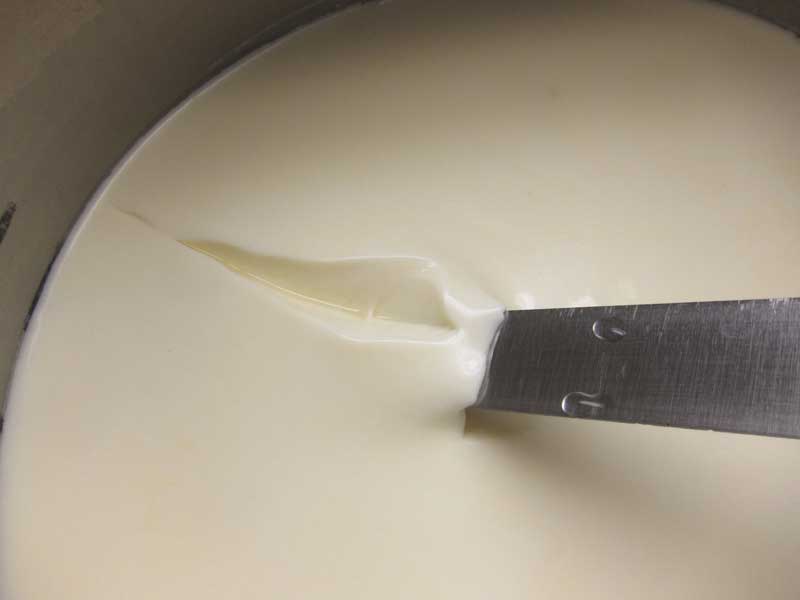
After 1 hour check for a firm coagulation (see photo), if it seems to need longer let it sit for up to 30 additional minutes. If needed, the next time you make this cheese, you can add more rennet for a quicker set.
Note: The curd firmness at this point will largely depend on the milk used. Minimally processed milk of high quality and used fresh will produce the best structure.
Info: This step combines the casein proteins into a curd stable enough to be cut, incorporating the whey proteins freed up in Step 1.
-
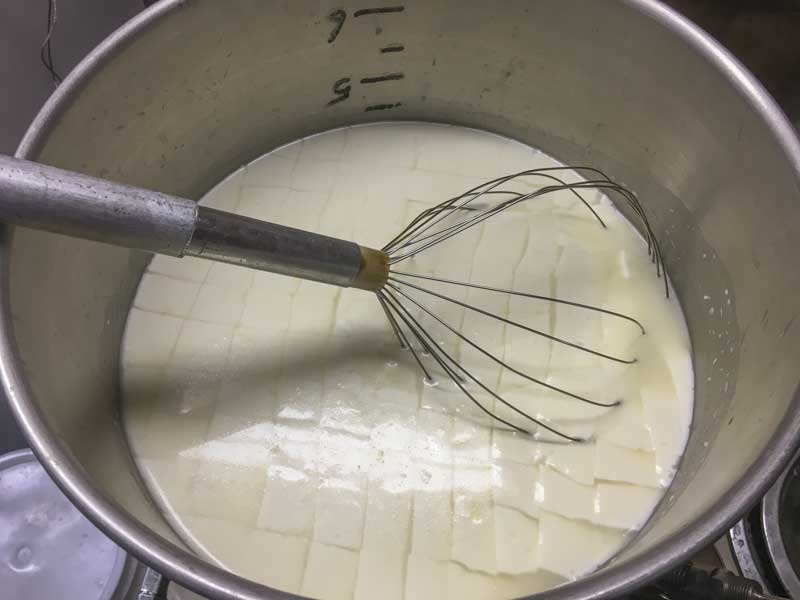
Cut Curd
Once you have determined that the milk has set well, it is time to cut the curd mass. This is the first step in reducing the curd moisture.
The curd may be very fragile, so all cutting and stirring should be done slowly and carefully to avoid shattering the curd.
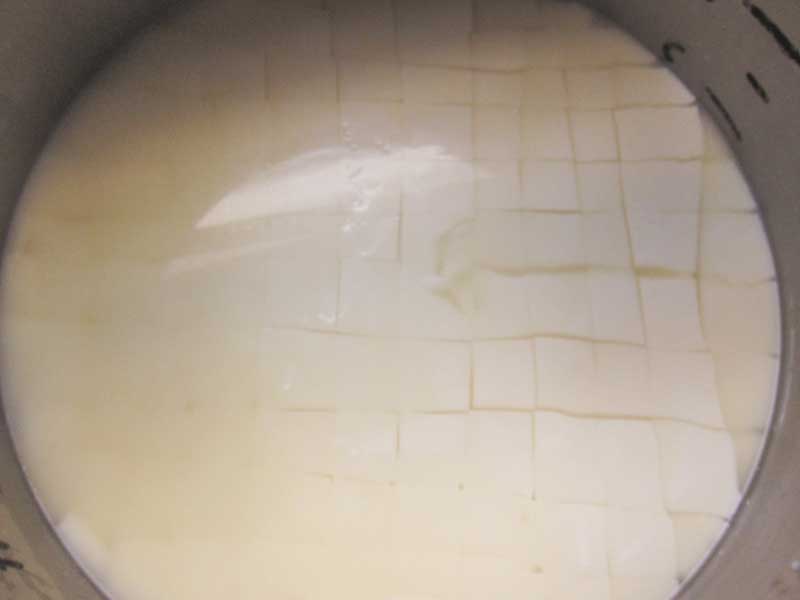
Carefully make a series of vertical cuts down to the bottom of the pot, spaced 1.5 inches apart in a checkerboard pattern.
After cutting, let curds rest for 10-15 minutes. During this time whey will begin to rise above the curds.
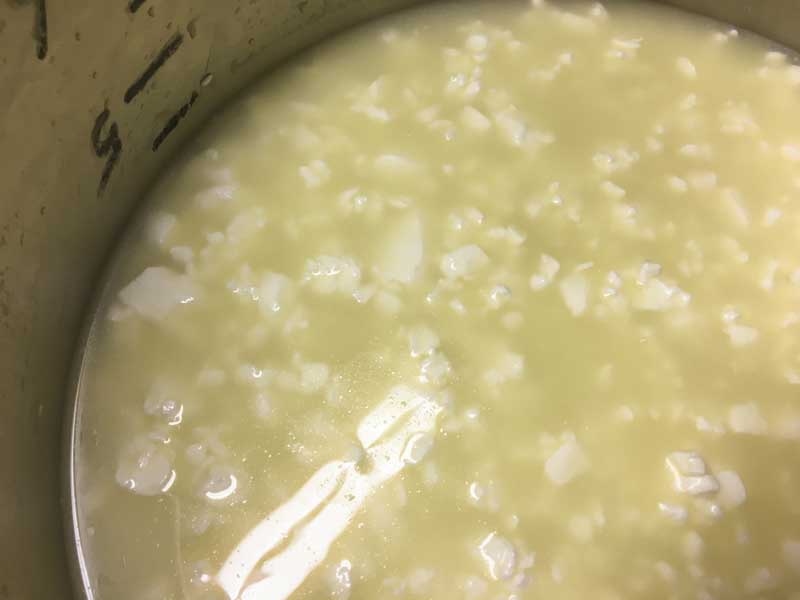
Next, slowly and carefully cut the curds into to fine corn kernal size pieces (1/4 inch or less). A flat ladle or whisk with thin wires can be used to gently cut the curds for this step. Again, please remember these curds are very soft and should be handled carefully.
After being cut, slowly stir the curds for about 5-10 minutes, until the curds show a firmness and up to 20-30 minutes if you would like a longer aged cheese. The longer storing time will create a drier finished cheese.
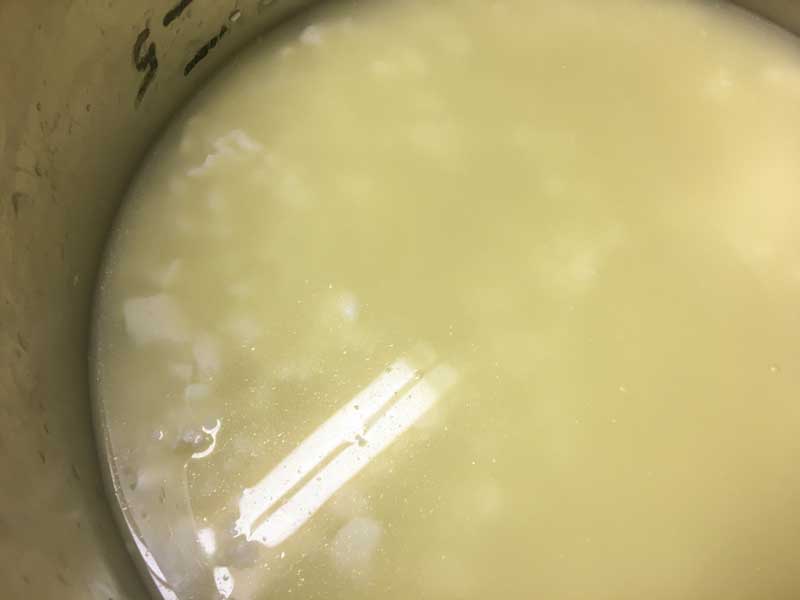
Once done, allow the cut curds to rest with no stirring for 5-10 minutes.
-
Transfer Curds
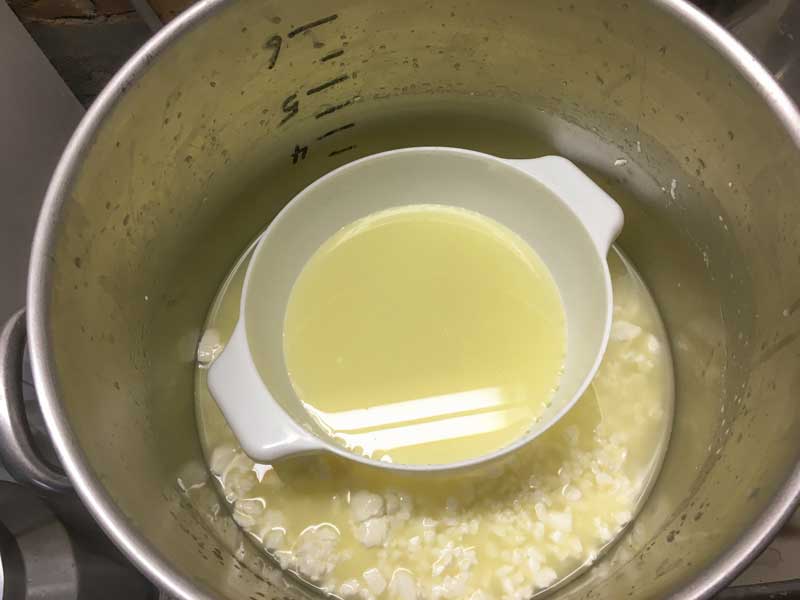
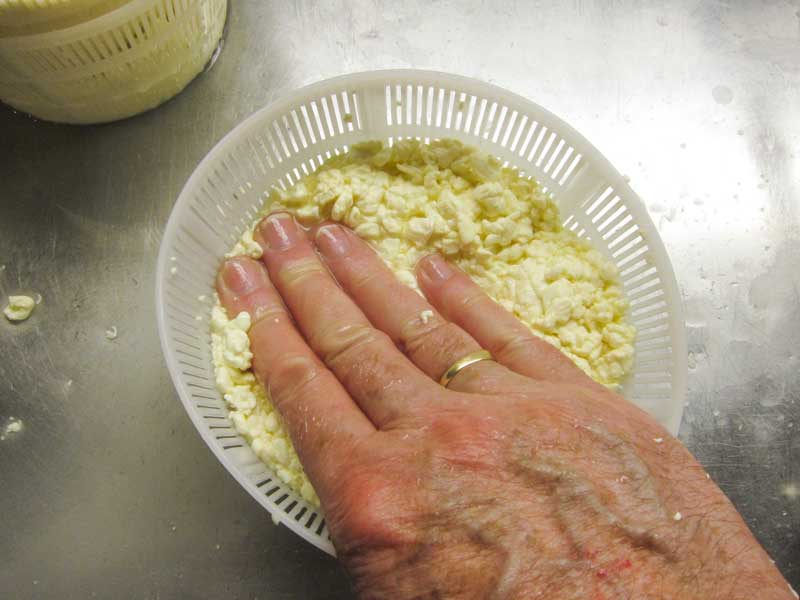
Remove the whey, with a ladle, down to the curd surface. To avoid scooping up fragile curds, along with the whey, float a basket cheese mold in the whey and only ladle from inside the basket.
Next, transfer the curds into the basket cheese mold. At this point the curds will still be very wet, and a proper draining is important. Use medium hand pressure to consolidate the curds into the mold as you go, but do not press so hard that the curds push through the sides.
-

Draining
Leave the warm curds to drain for 4 hours at an ambient temperature of 80-85F.
An ambient temperature can be achieved by covering the molds with thick towels, or by placing them into an insulated cooler with some warm water bottles. While draining leave room for the whey to drain from the bottom of the cheese molds.
Note: If the curd is slow to drain during this time, it will help to free up the openings in the basket mold. To do this, simply pick up the mold and tilt it at a 45 degree angle so the curd pulls away from the side. Then rotate the mold at that same angle to gently release the curds all the way around. Repeat every 20-30 minutes.
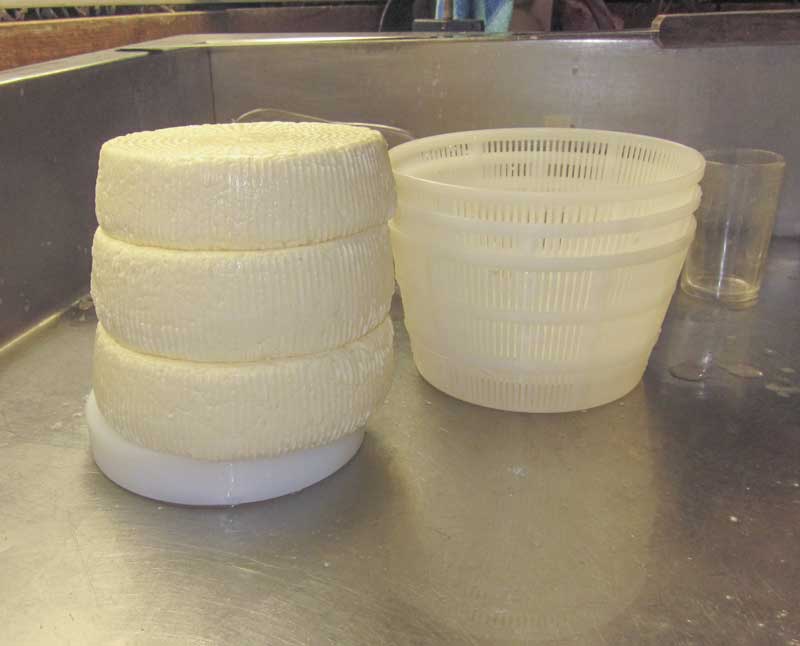
After 4 hours, the cheese should have dropped to room temperature.
Check that the curd is firm enough to handle, and turn it over in the basket. If it is still too soft, wait longer.
After turning, remove the cheese from the warmer location and let it rest, still in the cheese mold, at room temperature for an additional 30 minutes. Some whey will still be releasing.
-
Maturing
The cheese at this point still needs some time to stabilize and organize itself.
Place it, still in the cheese mold, in the fridge at 36-42F, with a folded towel or absorbent board under it to catch any whey.
Turn the cheese in the basket every morning and night for the next 4-5 days.
By now the cacioricotta should be ready to eat, but the flavor will benefit from a light surface salting with about 1/4-1/2 tsp salt per side. This is still quite a moist cheese, so it will only have a week or two of fridge life.
Note: Depending on the quality of milk used and final moisture content the final cheese should weigh about 12-18 ounces.
-
Aging (Optional)
If you would like to continue aging your cheese so it becomes drier has more character and can be grated, perform a final surface salting over 2-3 days. Salt according to taste, but remember, the more salt, the drier the cheese.
Allow the salt to form a brine and soak into the cheese then dry it off.
The cacioricotta can now be held for 4-8 months and be used as a grating cheese, when ready. Make sure to turn the cheese every couple of days and brush off any mold as it appears.
Cheese Making Supplies
Related Products
You May Also Like


