


Beginner Feta Cheese Making Recipe Instructions
With a good culture and high quality milk you can easily make your own world class Feta with this simple recipe. Once made, Feta can be aged in a brine for weeks or months, it will just keep getting better.
The below recipe is for a 4 gallon batch because this cheese goes so fast when it’s ready. For a smaller 2 gallon batch simply reduce the milk and ingredients proportionally.
-

Acidify & Heat Milk
Begin by heating the milk to 93-95F (higher temp is for higher fat milk). Do this by placing the milk in a pot or sink of very warm water. If you do this in a pot on the stove make sure you heat the milk slowly and stir it well as it heats.
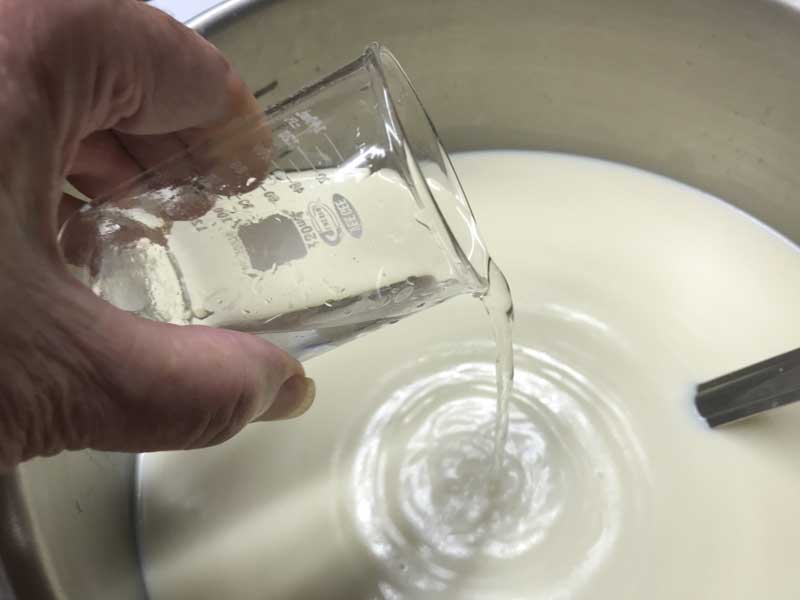
Once the milk is at temperature, the culture can be added. To prevent the culture from clumping and sinking sprinkle the culture over the surface of the milk and let re-hydrate for 2 minutes before stirring it in.
Let the milk sit quietly for 60-90 minutes so the culture can work. The culturing process will start slowly and become more rapid over time.
While the culture is working, take a moment to prepare your cheese molds and draining space. Make sure everything is clean and the molds are sanitized. Equipment can be sanitized in water heated to 150F and held at a simmer or can be done using a sanitizer, I prefer the former.
-
Coagulate with Rennet
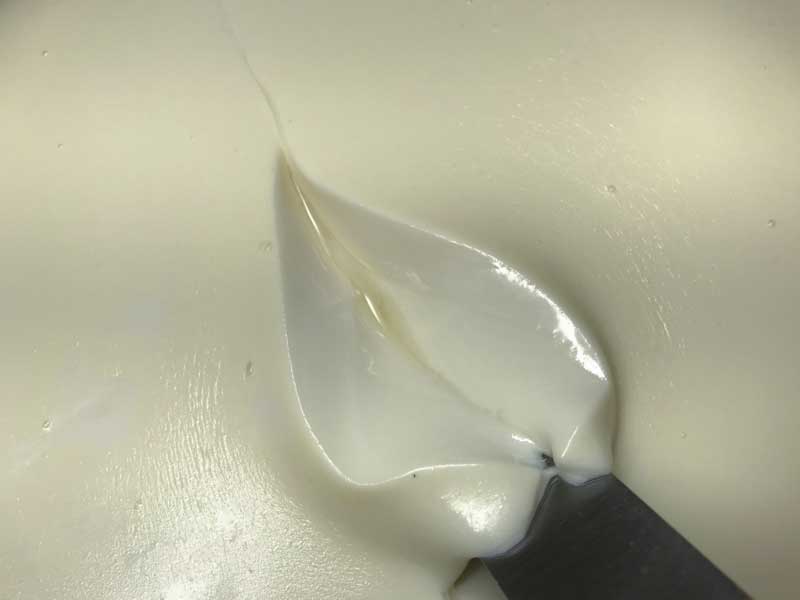
After culturing add the rennet and let the milk sit quiet for an additional 45-50 minutes while the rennet coagulates the curd.
The milk will begin to thicken after about 10-15 minutes, but will need to sit for the full time to properly coagulate.
The thermal mass of the milk should keep it warm during this period. It is ok if the temperature drops a few degrees, you can heat it back to temperature after cutting.
Note: Once done, check for a firm coagulation to see if the curd needs to sit longer. If the curd is too weak, allow it to go as much as 50% longer. The next time you make this cheese, adjust the rennet amount, more rennet for a quicker set.
-
Cut & Stir Curd
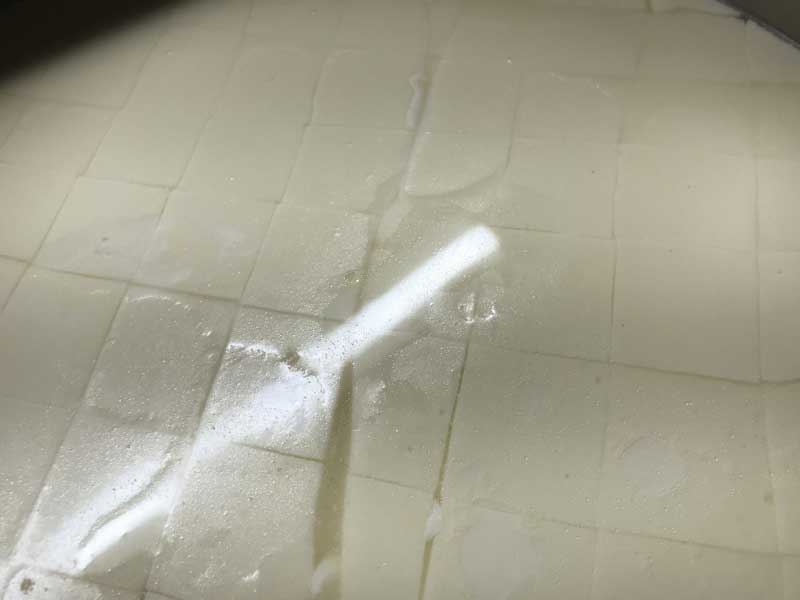
Once the milk has properly coagulated the curd mass should be cut as evenly as possible into 1/2 inch pieces. After cutting allow the curd to rest for 5 minutes so the cut surfaces have time to heal.
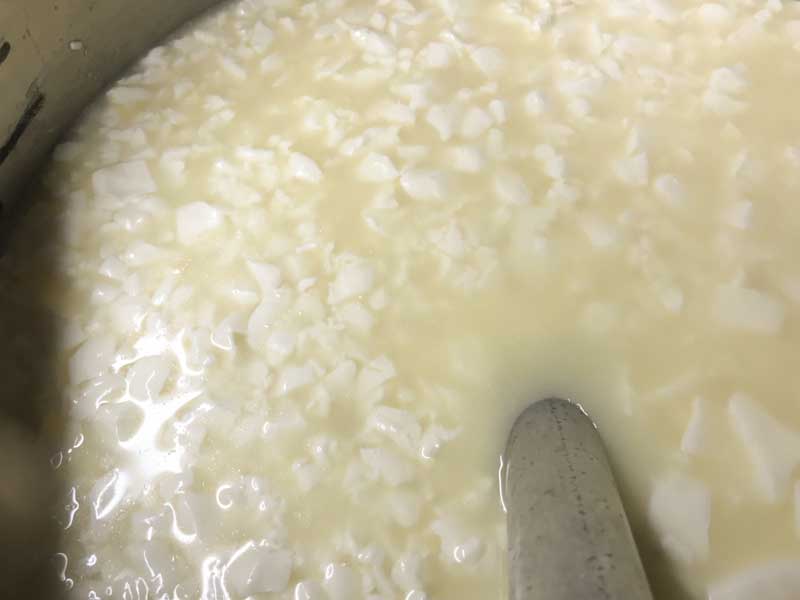
If the temperature has dropped, bring it back to 93-95F. Slowly stir the curds for 15-30 minutes, depending on final moisture desired (longer time makes drier curds). This stir will help develop the final moisture so the curd is not too moist or too dry. There is quite a range here, depending on how dry you want your final cheese. Too moist though and the cheese will become quite acid but too dry and it may be hard to age fully.
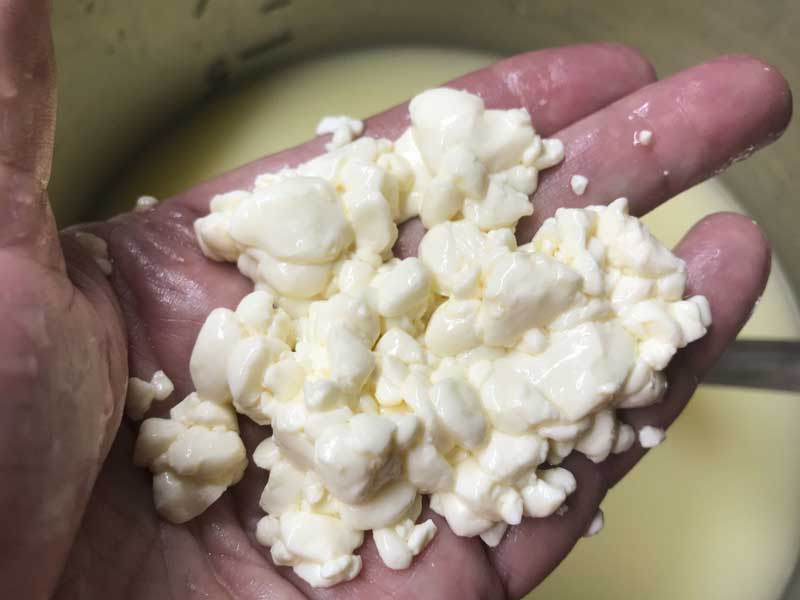
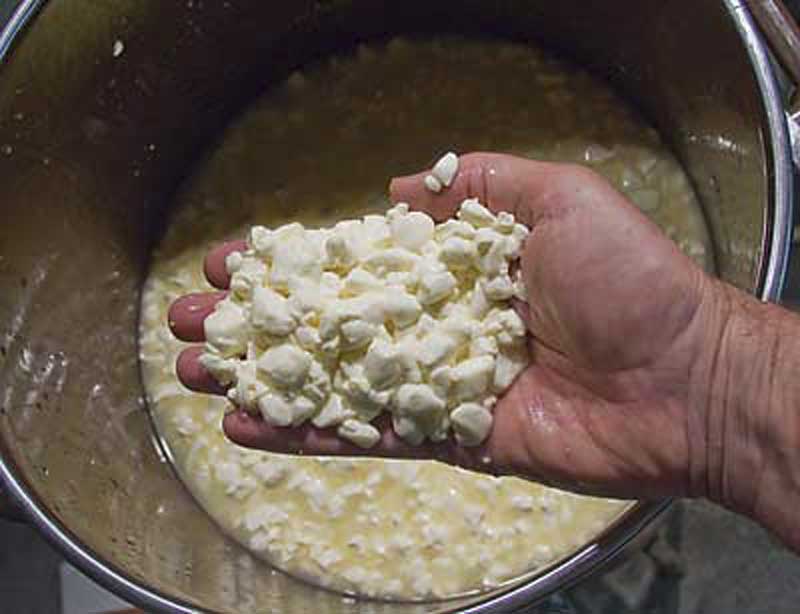
The final curd moisture should look even throughout when a curd is broken open. It should have a moderate resistance when pressed between the fingers. When this point is reached the curds can be allowed to settle under the whey in preparation for transfer to molds.
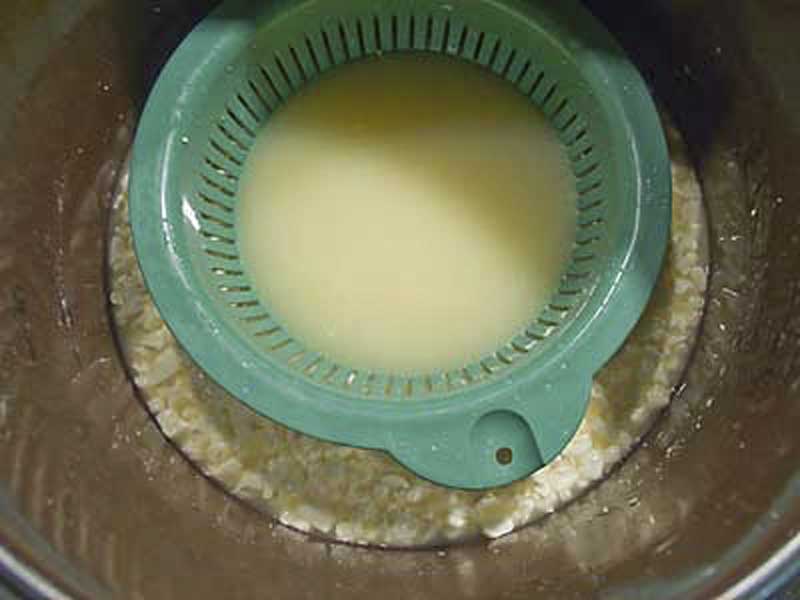
When the curds are settled, remove the whey down to the curd level.
Note: Once drained, you can make a batch of Ricotta from the sweet whey. It is recommended to make Ricotta within an hour or so of draining. See our Ricotta recipe for details.
-
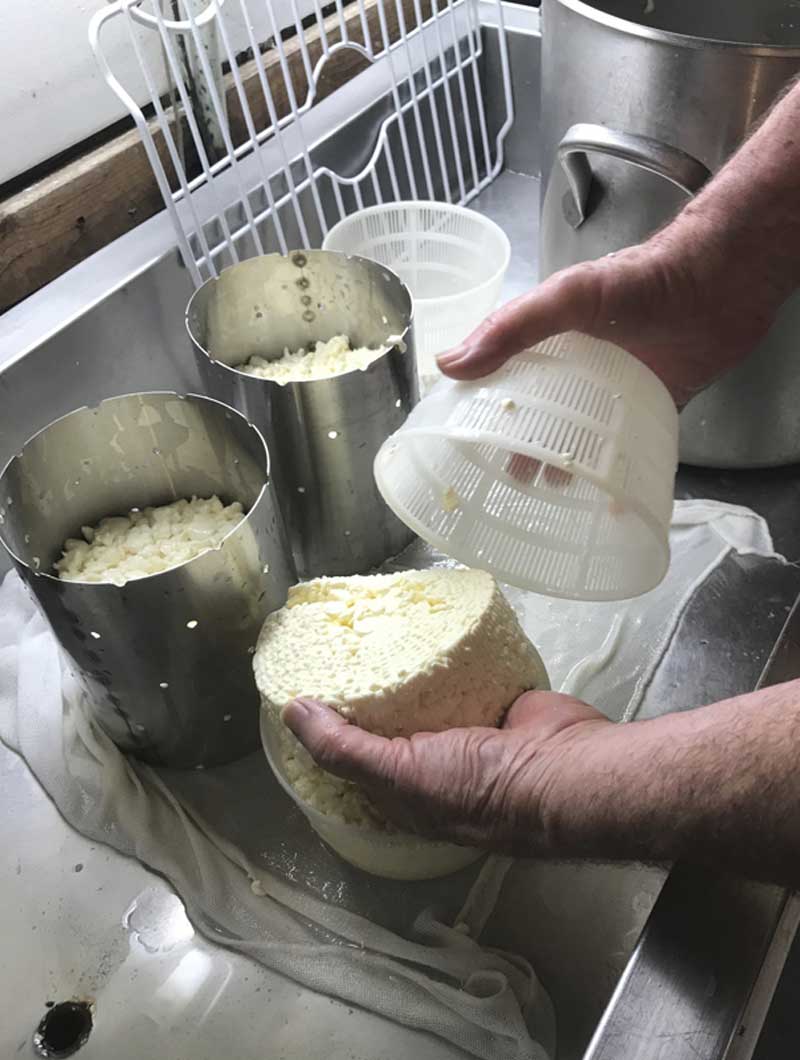

Transfer Curd to Molds
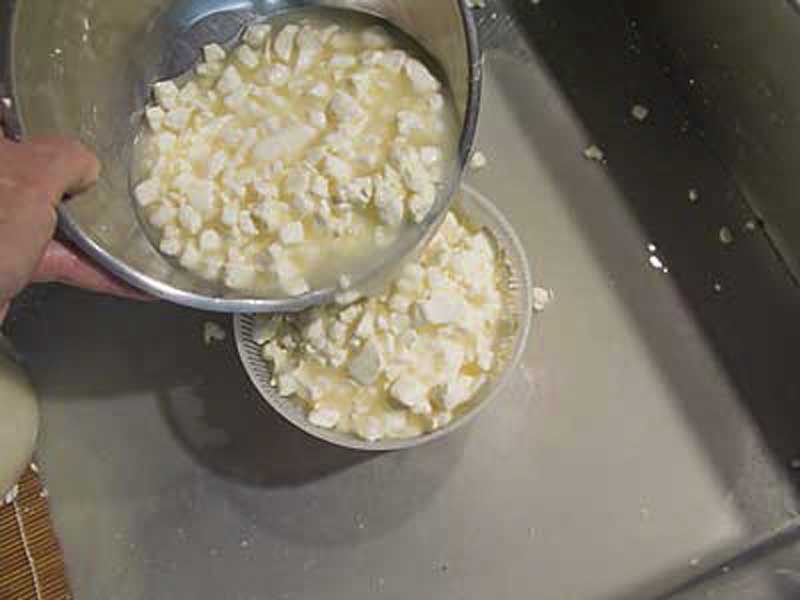
Give curds a quick stir to separate them then transfer the curds into cheese molds. If using the recommended basket cheese molds the molds do not need to be lined with cloth.
While draining, place the molds on a good draining surface with plenty of room for whey to be released.
Because the curd is moist, and the final cheese can have some open space throughout, the curds don’t need to have additional weight applied.
While draining, simply stack the molds on each other, then reverse the order and turn the cheese frequently, while draining. During this time the curd can drop down to room temperature.
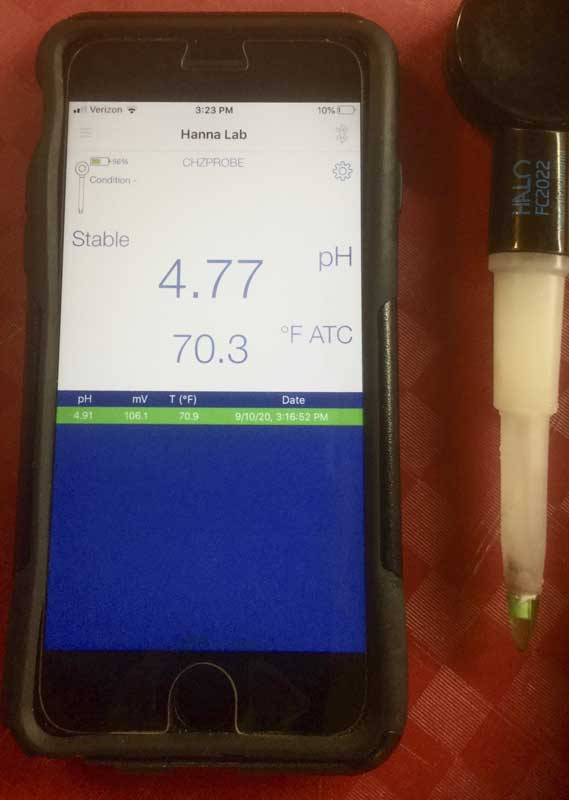
Move the cheese to a cooler space overnight to allow the lactose conversion to finish. Cover with a loose open drain cloth. At the end of the make day the cheese has an acid of pH 5.4-5.3 but by next morning this has dropped to pH of 4.7-4.8.
In the morning the cheese will feel firmer and taste much tangier than the night before.
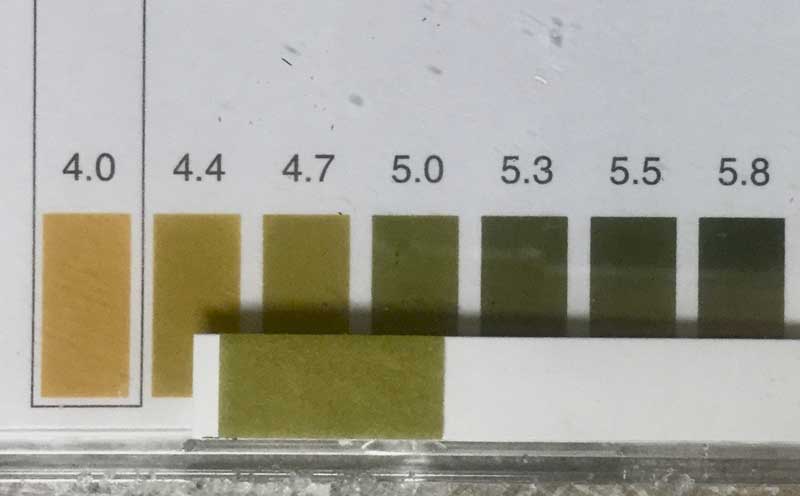
Note: I normally do not list acid measurements because pH meters are expensive and difficult to maintain but with our pH strips I find that the pH numbers between my meter are quite comparable and can be useful in the lower range below 5.6-5.8 (the color comparison in the upper range is difficult to differentiate). See the pics above of comparative pH meter and strip readings. The strips are on plastic substrate and stiff enough to insert into a soft cheese for internal readings.
-
Dry Salting
The next morning the cheese should have formed well and most of the lactose converted to lactic acid. Now its time for the salting prep for long storage in a light brine.
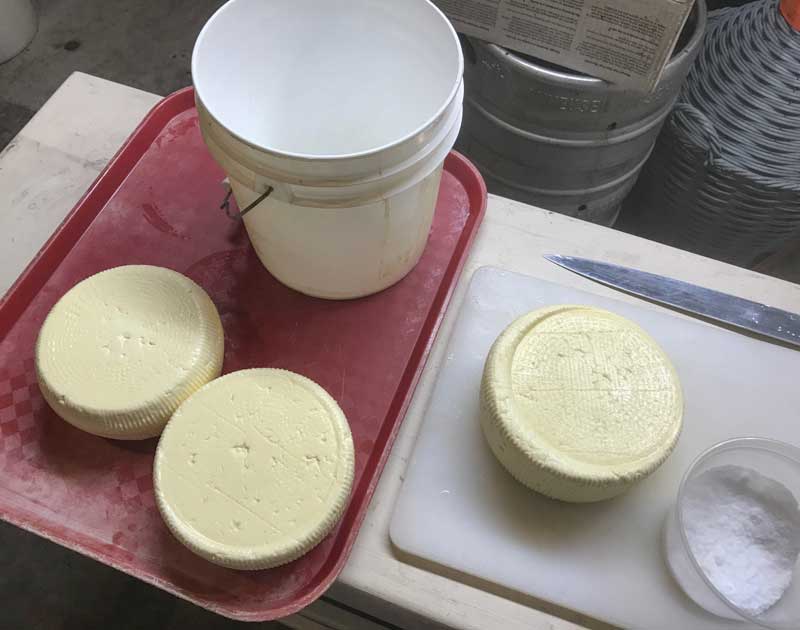
The cheese can be left in a brine for about 4 hrs per pound but the traditional method of dry salting for 2 days makes for a firmer rind and an overall more stable cheese for storage.
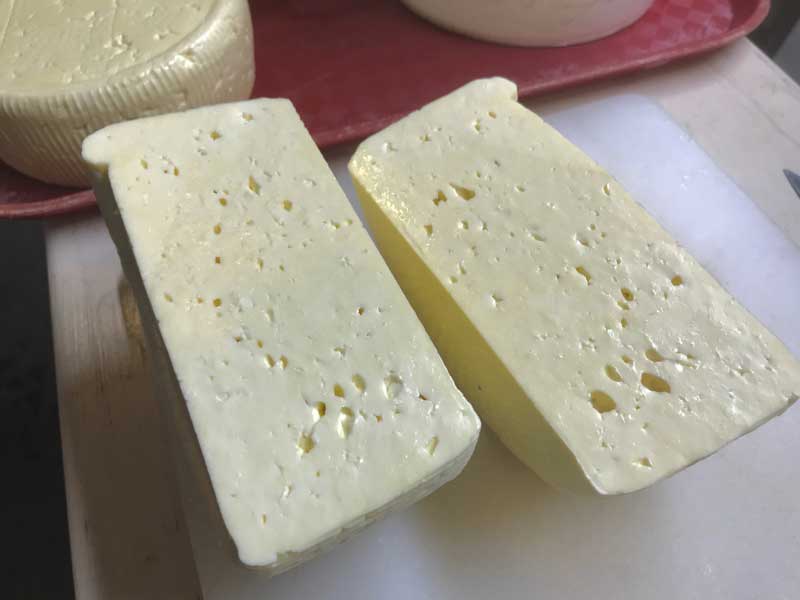
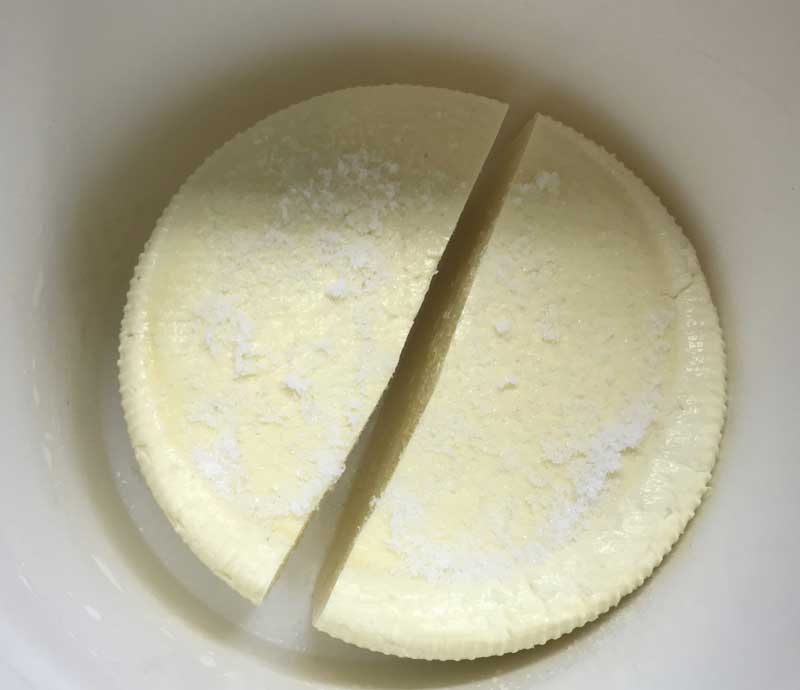
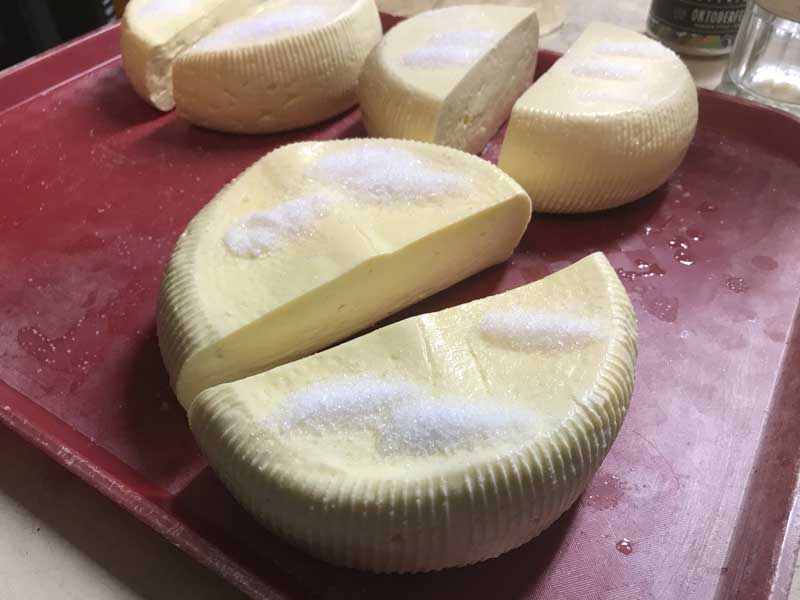
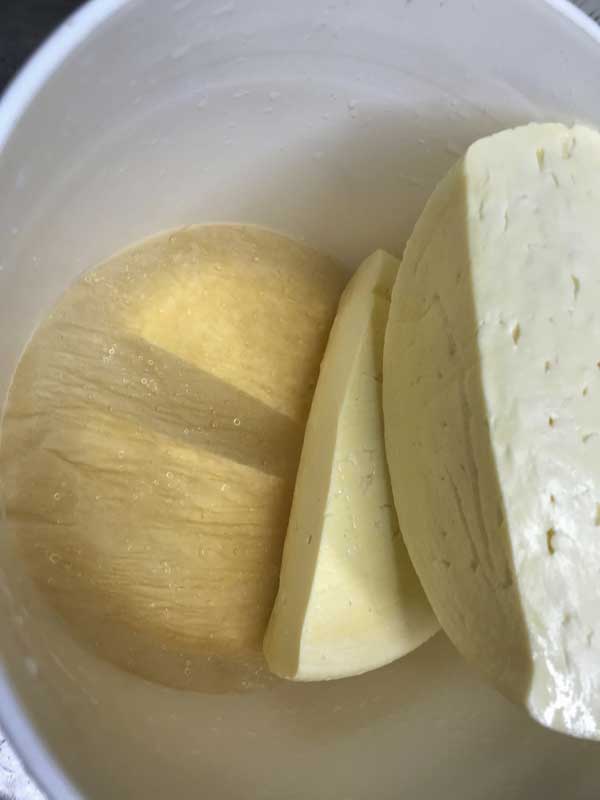
Begin by cutting the basket rounds into half circles as shown in the pics above. If you formed these as a block then cut to 4” cubes but they are harder to fit in a round pail for storage.
Next measure out about 5% of cheese weight in salt. My 4 Gal cheese finished at about 5lbs 10oz, 5% of that shows that about 4.5oz of a medium grain salt are needed for the salting. It is always best to add salt by cheese weight.
For dry salting the room should be about 60-65F. Either following method can be used:
- Lay the cut pieces of cheese out on a drain cloth for salting and cover with cloth
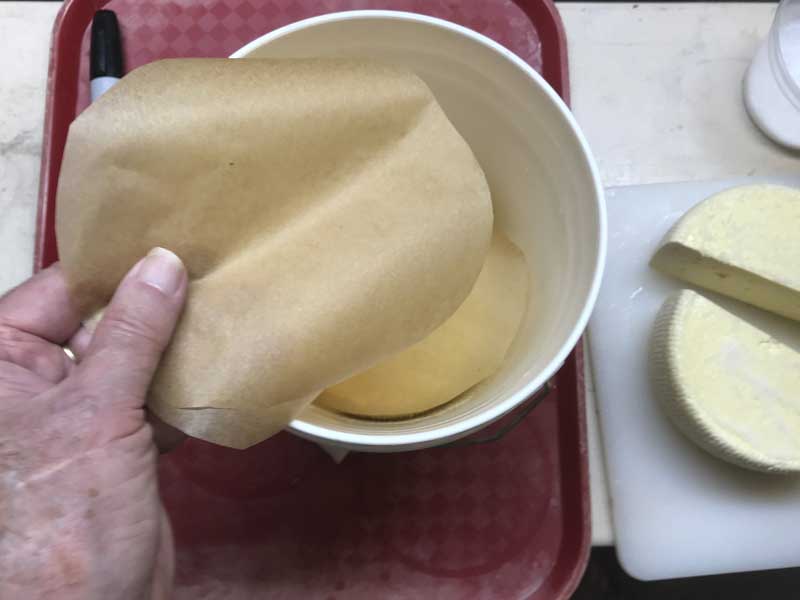
- Place the curds in layers in the 1 gallon Pail and add the salt as each layer is placed. Use Parchment paper between layers of cheese to keep the pieces from sticking together
Use half of the salt for each salting and the other half should be added the next day after turning the cheese.
After the second day the pieces can be rinsed clean of any slime (yeast etc) and the salty whey poured off and they will be ready for aging in brine.
-
Aging in 8% Brine
An 8% brine with balanced acidity and calcium amounts is needed for aging. If the calcium is not added to the brine then the brine will leach the calcium out of the cheese until there is equilibrium between the two.
8% Brine:
Make up the brine so that you will have extra to top up the storage container as you remove cheese over the next weeks to months
- 10.6 oz salt - https://myfermentedfoods.com/tools/brine-calculator/
- 1 tsp white vinegar
- 2 Tbs calcium chloride solution
- Add non chlorinated water to make 1 gallon of solution
Traditionally, neither acid nor calcium were added because the clear whey left over after making Ricotta was used. Calcium is left in the whey because the acid development leaches it from the curd as it develops along with the natural acid that forms. You could do the same but its an extra step in a long day.
Use a one gallon (or more) container for storage. Polyethylene (opaque ones) or Polycarbonate (clear ones) will work along with sealing lids. Make sure the internal diameter of the container is a bit bigger than the diameter of the cheese forms because they will swell. For larger batches the bigger square tubs might be good. Just make sure they are large enough to allow for the Feta to be totally submersed below the liquid level, otherwise mold will grow near the surface.
Place the cheese in layers into the storage container. Cut Parchment pieces to go between the layers to keep from sticking. Parchment will hold up in the brine and can even be used again. Don’t use paper or plastic.
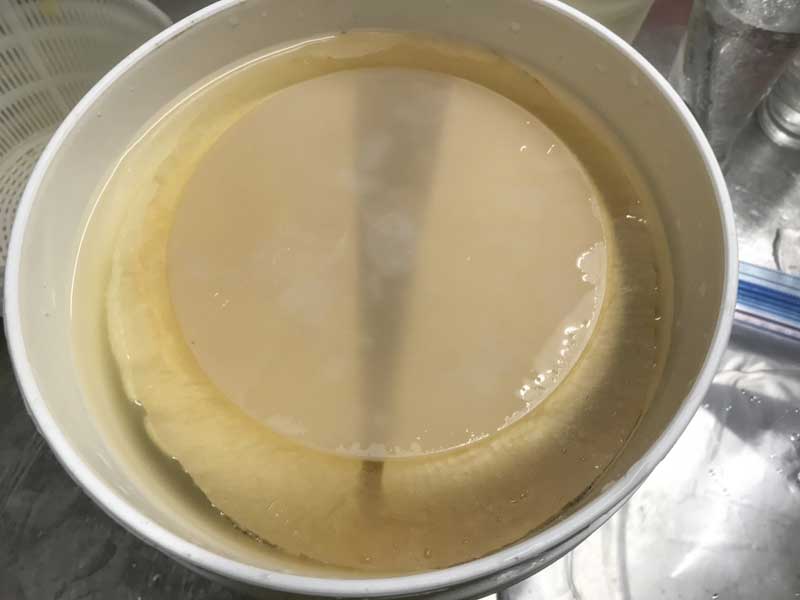
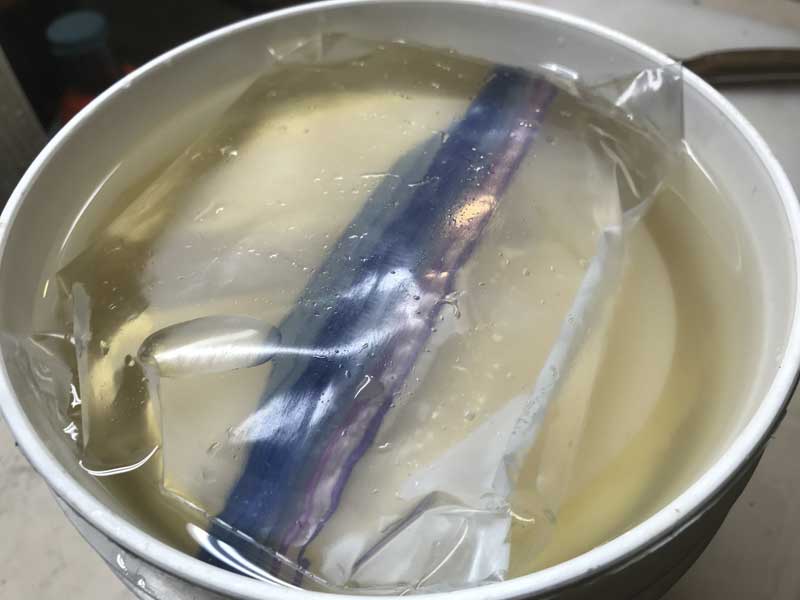
Make sure that the Feta is well below the top leaving an inch or more below the brine level. Fill the container with brine leaving enough room at top for a weight. Use a flat disc as a weight (a small plate will also do) as the cheese tends to float. A small Zip Lock bag filled with enough brine to sink the cheese works well too.
Seal the lid and place this in a cool room 50-60F for at least 3-4 weeks. This cheese will improve for many months and get better as the cheese changes during ripening.
-
Trouble Shooting
Curd takes longer to form a firm body or sets too soon | Extend or accept shorter curd formation time and next time add more or less rennet
Final cheese is too moist and loses shape | The curd needed more time in the stir or the temperature was too low. Make adjustments next batch.
This can also be due to cutting curds too large. Check the curd moisture before draining whey. This can also be a poor quality milk.
Final cheese is dry and hard and does not seem to ripen | This can be a result cutting too small or stirring too long. It can also be the result of allowing too much acid too develop. Change culture amount or ripening time before draining whey. Watch the curd development as you stir.
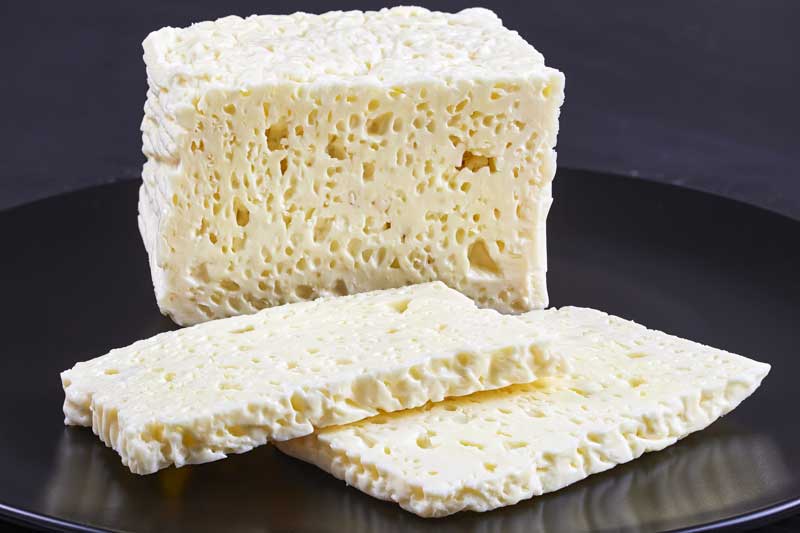
Final cheese is filled with holes or the curds float when formed, see photo above | This is normally a coliform bacteria infection. Not much can be done about it. Generally not a good thing to have happen. Revisit your cleaning and sanitizing program and make sure its not a contaminated milk. Most often it shows up in raw milk but shouldn’t.
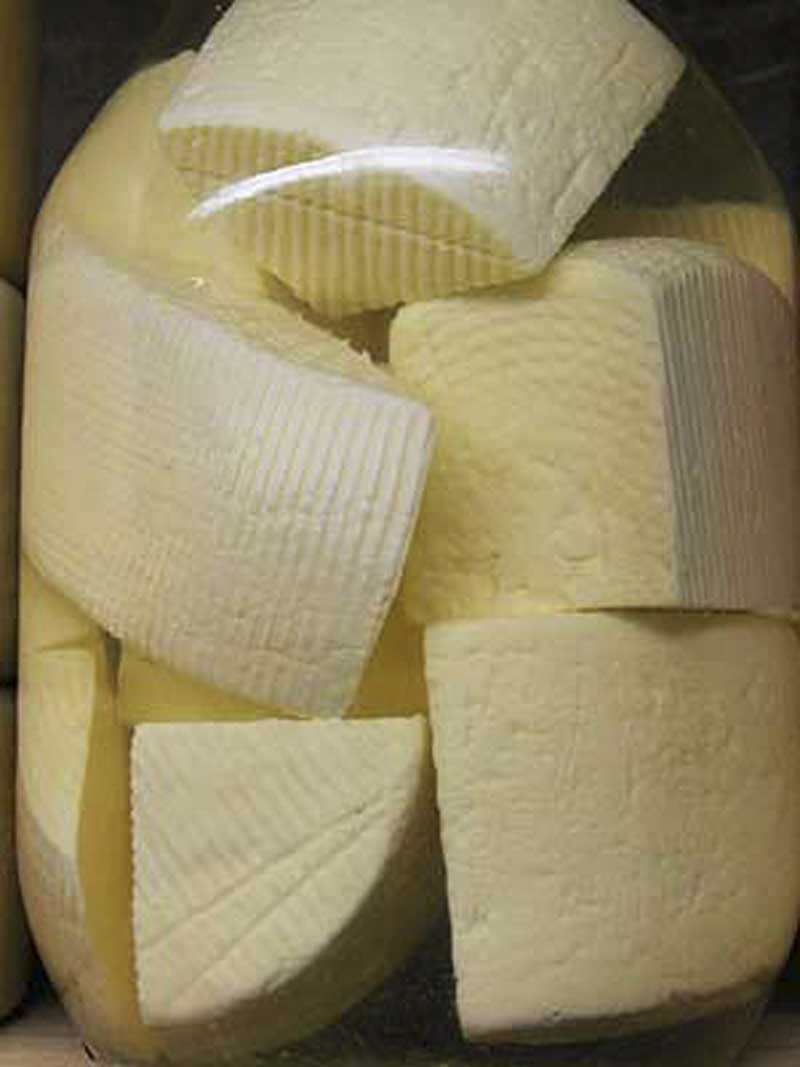
Using glass jars to store Feta | Its nice to see your stored Feta in clear glass while it ages but glass is heavy and breaks easily.
If it breaks do not try to save the cheese. Consuming glass shards is very hazardous to your health and the splinters will be in the cheese. Very tragic if its been aged a long time because you not only lose the cheese but the time waiting for it to ripen.
The History of Feta
The earliest record of feta cheese dates back to the Byzantine Empire. It has been associated closely with Crete, located in present day Greece. An Italian traveler to the city of Candia makes express mention of the curing processes in brine cellars in his writings dated 1494.
The word "feta" has an interesting genealogy. It comes from the Italian word fetta (meaning slice). Fetta, in turn, is of Latin origin from offa (meaning bite or morsel). It first appeared in Greek language in the 17th century, possibly referring to the process of serving the cheese by cutting it in thin slices. Many, however, attribute a Classical Greek origin to feta cheese. According to myth, the Cyclops Polyfimos was the first to have prepared it. In the museum of Delphi, 6th century BC artifacts also make references to the process of feta cheese-making.
Feta cheese in 2005 secured a protected designation of origin in the European Union, and it defined as having a minimum of 70% sheep's milk, with the rest being goat's milk. Greece had to fight a protracted legal battle to secure the same, as a variety of pasteurized cow's milk cheese was in circulation in Denmark under the same name.
Varieties to the Greek feta cheese are to be found in many of the Balkan countries as well as the Mediterranean region.