


Tomme de Savoie Cheese Making Recipe Instructions
This Cheese is a great choice for experienced cheesemakers. I like to start with a full fat raw milk, leave the fat to rise overnight and skim in it off in the AM, this results in a low fat cheese.
One of my favorite cheeses in France is Tomme de Savoie, so for the past few months I have been trying to perfect a cheese that is similar to what I have found in the mountains of Savoie.
Here is some information on the cultures I’m using in this recipe. I began by looking at similar characteristics in other types of cheese. Tomme de Savoie is produced on the same farms as Reblochon and since the base mold is likely native it’s probably the same that shows up for Tomme de Savoie.
This is a slow moving lower temperature thermophilic culture, MY 800. Along with a little Mesophilic, MA 11 or MM 100.
MVA culture contains a culture found in many of the traditional Tommes to help lactic cultures work at their best.
MYCODORE is also found on St. Nectaire style cheese with a velvety blue grey surface. I use this because the cheese surface is drier than most washed rind styles. This culture tends to grow a low white surface that grows in before the natural MUCOR growth.
The MUCOR is often described as an unwelcome surface visitor for many cheeses but in this case it is part of the program. The MUCOR will develop up as tall light grey hair like structure that eventually gets flattened to provide a white/grey mosaic on the surface of the finished cheese.
MUCOR is prevalent in most environments and should grow naturally with the proper conditions established. The MYCODOORE and MUCOR definitely seem to establish a symbiotic relationship where the growth of one helps the other.
To learn more about surface growth read more from Ben Wolfe’s research here.
-

Heat & Acidify Milk
Begin by heating the milk to 78F then add all the cultures listed above and hold quiet for 45 minutes to allow the mesophilic culture to begin working.
After 45 minutes stir slowly and increase the temperature to 91F, then hold quiet for another 45 minutes. This higher temperature will encourage the thermophilic culture to work more prominently.
Note: using MM 100 culture will allow for a little gas development (small internal holes) using MA 11 will result in a tighter body with few openings.
-

Coagulate with Rennet
Add about 3.5 ml (just over 3/4 tsp) of single strength liquid rennet and let the milk sit quiet for 30 minutes while the culture continues working and the rennet coagulates the curd.
The milk should begin to thicken at about 10 minutes but allow it to coagulate to firmness at about 45 minutes.
The thermal mass of the milk should keep it warm during this period. It is OK if the temp drops a few degrees during this time, you can heat it back to 91F temp after cutting.
It is always best to check for a firm coagulation and if it seems to be soft and need longer allow it to go as much as 50% longer. The next time you make the cheese, adjust the rennet amount if needed (more rennet for a quicker set).
-
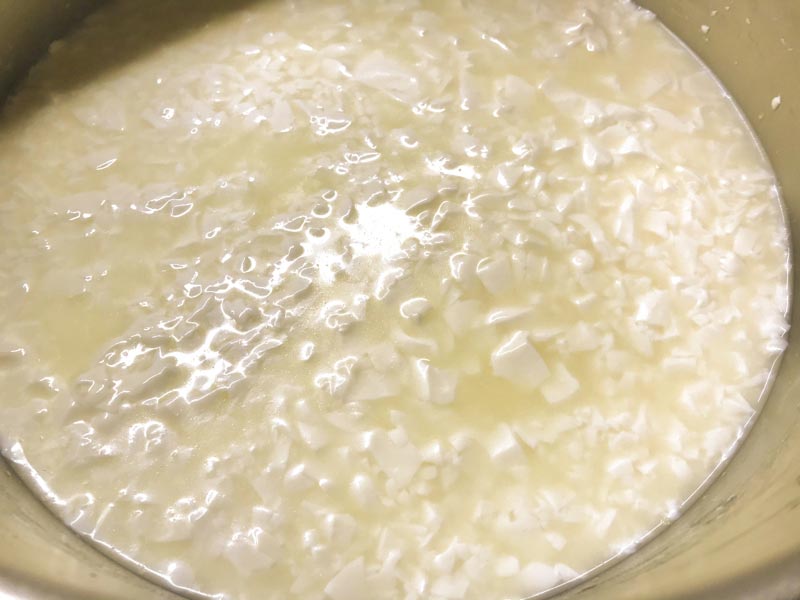
Cut Curd
Once the milk has set well, it is time to cut the curds. This is the first step in reducing the curd moisture.
Cut the curd mass as evenly as possible into 1/4 - 3/8 inch pieces. Allow the cut curd to rest for 5 minutes, so the cut curd surfaces can heal.
After the short rest, slowly stir the curds for 15-20 minutes. This will help the curd to release more moisture.
Note: Both the rest and stir are important to prepare for the cooking phase that comes next. Without it, the curds would break further and loose too much moisture.
-
Cook Curds
Slowly increase the heat to 98F over the next 15 minutes.
Wash Curds (optional):
Some makers in France will slow the acid development by diluting the lactose in the whey to slow the culture activity and create a sweeter cheese. This is a method borrowed from the Dutch.- After the brief stir above, allow the curds to settle under the whey.
- Once settled, remove 30% of whey, about 4 gallons for this batch size.
- Slowly add the same amount of clean 98F water back into the pot, over the curds (4 gallons).
Next slowly stir, continuously, while holding the 98F for about 15-25 minutes. Higher fat milk will require the longer time.
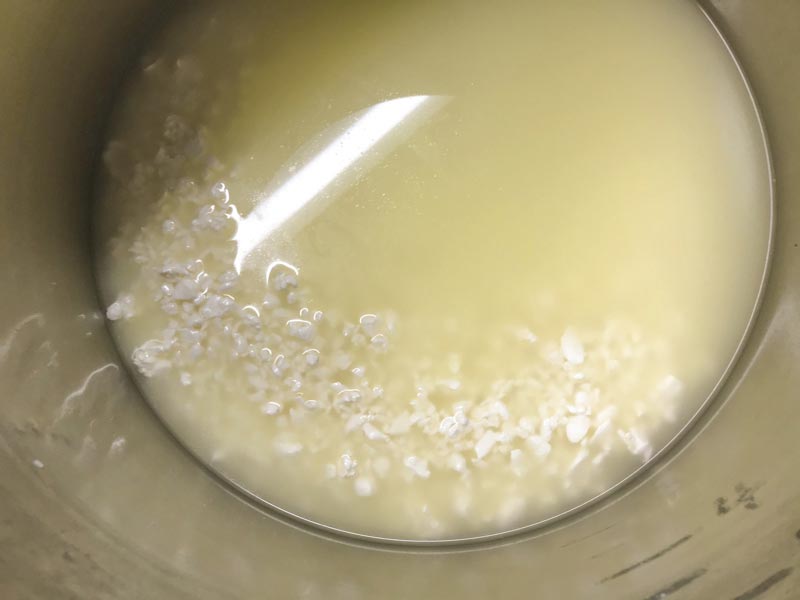
The final curds should be cooked well through and be examined to make sure enough moisture has been removed without being too dry.
A broken curd should be firm throughout and the curds should have a moderate resistance when pressed between the fingers.
When this point is reached the curds can be allowed to settle under the whey in preparation for transferring into cheese molds.
-

Transfer Curds
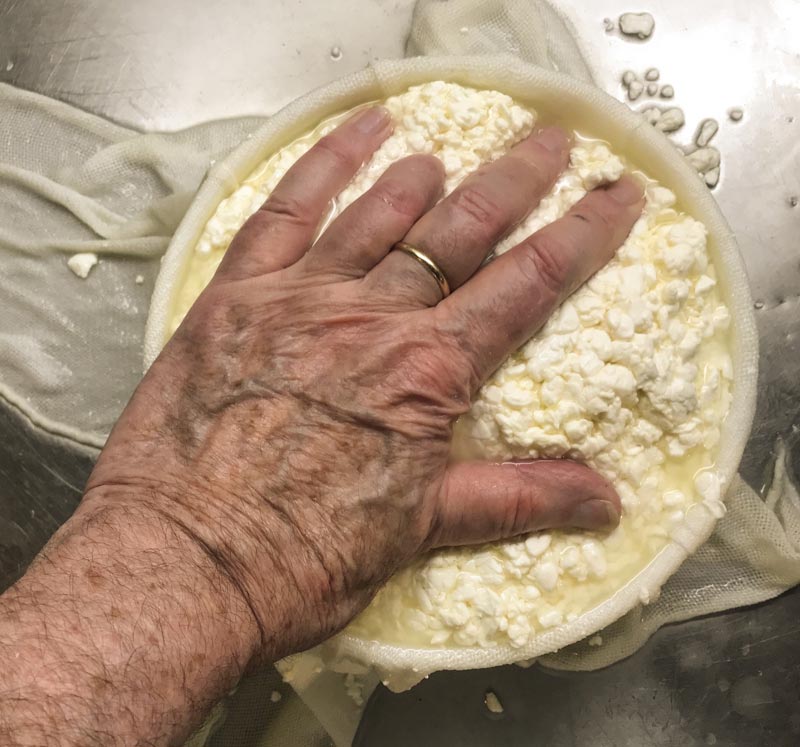
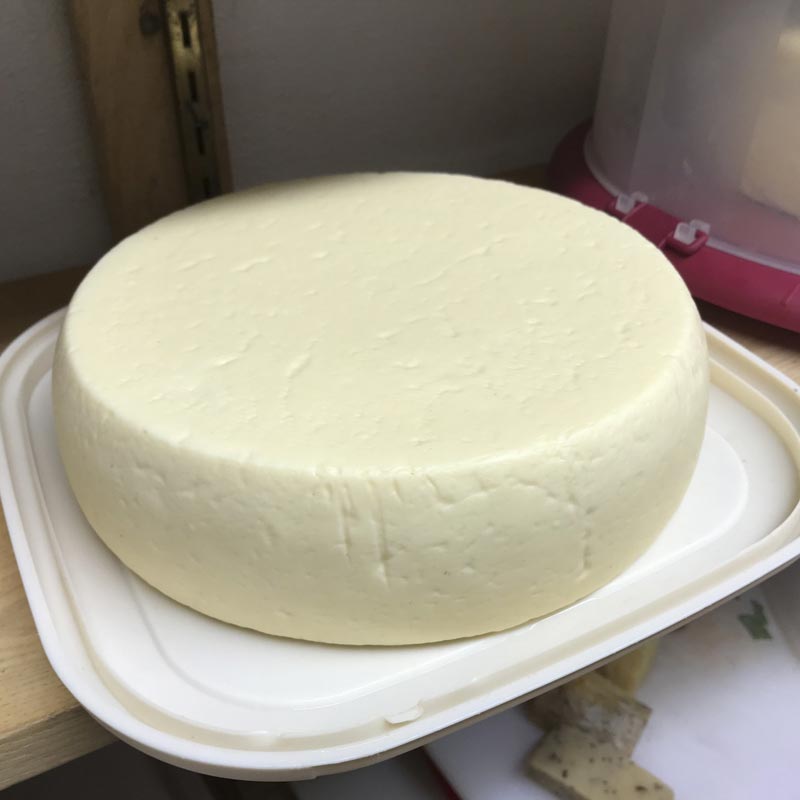
The curds can now be transferred to the cheese mold lined with drain cloth. As you transfer the curds into the mold pack them lightly with hand pressure.
Pull the drain cloth up around the filled cheese mold to even out any cloth folds and then fold the cloth ends over the curds and place the follower on the curds to be pressed.
Note: At this point the culture still needs to continue working, therefore as the curds are consolidating in the molds they need to be kept warm for the culture to convert the remaining lactose.
-
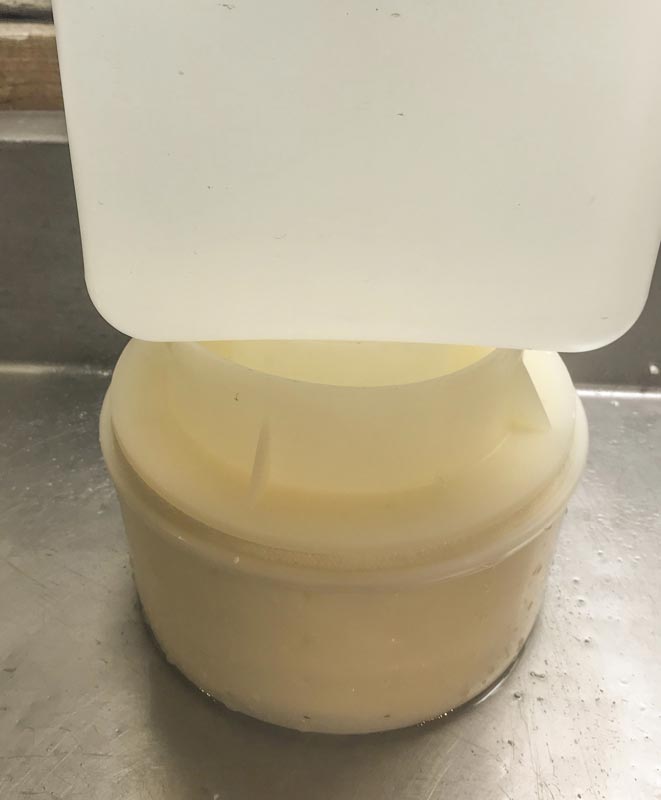
Pressing
Place about half a gallon of warm water into a jug, and set the jug onto of the follower to consolidate the curds for about 4-6 hours.
The rate of whey running off should be a matter of drops, not a stream of whey being released. This is a good rate of whey removal during pressing and will slow even more as the residual free moisture is released. The cheese mold should show tears of whey weeping from the form very slowly.
The cheese should be removed from the mold unwrapped, turned, rewrapped, and put back into the mold every hour, to assure even consolidation. At each turn you will notice the cheese has formed a smoother surface and rests lower in the mold.
Once the cheese has consolidated well with a closed surface, it can be moved to a cooler room (62-67F) to stabilize overnight.
Note: In France I have seen pressing done by simply stacking one cheese mold ontop another for adequate press weight (4-5 lbs) because this curd tends to have higher moisture and needs little to consolidate. If you do a double batch with two forms you can do the same.
-
Salting
You will need a saturated brine prepared for salting this cheese, find all of the details you need on brining here.
A simple brine formula is:
- 1 gallon of water
- 2.25 lbs of salt
- 1 Tbs calcium chloride
- 1 tsp white vinegar
- Bring the brine to 50-55F before using.
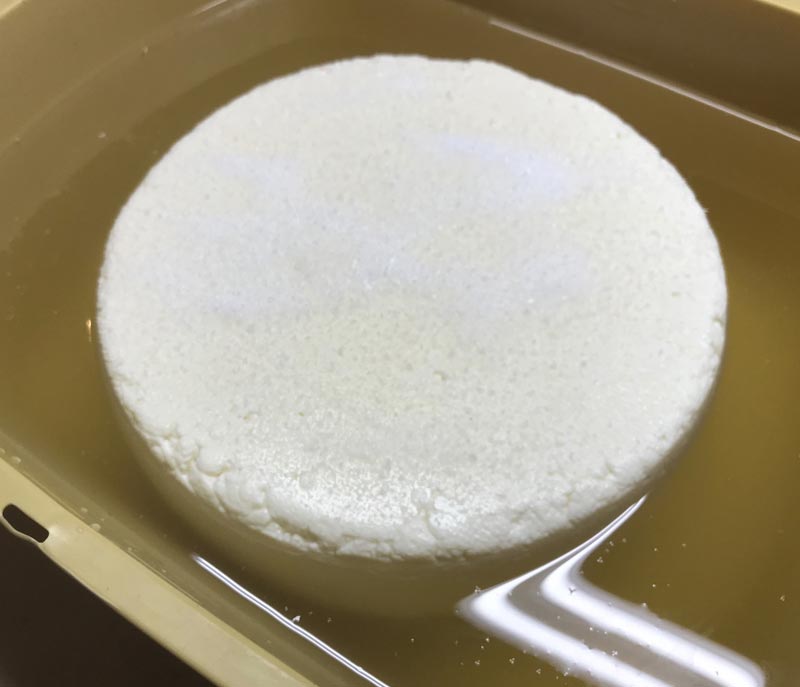
The cheese now needs to be set in the brine for about 2 hours per pound of cheese. The cheese will float above the brine surface so sprinkle another teaspoon or two of salt on the top surface of the cheese.
Flip the cheese and re-salt the surface about half way through the brine period.
At the end of the brine bath, wipe the surface and allow the cheese to surface dry for a day in a cool area (65-70F), with free movement of air. Do not let it dry so much that is darkens or begins to crack.
-
Aging
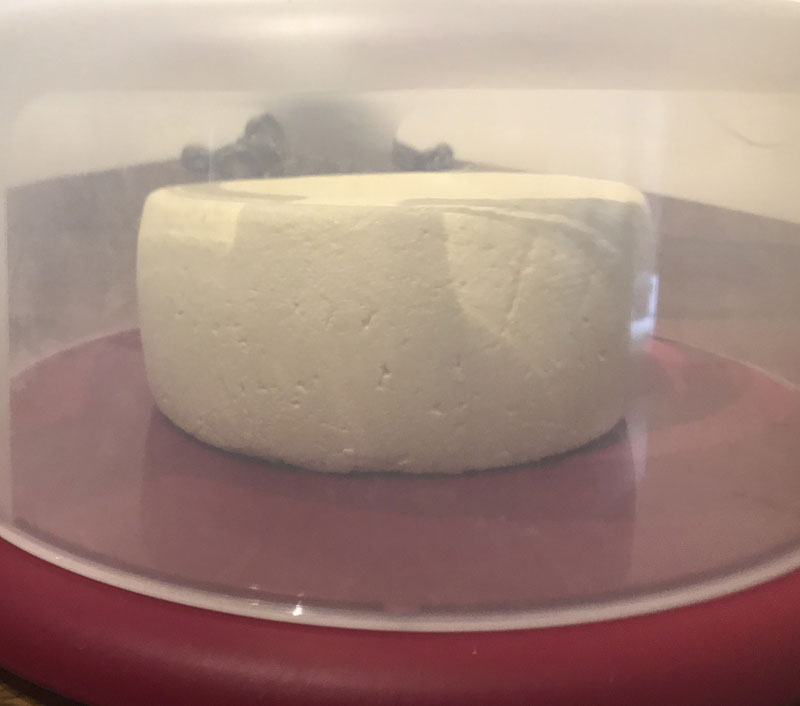
Once the cheese surface has dried for a day move it into an aging space of 65-68F and 85-90% moisture. A covered plastic container or cake carrier works well for this. Allow the natural yeast and surface cultures to develop on the surface of your cheese.
Wipe the cheese surface down with cool water, to remove some of the greasy surface. Place the cheese back inside a covered plastic box or tray with an aging board cut to size on the bottom. Move the aging cheese to a cooler location, 52-55F with 85-90% moisture.
Prepare a light wash with 1 cup cool water and 1 tbsp salt plus a pinch of Mycodore for the following steps.
By day 2-3 you should see a noticeable white film developing on the surface of the cheese. Once this begins to show the cheese surface should be washed.
Begin using the prepared wash on only the top surface and sides of the cheese. You only need a small amount on a sanitized cloth for this. I usually pour a few tablespoons of the prepared wash on the cloth so that I do not have to mix fresh each time. After washing, allow the surface to dry slightly then place it washed side up back into the aging box. Allow this to rest in the aging space for a day or so, then turn it over and wash the other surface.
Repeat this process in another 3-4 days as you see a white film of mold developing. The surface should become damp or tacky but do not allow it to get swampy or wet. Within 10 days you should notice a light cream to white surface developing.
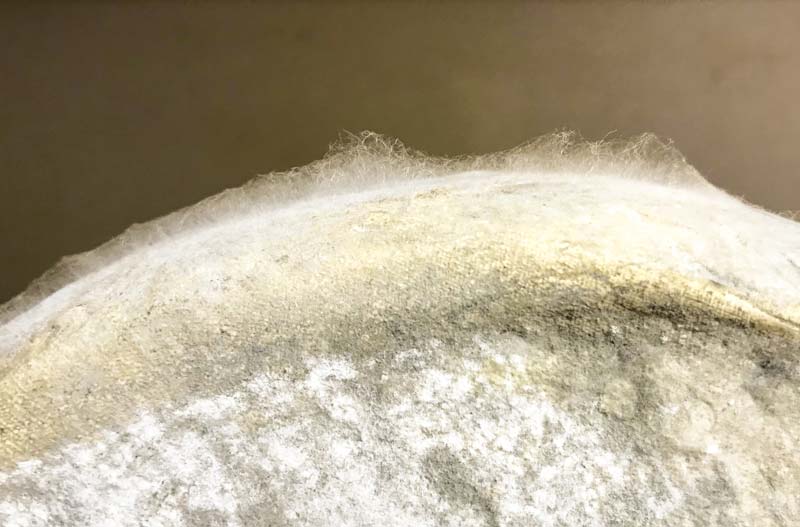
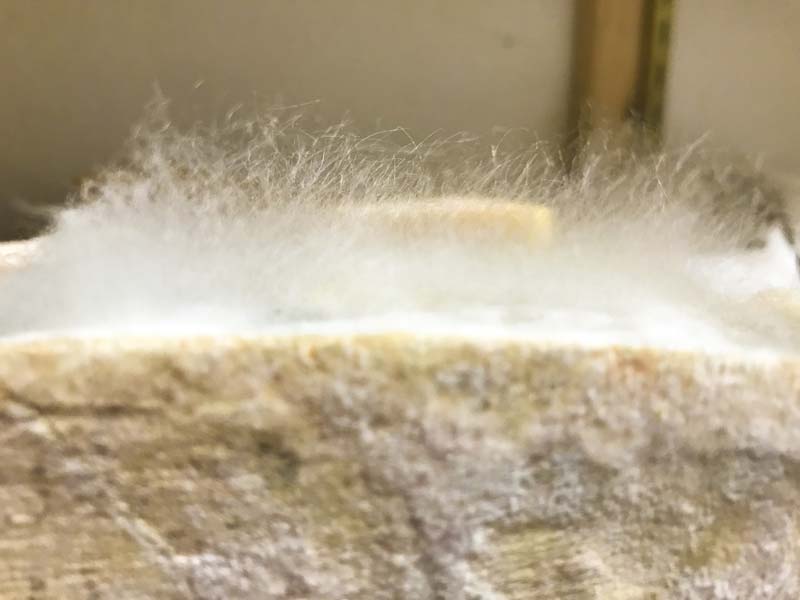
In another week or so you will likely see hair like structures of grey mucor rising, this is what you want to see. Simply pat this growth down and turn the cheese every 3-5 days. Change the aging boards for clean ones as you see residues build up.
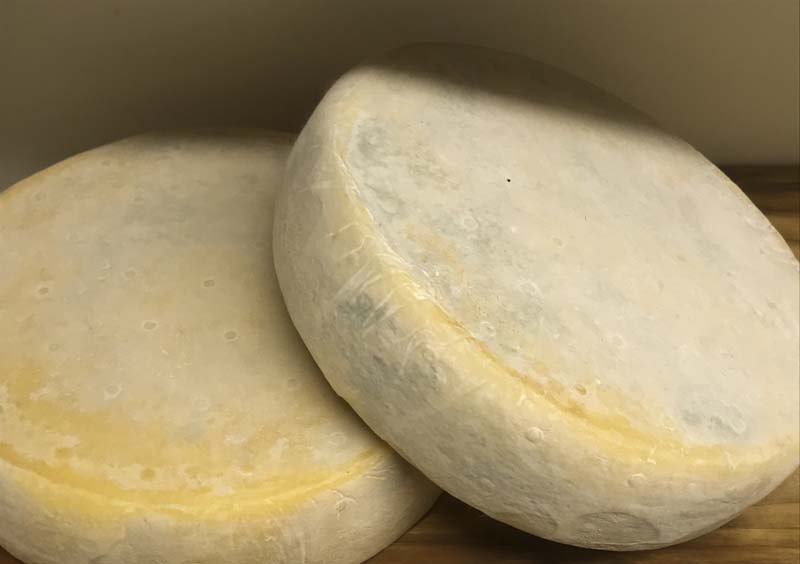
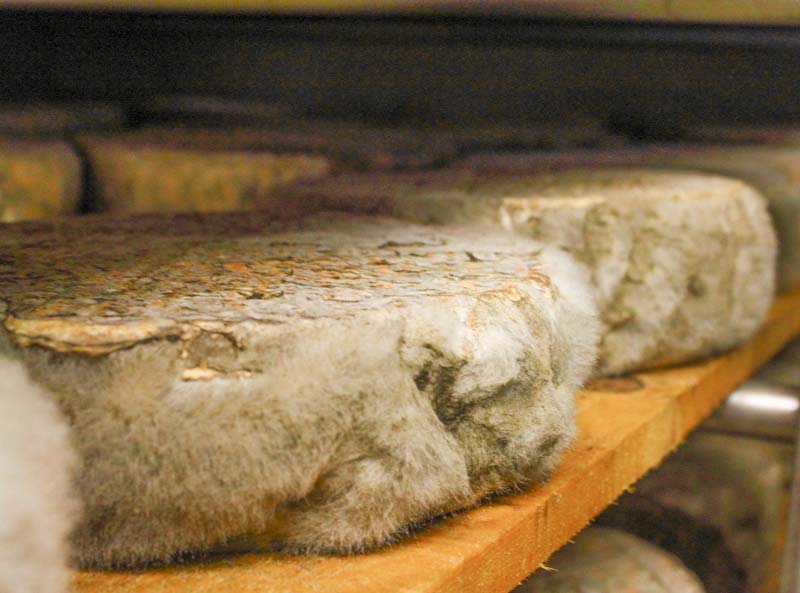
The cheese should develop a mottled white and grey surface, it should be ready for the table in 30-60 days.
The final cheese can show a varied appearance depending on how much brushing and turning takes place As you can see in the photos, the surfaces can appear pretty rough coming out of the caves to somewhat tamed in appearance but looks can be very deceptive. I have found some of the ‘ugliest’ ones to be the most tasty.
Note: Being on the wild side, the rinds can take on a bitter and musty flavor so on the table rinds are optional but they are quite nice to have for the presentation. They give the cheese a rather unique aromatic and tasty sense of place.
I hope you find this to be helpful as well as interesting, as we move a bit deeper into the wild side of cheese making.
Note: Never wash aging boards with detergent; simply scrub them with hot water and let them dry in the sun. They will begin to harbor the beneficial and complex nature of washed rind bios over time.