


Bel Paese Recipe
-

Yield
2 Pounds
-

Aging Time
~2 Months
-

Skill Level
Intermediate
-

Author
Jim Wallace


Bel Paese Recipe Info
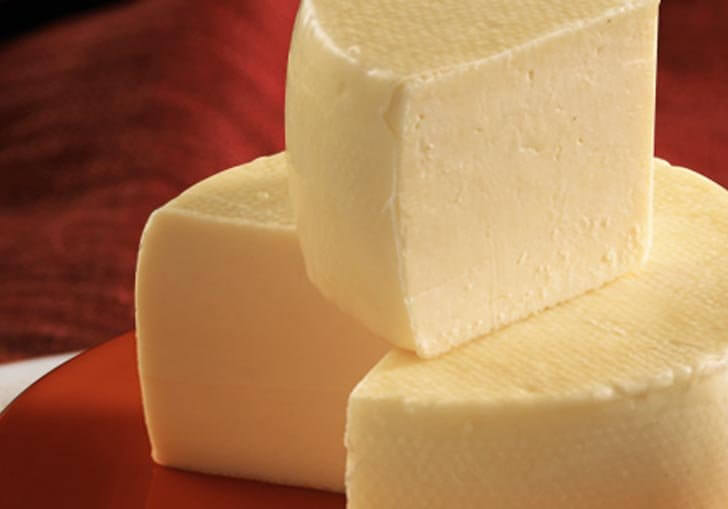
About Bel Paese
History of Bel Paese
Characteristics of Bel Paese
Cheese Making Process
Ingredients
Total price for selected items: Total price:

Instructions
Guideline for Making Bel Paese Style Cheese
Although this cheese is normally made with pasteurized milk, it can certainly be made with a high quality raw milk. The guide I provide below however, will be for pasteurized milk.
If you would like to make your version with raw milk then decrease the culture amounts by about 40% and the rennet by 20-30%, depending on your specific milk. Yes, I make mine here often with raw milk.
-

Acidify & Heat Milk
Begin by heating the milk to 102°F. It is best to do this by placing the milk in a pot or sink of very warm water.
If you do this in a pot on the stove make sure you heat the milk slowly and stir it well as it heats
Once the milk is at 102°F the culture can be added:
- 1/64 tsp of Geotrichum (its just a pinch)
- 1/16 tsp of MA011
- 1/32 tsp of MM100
- 1/16 tsp of TA061
Yes, it is a very low dose and customized blend of culture.
To prevent the powder from caking and sinking in clumps sprinkle the powder over the surface of the milk and then allow about 2 minutes for the powder to re-hydrate before stirring it in.
Allow the milk to ripen for 60 minutes.
During this time the press, draining cloth, molds and press area should be sanitized and readied for the final cheese.
-


Coagulate with Rennet
Once the culture has been allowed to undergo its initial ripening time, the milk is slowly heated to 108°F in about 10 minutes.
Then add about 1/4tsp (1.25ml) of single strength liquid rennet.
The milk now needs to sit quiet for 20 minutes as the culture works and the rennet coagulates the curd. You should notice the milk beginning to thicken in about 8 minutes. The thermal mass of this milk should keep it warm during this period but It is OK if the temp drops a degree or so during this time.
Prior to cutting the curd, check for a clean break by splitting the curd with the flat blade of a knife. A good curd, ready to cut should show a nice even break with smooth sides. Whey will quickly fill the opening but if it is very milky, this indicates a weak curd. Wait another 3-5 minutes and check again before cutting.
-

Cut Curds & Release Whey
I find that a good curd size for cutting this cheese is about 3/8 inch. Begin the cut with vertical cuts made parallel to each other across the entire surface and then repeat at right angles until a checkerboard pattern has been made.
Next cut diagonally with the knife or spoon to achieve uniform pieces as best you can.
Once you have a pot of evenly cut curds, allow them to settle in the pot for about 3-5 minutes to help the surfaces heal and harden slightly. This will be a vey soft curd at this point.
Next, begin a very slow stir working from the bottom to the top.
-

Cook the Curds
Now it is time to begin drying out the curds. This will be done by slowly continuing the gentle stirring motion while maintaining the 108°F (if the curds have cooled bring them back to 108°F).
The total time from cutting the curds until they need to be drained will be about 25-30 minutes but may be extended another 10 minutes if the curds seem too soft.
The final curds should be cooked well through and should be examined to make sure that enough moisture has been removed. A broken curd should be evenly firm throughout and the curds should have a slight resistance when pressed between the fingers.
When this point is reached the curds can be allowed to settle under the whey
-


Remove the Whey
To remove the whey, begin by carefully ladling the whey from above the curds, leaving about 2 inches above the curd mass.
Then pull the curd mass to one side of the pot to form a consolidated mass. I find it easiest to use a large piece of Medium Grade Cheese Mat (MATMED) for this. A little hand pressure will work well to consolidate it into a compact ball. Then collect the curd mass in the Butter muslin as shown below.
The above procedure will assure that the final cheese body has a nice closed interior with few if any mechanical openings.
-


Initial Pressing
Initial pressing with a moderate hand pressure.
The cloth with the collected curd mass can now be transferred to the mold which should have been sanitized and arranged previously.
The collected curd in its cloth should be pressed into the mold, the cloth neatly folded over the top and the follower placed on top, then an initial firm hand pressure as shown below should begin to set the initial cheese surface. The curd is still quite warm at this point and should come together with little trouble.
After a few minutes the curd mass should be lightly set and removed from the press. It is ready to be opened, turned and re-wrapped as before.
Note: It is very important to keep the cheese warm during the pressing cycle described here because the bacteria is still actively converting lactose to lactic acid. 80-85°F is ideal.
-


Final Pressing
Now add 5-8 lbs of pressure to consolidate the curds (the bowl of water shown below). Make sure the cloth is pulled up well and smoothed around the cheese to form as smooth a surface as possible. Only a very light weight needs to be used here.
Note the light weight used here and how the surface becomes smoother with each successive turning and re-wrapping of the young cheese.
As much care as possible should be taken to assure a smooth surface. This will make the aging and surface development go much smoother resulting in a very nice looking cheese to show for it.
Normally the unwrapping, turning, and repress cycle should be repeated about 5 times within the first 30-40 minutes after molding the cheese.
Once a firm surface has developed (within an hour or two), the weight can be removed and the cheese can be returned to the mold. Remember to develop as smooth a surface as possible and keep the resting cheese warm.
The cheese should be ready for brining within about 6-7 hours of cutting the curds.
-

Salting
You will need a saturated brine prepared for salting this cheese, find all of the details you need on brining here.
A simple brine formula is:
- 1 gallon of water
- 2.25 lbs of salt
- 1 Tbs calcium chloride
- 1 tsp white vinegar
- Bring the brine and cheese to 50-55°F before using
The cheese now needs to be set in the brine for about 1-1.25 hours per pound of cheese.
The cheese will float above the brine surface so sprinkle another teaspoon or 2 of salt on the top surface of the cheese.Flip the cheese and re-salt the surface about half way through the brine period.
At the end of the brine bath, wipe the surface and allow the cheese to surface dry for a day or two before aging. The surface will darken somewhat during this time.
-


Aging
The cheese is now ready for aging.
The cheese can then be placed into your aging space at 52-56°F and 90-95% moisture. I find a covered container works best for holding the moisture.
In about 5-8 days the surface will develop a greasy condition caused by yeast (natural from environs) which will dominate the surface. When this develops use a light brine wash (3-6% strength, 1-2 tbs. salt to 1 cup cool water ) every 3-5 days for 3 weeks.
Next, a thin rind cover will develop as a dusty white surface and when suitably covered, wash off with 5% brine, then dry and wrap in waxed paper and store @ 40ºF for another 2-3 weeks until ripe.
Cheese Making Supplies
Related Products
You May Also Like


