Mozzarella Recipe with Thistle Rennet
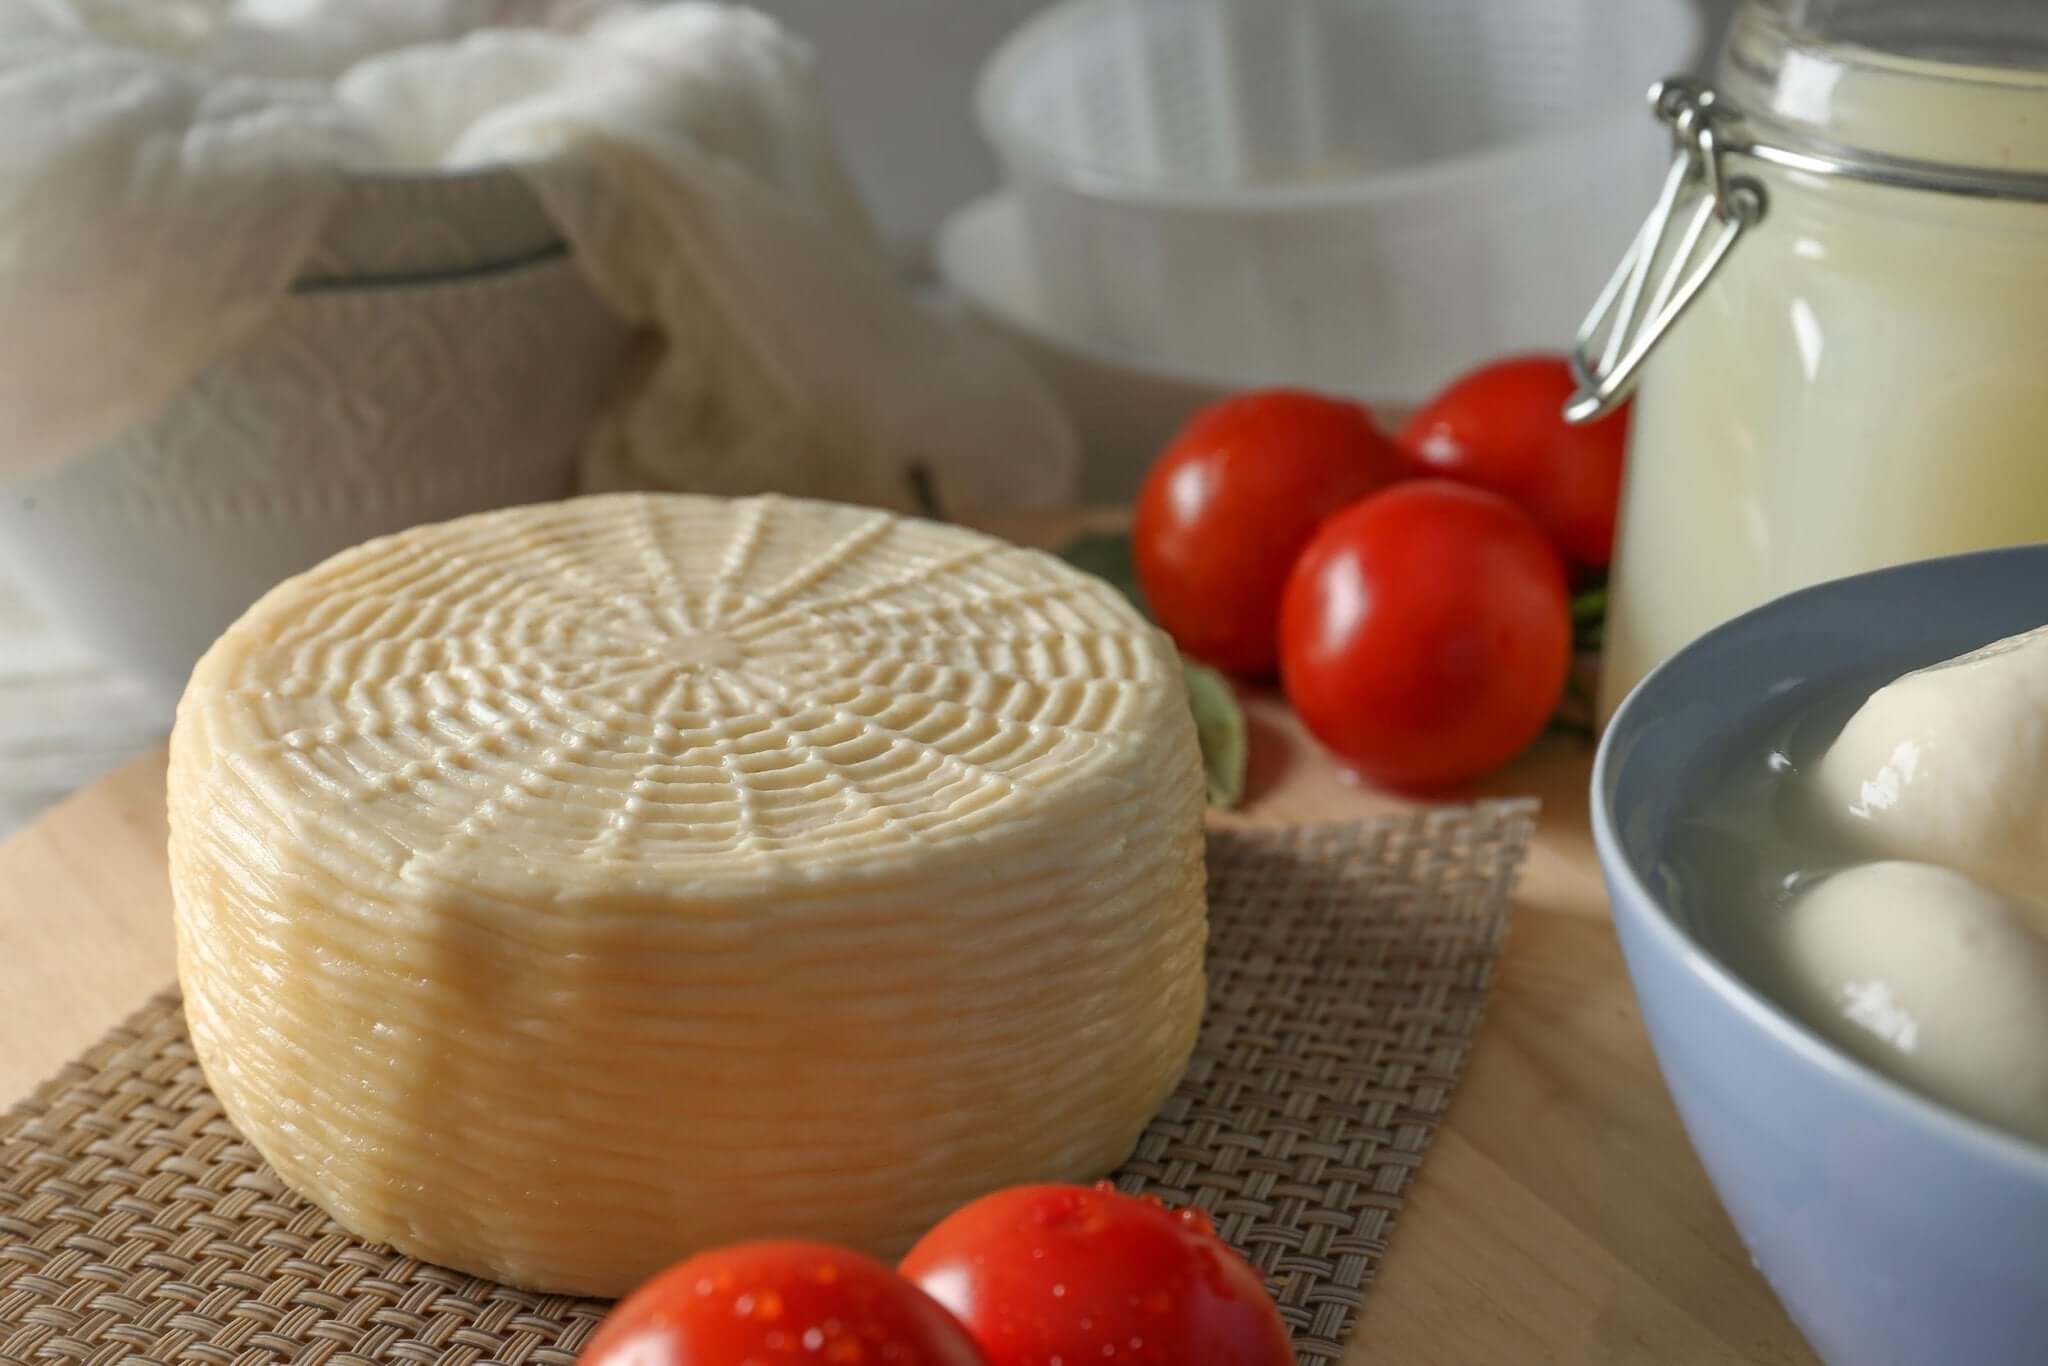
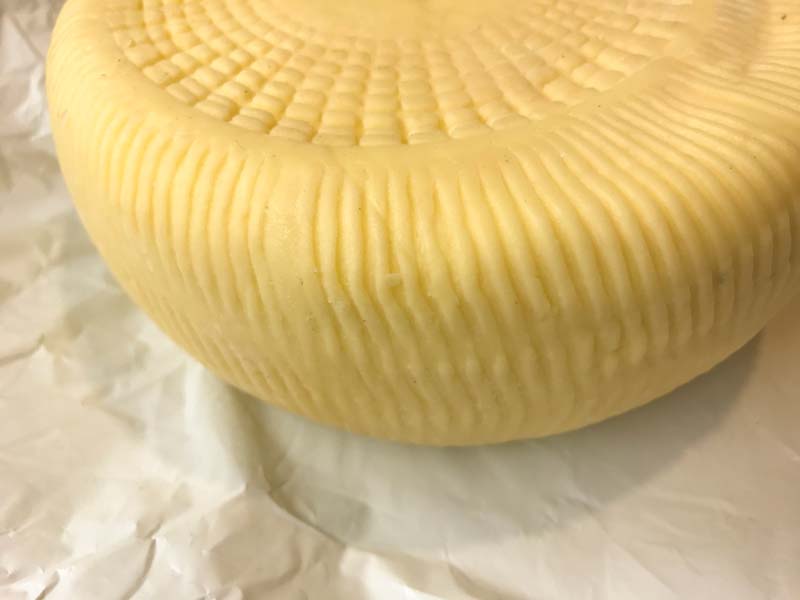
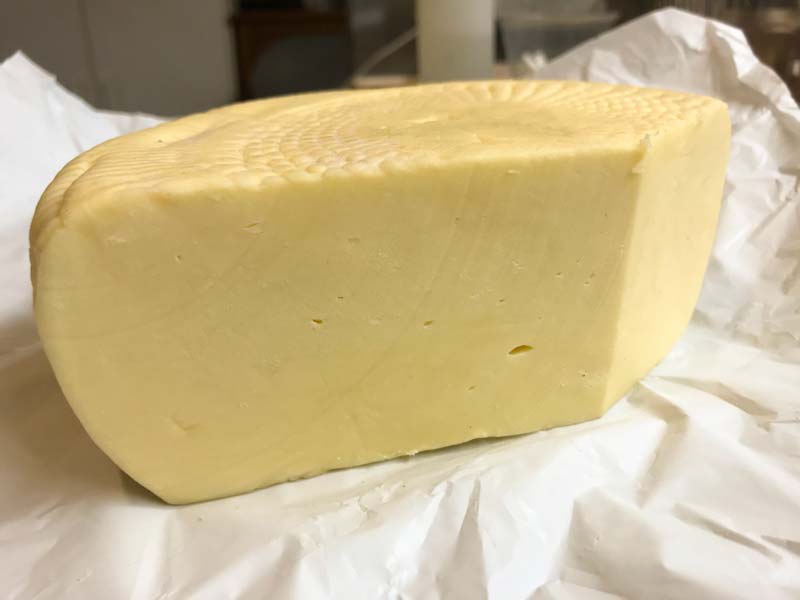
My current batch of Thistle Rennet Mozzarella is entering its second month in the cave and is showing a rather notable floral/fruity character that I never seem to get with the regular rennet mozzarella.
-
Yield
1 Pound
-
Aging Time
None
-
Skill Level
Intermediate
-
Author
Jim Wallace

Mozzarella Recipe with Thistle Rennet Info
Mozzarella with Thistle Rennet
About Thistle Rennet
The Cheese Making Process
Flavor and Milk Characteristics
Ingredients
Total price for selected items: Total price:
Instructions
-

Heat & Acidify Milk
Slowly heat the milk to 95F. Add Calcium Chloride while the milk is heating.
Once the milk is heated, add the starter culture by sprinkling it over the surface of the milk, then wait 2 minutes for the culture to re-hydrate before mixing in. Re-hydrating the culture will prevent it from sinking to the bottom of the pot.
Note: The rennet will be added immediately after the culture, with no wait time in-between. After adding the culture you move right onto step two.
-

Add Rennet
Add 6 ml of liquid thistle rennet to the milk and slowly stir it in for 5-8 minutes then let the milk rest for 90 minutes.
The thermal mass of the milk should keep it warm during this period, although it’s ok if the temperature drops a few degrees, you can heat it back to temperature after cutting the curds in the next step.
As the rennet works it slowly changes the milk proteins. This is a mild rennet so it will work slowly and continue working much longer than conventional chymosin type rennet.
When ready check for a firm curd set, if it seems too weak let the milk sit for as much as 50% longer. If you need the rennet to sit longer, the next time you make this cheese, slightly increase the rennet amount for a quicker set.
-
Cut & Stir Curds
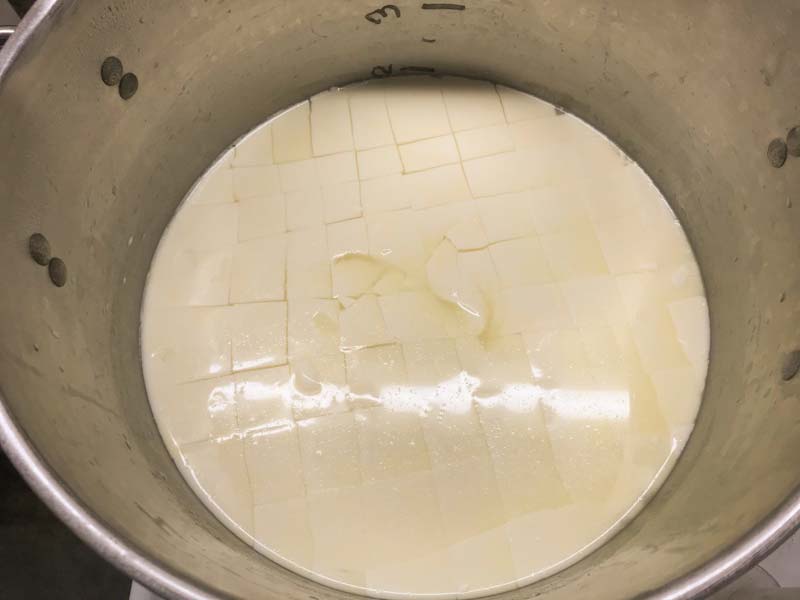
Once the milk has set well, it is time to cut the curds. This is the first step in reducing the curd moisture, since this recipe is for a moister cheese, the curds will be cut larger initially.
Cut the curd mass as evenly as possible into 3/4 - 1” pieces vertically, larger cut for higher moisture. Allow the cut curd to rest for 5 minutes, so the cut surfaces can heal.
Next make 3/4 - 1” horizontal cuts as evenly as you can then allow the cut curd to rest for another 5 minutes.
Bring the temperature back up to 95F and slowly stir the curds for 15 minutes to allow the curd surface to firm up before checking the final moisture.
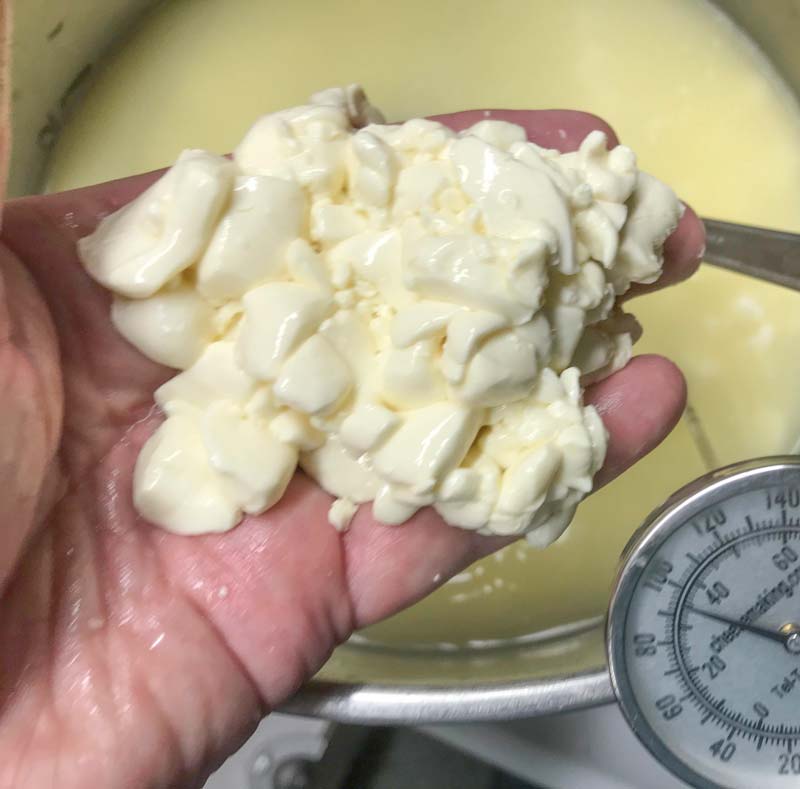
The final curds should be cooked well through and should be examined to make sure that enough moisture has been removed. A broken curd should be firm throughout and the curds should have a moderate resistance when pressed between the fingers. When this point is reached the curds can settle under the whey for 30-60 minutes with intermittent stirring.
This step will control the final moisture of your cheese. By resting under the whey the bacteria has access to a larger pool of lactose and acid conversion can continue at a good pace while reducing moisture loss. The amount of stirring will affect the moisture in the curds. However, if the curds become too dry they will not stretch well and the finished cheese may not melt easily when heated.
-
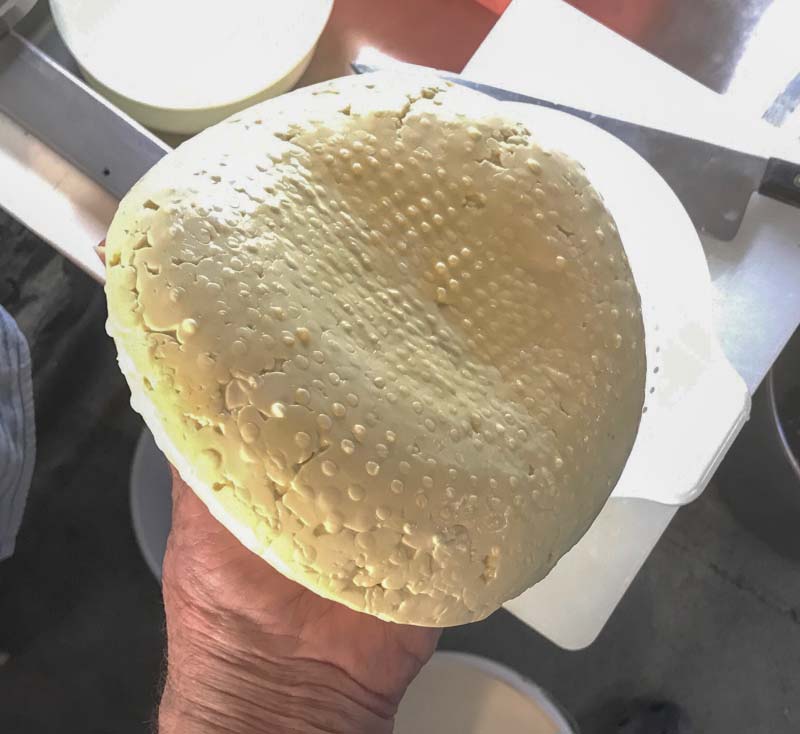
Drain Curds
Allow the curds to settle under the whey then drain the whey down to the curd level; once the whey is drained much of the milk sugars are taken away so the acid development will begin to slow down.
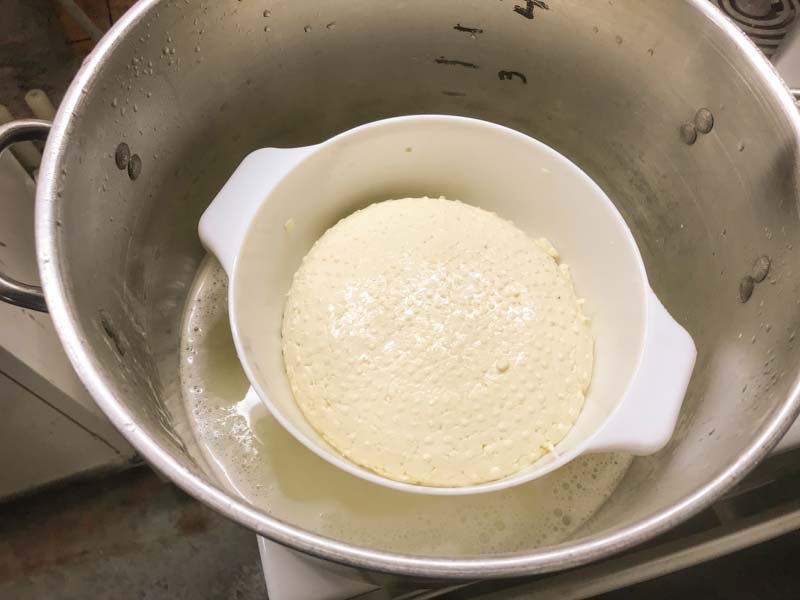
Next, transfer the curds into a colander to drain. Allow the curd mass to drain for 3-4 hours, flipping the curd mass every 45-60 minutes. Allow the curd mass to consolidate into a single slab of curds.
While draining, maintain the curd temperature by placing the colander into a large pot with 1-2” of 100F water, the curds should be raised up enough to keep them out of the water and have enough room to freely drain whey. At this point the acid development should slow down, but not stop.
An insulated cooler with jars of hot water will also work to keep the draining curd mass warm.
As the curds drain, begin heating 2-3 gallons of water to 175-180F in a separate pot, this will be used in the following steps when stretching the curd. If desired, the drained whey can be heated to 175-180F and used for stretching the curds instead of water.
-

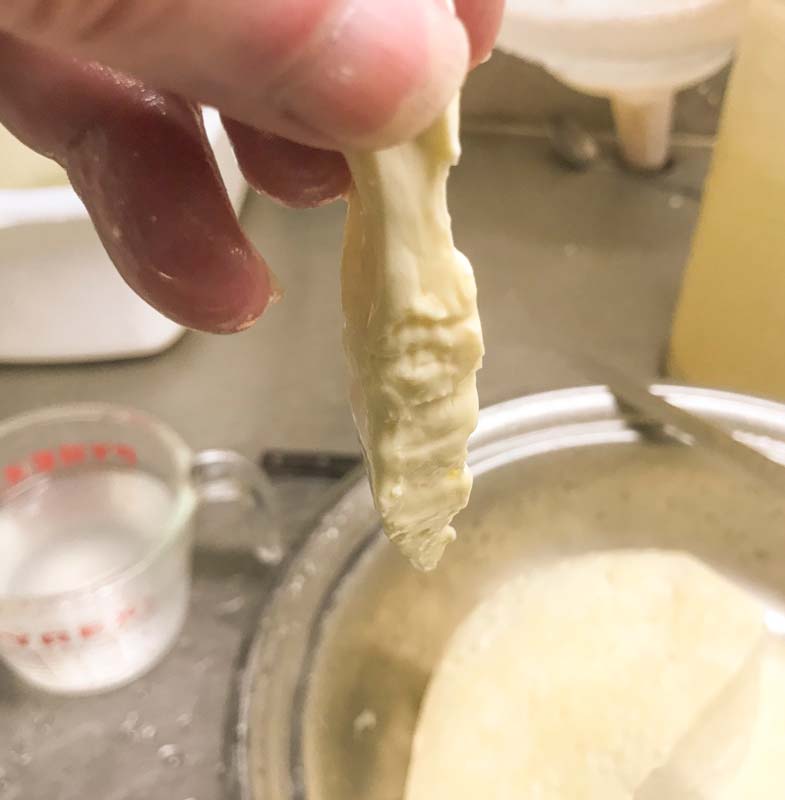
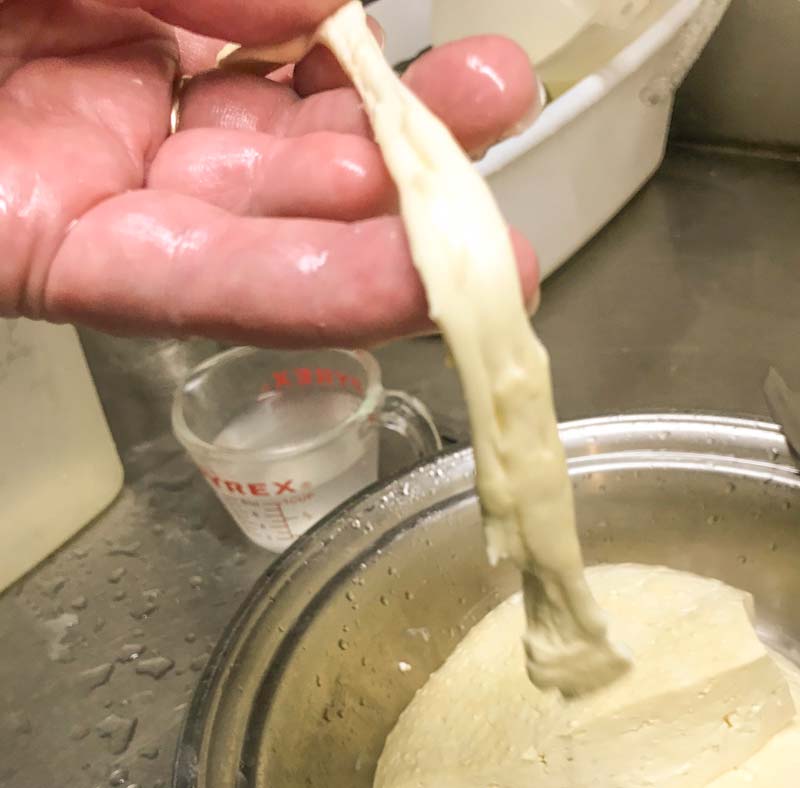
Test for Curd Stretch
While draining, the curds will transition from a sweet taste, to a neutral taste and finally to a very subtle tangy taste as the curds reach the ideal acidity for stretching.
This process is important to observe because it helps you recognize the ideal stretching point for the curds. Although this is a rough evaluation it’s very helpful, especially when starting out. If the acid builds too much, the finished cheese will have a sharper, more acidic taste.
In addition to observing the flavor, you should also do a stretch test. When the curd seems to have a subtle tang slice a thin strip from the mass and place it into a cup of 175-180F water for a few minutes. To check for a stretch remove the curd give it a slow pull, if it stretches cleanly then you are probably ready for the next step.
If the curd does not stretch test another piece of curd in 5-10 minutes.
-
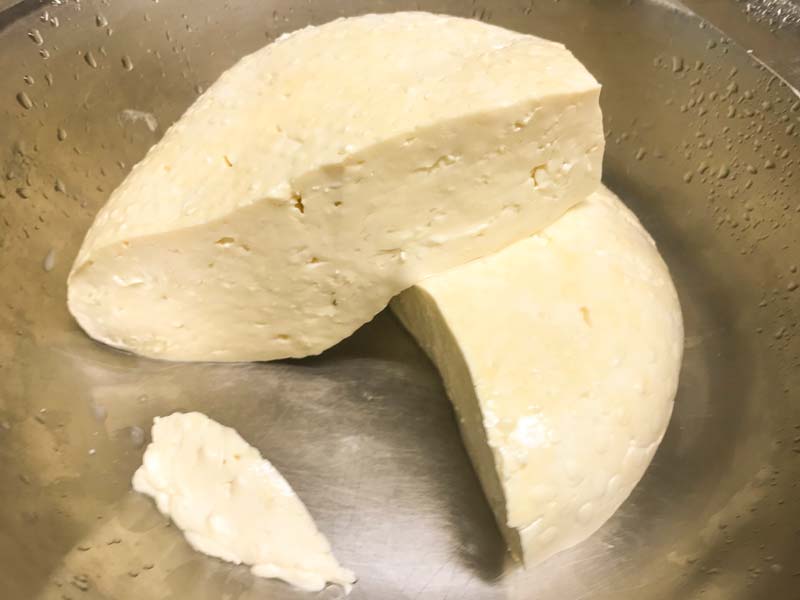
Heat & Stretch Curd
Note: Before you begin fill a bowl big enough to dip your hands into with ice cold water. When stretching the curd you will be working with your hands and a wooden paddle or spoon. The curd will be hot but dipping your hands into the iced water, as needed, will let you work in the hot water more easily. This is a trick I learned in Italy.
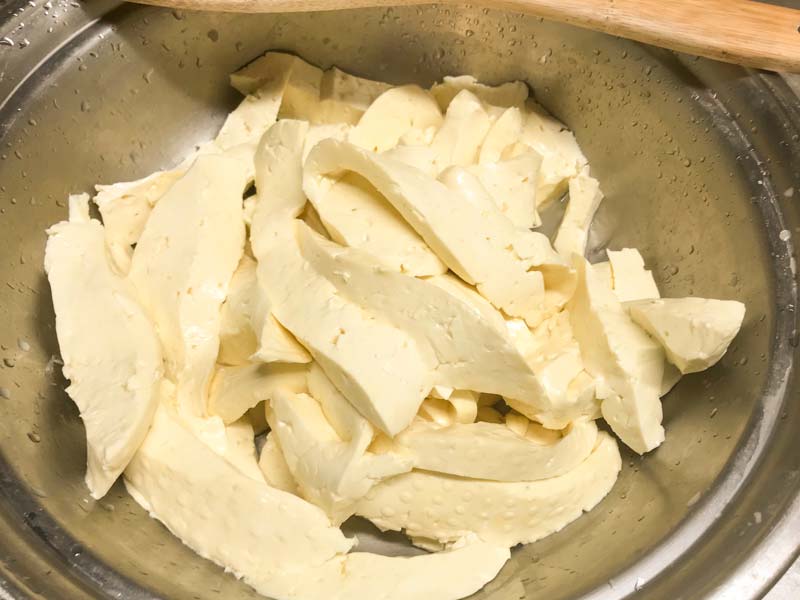
After a successful stretch test you can slice the entire curd mass into thin strips and place them into a sturdy, heat safe bowl.
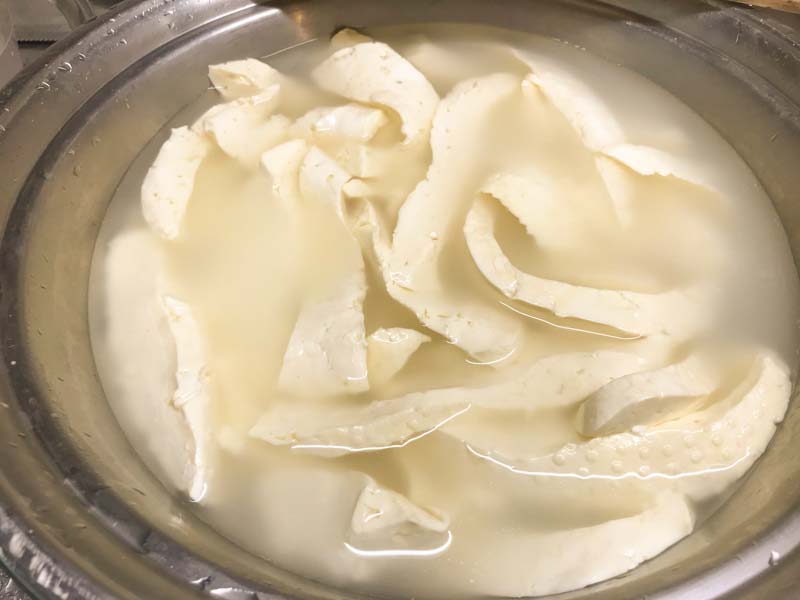
Once cut pour hot water over the curds so they are fully submerged. Using a wooden spoon or paddle gently move the curds around to evenly heat. If desired, add a couple tablespoons of salt to the water.
It may take 5 minutes or so until the curds are well heated. During this process the acidity and heat cause the proteins to relax and stretch. Once the curd is heated try slowly stretching a piece, if it has a good stretch begin moving the curd slices together to meld them into a single mass.
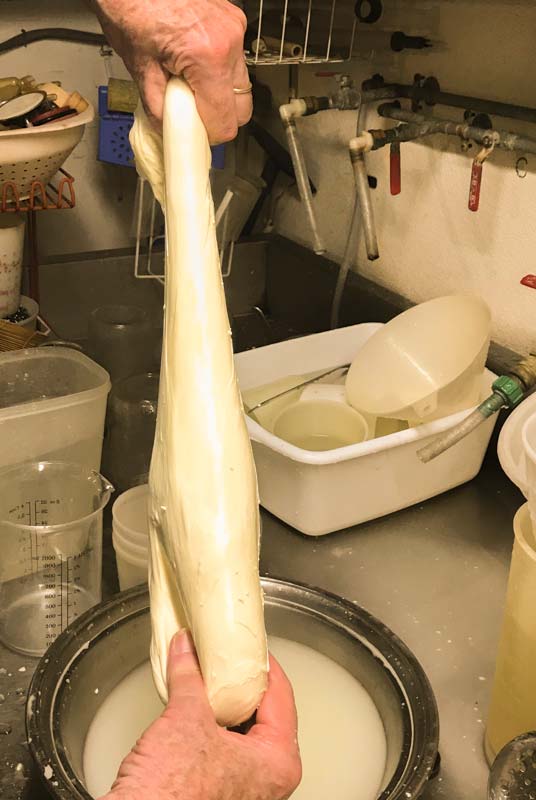
Prepare hands by dipping them into the cold water then lift the stretchy curd mass out of the hot water. When held up by one side the curd mass should stretch under its own weight, if not the water may have cooled and more hot water should be added to continue heating the curds mass.
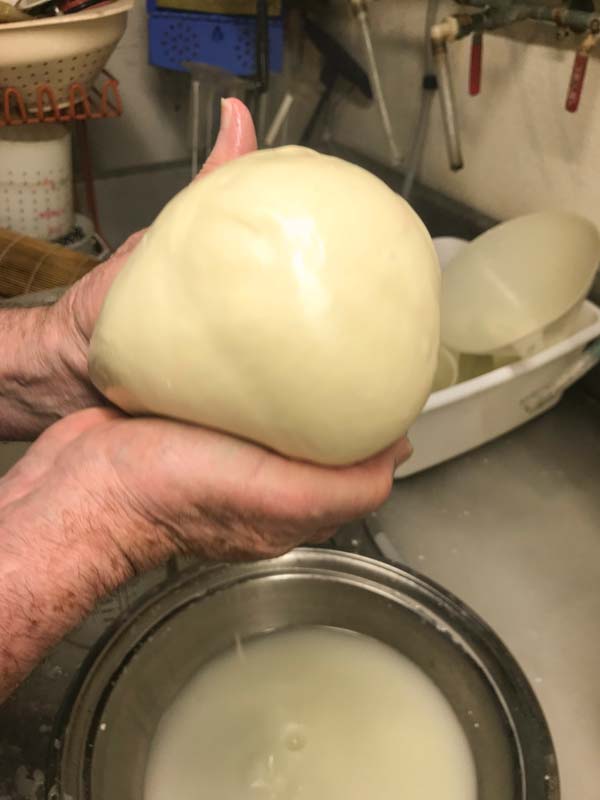
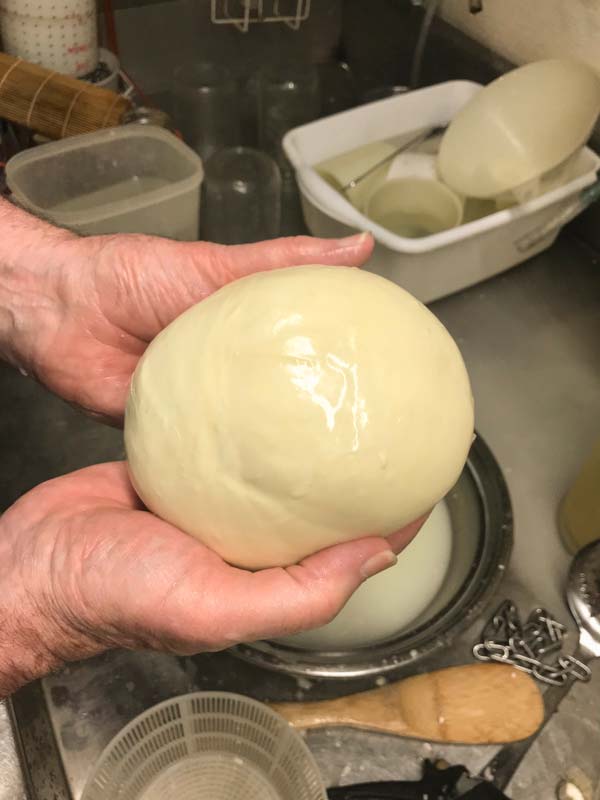
Hold both ends of the curd and give a firm but slow stretch, the curd should not break. Stretch and then fold the curd back on itself. Don’t overdo this step because moisture and fat may be lost and the curd will begin to toughen. Stretch and fold the curd a few times until you see a smooth shiny surface.
-
Shaping Cheese
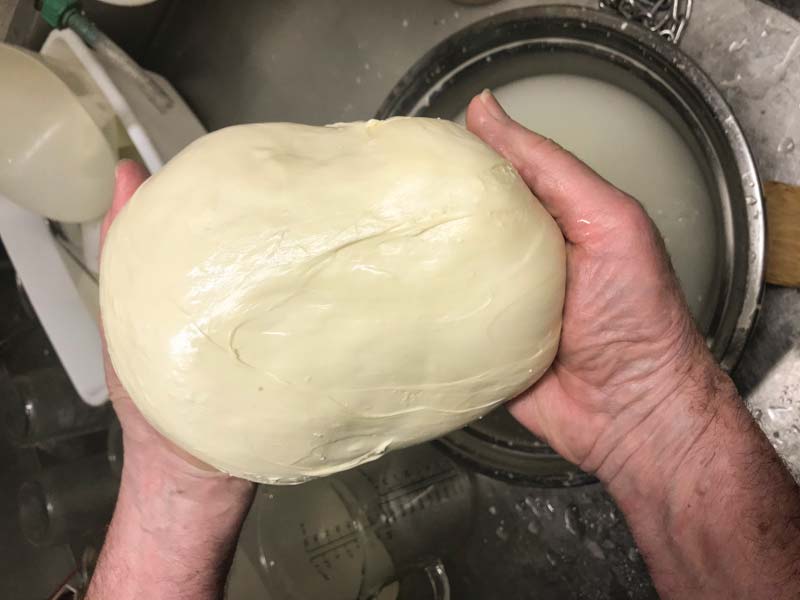
Form the curd it all into a big ball, place it back in the hot water if it resists stretching, turn the ball to find a smooth flat surface. With the smooth surface facing up your thumbs pointing forward and your finger positioned under the ball of curd, push up into the ball. Use the heels of your hands to stretch the top surface out and down while feeding this back up inside with your fingers from the bottom.
Continue this stretching while rotating the cheese in a circle. You should see a nice stretch across the top being fed down and up inside itself. This gives the final stretch and creates an ideal texture for Mozzarella.
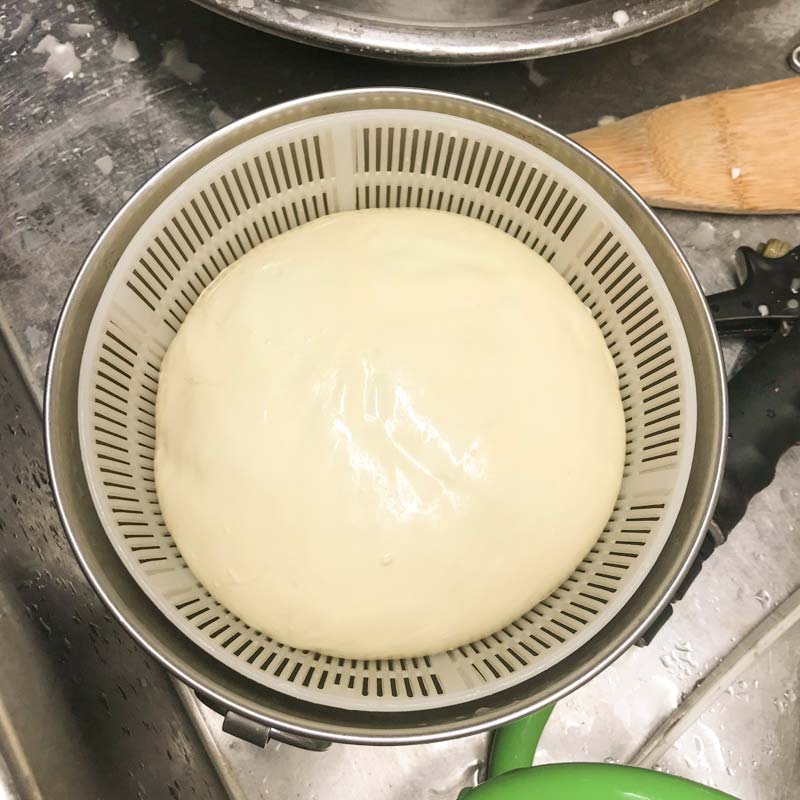
Tip: Look through the photos for a visual of the sequence for this step and how the curds should look.
When the curd looks good and even put it back into the hot water, then flip it over and try to close off the opening by pinching it together. The curd should be quite pliable at this point.
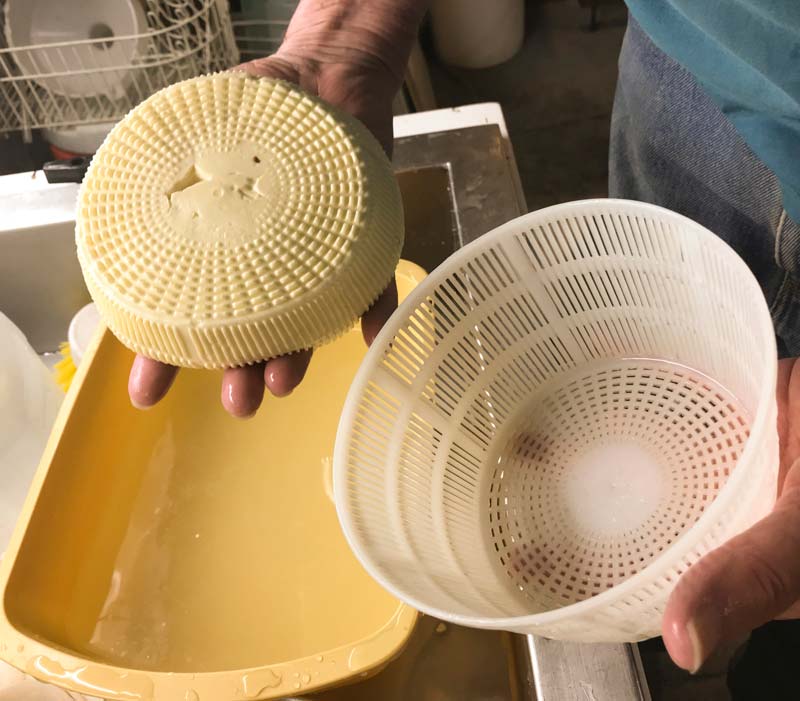
Finally, flip the curd over so the closed side is down and smooth is side up and place it into a basket cheese mold. Then place the basket cheese mold into the hot water basin. The curd should be elastic and flowing enough to easily conform to the basket cheese mold shape. Wait a few minutes for the curds to conform then turn it over in the basket and place it back into the hot water. Don’t let the curds get too hot because they may stick to the cheese mold. Flip and reheat the curds one more time, then drop the basket mold and cheese into ice cold water.
Don’t leave it in the cold water too long or the surface will soften. Once slightly cooled remove the cheese mold from the water and place it in a cool location until it cools completely. If needed, the cheese can sit overnight, while cooling the cheese should stay in the basket cheese mold.
-
Salting & Storing
Once the cheese has cooled and become more firm place it into a saturated salt brine for 45-60 minutes, if salt was not added to the hot water when stretching earlier.
This is normally a fresh cheese, consumed within a few days of making it. Since this is a high moisture cheese it’s not technically aged but can be stored to enhance the flavor and texture.
To store the finished cheese, wrap it in Ovetene paper and store in the fridge or cheese cave for up to 6-8 weeks. Due to the high moisture, there will be slight surface mold growth. This should be easy to wipe or brush away. While storing, it’s best to unwrap the cheese every few days and wipe the surface to control surface mold growth.
Because the thistle rennet continues working even as the cheese is stored, it will become more complex in flavor and creamier in texture over time. Along with having a wonderful flavor and texture, this is also a great melting cheese.
Cheese Making Supplies
Related Products
You May Also Like


