


Romano Cheese Making Recipe
-

Aging Time
6+ Months
-

Skill Level
Advanced
-

Author
Jim Wallace


Ingredients
Total price for selected items: Total price:

Instructions
The process of making this cheese has not changed much in over 2000 years. As Columella wrote in De Re Rustica during the first century AD: "the milk is usually curdled with lamb or kid rennet, though one can use wild thistle blossoms, càrtame, or fig sap. The milk bucket, when it is filled, must be kept warm, though it mustn't be set by the fire, as some would, nor must it be set too far from it, and as soon as the curds form they must be transferred to baskets or molds: Indeed, it's essential that the whey be drained off and separated from the solid matter immediately. It is for this reason that the farmers don't wait for the whey to drain away a drop at a time, but put a weight on the cheese as soon as it has firmed up, thus driving out the rest of the whey. When the cheese is removed from the baskets or molds, it must be placed in a cool dark place lest it spoil, on perfectly clean boards, covered with salt to draw out its acidic fluids."
Modern cheese makers use heaters rather than the fireplace, and use calibrated molds rather than baskets. The basic process is unchanged; the curds are heated to 45-48C (113-118F), the curds are turned out into molds and pressed, and the cheeses are then salted. (As you can see, not much has changed through history.)
Although Romano cheese is traditionally made in Italy from ewe's milk (Pecorino) the following recipe is prepared for a 2 gallon version of cows milk (which would technically be called Vacchino Romano).
Normally I make this in a 5 gallon batch (as seen in the photos) to provide a larger cheese mass with less rind, but for those just starting out, a 2 gallon batch is a smarter plan.
-


Acidify & Heat Milk
If using lipase with cow's milk, a lower fat milk should be used. I find a blend of 1 gal 1% plus 1 gal whole milk should give a starting fat content of about 2.2%. If not using lipase, a full fat milk may be used. NOTE: If you do use the lipase remember to rehydrate this in 4 oz. of the milk you are using before heating the milk. (I know the instructions say to use water but I have found that milk works as well.) 1/8-1/4 tsp. depending on how much of this flavor you desire.
Rehydrating lipase: Loosely sprinkle the lipase on the surface of 4 oz. of milk to rehydrate and then stir in. Let set for 20 min. before adding to the milk.
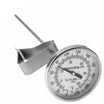
Begin by heating the milk to 90F (32C). You do this by placing the milk in a pot or sink of very warm water. If you do this in a pot on the stove make sure you heat the milk slowly and stir it well as it heats.
Note: I have included 2 options for culture. The prepared Yogurt-Y1 culture contains an additional culture (bulgaricus) and will offer a better ripening than the C201.
Once the milk is at 90F, the culture can be added. To prevent the powder from caking and sinking in clumps, sprinkle the powder over the surface of the milk and then allow about 2 minutes for the powder to re-hydrate before stirring it in. The re-hydrated lipase can then be added after the culture is stirred in. Stir this in as well.
Allow the milk to ripen at 90F for 60 min.
-

Coagulate with Rennet
Once the milk has ripened, add about 1/2 tsp (2.5 ml) of single strength liquid rennet.
The milk now needs to sit quiet for 24-30 minutes while the culture works and the rennet coagulates the curd. The thermal mass of this milk should keep it warm during this period. It is OK if the temp drops a few degrees during this time. You should notice the milk begins to thicken (flocculate) at about 12 minutes but wait until a firm curd forms in 24-30 minutes. This will be a soft curd to allow for the small cut size to follow.
-


Cut & Stir Curd
Once a firm curd has formed, cut to corn size and allow to shrink with cooking to the size of a barley grain. The small curd size will allow the cheese to dry out much more quickly during the cooking process. The drier cheese is what allows it to be aged longer and to develop its complex, nutty and piquant flavor.
Cut the curds in both directions at 1" spacing vertically, then allow to sit for 2-3 min. before the final cut to the smaller curd size.
Following the cut, stir gently for 10 min. to allow the fresh curd to firm before heating.
-


Cook Curd
Now it is time to begin drying out the curds. This will be done by increasing the heat slowly to 95F in 10 minutes. The heat needs to be increased slowly at the beginning (this is called foreworking and is the same when parma or alpine cheeses are made).
Initially the fresh cut curds will look very soft but as they are slowly stirred they will firm up well to endure the cooking phase.
Then increase the heat to 116-118F over the next 40 min. The total cooking time will be 50 minutes. As the curds dry out they will become firmer and can withstand a more vigorous stirring. At around 108-112F they will have a tendency to mat, so make sure you keep them well stirred.
The final curds should be cooked well through and should be examined to make sure that enough moisture has been removed. A broken curd should be firm throughout and the curds should have a moderate resistance when pressed between the fingers.
Then, stir until firm curds (10-20 min.), let curds settle to the bottom and consolidate for 10 minutes.
-


Drain & Form Curd
50% of the whey can now be removed from the kettle to help consolidate in the vat. I simply use a piece of Ricki's ripening mat to bring the curd mass into a compact mass on one side of the kettle (see photo), pressing it with medium hand pressure. This will help to eliminate small mechanical openings in the finished cheese.
I then simply roll this mass into a cloth, allow it to drain for a few seconds and transfer to the sanitized mold that has been prepared in advance.
-


Pressing
The curds should be pressed into the mold with medium to firm hand pressure to help with the initial shape, the cloth pulled up evenly around the side. The curd mass needs little weight (similar to parmigiano) because the curd will still be quite sweet going into the mold. 8-15 lbs should be sufficient for this cheese. This only needs to be applied for 5-6 hours.
During this time, the cheese should be removed, turned and placed back into the cloth and mold at intervals of .. 30--30--60--60--60 min. As the acid continues to develop, the cheese will tighten and form a smooth surface in the mold.
In the beginning, the rate of whey running off is simply a matter of drops and not a stream of whey being released. This is a good rate of whey removal during pressing and will slow even more as the residual free moisture is released. The form should show tears of whey weeping from the form very slowly. When this stops you can increase the weight slightly. The cheese should be removed from the press, unwrapped, turned, re-wrapped, and put back to the press at the above intervals to assure an even consolidation. At each turn you will notice the cheese has formed a smoother surface and rests lower in the mold.
When this cheese was made traditionally in their very large forms, sharpened wooden sticks were driven down through the curd to help release the whey but as the form settled and consolidated, these openings would seal again.
It is essential to keep the cheese warm 85-95F to promote the acid development of the final curd. This can easily be done by placing the draining cheese back in the pot with warm whey in the bottom. Raise the form, though, to keep the draining cheese out of the hot whey. Another option is to place the weighted form into an insulated cooler with warm bottles of water (again raised up out of any draining whey).
The weight should be removed and the cheese held overnight allowing the cheese body to cool to room temp during this time since the residual heat inside will promote the bacteria converting any remaining lactose to lactic acid.
-

Salting
Next morning the cheese should be ready for brine salting.
You should have a saturated brine prepared for salting this cheese. You will find all of the details you need on brining here. A simple brine formula is:
1 gallon of water to which is added 2.25 lbs of salt, 1 tbs. calcium chloride (30% solution), and 1 tsp. white vinegar.
The cheese now needs to be set in the brine for 4 hrs per lb. This is a very salty cheese.
The cheese will float above the brine surface, so sprinkle another teaspoon or 2 of salt on the top surface of the cheese. Flip the cheese and re-salt the surface about half way through the brine period.
At the end of the brine bath, wipe the surface and allow the cheese to surface dry for a day or two before waxing. The surface will darken somewhat during this time.
Allow to air dry for 2-3 days in a room moist enough (65-75%) to keep the rinds from cracking. Turn the cheese 1-2 times each day to even out moisture..
-


Aging
The cheese can then be placed into a 75-85% moisture and 55-60F space.
Make sure any mold is wiped away daily as it develops. A cloth damp with brine will help wi
th this. When the surface dries down and darkens slightly, apply a coat of olive oil to help preserve the internal moisture and inhibit mold growth.
Keep mold brushed off as the cheese ripens and re-apply oil as the surface dries down.
Age for at least 6 months and up to 24 months for more character.
This cheese is well worth the wait.
Cheese Making Supplies
Popular Products
Cheese Making Recipes
Recommended Recipes
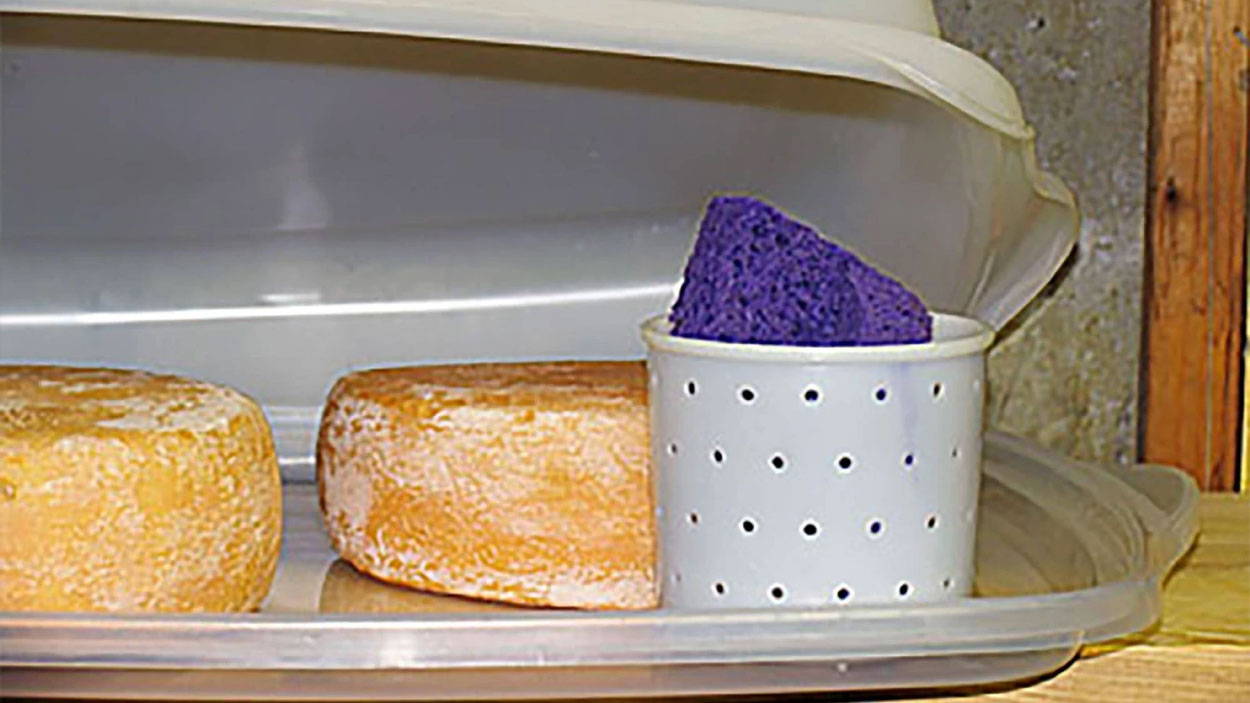
Learn how to make a cheese cave right at home. If you want your cheese to ripen properly you have to make them a good home and take care of them like little bambinos.