


The Nomadic Sheperd Cheese Making Recipe
-

Yield
4 Pounds
-

Aging Time
~3 Months
-

Skill Level
Intermediate
-

Author
Jim Wallace


Ingredients
Total price for selected items: Total price:

Instructions
A Guideline for Making a semi-soft cheese with a combination of goat and sheep milk
This cheese uses MA 4002 culture which is a blend of lower temperature Aromatic type culture and higher temperature Thermophilus culture. It's often referred to as a Farmstead culture because it was created in an attempt to retain some of the broader culture base of a wild farm prepared culture derived from milk. These cultures would typically encompass a broad range of temperatures during processing. Using raw milk for this cheese will provide additional character. In this cheese the Mesophilic cultures are most influential early in the process while the Thermophilic cultures show their character later in the production and aging.
This recipe includes:
- A triple phase heating of milk and cultures to accommodate the unique needs of the culture blend.
- Coagulation with a longer rennet set than usual resulting in better moisture retention.
- Cutting curds and a short stir before going into the cheese mold.
- Final acid development in the cheese mold as it's kept warm for several hours, then held cool overnight before brining.
-

Heat & Acidify Milk
Add Calcium Chloride to the milk and heat to 74F, then add culture and stir it into the milk. Let the milk rest for 30 minutes at 74F.
After resting, heat the milk to 86F and hold for an additional 30 minutes.
The milk needs to be held still during the above resting times. Ripening will initially progress slowly and will become more rapid over time as the lactose converts to lactic acid.
-

Coagulate with Rennet
Heat the milk to 90-94F over 5-10 minutes, this higher temperature is needed for a drier cheese or high fat milk. Once heated, add about 2ml single strength liquid rennet and let the milk sit quietly for 60 minutes while the rennet is working to form a curd.
Once set, check for a firm coagulation, if it seems to need longer allow it to go as much as 50% longer. The next time you make the cheese, adjust the rennet amount if needed, more rennet for a quicker set.
Note: The thermal mass of the milk should keep it warm during this period. It is ok if the temp drops a few degrees during this time, you can heat it back to temp after cutting.
The milk will begin to thicken at about 15 minutes, but allow it to coagulate to full firmness at about 60 minutes from adding the rennet. This is a longer firming phase than other cheeses and will help trap moisture in the curd for the final cheese.
-
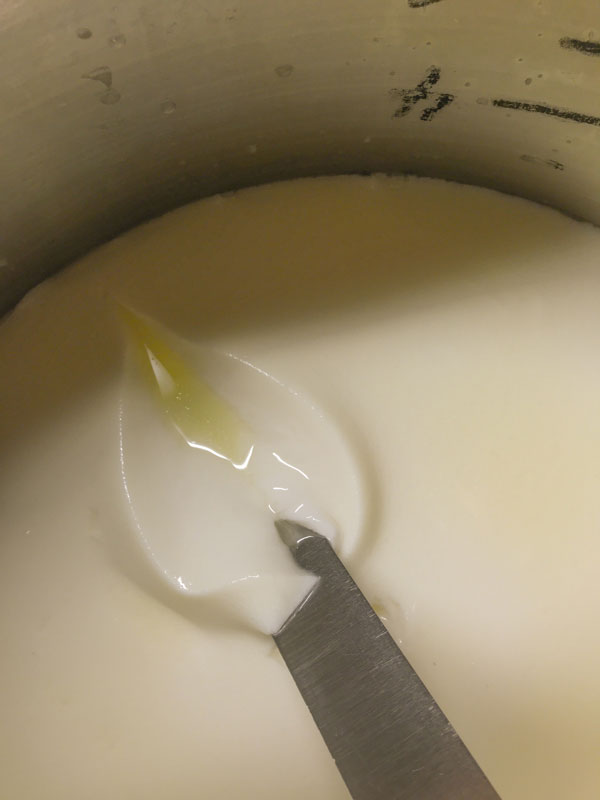
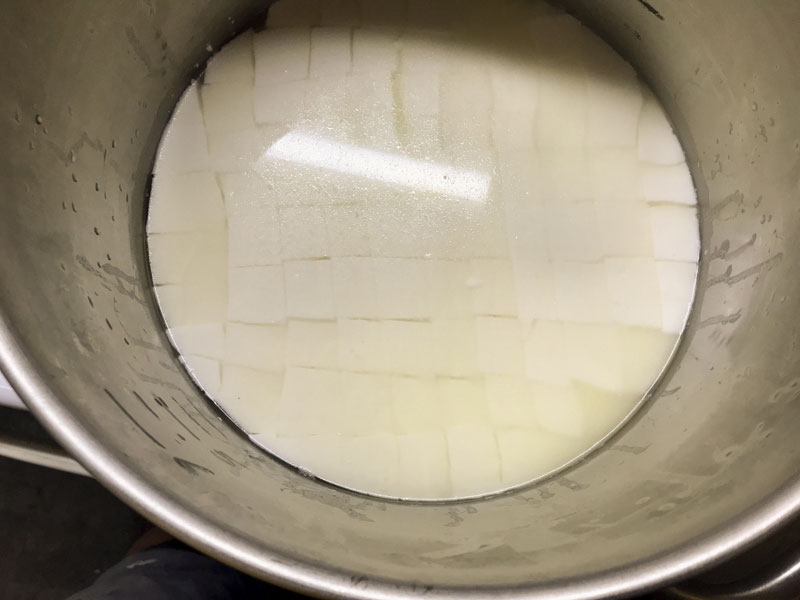
Cut Curd
Cut the curd mass as evenly as possible to about 1-1.5” pieces then allow the cut curd to rest for 5 minutes to allow the cut curd surfaces to heal.
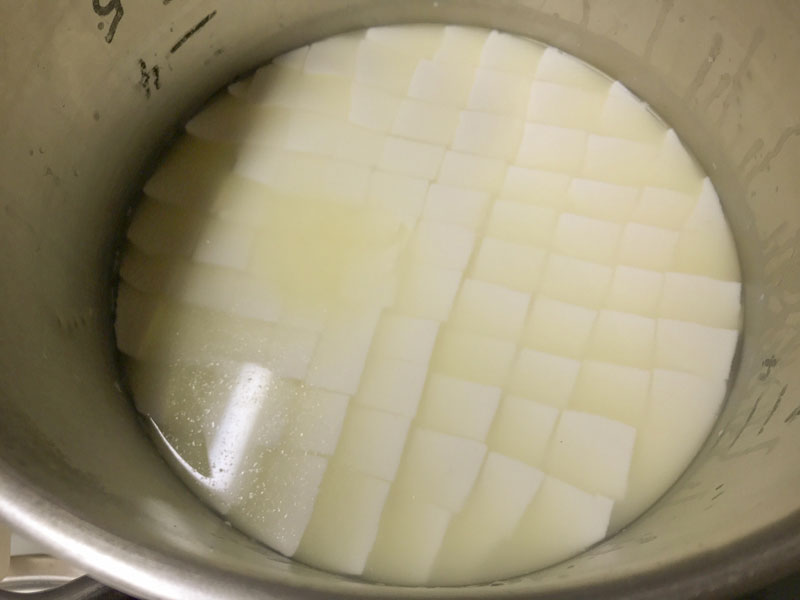
Next, make a second cut to reduce the curd size to 1/4-3/8” pieces. Avoid cutting too small because this will cause a cheese that does not ripen well or have the desired moisture.
When finished allow the cut curds to sink and rest for about 5 minutes. This time will allow the fresh cut surfaces to heal before stirring. Without this rest the curds can or shatter and may lose too much moisture.
Note: Cutting the curd is the first step in reducing the curds moisture.
-
Cook Curd
Now it is time to begin drying out the curds. This will be done by maintaining, or returning to, 90-94F. The curds can then be slowly stirred in a bottom to top motion for the next 30-45 minutes. This time can be extended if the curds are still too soft but be careful not to get them too dry.
The final curds should be cooked evenly and examined to see if enough moisture has been removed, this is a rather subjective observation in the process. A broken curd should be firm throughout and the curds should have a very light resistance when pressed between the fingers but remember this is a Semi-Soft cheese. When this point is reached the curds can be allowed to settle under the whey.
-


Transfer to Cheese Molds
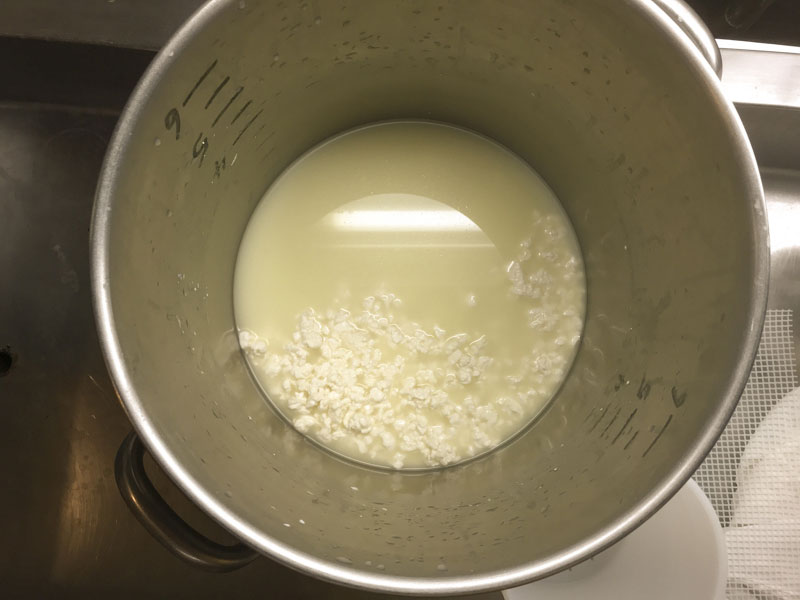
The final curd is now ready to be transferred into cheese molds for forming.
Begin by removing the whey down to an inch or two above the settled curd mass, then carefully pull all of the curds to one side of the cheese vat as shown in the photo.
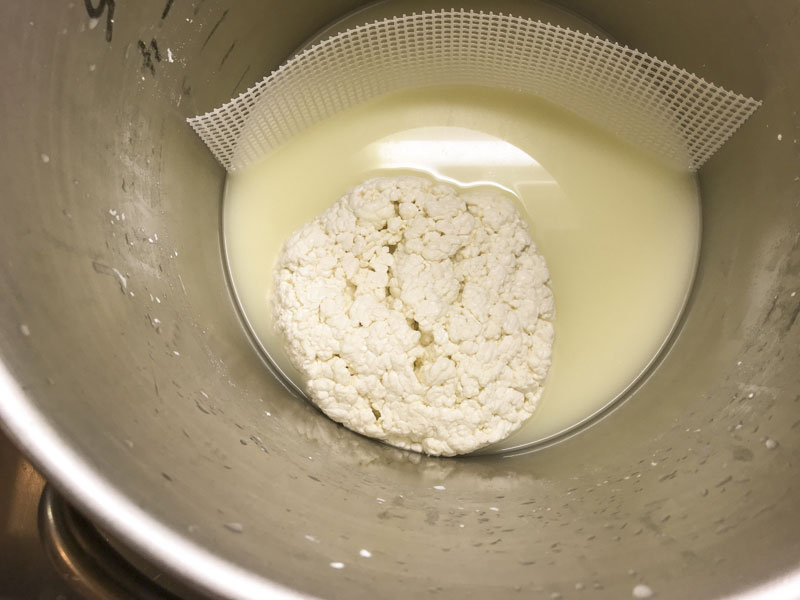
The curds can be lightly consolidated by hand in the vat to remove much of the whey trapped between the curds. This helps give a smooth body to the finished cheese to eliminate much of the mechanical holes that tend to form with medium to high moisture curds.
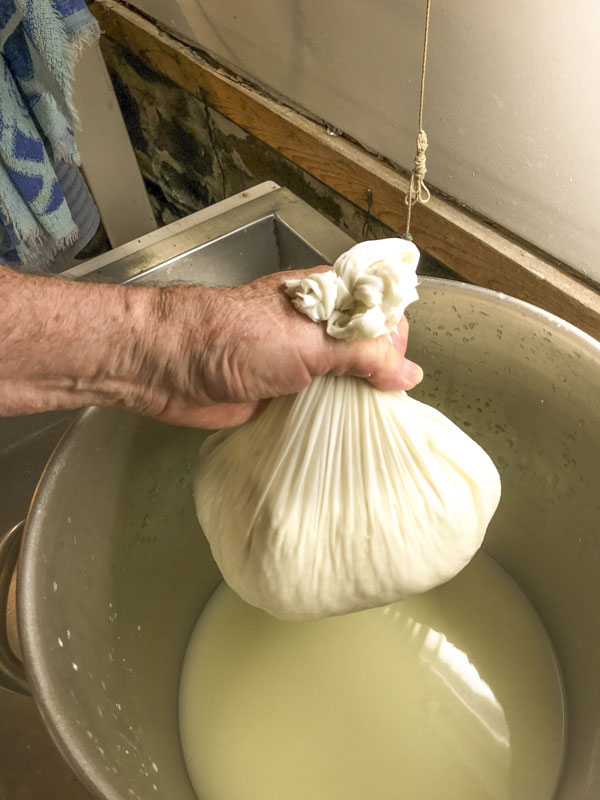
Gently move the curds to one side of the pot with your hands or a large piece of our medium draining mat as shown in the photos. This will create a single mass of curds that can be collected in a draining cloth and transferred into a cheese mold.
Once in the cheese mold, pull the draining cloth up evenly all around the cheese to remove any wrinkles and apply the follower. Apply a moderate amount of hand pressure to seat the young cheese in the form. This will help assure it sits firmly in the mold. You are now ready for pressing.
-
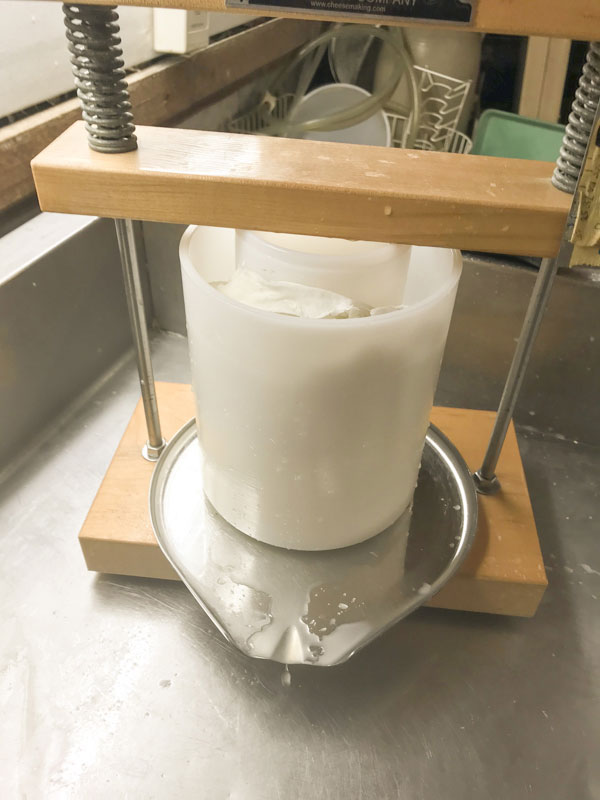
Press Curds
This cheese needs to be pressed slowly, I would recommend keeping an eye on the consolidation of the curds, and frequently removing and turning the cheese in the mold. In pressing this way the curds are s pressed as the developing cheese requires and not by a standard which may change with different qualities of milks.
While pressing this way you will be ahead of the curve when using a different diameter cheese molds or when seeing changes in milk from different sources or seasons.
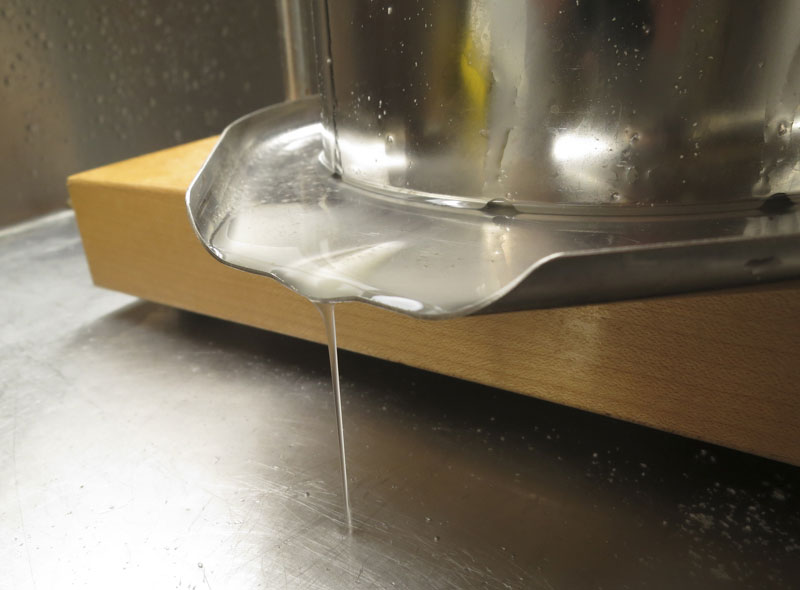
This pressing is done by observing the whey running from the mold. The rate of whey running off initially should be a short lived stream of whey running quickly that’s shortly reduced to a matter of drops. This is a good rate of whey removal during pressing and will slow down more as the residual free moisture is released. The cheese mold should show tears of whey weeping from the sides very slowly. When this stops you can increase the weight slightly.
The cheese should be removed from the press, unwrapped, turned, rewrapped, and put back into the press at the following intervals to ensure an even consolidation.
Keep the cheese warm during the pressing cycle. At each turn you will notice the cheese has formed a smoother surface and rests lower in the mold:
- 30 minutes (12 lb) The curds should begin to consolidate
- 1 hour (25 lb) The curds should come together but you will still see small fissures and gaps in the surface. Apply a little more weight.
- 1 hour (50 lb) The cheese should now show good consolidation with few surface openings. Increase the weight a bit more.
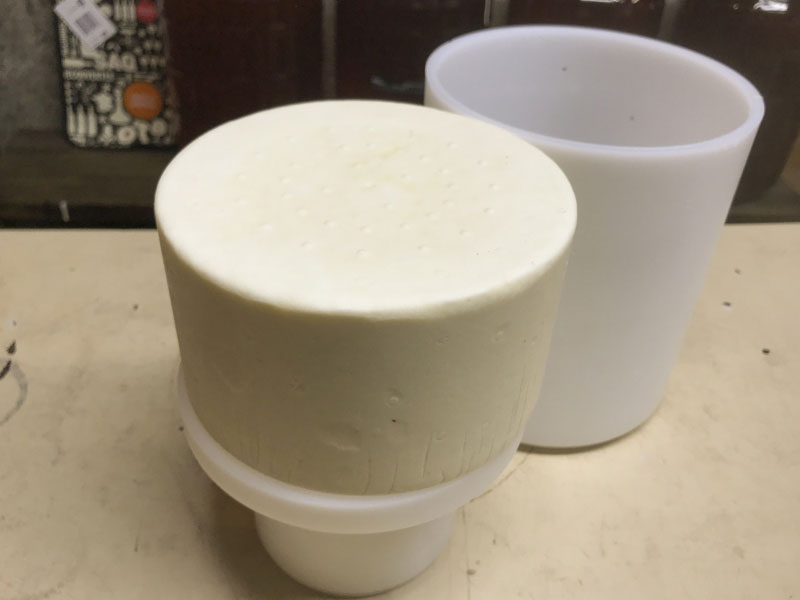
- 2 hours (50 lb) By now the cheese should show a nicely pressed surface with no gaps. Increase weight if it appears to be needed.
- 2 hours (50 lb) The cheese should have a nice smooth surface with no openings for mold to hide in. Use the same weight as the previous pressing, unless the cheese appears to need more.
The whey running from the initial press should taste like sweet milk, by the final press it should be somewhat neutral without any tang or acidic taste. This cheese does not develop the final acidity of other hard cheeses.
When done pressing, remove the cloth and place the cheese back in the mold and move the cheese to a cool location and let it sit in the cheese mold overnight 60-65F.
-
Salting
You need to have a saturated brine prepared for salting this cheese, here are details making and using a saturated salt brine.
A simple brine formula:
- 1 Gallon of water
- 2.25 Lb of Salt
- 1tbs Calcium Chloride (30% solution)
- 1 tsp white vinegar
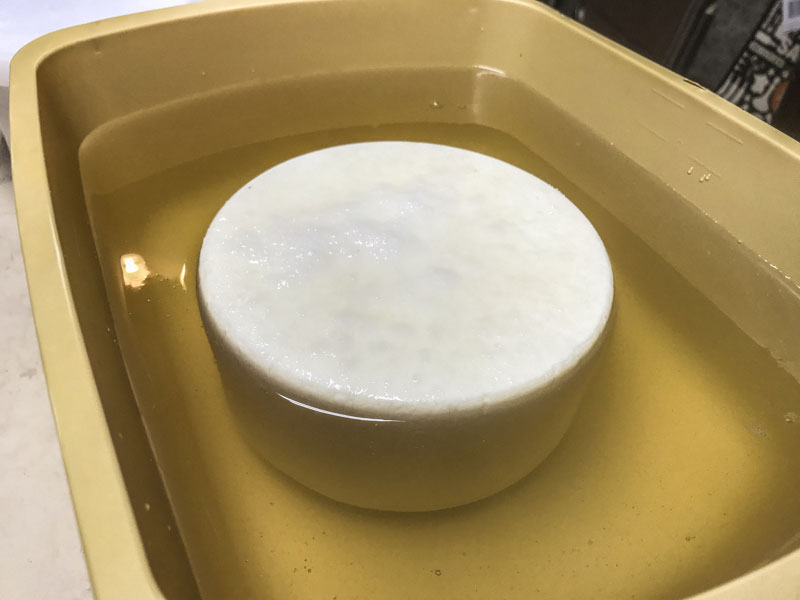
The next morning the cheese should be set in the brine for about 45 minutes to 1 hour per pound of cheese. The cheese will float above the brines surface so sprinkle another teaspoon or two of salt on the top surface of the cheese.
Flip the cheese and re-salt the top surface about half way through the brining period.
At the end of the brine bath, wipe the surface and allow the cheese to surface dry for a few hours in a cool area (65-70F) with free air movement. Do not let the cheese dry so much that it darkens or begins to crack.
-
Aging
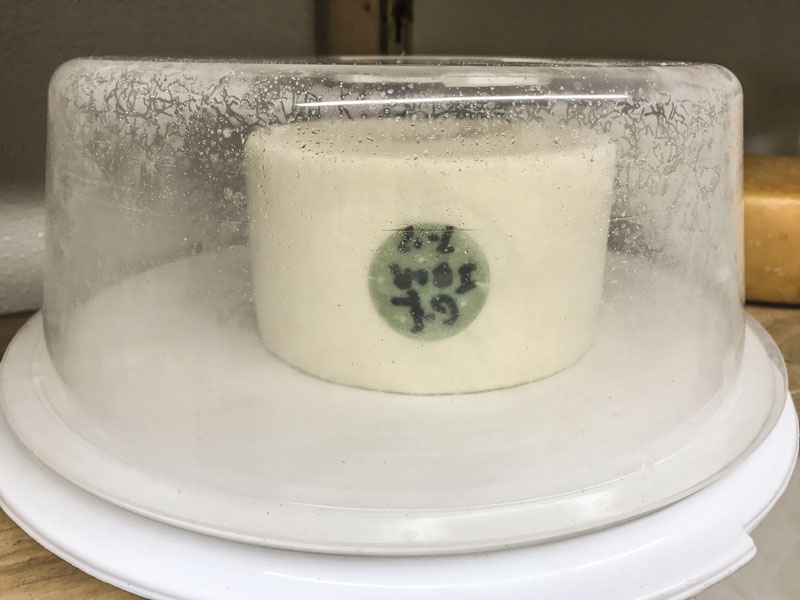
When dry the cheese can be waxed or left to age with a natural rind which is more traditional and characteristic for this type of cheese.
There are two options for a natural rind with this cheese, both options will allow decent accessibility to fresh air and a pathway to expel waste during the aging process, more so than waxing. Although natural rinds take a bit more work they are well worth the results both aesthetically and flavor-wise.
Here are two different options for natural rinds:
1. Brushed rind to keep the surface clean and natural | This is easily done by dry brushing or wiping with a brine damp cloth to remove mold as it appears for a clean rind. Or just allow the mold to grow and give it a brief drying time and serious brushing at the end of aging for a more natural and rustic look.
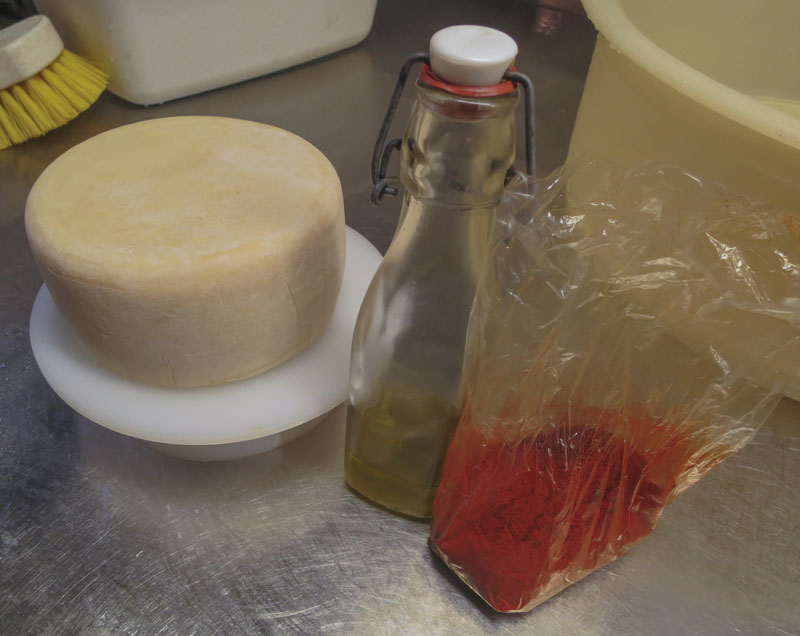
2. Rubbed rind with oil and spices | In Spain they use a special Smoked Paprika mixed with olive or mineral oil to prepare cheese rinds. This rind treatment wards off the molds and produces wonderful aromas and flavor that slowly permeates the cheese.
- 1. Brush the cheese clean of any mold or loose surface powder to prepare a nice clean surface for the oil and paprika coating.
- 2. Prepare the mixture with just enough oil to make a thick paste/slurry to coat the cheese. Remember Paprika is the key for flavor/aroma.
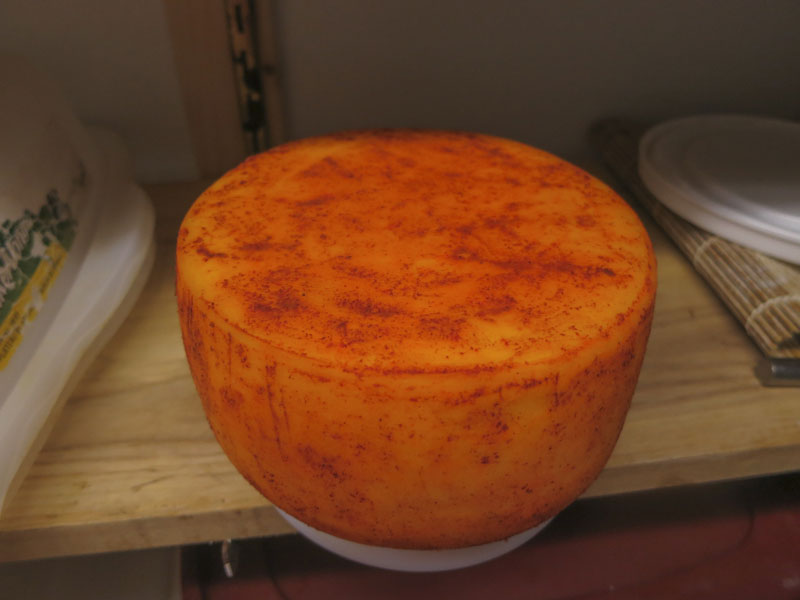
- 3. Once prepared, rub the cheese rind with the Paprika paste until it is well coated. In a day or so the oil will be absorbed into the cheese leaving a dry Paprika coat on the outside.
- 4. This treatment can be repeated as needed to remove any molds that try to grow and to add more Paprika for flavor.
The cheese needs to be aged for 3-4 months at 50-55F with a humidity of 85-95% in the aging space.
Cheese Making Supplies
Popular Products
Cheese Making Recipes
Recommended Recipes
Learn how to make a cheese cave right at home. If you want your cheese to ripen properly you have to make them a good home and take care of them like little bambinos.