


Raffine Cheese Making Recipe Instructions
-

Acidify & Heat Milk
Slowly heat milk to 90F. Once heated add cultures to milk. To prevent culture from caking and sinking sprinkle culture over the milks surface and let re-hydrate for 2 minutes before stirring in.
Let milk sit quietly for 60 minutes.
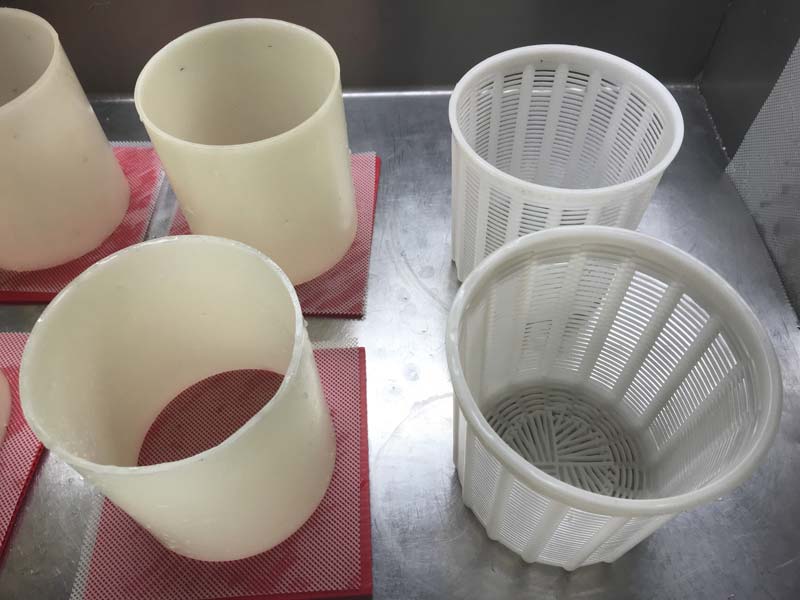
While waiting, take a moment to make sure cheese molds and a draining area are clean and sanitized. No cloth is needed for this draining or lining molds in this recipe.
-

Coagulation
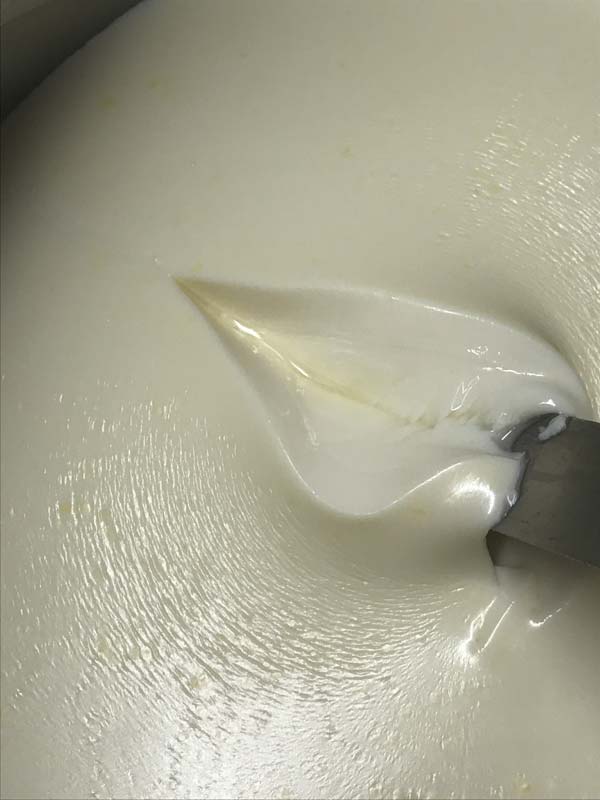
After resting for 60 minutes add rennet to the milk. Stir rennet in slowly in an up and down motion for about 1 minute. After one minute, stop the motion in the milk and let it rest for an additional 30 minutes.
The milk will begin to thicken at about 10-15 minutes, but allow it to coagulate to firmness at about 30 minutes.
The thermal mass of this milk should keep it warm during this period. It is OK if the temp drops a few degrees during this time, you can heat it back to temp after cutting.
Note: Check for a firm coagulation after 20 minutes and if needed let milk sit up to 50% longer for a full coagulation. If a longer time is needed, adjust the rennet amount for your next batch of cheese, more rennet for a quicker set.
-
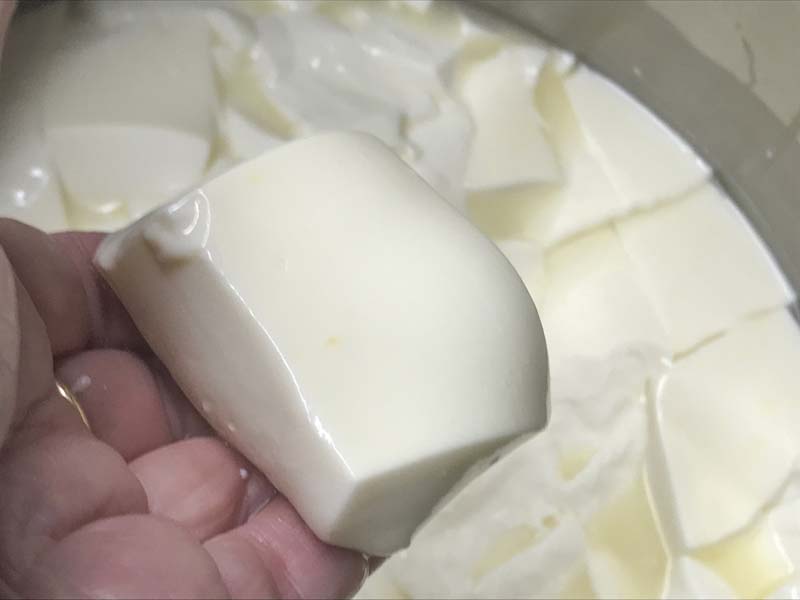
Cut Curd
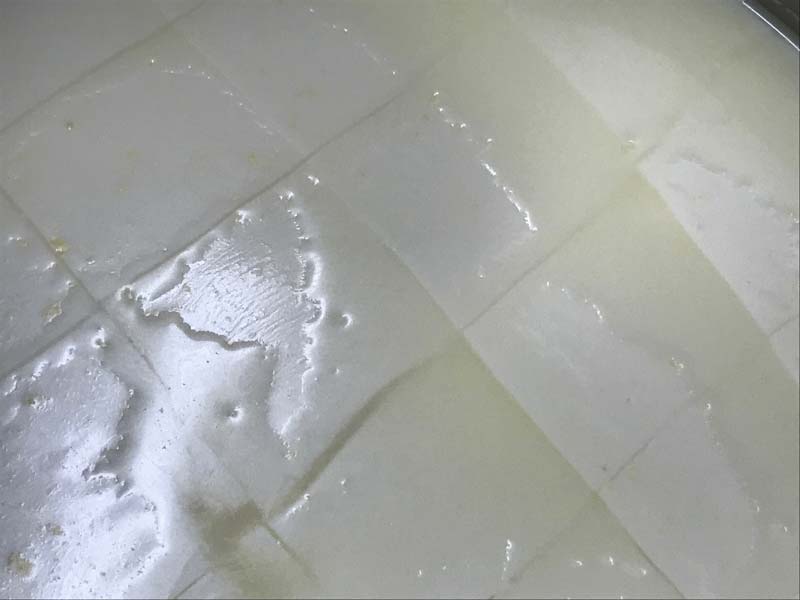
Once the milk has set well, it is time to cut the curd. This is the first step in reducing the curd moisture.
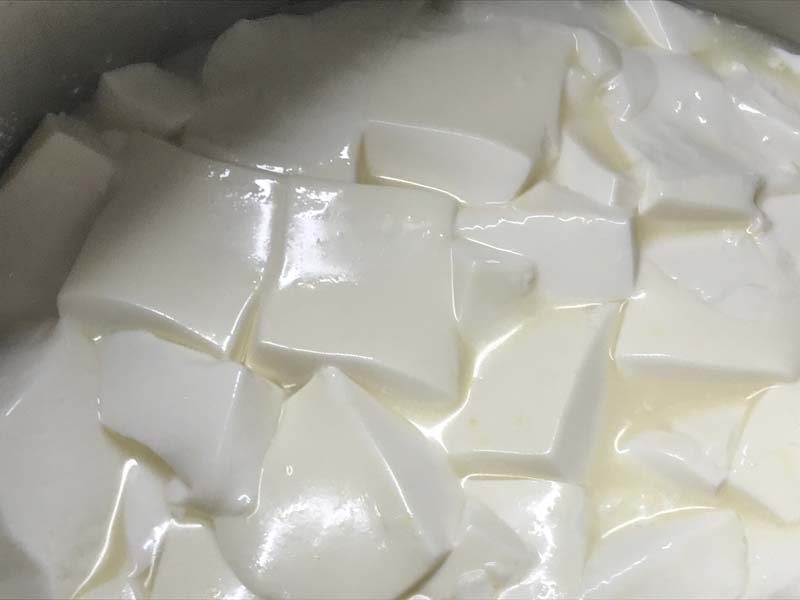
Cut the curd mass as evenly as possible into 2 inch cubes. Make the vertical cuts first, let the curd rest 3-5 minutes, then cut horizontally.
Once cut allow the cut curd to sit quietly. These curds are very tender and will not be stirred or cooked.
-
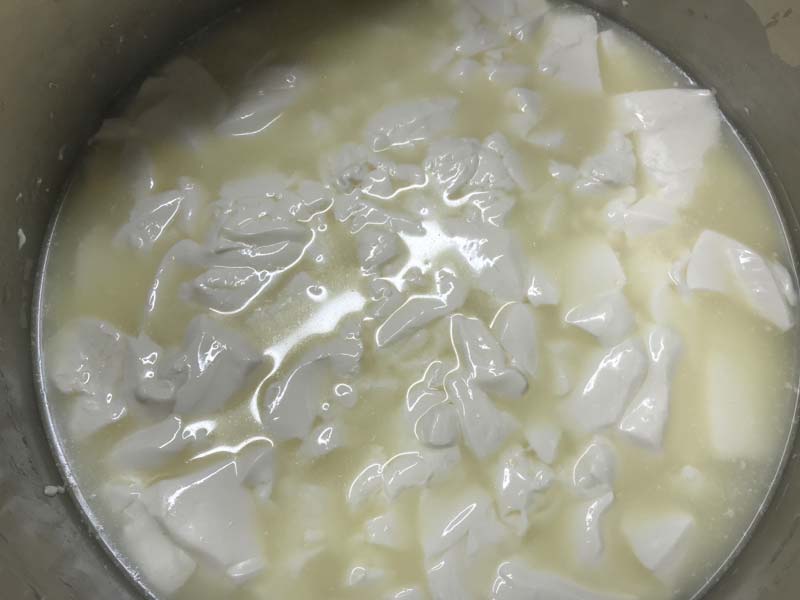
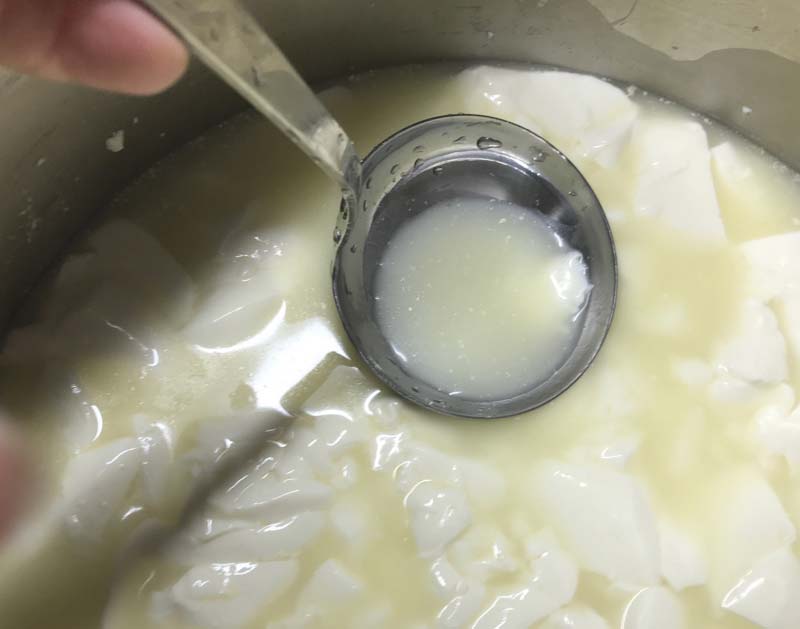
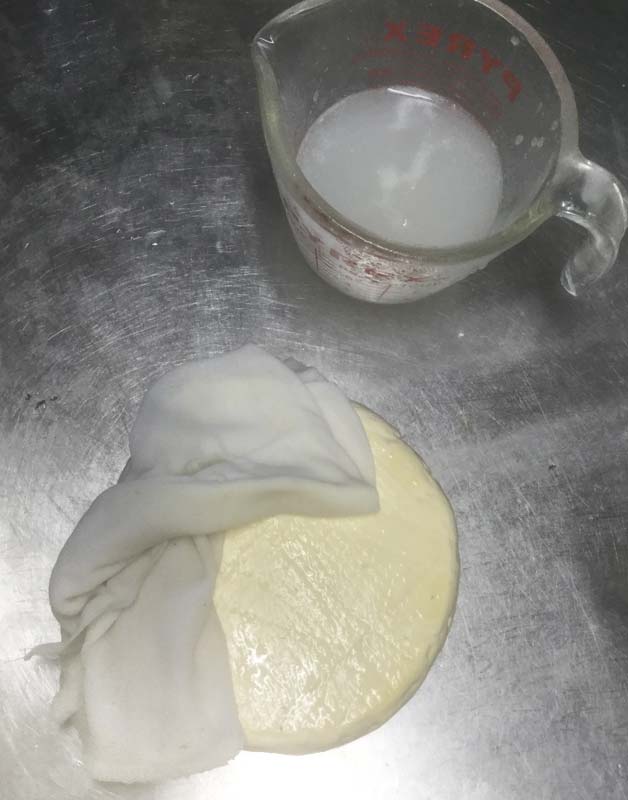
Remove Whey
Every 15 minutes gently remove the rising whey with a ladle or bowl. Do not stir the curds, but gently separate them with a very slow motion each time you remove the whey.
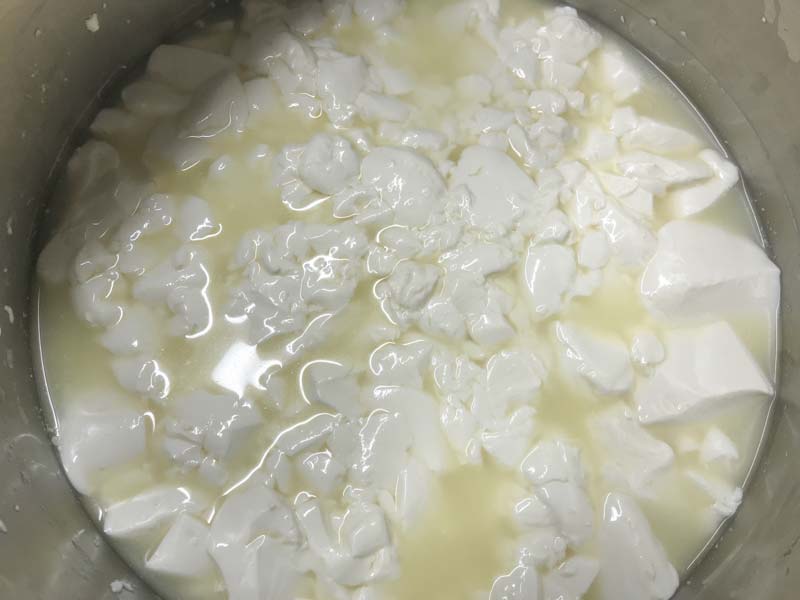
Continue this process for the next 2 hours.
These curds will start out very tender and will firm up over time. Expect them to lose a few degrees in temperature because heating without stirring is not as consistent.
Info: This process is quite different from most recipes where curds are cooked and stirred in the whey until the curds are drained in cloth and the whey is released.
-


Transfer & Salt Curds
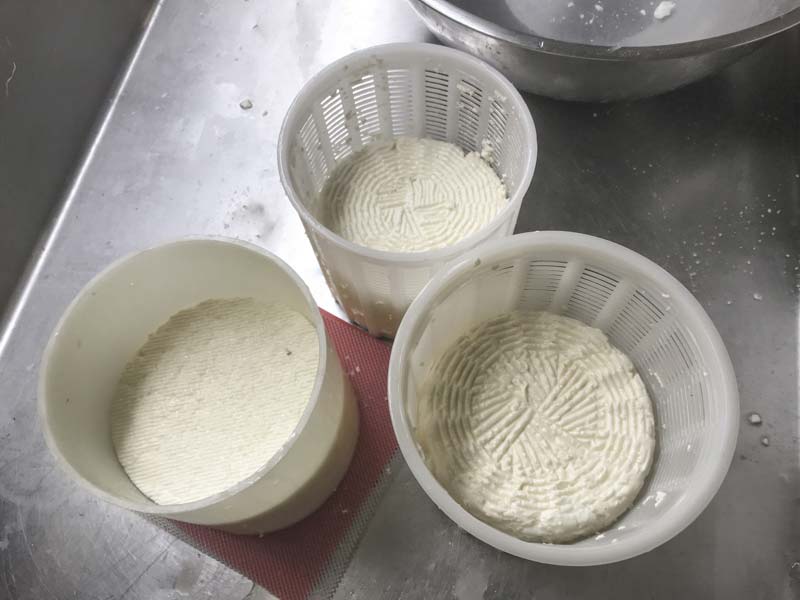
Now the curds can be carefully transferred to the cheese molds. To fill the molds evenly use a round-robin approach with one scoop in each mold and continue on till they are all filled up.
Once formed sprinkle about 1/2 tsp of salt onto of the curds.
The amount of salt may need to be adjusted if it’s extremely fine or course. Take note on the amount of salt used and adjust on subsequent batches.
Place a bowl of hot water next to the cheese molds and cover the molds and bowl with a cloth to keep the curds warm while they are draining.
When the curd drops to about 1/2 the original height, turn the cheese and sprinkle the fresh side with another 1/2 tsp of salt.
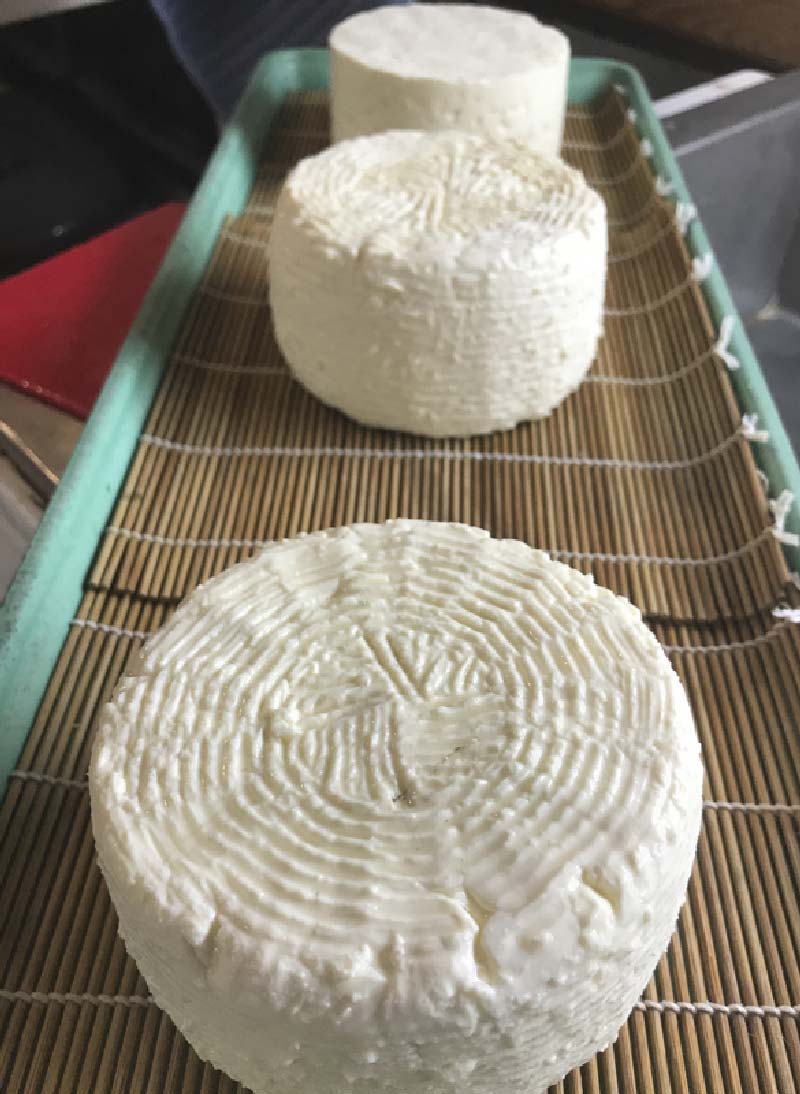
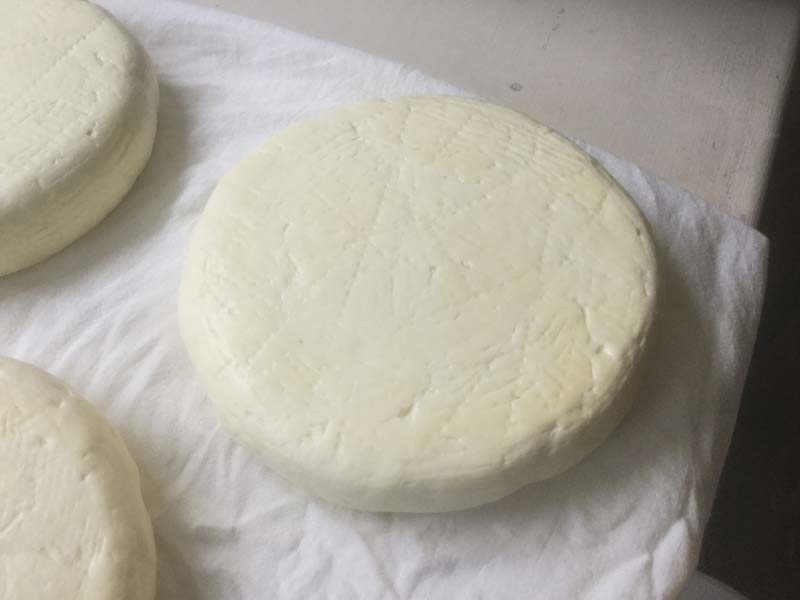
When the cheese is stable enough to stand on its own, approximately 5.5-8 hours, it can be moved to bamboo mats set onto a draining surface and the molds can be removed.
At this point the cheese is still quite fragile, so handle with care. Be sure to leave space between each cheese because the culture is still working and the cheese will sink and spread to a larger disc by morning.
Cover the cheese with a light cloth and leave this in a room at 60-65F.
Info: This cheese is unique in the fact that salt is immediately sprinkled onto the fresh curds after being transferred into the cheese molds.
As I was researching this cheese the amount of salt was never specified from old instructions. But, in an old film the last traditional producer, Mr Gerard Aubin, hand salting his cheese with just a small amount pinched with his fingers.
-
Finishing & Aging
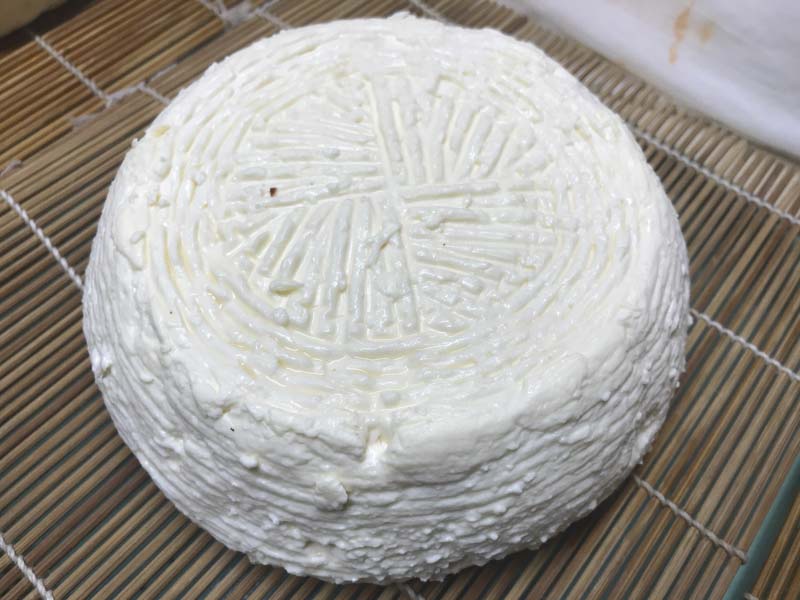
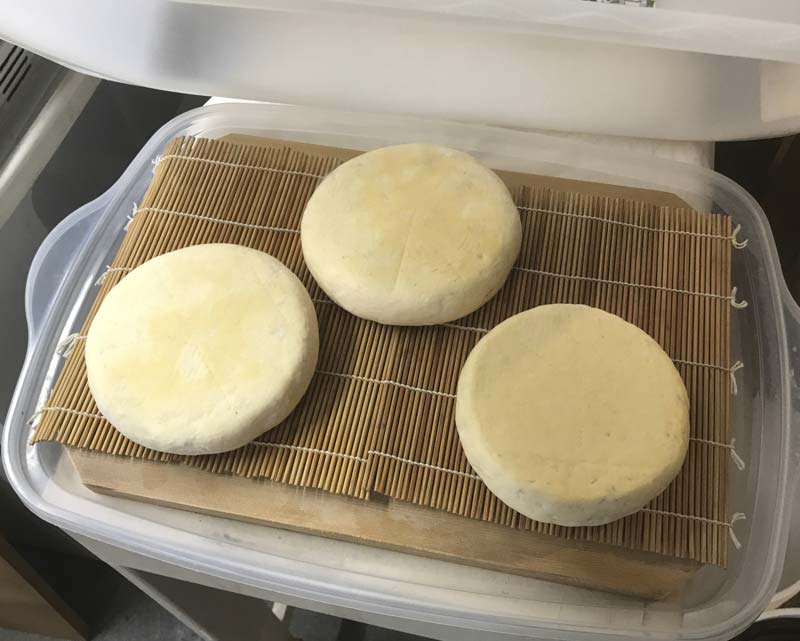
In the morning the cheese will have spread considerably making it a much lower and broader disc.
After a simple make process, aging is where the details come in for this wonderful cheese.
With high moisture a protective surface of microbes, ambient yeast, geotrichum, and b. linenes will begin to develop while aging. This will be supported with periodic light brine washings very 2 days.
Turn the cheese onto dry reed or bamboo mats and cover loosely with cloth. Continue turning the cheese twice a day for the next 2 weeks.
After 3-5 days the cheese will begin to feel greasy/slippery and will have a fruity pear/apple smell. This is the beginning of the surface community that will help to sweeten the cheese and reverse acidity.
As the surface mold develops begin a light brine washing. To make the light brine, add 2 tsp of salt to a cup of non chlorinated water. Wash each cheese lightly with brine, using a cloth. Make sure to wipe lightly and only remove new surface growth. Lay the washed cheese on a fresh cloth and turn once as they dry, then return to the mats turning twice each day. Note: If you wait too long some wild blue spots may appear.
After 2 weeks the cheese should be ready for final aging at cooler temperatures. For a batch of 3-4 cheese, start this final step by placing the cheese in a tray and covering it with 1/8-1/4 cup of cold water with a handful of salt stirred in. Leave the cheese for 24 hours, to rehydrate, then pat the surface dry with a clean cloth.
Once dried, wrap each cheese in cloth measuring 9”x9”. You can use muslin, parchment wrap, or washed rind cheese papers.
Once wrapped the cheese can be stacked in a closed container and moved to a cool space 45-50F for a final 2-3 weeks of aging.
Note: If you find the greasy surface growing back, wash them again in cool water, dry on cloth and rewrap. Make sure there is no free moisture on the surface when wrapping.
Info: Traditionally the cloth for wrapping would have been used over and over again and may have been part of the microbe bank for the original cheese. The cloth was likely only rinsed in warm water and simply dried between uses. The boards I use for surface ripening may be an equivalent since they transfer unique cave microbes from the hundreds of cheese I have made and brought back from Europe over the years. Starting out with clean cloth or boards might give you a less complex surface flora but in time natural microbes will develop for you as well.
Modern research on this cheese shows that the flora found on the original cheese was also in the cloth and reed mats. This unique bacteria was also found in saline tidal areas. Most likely the bacteria was introduced into the cheese from the natural reed, collected for the mats, which had originally been growing in the maritime marshes.