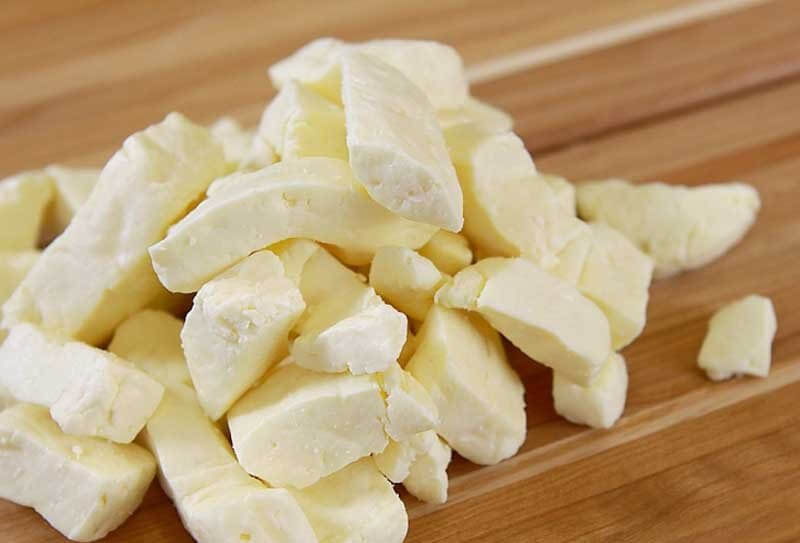
Cheese Curds Recipe (Basic)
-
Yield
2 Pounds
-
Aging Time
None
-
Skill Level
Intermediate
-
Author
Jim Wallace

Ingredients
Total price for selected items: Total price:
Instructions
Cheese Curds, tasty little bits of fresh cheese perfect for a quick snack
Cheese curds are the fresh curds of cheese, often cheddar. Their flavor is mild with about the same firmness as cheese, but has a springy or rubbery texture. Fresh curds squeak against the teeth when bitten into, which some would say is their defining characteristic. The American variety are usually yellow or orange in color, like most American cheddar cheese. Other varieties, such as the Qubcois and the New York varieties, are roughly the same color as white cheddar cheese.
After twelve hours, even under refrigeration, they have lost much of their "fresh" characteristics, particularly the "squeak". Room temperature, rather than refrigeration, may preserve the flavor and the "squeak".
You can freeze cheese curds for up to 4 months, be aware you will loose the squeak and freshness when eaten after freezing.
Cheese Curds are sometimes breaded and deep fried especially in Wisconsin.
Cheese curds are a main ingredient in Poutine, a Quebec dish in which cheese curds are served layered on top of french fries, and melting under steaming hot gravy.
-

Heat Milk
Start out by bringing 2 Gallons of milk up to a temperature of 96¡F. Once the milk is at 96F, set a timer for 90 minutes (so you can measure the critical process from ripening through scald; this is the critical part and needs to run by the clock) and proceed with the recipe .
Optional If you want more color in the curds add 1/4-1/2 tsp of annato cheese coloring at this point
-

Add Calcium Chloride & Culture
Next 1/2 tsp of Calcium Chloride is measured out and added to the milk along with a pack of (C201 Thermophilic Culture). The milk is then kept at 96¡F to culture (ripen) the milk for 30 minutes.
-


Coagulate with Rennet
Next measure out 1/2 tsp of single strength Liquid Rennet and add this to 1/4 cup of cool water, add and stir the milk gently for about 30 seconds.
In about 6-10 minutes the milk will begin to gel and in 18-25 minutes a firm set should take place.
This can be tested by inserting a knife and lifting with the broad surface to split the curd as seen above. In a few seconds the cut will fill with clear whey, if it is cloudy wait a few more minutes.
-


Cut the Curds
Next cut the curd surface into 3/4inch cubes. Wait 3 minutes then begin to stir. Keeping the temperature at 96¡F and as you stir the curds will become smaller.
-


Cook the Curds
You can now begin heating the curds slowly to 116¡F over 30 minutes. They will continue to shrink as more whey is released. About now your timer should be going off.
Continue to cook the curds for 30-60 minutes depending on how dry you like them.
-


Drain the Curds
Once the curds are cooked, transfer them to a cloth lined colander to drain.
The cloth is then gathered by its corners and hung for 15-20 minutes.
Then the cloth is twisted tight to press the curds together.
-


Pressing
A small plate, placed ontop of the curds, provides an excellent flat surface for pressing.
Press with a weight of 1 Gallon of water (app. 8 lbs) and let set 1-3 hours.In about 1-3 hours, youÕll have a nice consolidated mass of curds.
-


Salting & Finishing
This curd mass can now be broken into bite size pieces and tossed with a bit of salt.
It is now ready for eating. I store the curds in a zip lock bag in the fridge.
NOTE: If you have a pH meter, the end of step 5 should be pH6.4 and step 7 pH5.3.
Cheese Making Supplies
Related Products
You May Also Like


