


Italico Recipe
-

Yield
4 Pounds
-

Aging Time
~3 Months
-

Skill Level
Intermediate
-

Author
Jim Wallace


Ingredients
Total price for selected items: Total price:

Instructions
-
Acidify & Heat Milk
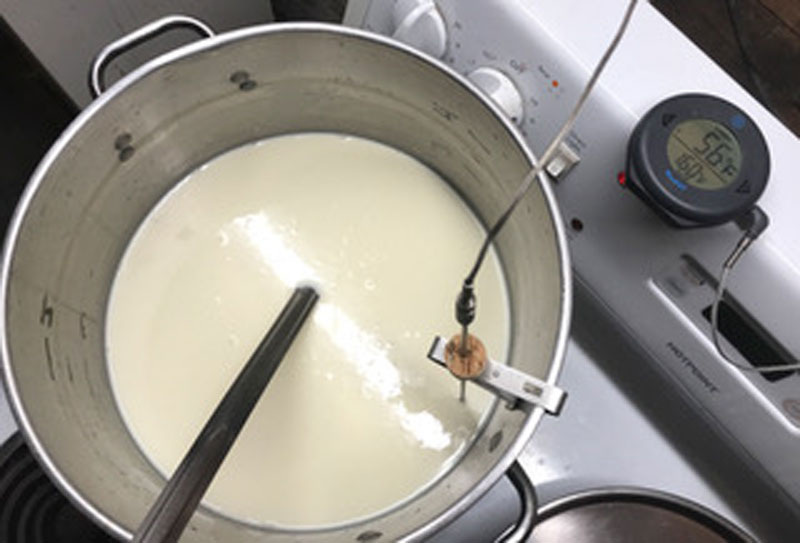
Heat the milk to 76F, if needed add Calcium Chloride for pasteurized milk. Once heated add culture and mold powders, mix for 1 minute then allow to rest for 10 minutes.
After the 10 minute rest slowly stir and heat the milk to 100-102F over the next 20 minutes. Once heated hold the temperature without stirring for another 20 minutes.
Info: Traditionally, natural cultures found in raw milk were all that was need for this cheese. Todays milk does not supply a rich assortment of bacteria. Instead a small amount of ‘Farmstead’ culture is added for complexity while still preserving the sweetness of this cheese.
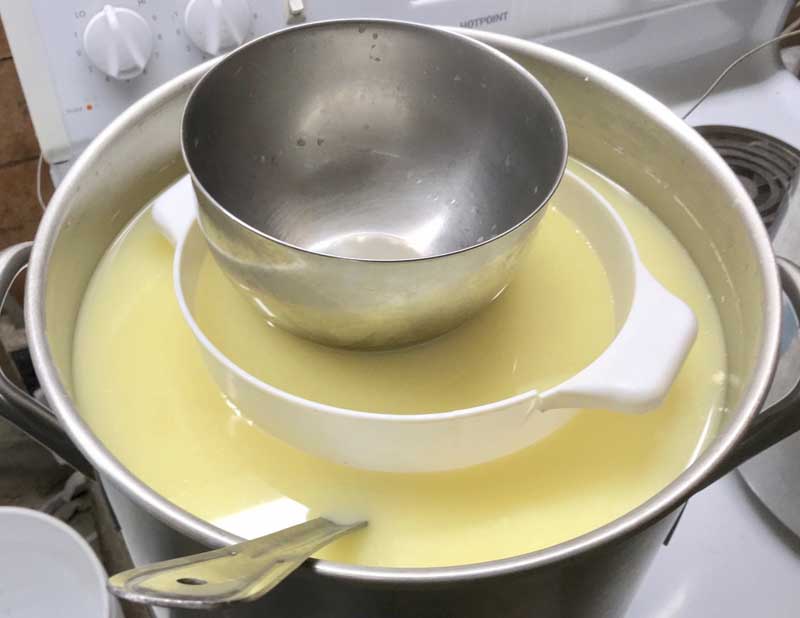
Tip: Placing a pot of milk in warm water, either in a sink or larger pot, provides slow and gentle heating of the milk. If heating the milk on a stove do so slowly and stir well as it heats.
-
Add Rennet
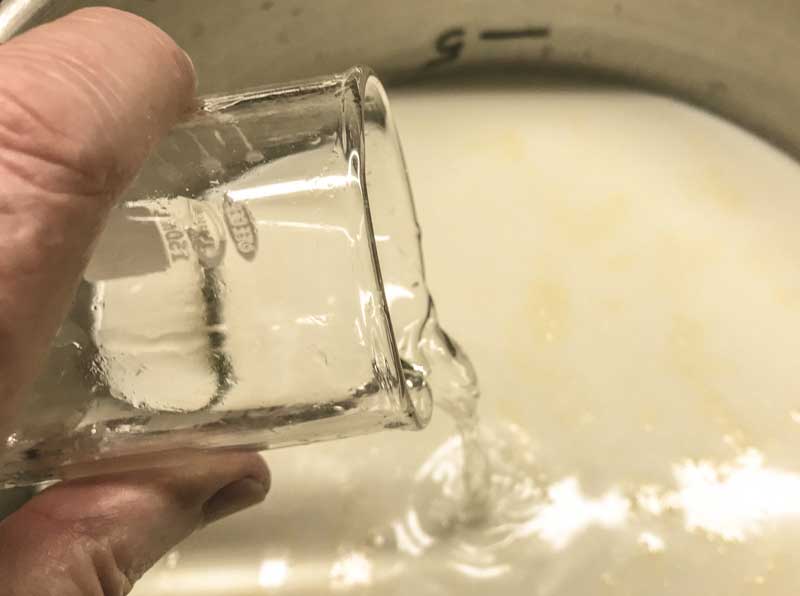
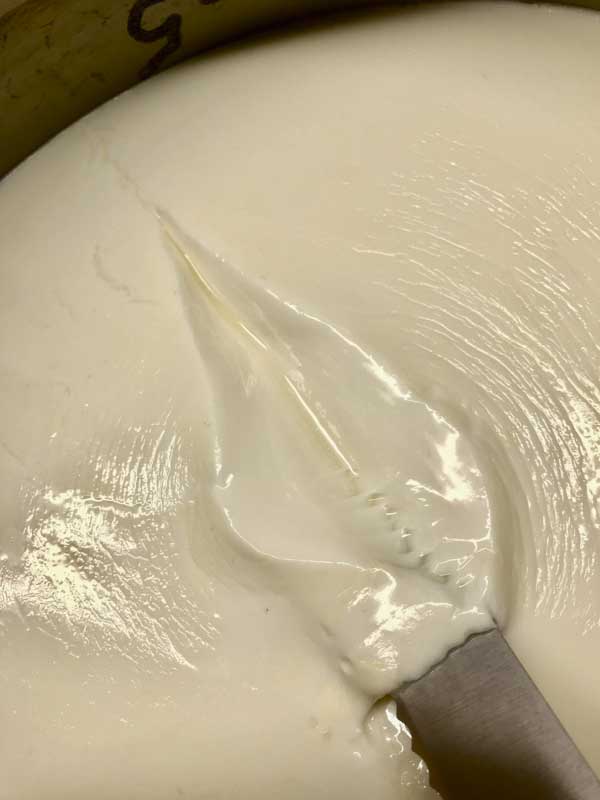
Dilute 6 ml of single strength liquid rennet in 1/4 cup chlorine free water. Add diluted rennet to the milk and slowly stir with an up and down motion for 1 minute. Let the milk rest quiet for 20 minutes.
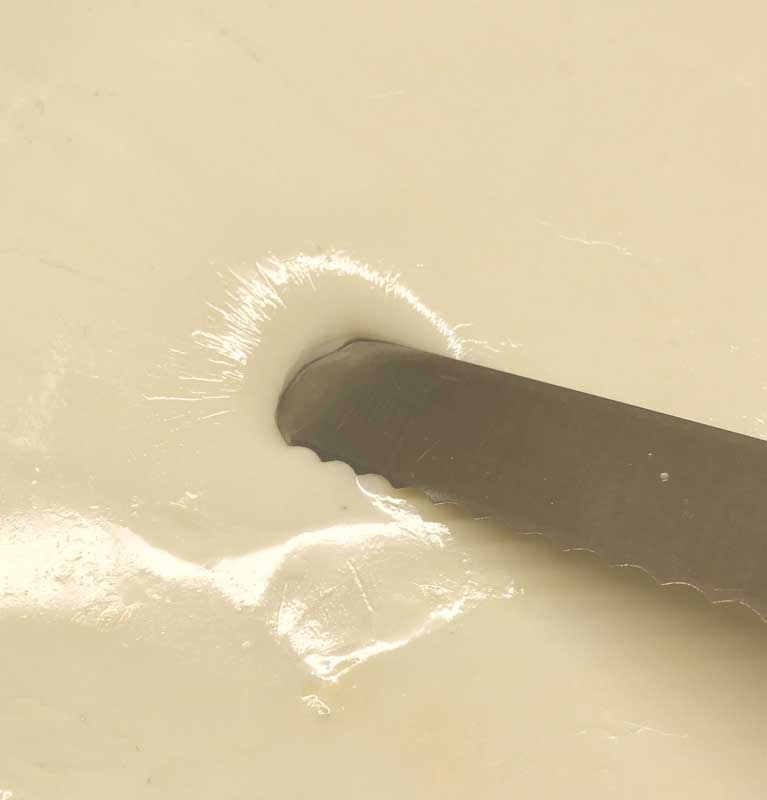
When done, check for a firm coagulation. If needed allow milk to sit for up to 50% longer and adjust the rennet on your next batch, more rennet for a quicker set.
Info: The high temperature and volume of rennet will provide a quick set and more elastic texture in the final cheese.
-
Cut Curd
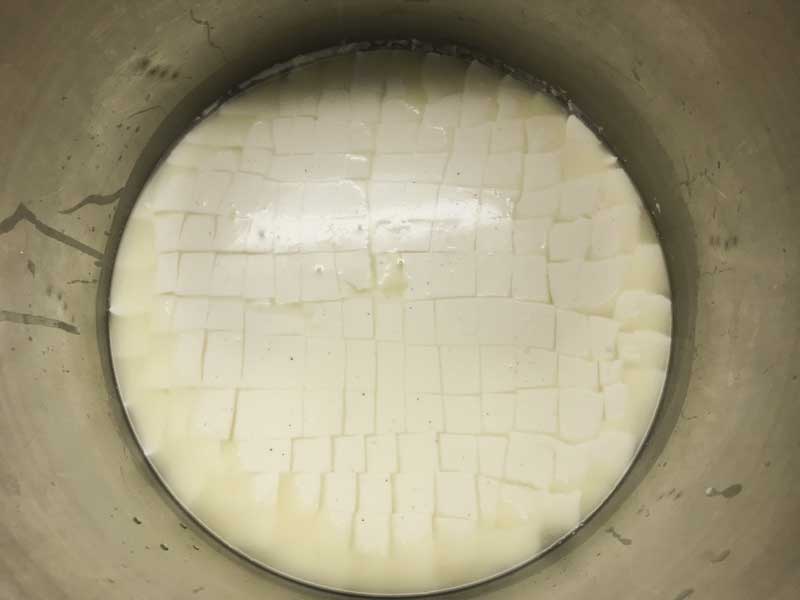
Once set, cut the curd vertical every inch in both directions to create a checkerboard pattern. Let the curd to rest for 5 minutes, so the cut surfaces can heal.
After resting for 5 minutes, slowly cut the curds into 1/2 inch cubes over the next 10 minutes. Let curds rest for an additional 10 minutes.
After resting, gently and slowly stir the curds for 10 minutes to help firm up the cut surfaces.
Info: Resting and stirring is important to prepare for the cooking phase that comes next. Without it, the curds may break up and lose too much moisture.
-
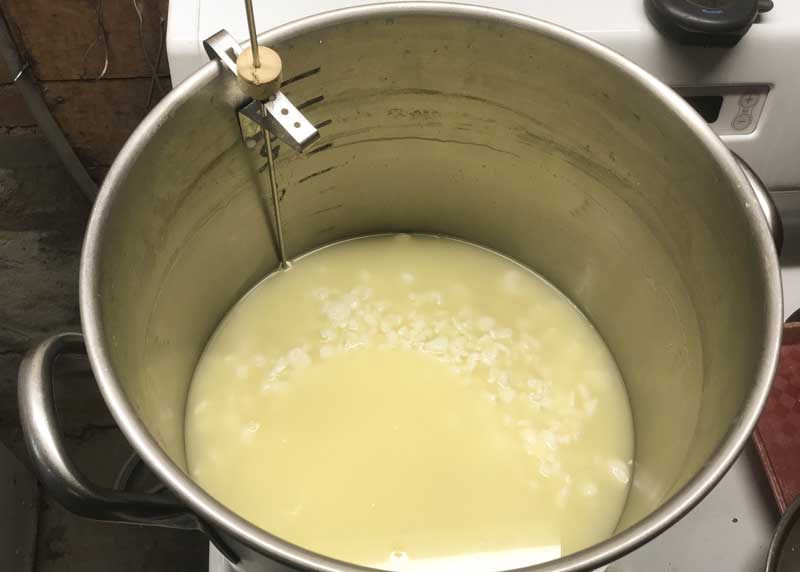
Cook Curd
Slowly stir and increase the heat to 108F over the next 10 minutes. Continue stirring for an additional 10 minutes.
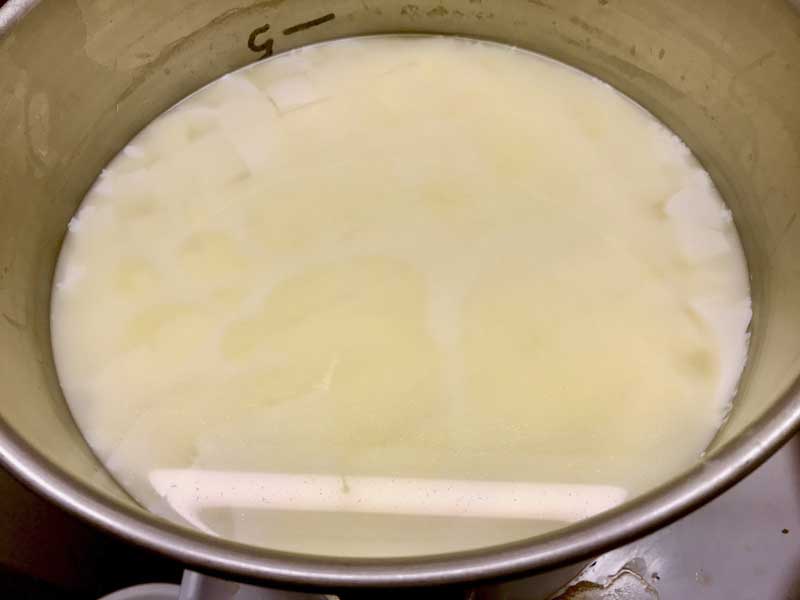
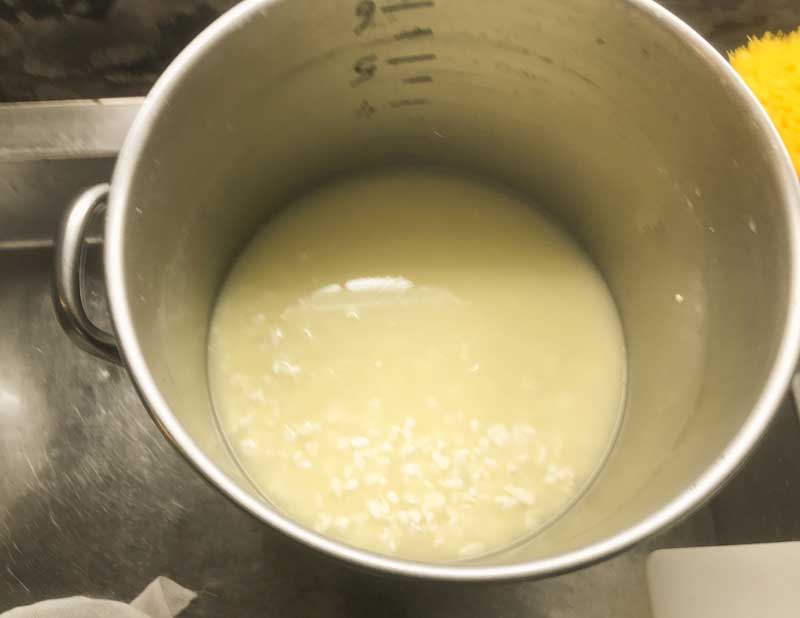
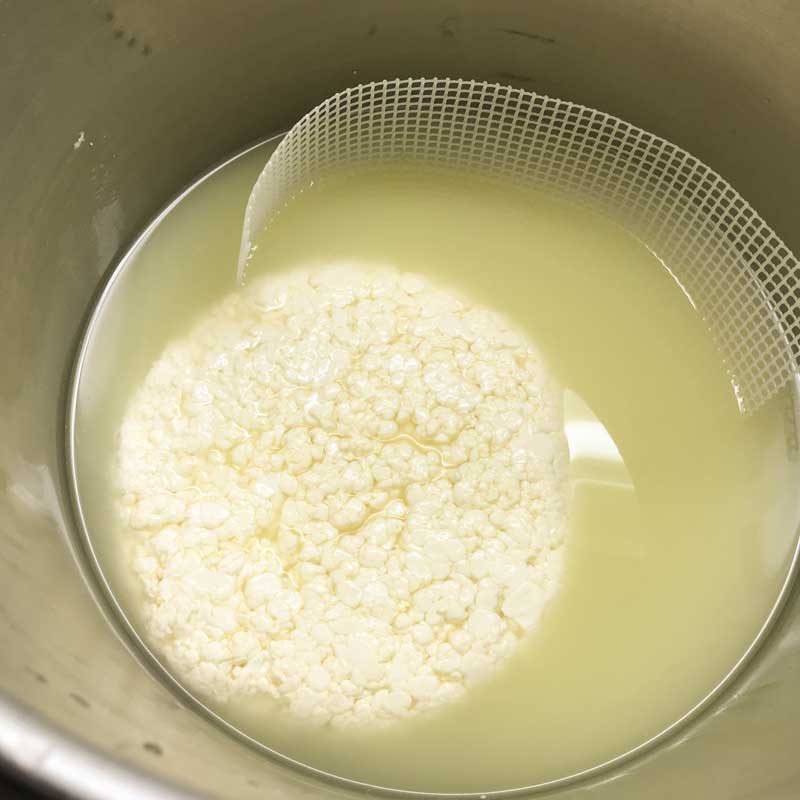
Allow curds to settle to the bottom of the pot, then drain the whey to 1 inch above the curd surface.
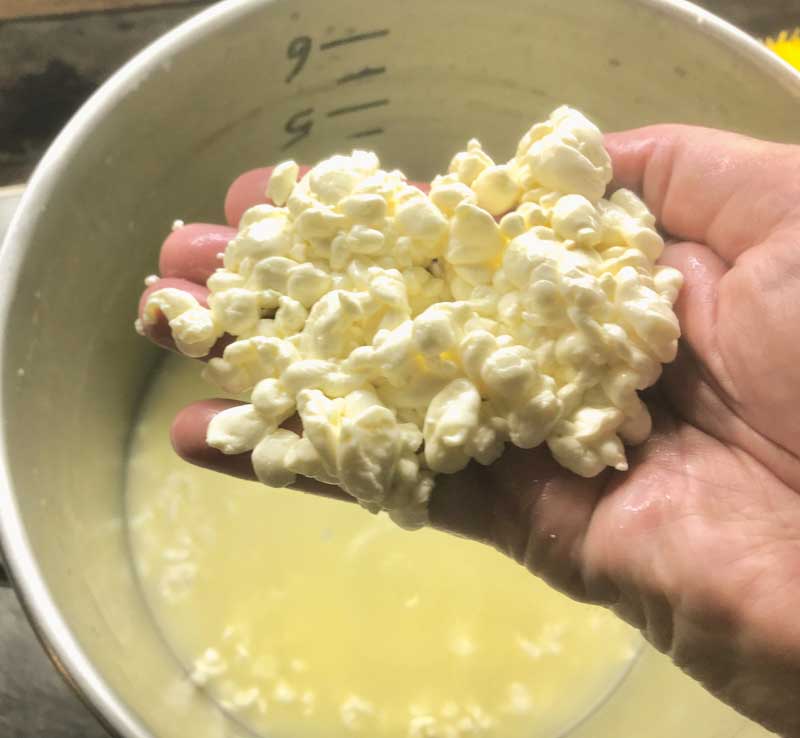
Slowly stir the curds for 10 minutes to keep them from matting. The final curds should be quite moist and springy when squeezed.
-
Transfer Curds
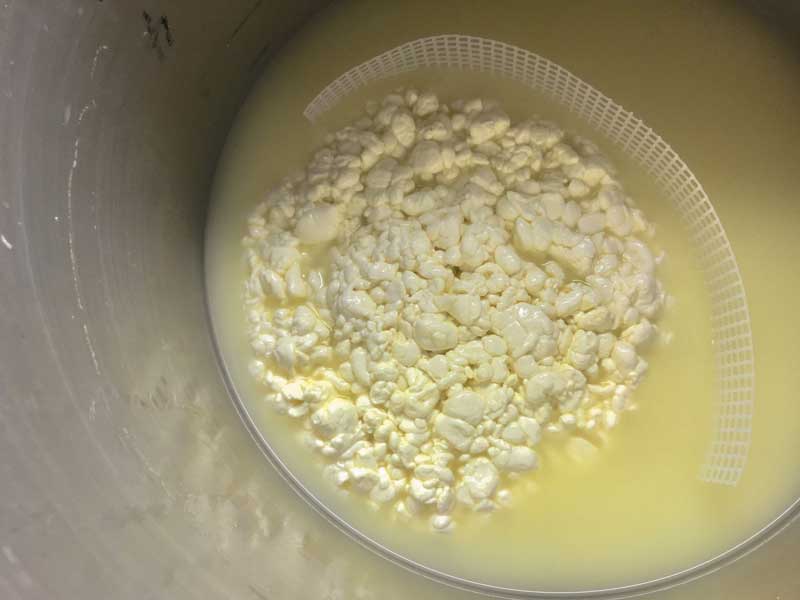
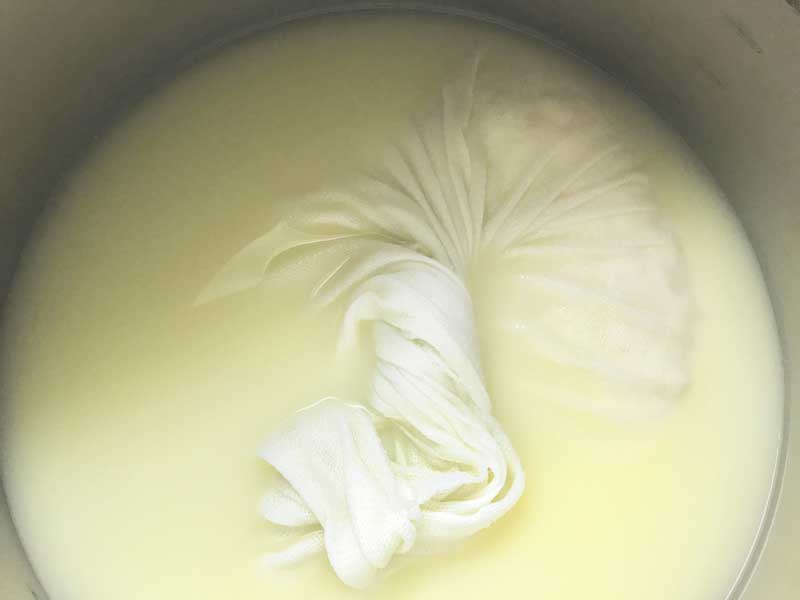
Consolidate the curds into a single mass by pulling them to one side of the pot. A long strip of draining mat can help gather the curds. While under the whey, moderately press the curds together with your hands to help close up internal openings.
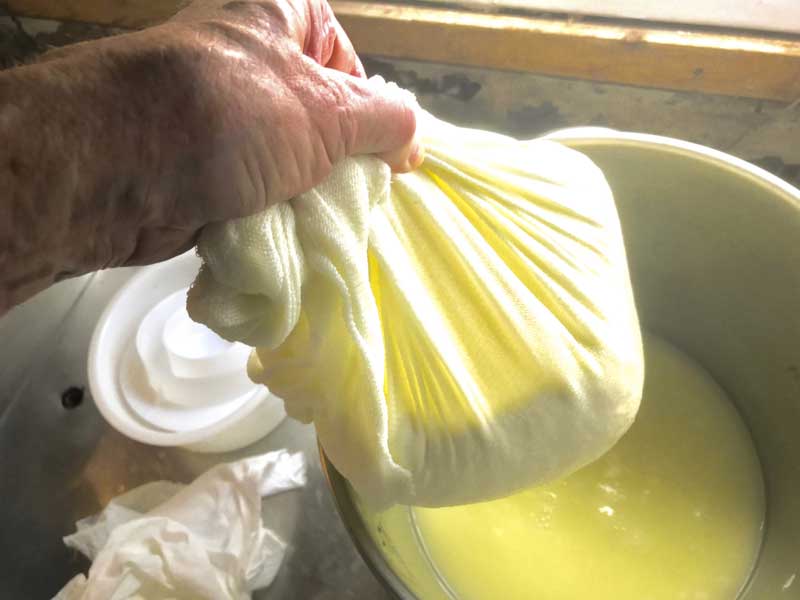
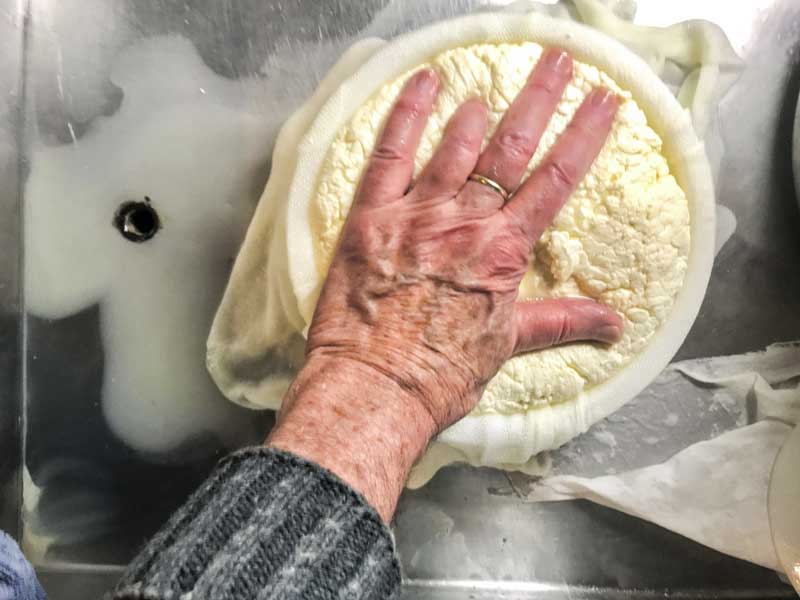
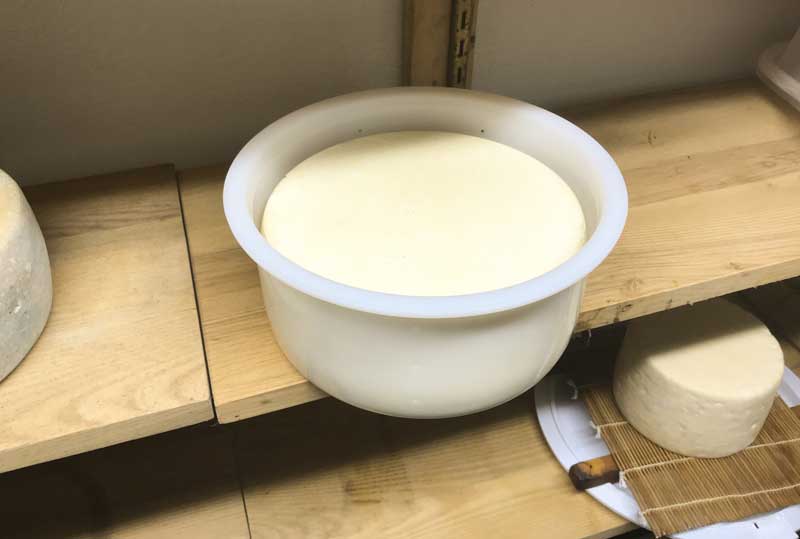
Using a piece of draining cloth, gather the curd mass and transfer it with the cloth into a cheese mold.
-
Press Curds
Prepare a 75-80F area for the cheese to press. If your room is cool, an insulated cooler with a container of warm water works well.
Use 8 pounds and the following intervals to press this cheese. Begin the first press, then at each interval remove the weight, unwrap, flip, rewrap and place the cheese back into the mold with 8 pounds of pressure.
- 15 minutes
- 30 minutes
- 30 minutes
- 60 minutes
- 60 minutes
- 90 minutes
- 90 minutes
- 120 minutes
With each turn the cheese will rest lower in the mold and the surface will become smoother.
Info: Draining whey should be seen as drops, not a steady stream. This will slow even more as residual moisture is released. The cheese molds should show tears of whey weeping from the sides very slowly.
Tip: Another method for preparing a warm pressing area is to heat an oven to 80F, then it off and place the pressing cheese in a pan with a draining mat into the closed oven. You don’t want to cook the cheese so check the temperature periodically.
Historically the heat of the cheese room or fire would have provided the warmth.
-
Post Press
Remove the pressing weight, leave the curd in its cloth and in the mold. Place the mold in a cooler space overnight, about 62-65F. This helps finalize the release of whey and prepare the cheese for better aging without developing additional acid.
-

Brine
Prepare a saturated brine with the ingredients below, more details can be found on brining here.
- 1 gallon of water
- 2.25 lb of salt
- 1 tbs calcium chloride (30% solution)
- 1 tsp white vinegar
Take the cheese out of the mold and remove the cloth, then place it into the brine for 1-1.25 hours per pound of cheese.
The cheese will float in the brine so sprinkle 1-2 tsp of salt over the exposed top surface.
Half way through the brining time flip the cheese and re-salt the top surface.
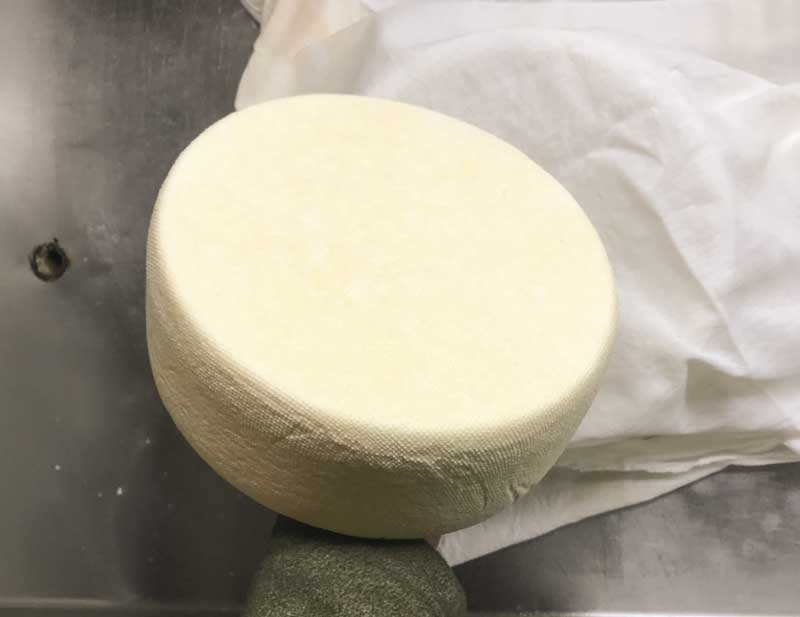
Once done, wipe the surface of the cheese and allow it to dry overnight in a cool space 60-65F with free movement of air.
-
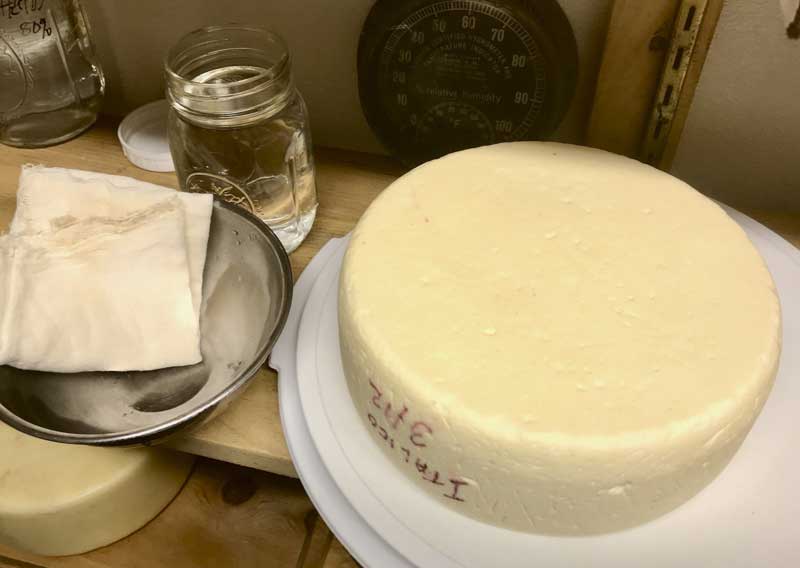
Aging - Washing Rind
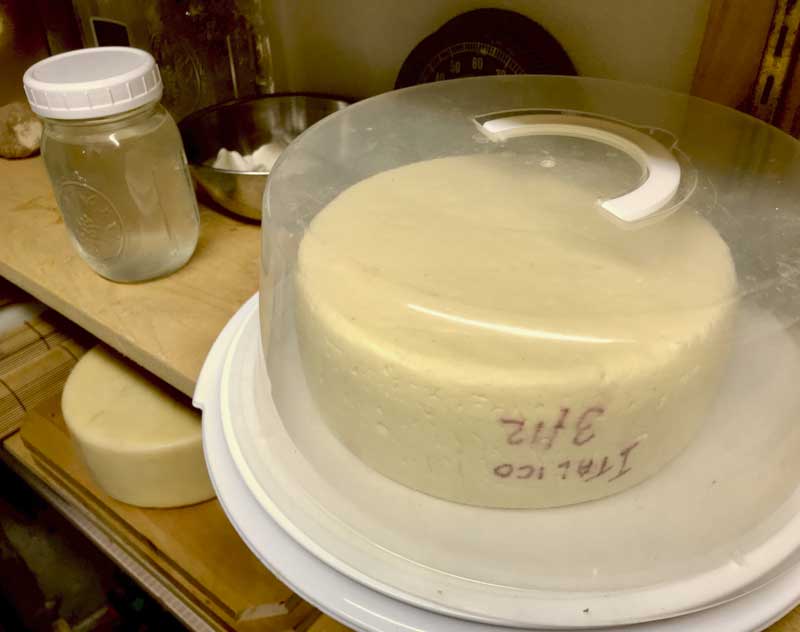
Move the cheese to an aging space with a temperature of 52F and humidity of 85-90%. The high humidity can be achieved by using an enclosed container with lid, ideally with a wood board under the cheese to buffer high and low moisture. Partially open the lid to remove excess moisture as needed.
Prepare a light brine by mixing a cup of water with 1 tbs salt, then add a pinch of both Geotrichum and B.Linens. Store this brine in a sealed jar in the fridge.
While aging flip the cheese daily. Within the first 5-10 days the surface will begin to show growth of ambient molds that find their way to the surface. This needs to be handled proactively by wiping the top and side surfaces of the cheese with 2-3 tbs of light brine using a sterilized cloth. Keep the brine clean by spooning it onto the cloth instead of dipping the cloth.
Place the cheese back into the aging space. When the cheese is flipped the following day wipe down the newly exposed top surface.
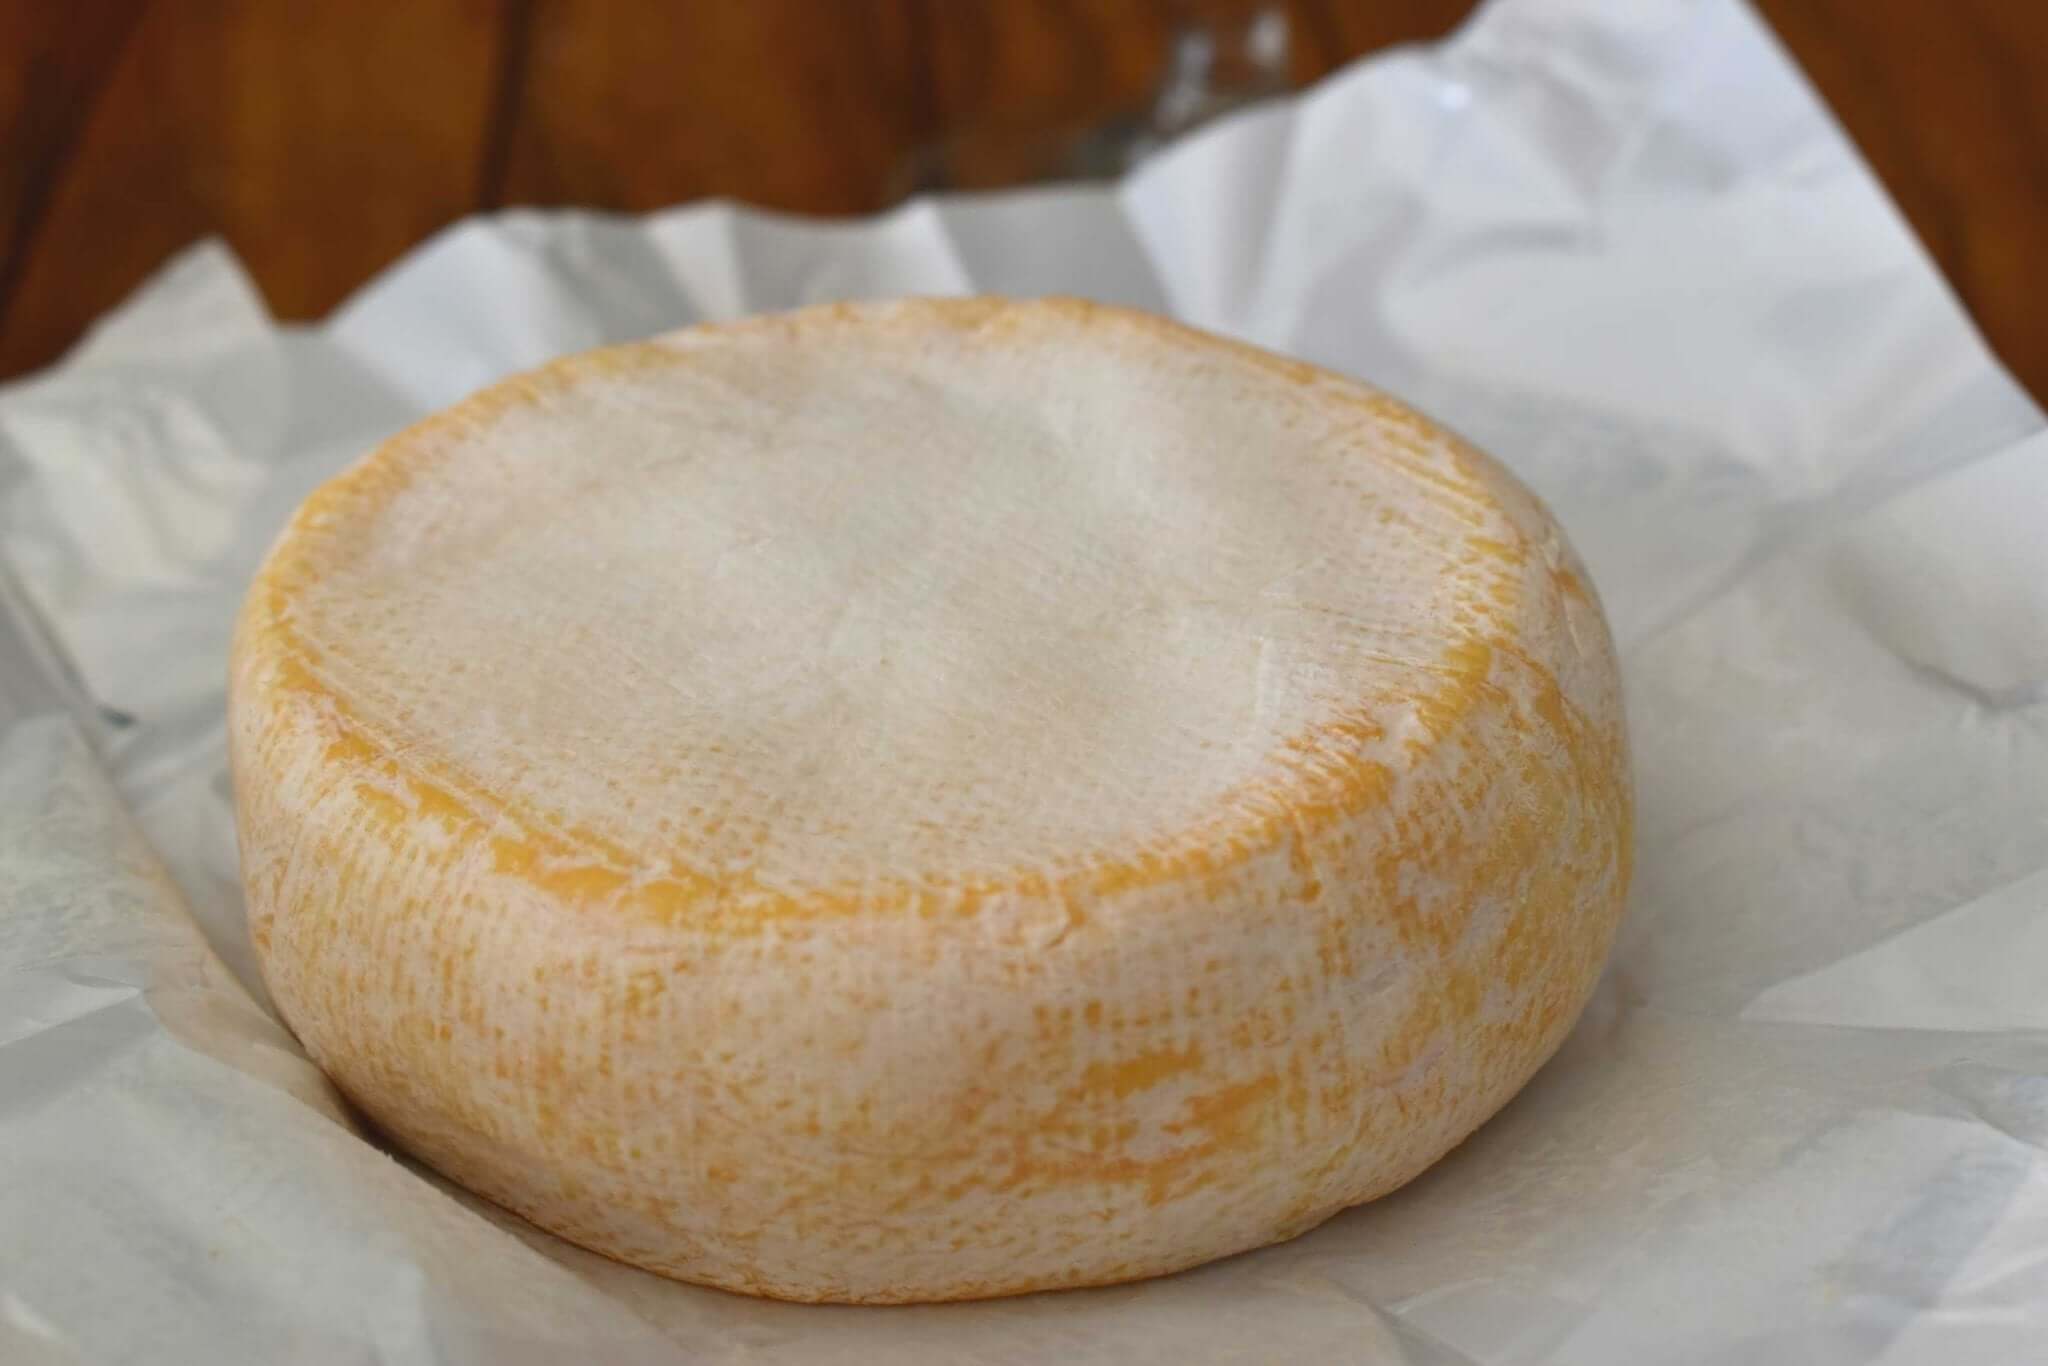
The surface will become damp or tacky and white mold will soon develop. The surface should not become soggy. Within 10 days a rosy surface will develop, there should be no signs of blue, dark or fuzzy molds.
Within the first 30 days the aromatics of the cheese will change and the rind will begin to soften. The goal is to develop a pleasant smelling cheese rather than a strong, stinky rind.
-
Aging - Finished Cheese
The final amount of time for aging will depend on the desired character of the finished cheese. To help prevent surface aroma from competing with the sweet flavor of the cheese the entire cheese can be washed clean in a light brine after about 4-6 weeks of surface development.
Once the surface is clean, move the cheese to a cooler space to age for another 2-3 weeks. It can go much longer, again depending on the desired character. During this time continue to check on the cheese every week or so and wipe any bloom off with a clean, dry cloth.
A young, 30 day old cheese will be less transformed and more neutral in flavor. As it gets older, up to 90 days, the aromatics will develop and the cheese will become softer with a creamy texture.
Note: As this cheese ages transformation begins at the surface and works towards the center.
Cheese Making Supplies
Related Products
You May Also Like


