


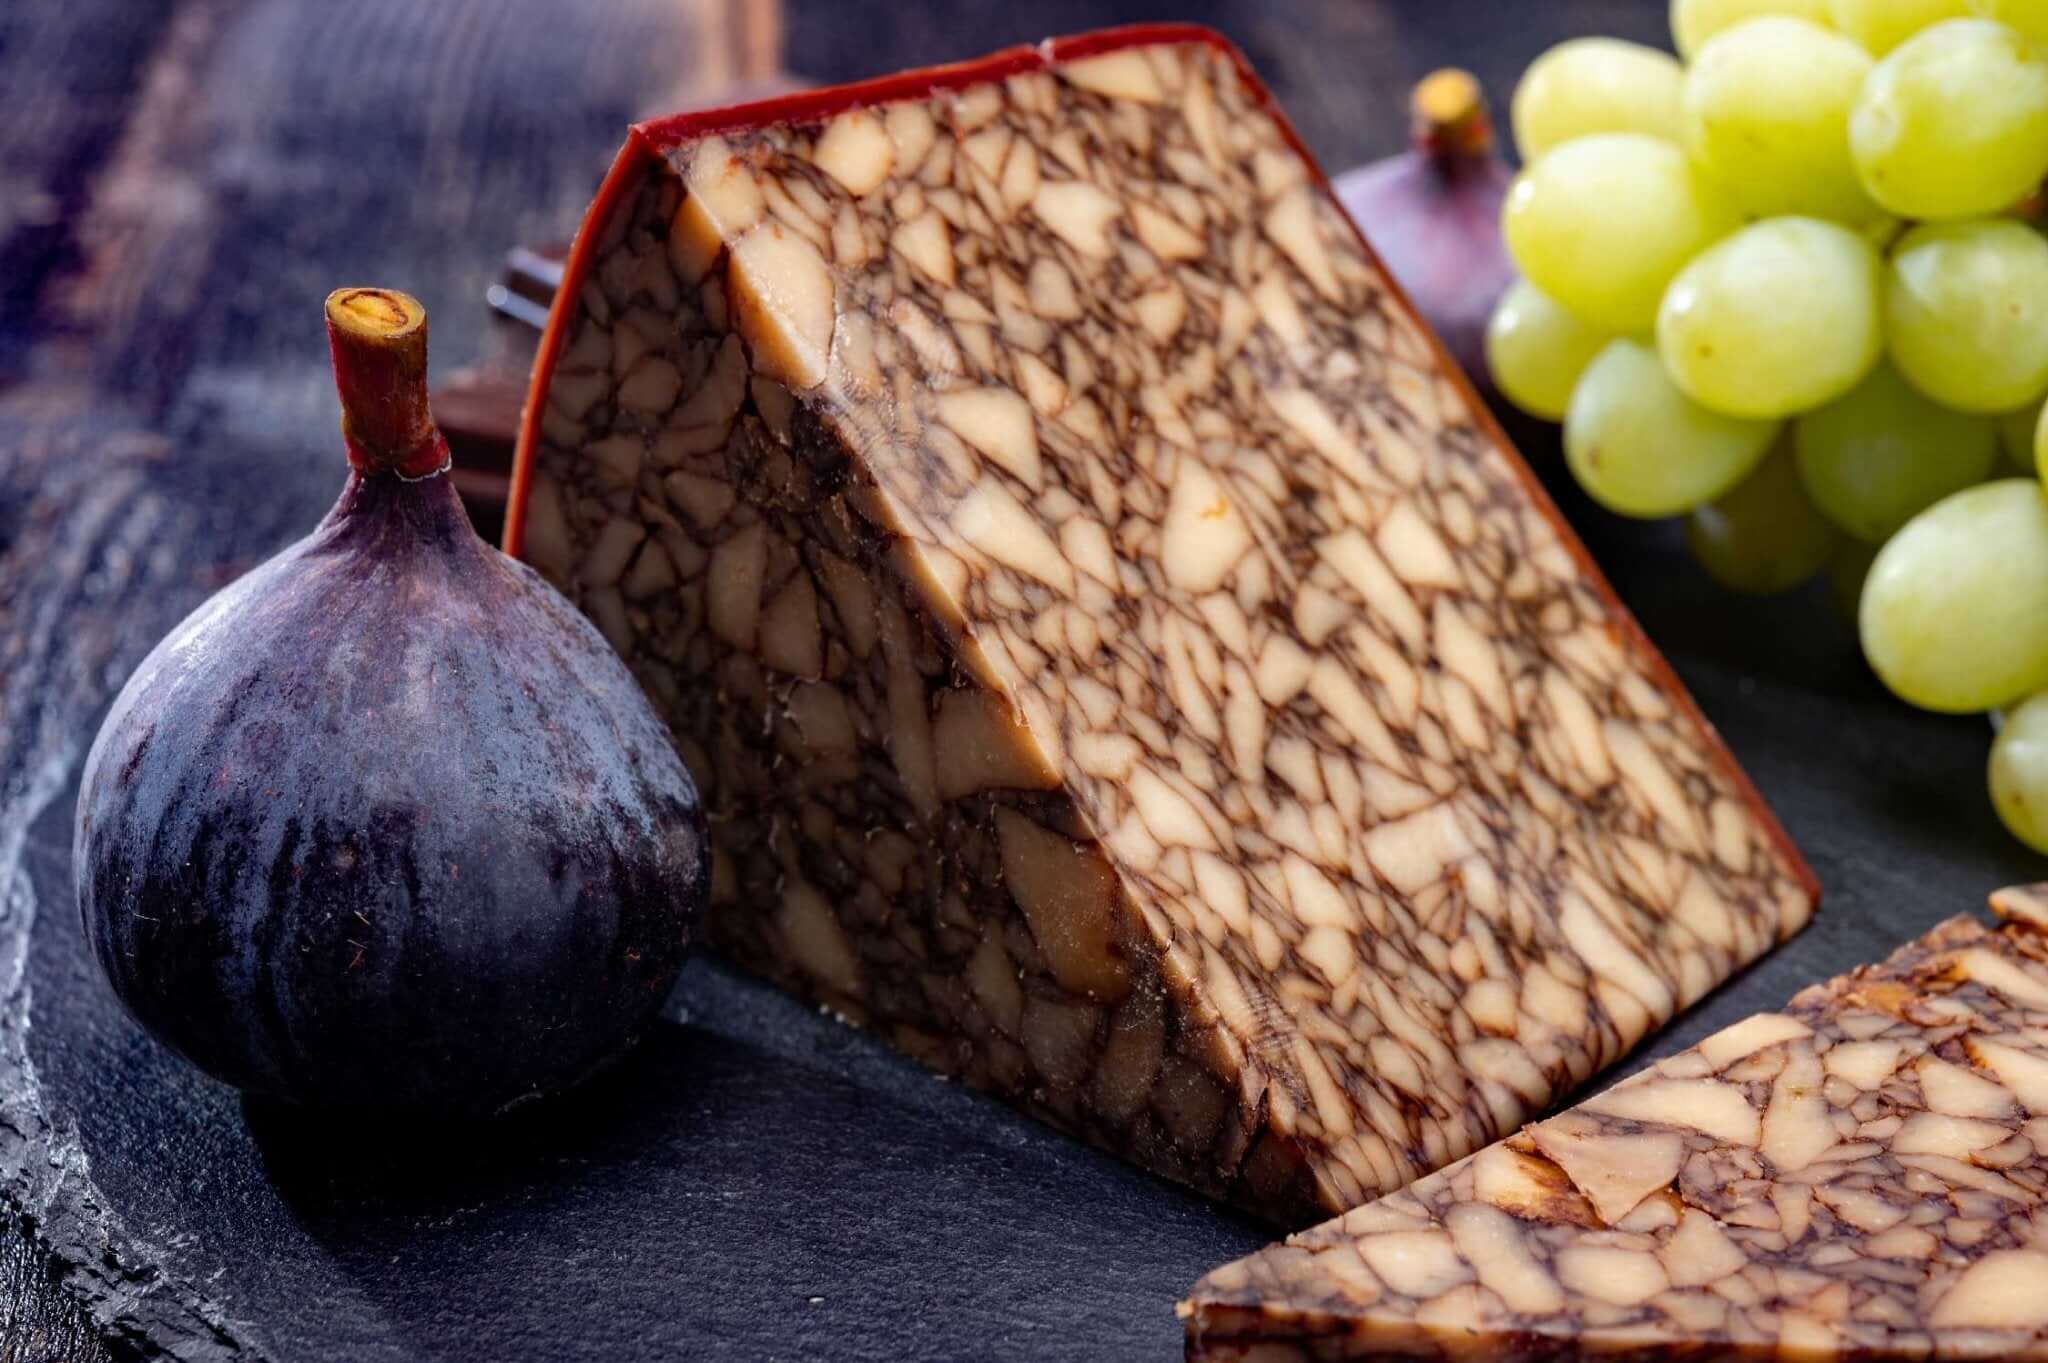
Italian Stout Cheese Making Recipe
-

Yield
4 Pounds
-

Aging Time
6+ Months
-

Skill Level
Intermediate
-

Author
Jim Wallace


Italian Stout Cheese Making Recipe Info
Italian Stout Inspiration
Italian Approach to Cheese Making
How Italian Stout Differs
Why Italian Stout Stands Out
Ingredients
Total price for selected items: Total price:

Instructions
With a few extra steps, this is a great choice for intermediate cheese makers who have made a few different cheeses already.
If a smaller 2 gallon size is needed just cut the culture and rennet by half.
-
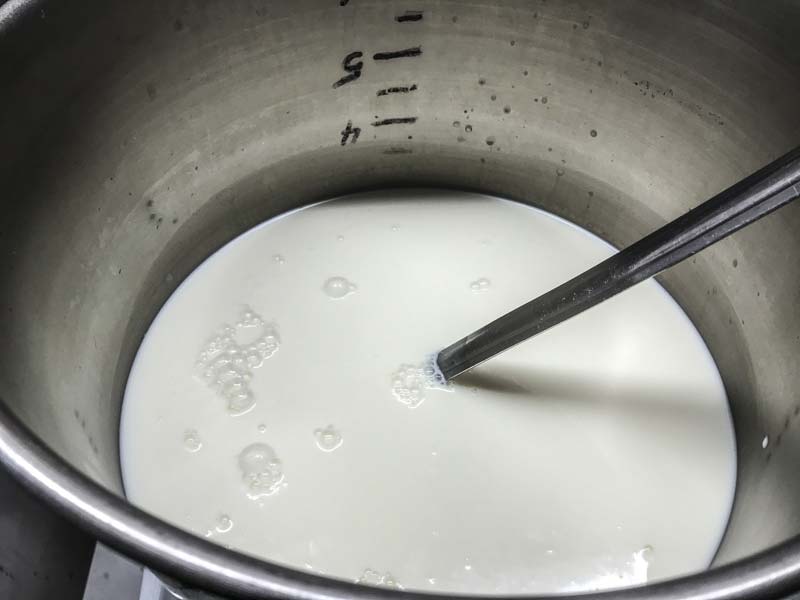
Heat & Acidify Milk
If using pasteurized milk add calcium chloride to milk before heating.
Slowly heat milk to 76F, then add cultures and let milk rest at 76F for 20 minutes. During this time the Mesophilic culture which adds a softening of the final cheese will be working.
After resting for 20 minutes increase the heat to 104F and let the milk rest at 104F for an additional 40 minutes. During this time the thermophilic culture will begin working.
-
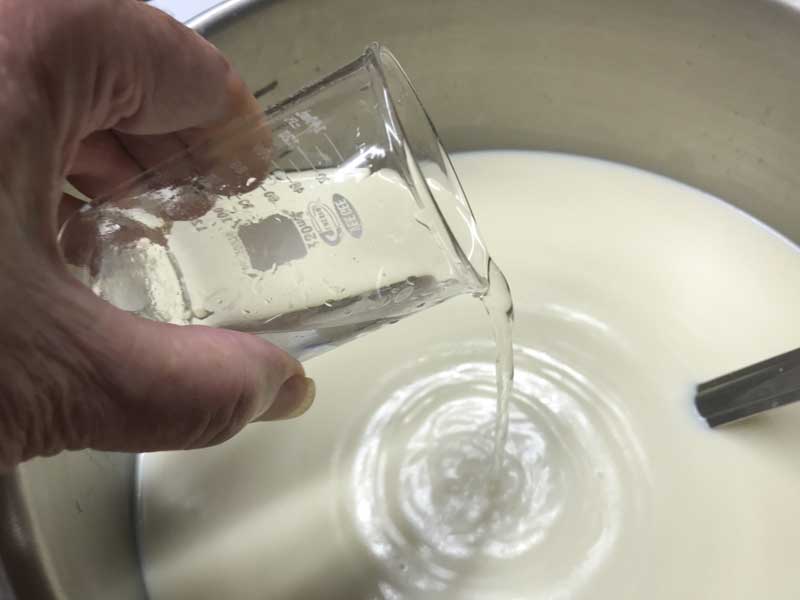
Coagulate
Add the rennet and stir in slowly with a bottom up motion for about 1 minute.
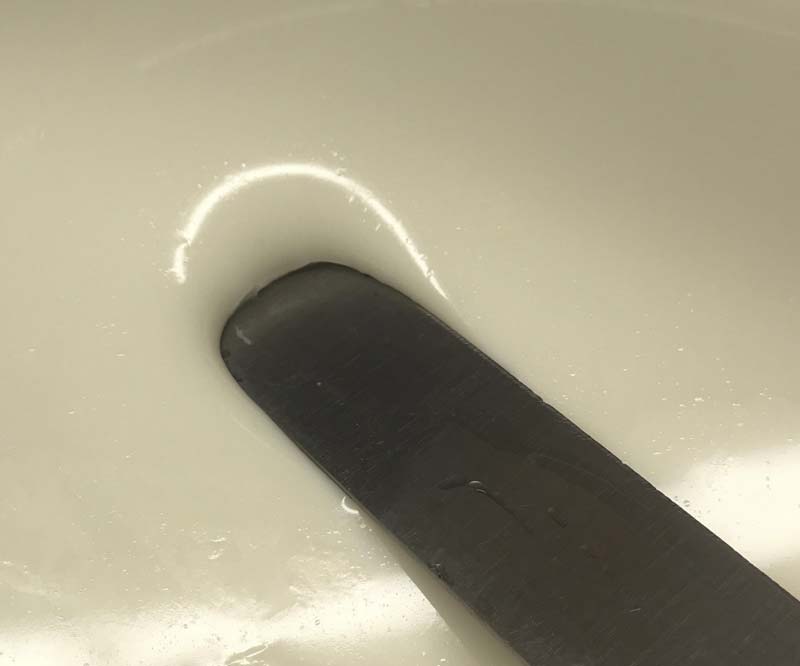
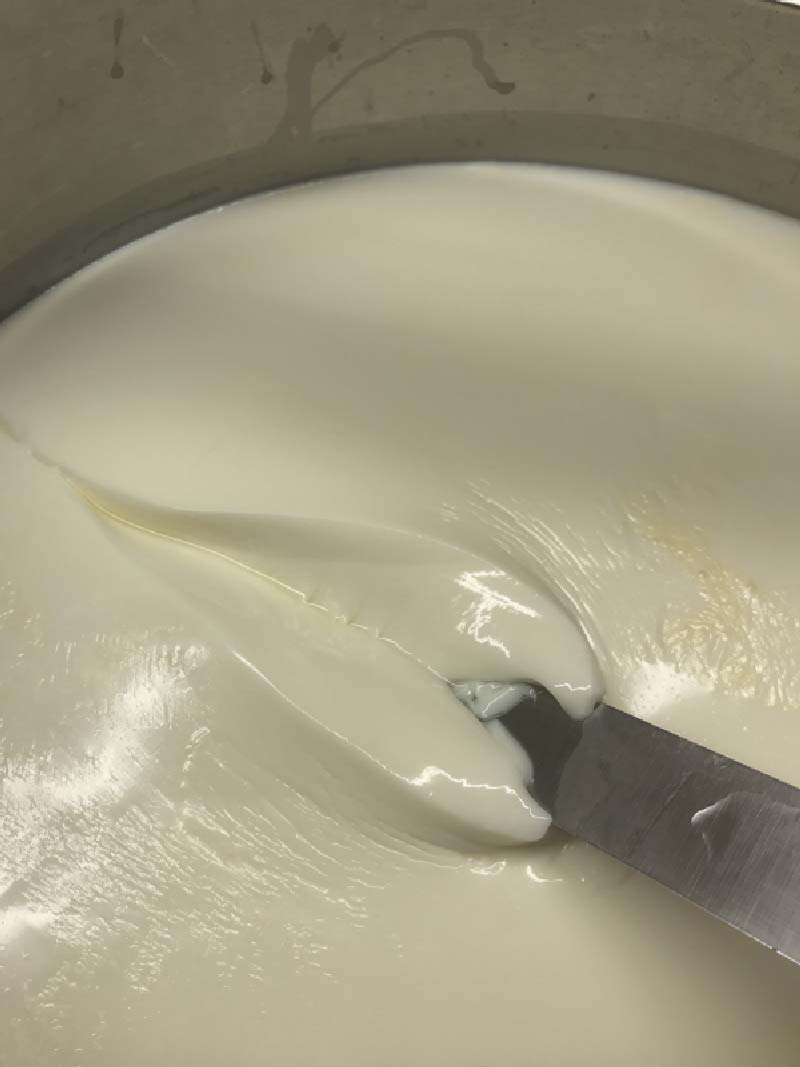
Allow the milk to sit quietly for another 40 minutes while the rennet coagulates the curd. The milk will begin to thicken at about 12-16 minutes, but allow it to coagulate to firmness at about 40 minutes.
Once set, check for a firm coagulation, if the curd seems to need longer, allow up to 50% more time (20 minutes). The next time you make the cheese, adjust the rennet amount if needed (more rennet for a quicker set).
Note: The thermal mass of the milk should keep it warm while the rennet is working. It is ok if the temperature drops a few degrees during this time, you can heat it back to temperature after cutting the curds in the next step.
-

Cut Curd
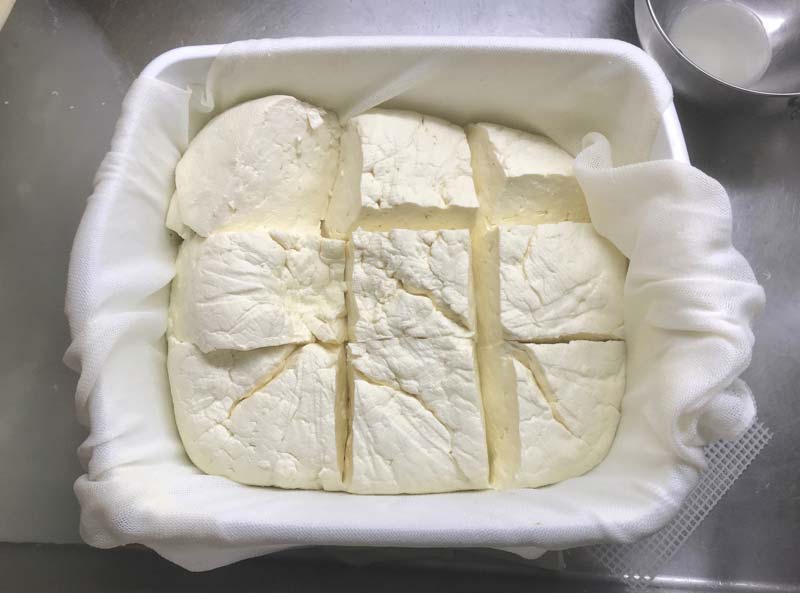
Once the milk has set well, it is time to cut the curd. This is the first step in reducing the curd moisture.
Cut the curd mass as evenly as possible into 3/4” vertical cuts. After cutting allow the curds to rest for 5 minutes, so the cut surfaces can heal.
Next, make a second series of cuts horizontally to cube the curd into 1/2-3/4” pieces. After this cut the curds should be about the size of a hazelnut.
Rest for 5 minutes, so the cut surfaces can heal. After the short rest slowly stir the curds for 5 to 10 minutes to release whey and slightly dry the curds. If the temperature has dropped heat the curd back up to 104F during this stir. After stirring, allow the curds to settle to the bottom and mat together.
Info: This is a departure from the UK cheese system and follows closer to the Alpine style cheeses.
The early draining of the whey in the next step will cause a more elastic curd in the end because little acid has been produced and more of the calcium is retained in the curd.
-

Drain Curds
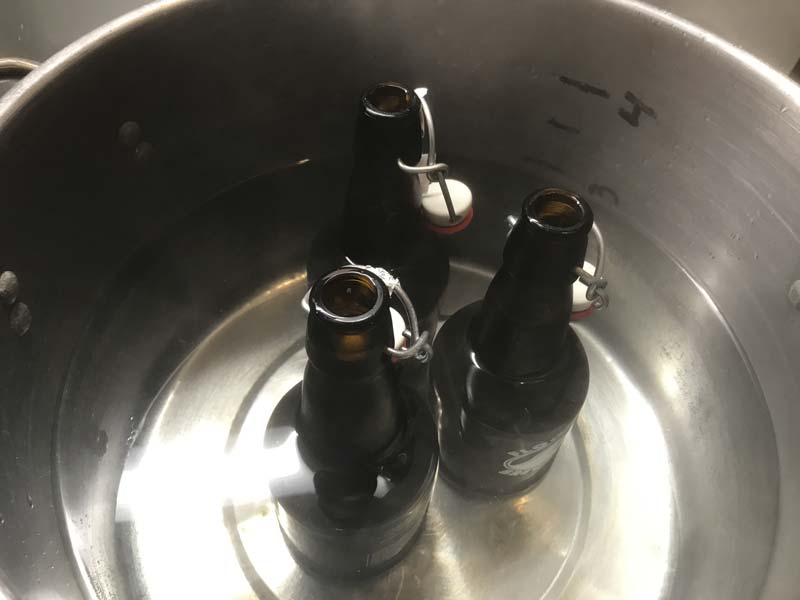
At this point, begin heating the beer to 130-135F by placing the open beer bottles in a hot water bath.
Once the curds have settled to the bottom of the pot, remove the whey until about an inch or so is left above the curd.
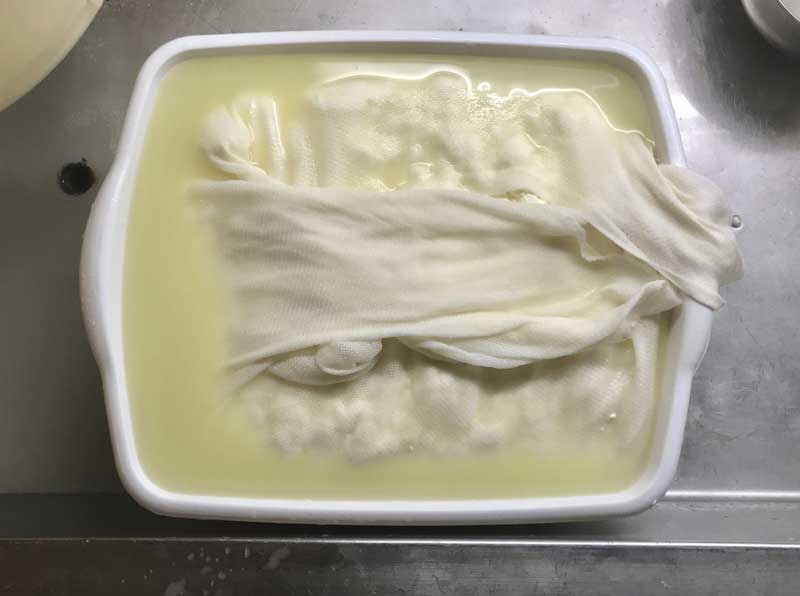
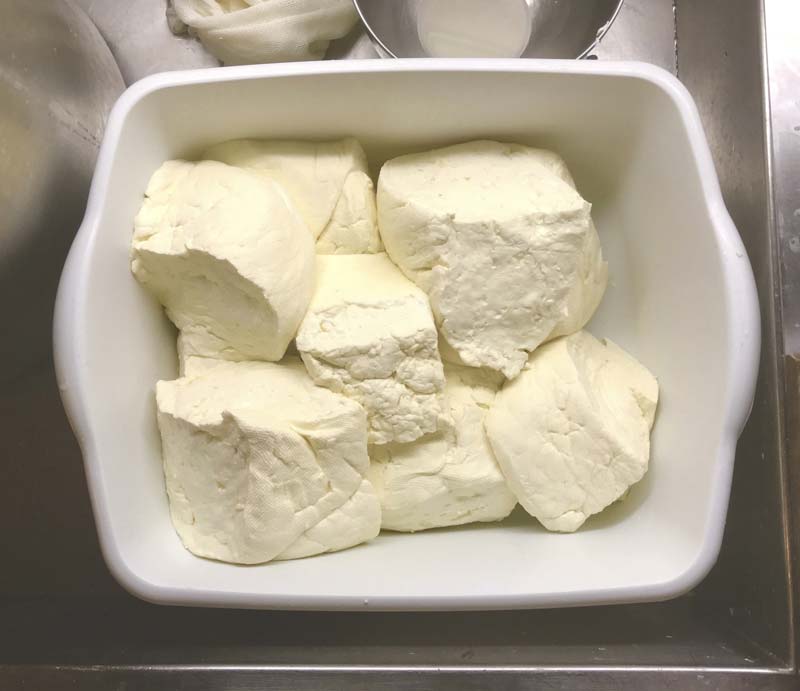
Transfer the curd and remaining whey to a cloth lined colander or drain pan. The curd is still only partially cooked, and will be quite soft.
Pull the cloth edges smooth and wrap over the top of the curd mass, tightening as it consolidates and releases whey.
Allow the whey to drain and the curd to settle into a single well consolidated mass for 10-15 minutes. Press a bit by hand to help this initial consolidation process along.
Note: The released whey will be minimal allowing the calcium to remain high and the cheese texture to be more elastic, unlike a traditional cheddar curd which is a bit drier.
-

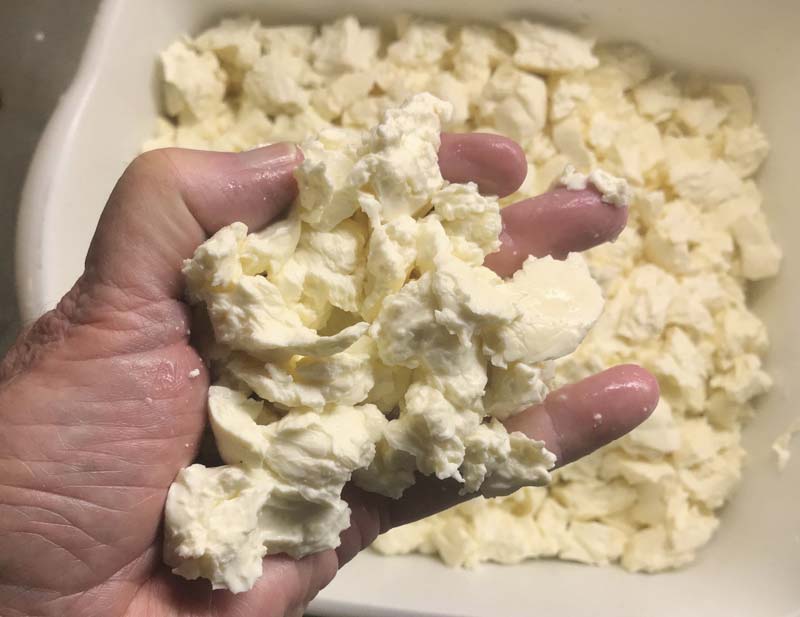
Break Curds
Break the curds into walnut sized pieces and place them into a pot or bowl large enough to hold both the curds and the additional beer. Torn curds are more interesting and seem to rejoin better in the press, but a knife can be used to cut it as well.
These curds should still be warm at 100-104F and the beer should be at temperature from its hot water bath, 130-135F.
-
Cook Curds
It is now time to begin drying out the curds. At this point the curds are still soft and need to be cooked to release moisture so they become firm enough for aging.
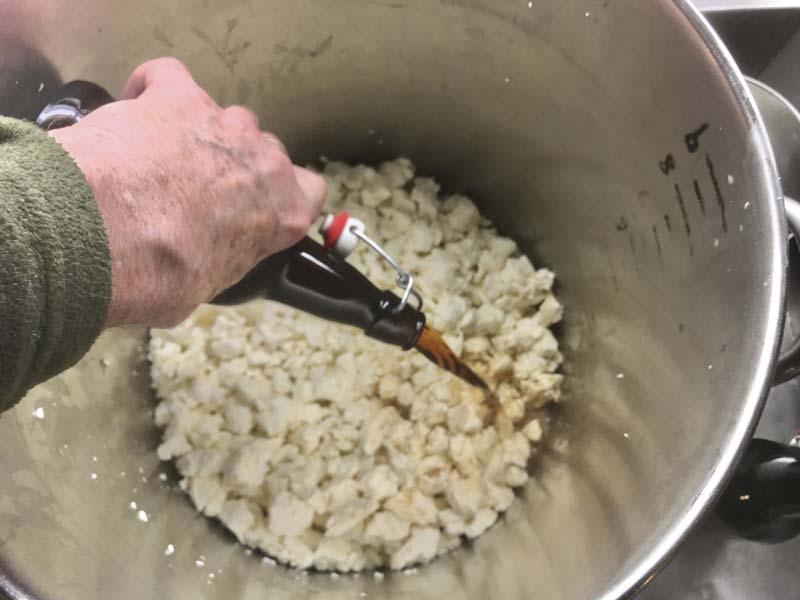
This process will be a lot like a warm water wash, except instead of water we use a very warm beer.
While stirring the curds, slowly add the heated beer by pouring it along the edges of the container.
Take care to do this gradually and mix well, so that all curds are in contact with the hot liquid; bringing them steadily into a temperature range of 112-116F. This heat gradient will pull the flavorful beer into the curds.
Once heated, hold the curds in the 112-116F temperature range (optimum for the thermophilic cultures) for a good 10-15 minutes while stirring.
After stirring check the beer’s integration by cutting a curd to see how deeply the color has penetrated. The beer should form a dark ring around each curd.
Also examine the curds to be sure they are cooked well through, and enough moisture has been removed. A broken curd should be firm throughout and have a moderate resistance when pressed between the fingers.
The final moisture in the curd will determine the aging time, with moister cheese needing less time.
-

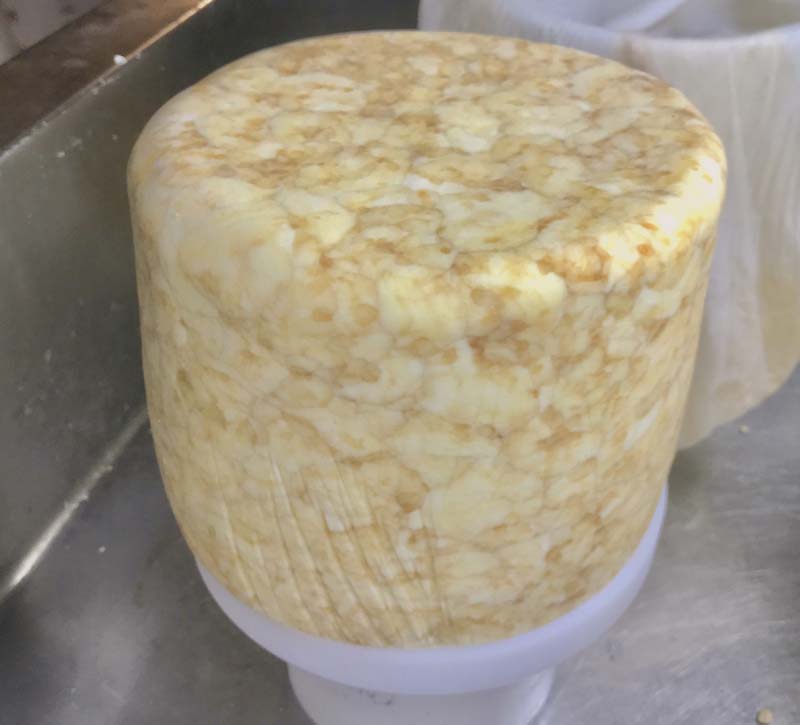
Molding & Pressing
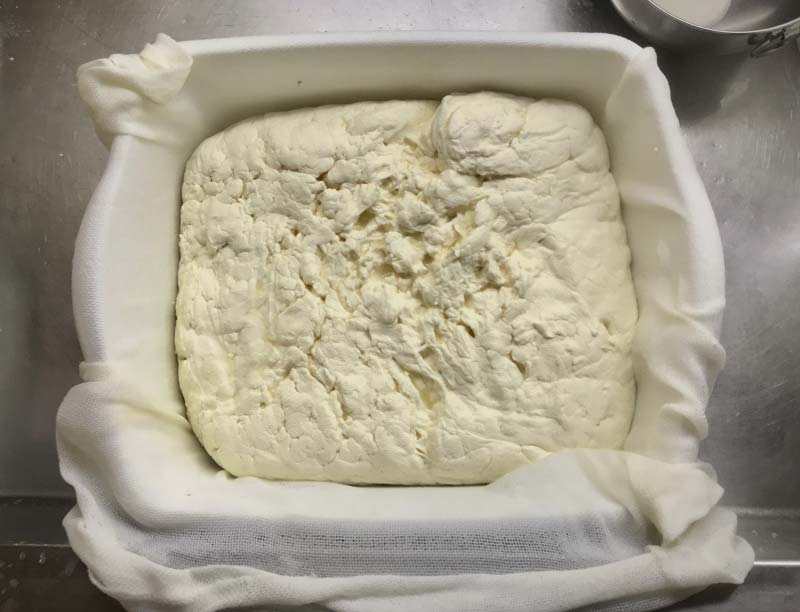
When ready the curds can be drained and transferred into a cloth lined cheese mold.
Pack the curds into the cheese mold, pressing firmly by hand. The curds should still be quite warm, and will consolidate quickly.
Once transferred into the cheese mold begin pressing with 10-12 lbs for 30 minutes. At first the residual free whey running off but as the curd is pressed and slowly cools, there should only be a consistent drip of whey.
After the first pressing remove the cheese from the mold, flip it, place it back in the mold and press with 25 lbs for another 30 minutes (if needed, add more weight until you see a thin stream of whey).
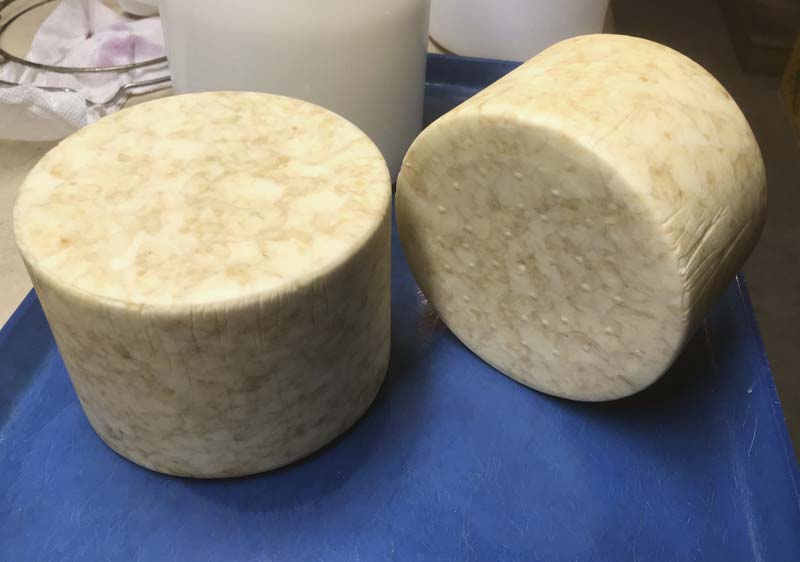
Un-mold, flip and re-mold the cheese once more then press with 25 lbs for 1 hour (add more weight if consolidation is slow or no whey appears). The total pressing time above should be about 2.5 - 3 hours, during this time the warm curds will have dropped to about 70-75F and the final weight of the cheese should be about 4 lbs.
When fully consolidated, remove the cloth and return the cheese to the mold. Place the molded cheese in a cool room to rest and cool overnight.
-
Salting
At this point no salt has been added to the cheese, but the falling temperature has gradually slowed the culture and acid development. The cheese at this point should have a similar final pH to a cheddar or Alpine style cheese at about 5.2-5.3. If desired, our simple pH strips can be used to check the pH.
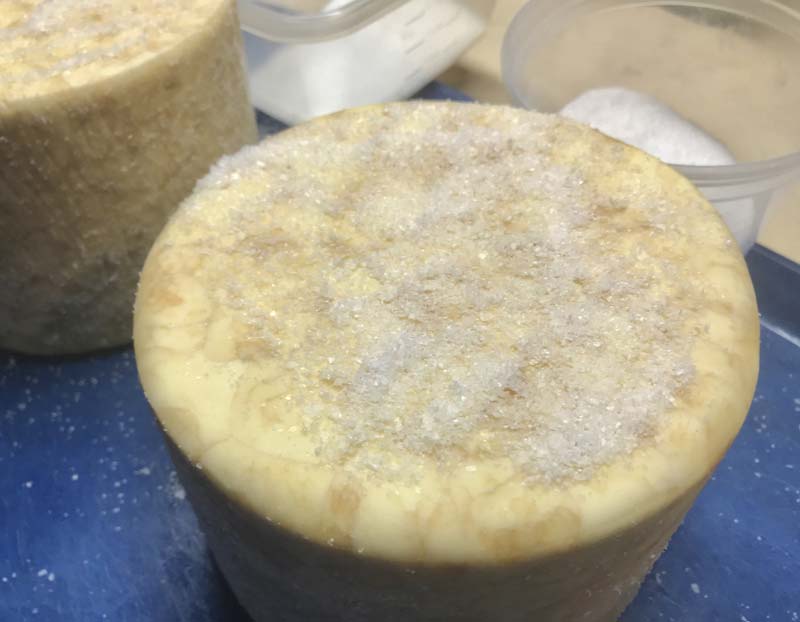
For this cheese I like to use a dry salting method because it impacts the surface much more than brining and will firm the surface substantially.
After letting it rest overnight in a cool room, place the cheese on a tray to collect any brine that runs off during the salting process.
For this step use about 2-2.5% of the cheese weight medium grain salt. Fine salts dissolve too quick while course salts take forever to dissolve.
Begin with a good surface dose of salt, rub it evenly over the top of the cheese.
In a few minutes, the salt will absorb enough moisture to have some sticking power. Pat the top with your palm, and rub what salt has stuck to your hand around the sides, coating the exposed portions of the cheese evenly.
Let the cheese rest on the tray, in a cool room, until the salt makes its own brine and sinks in. Return in the evening or following morning and repeat the process on the other side.
Continue salting in this way for 3-4 days.
Allow 2-3 days post-salting for the salt to begin to stabilize the cheese, and for the surface to dry a bit. Avoid any potential for cracking by using a cool room that is neither too dry nor too humid.
-
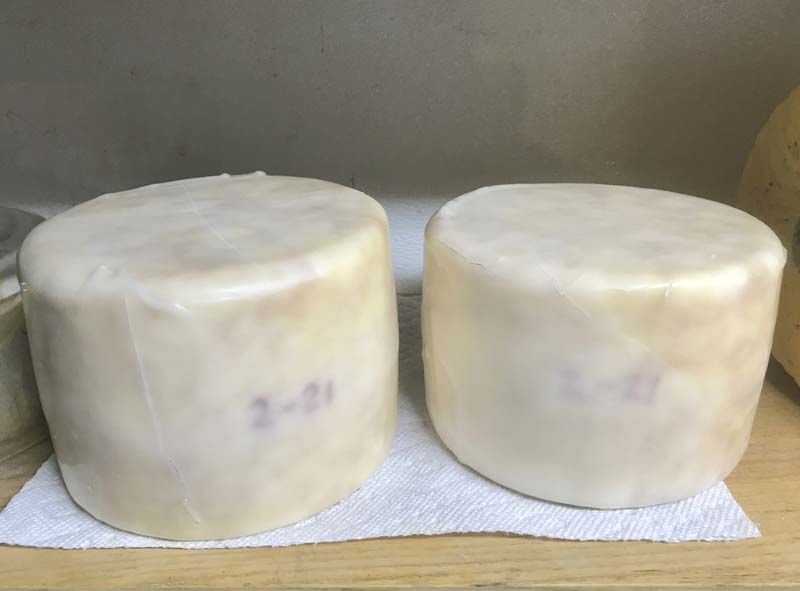
Aging
Once the cheese is dry enough it can be waxed and moved to an aging space, preferably at 52-54F and 80-85% moisture. Details on waxing your cheese can be found here.
The cheese can now be aged for about 5-10 months depending on moisture. A moister cheese will need less time for aging.
When determining the aging time keep in mind, too little and the flavor is short but too long and the maturity may override the nuances of the malt and milk combo.
We hope you enjoy this cheese and share a review or photo is you make it. Please send any feedback or questions through our contact us page. We love to hear from you. Happy Cheesemaking!
Cheese Making Supplies
Related Products
You May Also Like


