 How to Use Chalk to Identify Your Cheese
They say “it’s all in the presentation” and maybe it is! If you have taken the time to make your own cheese, why not take a few minutes to create a whey to show it off? It’s easy to do and the results are amazing. Examples of chalkboard signs, cheese boards, tablecloths, labels, etc. can be seen in Part 1 of this 2 part series – click here.

Book by Valerie McKeehan–click here
Preparing the Surface
Whenever you are using chalk, it’s important to “season” the surface first. This prevents your images from staying on the board, in black, after you have wiped off all the chalk (called “ghosting”). To season the chalkboard, run a full sized piece of chalk, on its side, over the entire surface of the chalkboard. Rub it in well and then erase it.
Tools
Chalk pencils
Pencils, like the two in the picture below, are meant for use on fabrics (to make marks when sewing). But, they can be used on any kind of chalkboard. The lines will have to be removed with a damp cloth and, if you press hard with them, they may leave marks on your surface.

Mechanical chalk pencil, chalk pencil, chalk marker, and chalk. Photo from Jones Design Company
Chalk markers (also called liquid chalk or chalk ink)
There are many different brands of these markers. The colors are beautiful and they can be blended when wet. They are meant for non- porous surfaces, so, do not use them if you have painted a wood surface with chalkboard paint. The one drawback is that they don’t really look like chalk.

Photo from Huffington Post
Chalk crayon
You won’t be able to smudge with this chalk, but, if you don’t like the feel of chalk dust, this will work fine for you. (Butterstix)
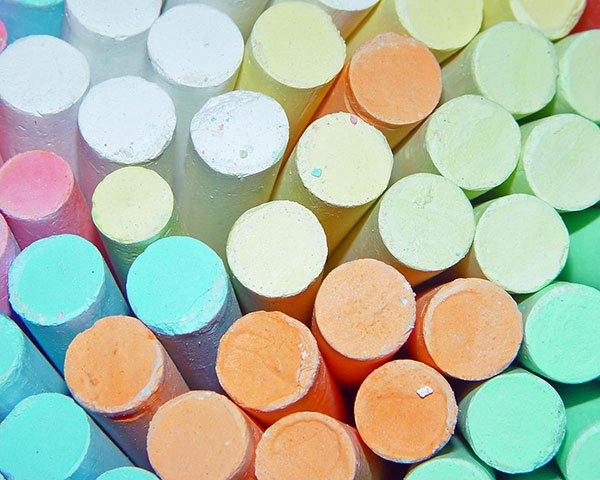
Plain old chalk
You can sharpen chalk with a pencil sharpener. Then, use it wet by constantly dipping it in water. When it dries, it will look darker and crisper. (Note: Some artists seem to like Crayola Anti-Dust chalk because they say it’s denser than other brands.)

Photo from Huffington Post
Drawing a Picture
There are many YouTube tutorials about chalk drawing techniques. One which I think can open a world of possibilities for you:
Transferring a Drawing to a Chalkboard
After you have done a drawing, turn it over and rub it all over with a piece of chalk (laying on it’s side). Turn the drawing over and place the drawing where you want it on the chalkboard. Rub the drawing with a soft-tipped pencil and the pressure will transfer the chalk to the board. When you remove the paper, go over the drawing with chalk to finish it off.
If you want to go from a small drawing to a large chalkboard drawing, take the drawing to a Staples and have it made larger. (If it’s on your computer, save it on a usb flash drive and bring it with you to the store.)

Photo from inmyownstyle.com
Protecting Your Work
You can spray your work with hairspray if you want to make it permanent. The best kind to use would have little or no alcohol in it (alcohol would be listed after water as the main ingredient) and no silicones (including dimethicone or trimethicone).

Photo from littleredwindow.com
Cleaning the Board
Use damp rags- not paper towels, which will leave paper residue. Use wet Q-tips to get into small areas.
Making Your own Board
You can paint almost any surface with chalkboard paint. The most common colors are black and green. However, there are many different colors, depending on which brand you buy (Valspar or Rustoleum or Benjamin Moore, for example).

You can even make your own paint: Pour 1 cup of paint into a container. Add 2 tablespoons of unsanded tile grout (or, you can use baking soda or cornstarch). Mix with a paint stirrer, carefully breaking up clumps.
When you have made your paint, apply it with a roller or a sponge paintbrush. It’s best to do more than one coat and sand between them. Be sure to season the surface (as explained above) before using.

Chalkboard Tablecloths
You can make your own chalkboard tablecloth, using one of several methods:
1. Following Martha Stewart’s directions:
- Buy a piece of canvas
- Tape off the area you want to show
- Mix grout with flat latex paint and painting on 3 coats
- Sand the painted area
- Pull off the tape
- Draw with chalk
- Wipe off and re-use

Photo from Martha Stewart video- How to Make a Chalkboard Tablecloth
2. Spraying paper with chalkboard spray paint and use that for your tablecloth.

Photo from A Thoughtful Place.com
3. Buying chalkboard paper

Available on Amazon – Chalkboard Contact Paper – 18″x 78″ for $6.19
Sources for paper:
Etsy – Black Kraft paper – 30′ x 24″ for $14
Michael’s – 10′ x 14″ for $9.99
Oriental Trading – Table runner 90″ x 17″ for $3.49 – click here
Sources for fabric:
JoAnn Fabrics – 27.5″ wide for $7.99/yard – click here
Amazon – vinyl – 48″ wide for $8.70/yard – click here
Nancy’s Notions – 47″ wide for $10.49/yard –click here
Other Options
Black foam boards:
Michael’s – 16″ x 20,” 3/$9.99
Amazon – 8″ x 10,” 3/$5.55 – click here
A-frame chalkboards:
Displays 2 Go – 18″ x 26,” 2-sided w/removable boards for $66.12
Gallery of Cool “Cheese & Chalk”

By Kyle Tweedy for Whole Foods

Crate & Barrel, set of 6 for $12.95 – click here

DIY Cheese Chalk Boards at Trend Hunter – click here

Blackboard Artworx – click here

DIY Chalk + Cheese Board at Yenmag.net

Chalkboard Table Runner at Jackie Fogartie Events – click here
If you have made your own chalkboard, send us a picture! info@cheesemaking.com


