 Cheese Planning Helper
By Bob Albers*
Like most of us, I love to make cheese. Because I don’t have my own cheese factory, I use the kitchen. This causes a bit of conflict with my wife who asks “When can I have my kitchen back? I need to start supper.”
Don’t get me wrong. As much as I like making cheese, I like eating. In order to help me answer that question and not spend the rest of my life with a loaf of bread, a jug of moonshine & Phideaux beside me in the doghouse, (that’s Fido for those of you who don’t know Cajun), I came up with a time computing spreadsheet. Using it, I can see which step in the recipe I’ll be at- at what time. I can also use it to adjust my intended start time to avoid conflicts with other events like relinquishing the kitchen so my wife can cook dinner. Let’s see how I use it:
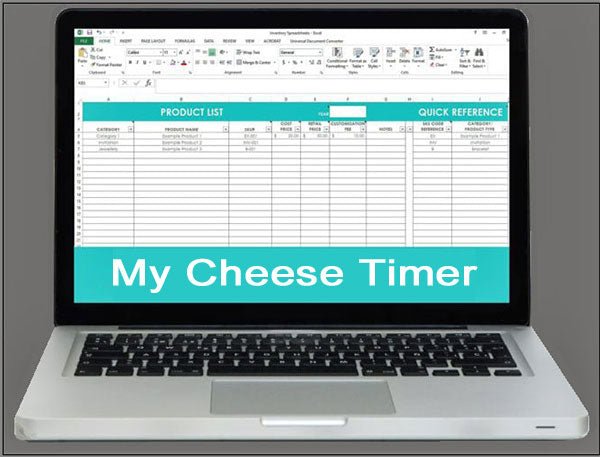
The master file is in my computer it is called “Cheese timer.xls.” (For your own file, click here.) When I open that file, my computer screen looks like this:

Now, just so I don’t damage my original file, I will immediately save this as “
Now, I see the recipe that I am going to use has 10 steps so I need to add steps 3 through 10 in column A, like this:

As I read the recipe, I can see how much time each step will take. I’ll enter the time in minutes in Column D. As I make each entry, the spreadsheet will automatically post expected times in columns B & D based on my expected start time in cell B2. For now, we’ll leave the start day & time alone. Although it isn’t the real thing, we’ll work with it later.
I think it will take me about an hour to gather all of my equipment, ingredients, sterilize everything and get the milk up to the starting temperature. I’ll put 60 in cell C2. Notice that all times that I enter are in minutes. For determining the number of minutes for anything, there are handy time converters in columns F & G. Let’s say that I need to know how many minutes is 4 hours. I simply enter “4” in cell F2 and get the answer in cell G2. I can then enter that number as the time for the step in consideration.
Now, as I read my recipe, I see something like “Sprinkle the culture atop the milk and allow 2 minutes for it to re-hydrate.” So, C3 should be 2. This is followed by “allow the milk to ripen for 30 minutes.” That’s what I should put in C4.
As I read the recipe, I see how much time I need to work each step. Some steps are “do something constantly for so many minutes,” others are “do something and wait.” I could put a notation about that in column E. Perhaps a “w” for the “do and wait steps” and something else for “do constantly for…” After filling in all the time allowances for each step, the spreadsheet might look something like this:

Now, its time to propose a real starting time. See the format of the date & time in cell B2. It is in the format of mm/dd/yy hr:min AM or PM. The intervening single spaces between the date, time and AM or PM are required exactly as written. I propose to start at 9:00AM on November 1 so I enter “11/01/17 09:00 AM” in cell B2. The resulting spreadsheet is as follows:

Notice that all of the dates and times have been automatically adjusted based on the newly entered dates and times.
It’s clear that step 5 will span the lunch hour. If it is one of those “do and wait” things, there won’t be a conflict for use of the kitchen, but if it is a “do constantly for x minutes,” I see that I need to adjust my starting time to avoid sharing space with Phideaux. Also, since step 8 is “press the cheese for 8 hours at 30 lbs.,” it won’t conflict with dinner either. It looks like the next step is a 2 day thing but it doesn’t entail tying up the kitchen either.
Note: I got the number 2880 by entering 2 days in cell F5.
The remaining step is perhaps “wax the cheese and age for 6 months.” So, I enter 6 in cell F11 and find that 6 months is 259,200 minutes. I enter that value in cell C11 to see that my cheese should be ready to eat on May 2 of next year. I don’t think the time of day is important here.
At the end of this planning phase, I will save the spreadsheet under it’s new name. I can also print it out if I want to have a handy reference as I make the cheese or share with another. Printing is optional as the computer version is a “live” document.
Now, lets consider how we might use the spreadsheet during the make. Assume that, in step 4, we don’t have a clean break at the planned time. If we take another 15 minutes and enter the new duration in our computer, all subsequent times will be adjusted. This would be true for any other step whose time didn’t go as planned. For instance, the 2 days allowed for drying the cheese took 2½ days instead, so, we can adjust the 2880 in C10 to 3600, thus affecting our ready date.
At the end of the process, the spreadsheet should be saved under it’s new name, printed and attached to the make sheet for the cheese. I also like to include a copy of the recipe with the filed notes. As I make more and different cheeses, I will have a ready collection of spreadsheets for each type of cheese I make and I will be ready to start a new cheese with most of the data already entered.
There is an additional use for the spreadsheet. Look at the bottom of the sheet. You will see 2 tabs. One says “Sheet 1” and is what all of the above writing is about. The other tab is labeled “Sheet 2.” Now, let’s say that you would like to make a cheese to be ready by a certain date. Select sheet 2 of the sheet you have already set-up for that particular recipe. In cell A3, enter the previously used start day. In cell B3, enter the known end day associated with that recipe. I noted that in 2018, Chanukah begins on December 3rd, so let’s select that as the day we want to have our cheese ready. We are suggested to start the cheese on November 9th of this year.
Remembering that we are in the digital age, it isn’t necessary to print anything. A copy of the recipe, make sheet and timer spreadsheet can all be included in the computer as a single document. Trying to implement this spreadsheet as a hand-written document, calculating all the times by hand would be enough to make anyone simply go out and buy the cheese.
Unlike other aids, this one is intended to be used primarily for planning with the computer/notepad and not committed to a hard copy until later, if ever. I hope you find this useful.
 *About Bob
Bob is a retired electronics engineer who has traveled all around the world, but now lives in Mandeville, Louisiana. He has written 10 articles for us so far (including this one), and we have done one about him (click here). We’re very grateful to him for his contributions to our community of home cheese makers.
These are his previous articles, listed in order with the most recent at top:
Calculating Weights for the Dutch Style Press
Be a Court Appointed Special Advocate (CASA)
Kummelkase (Caraway Cheese)
Cream Cheese Experiment
Bob’s Homemade Curd Cutter – Part 2
Bob’s Homemade Horizontal Curd Cutter
Making a Drying Box
About Cooking Curds
Creole Cream Cheese


