


 |
| Doug Lumley |
An Italian cheese made by a Brit for our U.S. blog!
Doug Lumley and his wife, Jan have started a new website for “do it yourselfers” with cheese making as it’s predominant focus.
This is a British based website (www.theweekendartisan.co.uk) with step by step guides and dates for their ‘Cheese Making Courses‘ in Winchester, UK. Besides cheese, there is much more; bee keeping, home curing and preserve making, alongside tips and articles on home baking and horticulture.
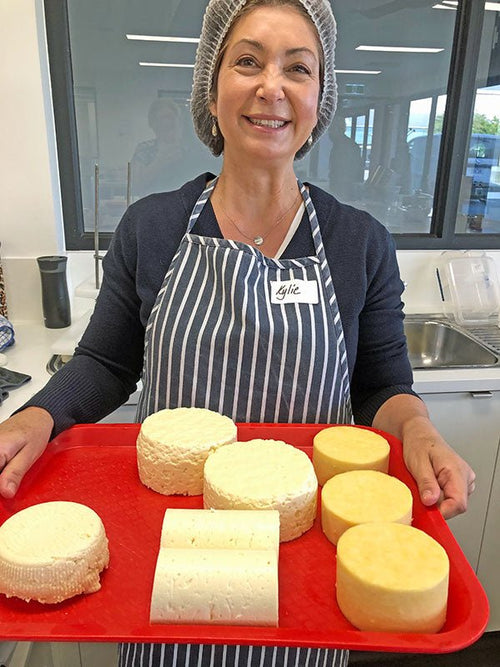
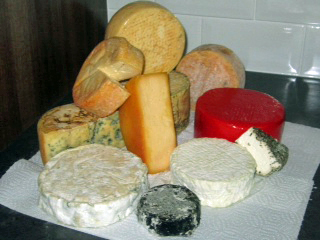 |
| Some of Doug Lumley’s cheeses |
Recently, in an e-mail, Doug mentioned the names of several cheeses he was currently making, including Asiago Pepato. I was thrilled because although we have a recipe by Jim Wallace for Asiago at our website, we have never featured a tutorial about it here.
I asked Doug if he would be interested in documenting his recipe for us, and, he was. He made the cheese last weekend, posted the tutorial on his website and then sent it to us. So, it’s “hot off the presses!” With much gratitude to Doug, we present his Asiago Pepato:


Hello, my name is Douglas; I live near Winchester in the UK. I am a hobbyist cheese maker, I also run home cheese making courses, along with encouraging others to make more food from scratch for themselves.
I have a website; www.theweekendartisan.co.uk, and I am on Twitter @saturdayartisan. I make lots of different cheeses (check out my website) especially Italian cheeses. Asiago Pepato is one of these, try it, it’s a lovely cheese.
Asiago Pepato
By Doug Lumley at The Weekend Artisan
Ingredients:
Asiago (Figure 1) is a pressed cheese from the Venetto region in the north east of Italy, to the south east of Lombardy. The area is home to lots of well known cheeses which include Taleggio, Montasio and Bastardo del Grappa.
Asiago has that lovely spongy paste which gives slightly, but holds when pressed between the fingers. Traditionally it is made with either cow’s or blended cow’s and goat’s milk.
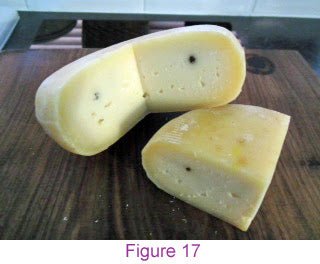
In this recipe, as can be seen in Figure 2 it has peppercorns through the centre which gives it a lovely bite, and it looks intriguing when served on a cheese board to those who don’t know the cheese.
9 litres, (2 gallons) semi skimmed milk (2% fat)
¾ tsp thermophilic starter
½ tsp calcium chloride diluted in ¼ cup of water
¾ tsp of liquid rennet diluted in ¼ cup of water
1 to 1½ tbsp black, green or mixed peppercorns
Cheese salt for brining (Medium – Heavy Brine, 20% brine, 26 oz salt to 1 gallon water).
Method:
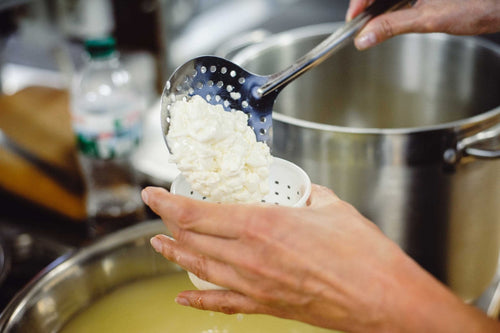
Place the milk in a stainless steel 10 litre pan (2.6 gallons), slowly heat the milk to 92°F or 34°C then turn off the heat. (Figure 3) This should take about 30 minutes to reach temperature.
Sprinkle the starter over the milk and mix using a slotted spoon or whisk. Let it rehydrate for 5 to 10 minutes, then add the calcium chloride and mix in.
Leave the milk to mature for about 45 minutes.
Add the rennet and leave it to stand until a clean cut can be achieved. (Figure 4 and 5).
Cut the curds into ½ inch (15mm) pieces (Figure 6) and let it sit for 5 minutes (Figure 7).
Switch the heat back on and slowly raise the temperature to 104°F, 40°C, stir, then stand for 15 minutes before raising the temperature to 118°F, 48°C.
During this process the curds will shrink to peanut size. Let it rest for 20 minutes.
If, like me, you are lucky enough to have a Laude Gouda mould, you can just half fill the mould (Figure 8) place the peppercorns in (Figure 9), fill the mould and press at 20 lbs for 6 to 8 hours (Figure 10), turning once during that time. I think this mould makes a beautifully shaped cheese.
Please note how the New England Cheese Press works just as well with my Laude Gouda Mould (Figure 11).
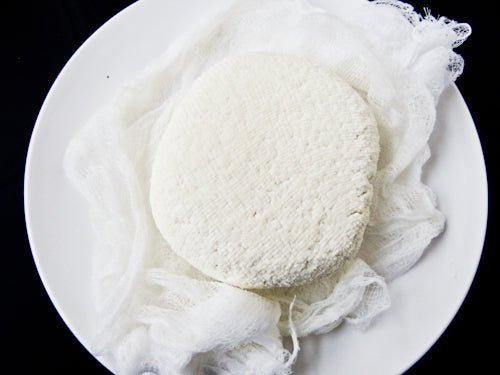
Alternatively, place a damp cheese cloth in one 8 inch mould or two 4 ½ inch Italian cheese draining baskets.
Half fill the mould with curds and fold over the cloth, press down gently, fold back the cloth and distribute the peppercorns over the cheese.
Put the rest of the curd in the mould or moulds then press at 8 lbs using a follower.
After one hour, remove from the mould, turn and replace in the cloth and mould, then press at 8 lbs for 8 hours.
Make up your brine @ 20% as above, just over ½ gallon should do because of the size of the pressed cheese (Figure 12).
Soak in the brine for 12 hours turning regularly to ensure each side is evenly covered. Alternatively, what works quite well and ensures total immersion in the brine is to put a plate on top (Figure 13).
Remove from the brine, pat dry and leave to air dry at room temperature for 12 hours (Figure 14).
Then place in a ripening box (Figure 15) with a loose lid , put in a cool environment about 54°F, 15°C, turning twice weekly for 3 or 4 weeks, continue to clean with a brine solution once a week. I sometimes dress with olive oil to retain moisture in the rind.
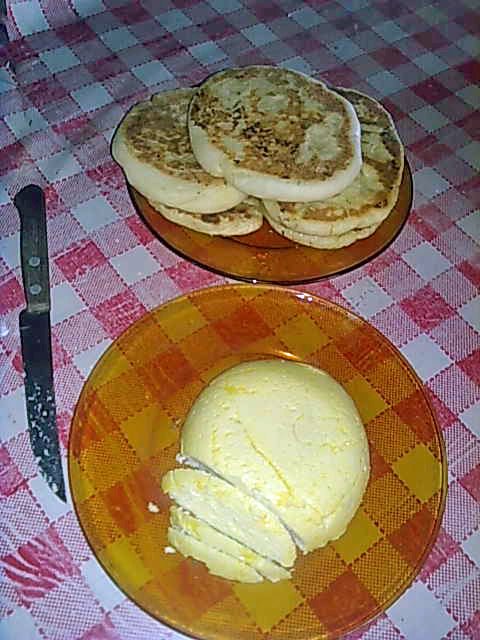
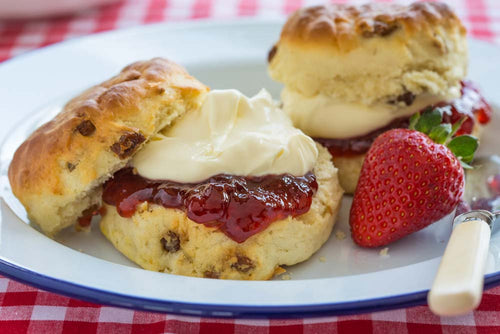
Aged for 4 months, it is lovely (Figure 16 and 17). Try it with crusty bread, a good butter and some tasty chutney (see my website for a recipe), along with a nice Merlot. It is a cheese that will also be excellent with a decent crisp Chablis, or even a dessert wine such as Chaudelune or the difficult to find Picolit, even a good Madeira wine is worth a try.


