


 |
| Flood in August, 2012 in Iloilo City, Philippines |
This is the third in a series based on letters from Richel Parreno, a biologist who is staying with her in-laws in Iloilo, Philippines (Part 1).
Richel has been trying to help the family after a flood damaged their home by demonstrating the many ways they can use goat’s milk. One way is to make the kind of cheese they are used to eating – “Velveeta:”
Making “Velveeta”
By Richel Parreno
This recipe was compiled from multiple sources, mainly http://thelibrary.org/lochist/periodicals/bittersweet/sp78l.htm, plus my own experience. It is written for people who have access to raw milk, but do not have fancy things like thermometers, cultures or even a modern stove. This will show how easy it is for a beginner to make a nice cheese, under less than ideal circumstances, and without having to wait for 3 months to eat it.
 |
| Two jars of clabbering milk |
The following ingredients will make about one to one-half pounds of cheese:
1-1/2 gallons fresh raw milk
4 tablespoons butter
3/4 teaspoon soda
2/3 cup very thick sour cream (skimmed from the milk)
1-1/4 teaspoon sea salt
1/2 teaspoon yellow coloring (if desired, I don’t)
Note: Because I have only one little goat, I’ll be making a half-sized batch, using about 3 quarts of milk, so my expected yield will be around 2/3 of a pound.
First, clean everything very thoroughly. Start with hot water, then finish up with scalding hot water. Don’t use chlorine unless you rinse out every trace of smell, as it may kill the organisms you’re trying to cultivate.
Let the milk set in a warm, shaded place and skim the cream off when it has risen.
 |
| Lumpy, bumpy cream layer |
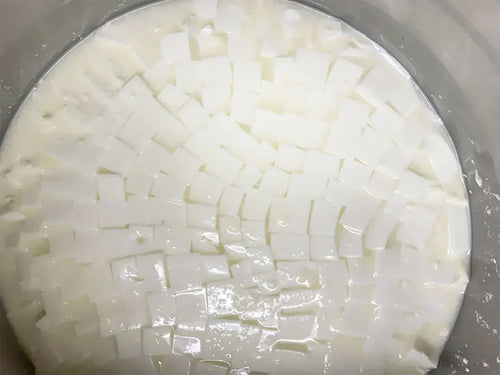
Set the cream and milk in separate containers in that warm place to let them sour. (If you’re lazy like me, you can just leave the cream floating on the milk until they both sour, and then separate them. There’s a clear distinction in color and texture, so it’s easy to tell when to stop.) Taste the cream and when it is sour, save out 2/3 cup for later use. Let the milk set until it clabbers (at this point, it will look rather like yoghurt), about two or three days, depending on how hot the weather is. When the curd is thick and soured it is ready to cook. If you wait a little longer, the curds and whey will separate into something related to cottage cheese. But that’s not the recipe I’m doing just now.
Note: If using pasteurized milk instead of raw, add a Mesophilic Culture like C101 to your milk, or it’ll just go rancid instead of souring. Also, if using homogenized milk, the cream won’t separate.
Note: A clabber is more delicate in structure than a set with a commercial culture. Handle it gently.
 |
| Clean break on clabber |
 |
| Clean break up close |
Heat the thick clabber in a double-boiler until the pan is too hot to touch (don’t you love measurements like that?), stirring frequently to separate the whey (the watery substance) from the curd (the soft coagulated portion). This simmering will take about half an hour.
 |
| Cooking the clabber |
When the curd becomes rubbery (kind of like scrambled eggs), it is time to drain off the whey. Don’t line your colander with muslin. Pour the curds and whey into a colander, pressing down lightly to remove as much whey as possible, but not enough to force the curds through the colander.
 |
| Curds at scrambled egg stage |
 |
| Curds and whey |
 |
| Curds in colander |
Then place the curds in a strong, clean cloth (I’m using an old handkerchief, for larger batches you might use a pillowcase.) and squeeze out all the remaining liquid so that they are very dry. Put all of your strength into this. If the curds are not dry enough the results will be a poorly finished product (grainy and sour). I find it best to break up the curd ball and squeeze it a second time.
 |
| Drained curds |
 |
| Squeezing curds |
 |
| Curd ball |
Note: Be sure to run the whey through your squeezing cloth later, or you’ll loose all the fine curds. That’s about HALF of the yield, and that’s WAY too much to throw to the dogs. It’s hard to squeeze dry though, and will muck up your cheese, so use it for ricotta or something.
 |
| Curds from salvaged whey |
 |
| Salvaged curds and curd ball |
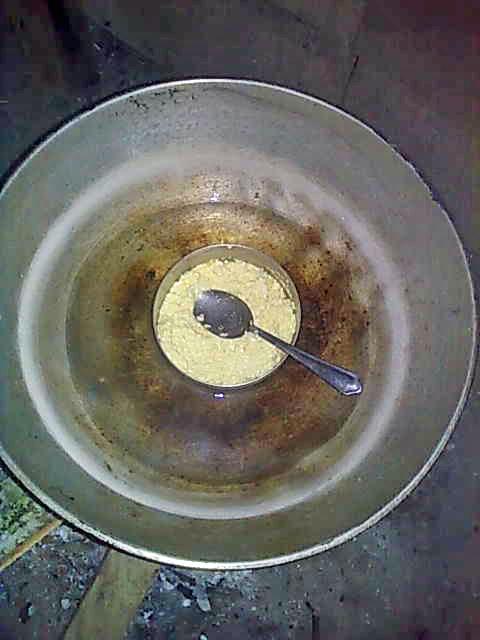
Place the dry curd in a bowl with the butter and soda. Cut butter and soda into curd until well mixed. One source says to cut the curd to the size of a kernel of corn, but mine always seem to reduce to a mince. Press down and let it set out for at least two and a half hours. It will not hurt the cheese if it sets all night. (I put mine in the frig overnight to keep the critters out of it.)
 |
| Curd ball, butter and soda |
 |
| Curd ball, butter and soda mixed |
 |
| Curd ball, butter and soda pressed |
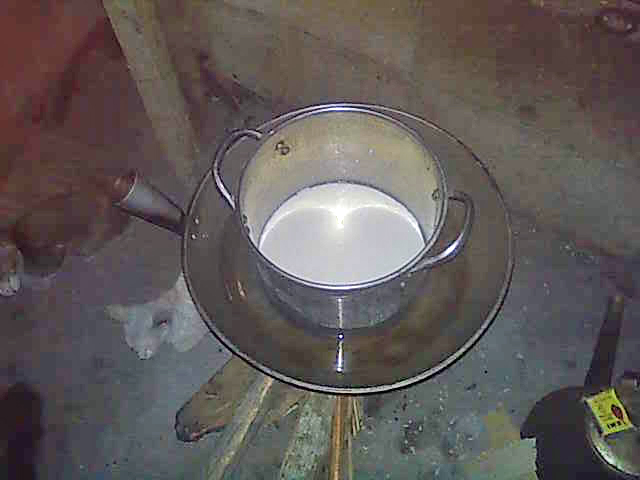
The next step is to add the remaining ingredients and cook the mixture. Put the curd mixture, the sour cream which was previously set aside, salt and coloring in the top of the double boiler and cook until all the curds are melted, stirring occasionally to mix in the other ingredients. As it approaches completion, it will take on a shiny, glassy look. It doesn’t seem to become a liquid, but it will become quite soft and plastic.
 |
| Curd mix and cream |
 |
| Curd mix in the double boiler |
When melted and smooth, pour the cheese into a well buttered mold and let cool. After it is cold and firm, it is ready to eat. If you would like to cure this cheese, cover it with melted paraffin wax.
 |
| Scooping the curds into the mold |
 |
| Cheese cooling |
 |
| Cheese and naan bread |
Now, compare the ingredients in this (milk, things made from milk, and salt), to Processed Cheese-Food Product, (mostly oil and water, plus things you can’t pronounce). I know which one I’m eating from now on. I don’t care how the USDA tries to demonize raw milk.
Note: There are variation on this recipe available on the internet, if you can hunt them up. Start your search with variations on Kochkaese (cooked cheese). I haven’t tried any of them yet, but they include:
-After cooking, break the curds finely by hand (a form of B. linens inoculation?), and allow to ripen for 3 to 5 days in an earthen crock before proceeding with the butter and soda treatment. I expect that this will have a considerably stronger flavor.
-Instead of cooking the clabber, drain it for something like Yoghurt Cheese. When melting, use more oil and no cream. This should produce a cheese spread.
-Omitting the soda should result in a cheese more like a soft Mozzarella.


