 |
| Glory Bee wearing her stylish “calf weaner” |
An Easy, All-Purpose Soft Cheese
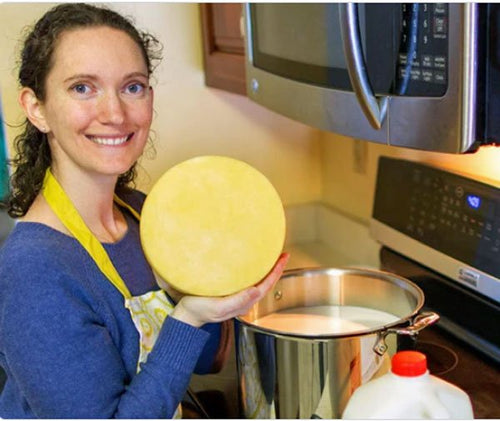
This month, Suzanne is back in the cheese making saddle again. She’s getting serious about her cheese and Glory Bee is getting seriously weaned. (She’s over 1 year old, for crying out load! It’s hard on her mother’s udder.) More about this at the chickens in the road website in the Barn section.
As usual, Suzanne is having a giveaway and this month it is one of our Deluxe Basic Cheesemaking Sets (which includes our Basic Hard Cheese Kit, a pound of red wax and a wax brush) so, click here for details.
The Joy of Lactic Cheese
By Suzanne McMinn
http://chickensintheroad.com/cooking/the-joy-of-lactic-cheese/
My top 10 ways to use lactic cheese:
1. In place of ricotta in lasagna.
2. Spread on pizza in place of mozzarella.
3. On bagels or toast.
4. In place of cream cheese in cheesecake.
5. In dressings and dips of all kinds.
6. In burritos or enchiladas (in place of or in addition to other cheeses).
7. In veggie roll-ups.
8. Dolloped on top of green salads.
9. Mixed into potato salads or egg salads.
10. Slathered on top of burgers.
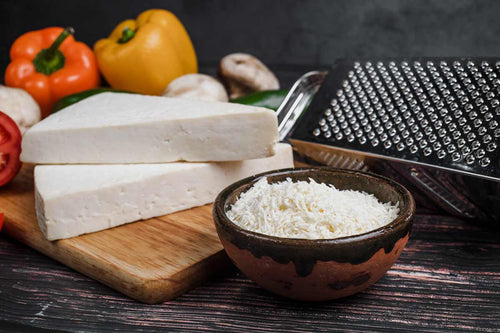
In fact, it’s hard to think of a way you can’t use lactic cheese. It’s the cheese of cheeses! I also use lactic cheese as the base for homemade Velveeta. Lactic cheese is even delicious simply served on a plate drizzled with olive oil and an herb garnish. Dig in with some good crackers!
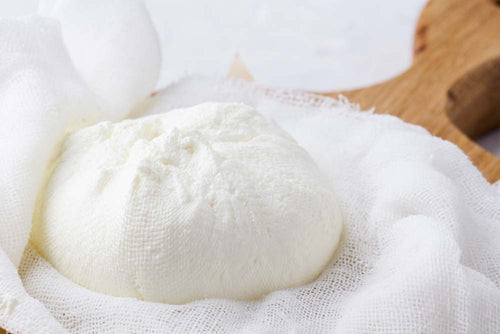
Lactic cheese is one of the easiest, and most versatile, of the soft cheeses, and it delivers an incredible yield on just one gallon of milk. “Lactic” means milk, and that’s what it is, an ingeniously simple milk cheese. It looks and acts like cream cheese, but without any cream, leaving the cream for butter, whipped cream, coffee cream, and other delectable purposes. It’s also one of the most forgiving recipes I’ve ever used, which has made it a big favorite here. I can neglect it mercilessly while it’s in the making, which suits my schedule just fine. For my cheese challenge for New England Cheesemaking this month, I’m bringing you lactic cheese and a few of my favorite lactic cheese-inspired recipes and ideas. This is a perfect cheese for beginning cheesemakers. If you haven’t given it a try yet, you must!
Lactic cheese can be stored in the fridge for a couple of weeks, but for long-term storage I freeze it. I press the cheese into 8-ounce Ziploc containers.
After it freezes, I remove the cheese from the container and slip it into a sandwich baggie. I can then store about eight 8-ounce lactic cheese blocks in one 1-gallon freezer baggie. When I need some cheese, I remove one (or more) blocks of lactic cheese, defrost, and use. It freezes wonderfully.
This recipe comes from Ricki Carroll at New England Cheesemaking.
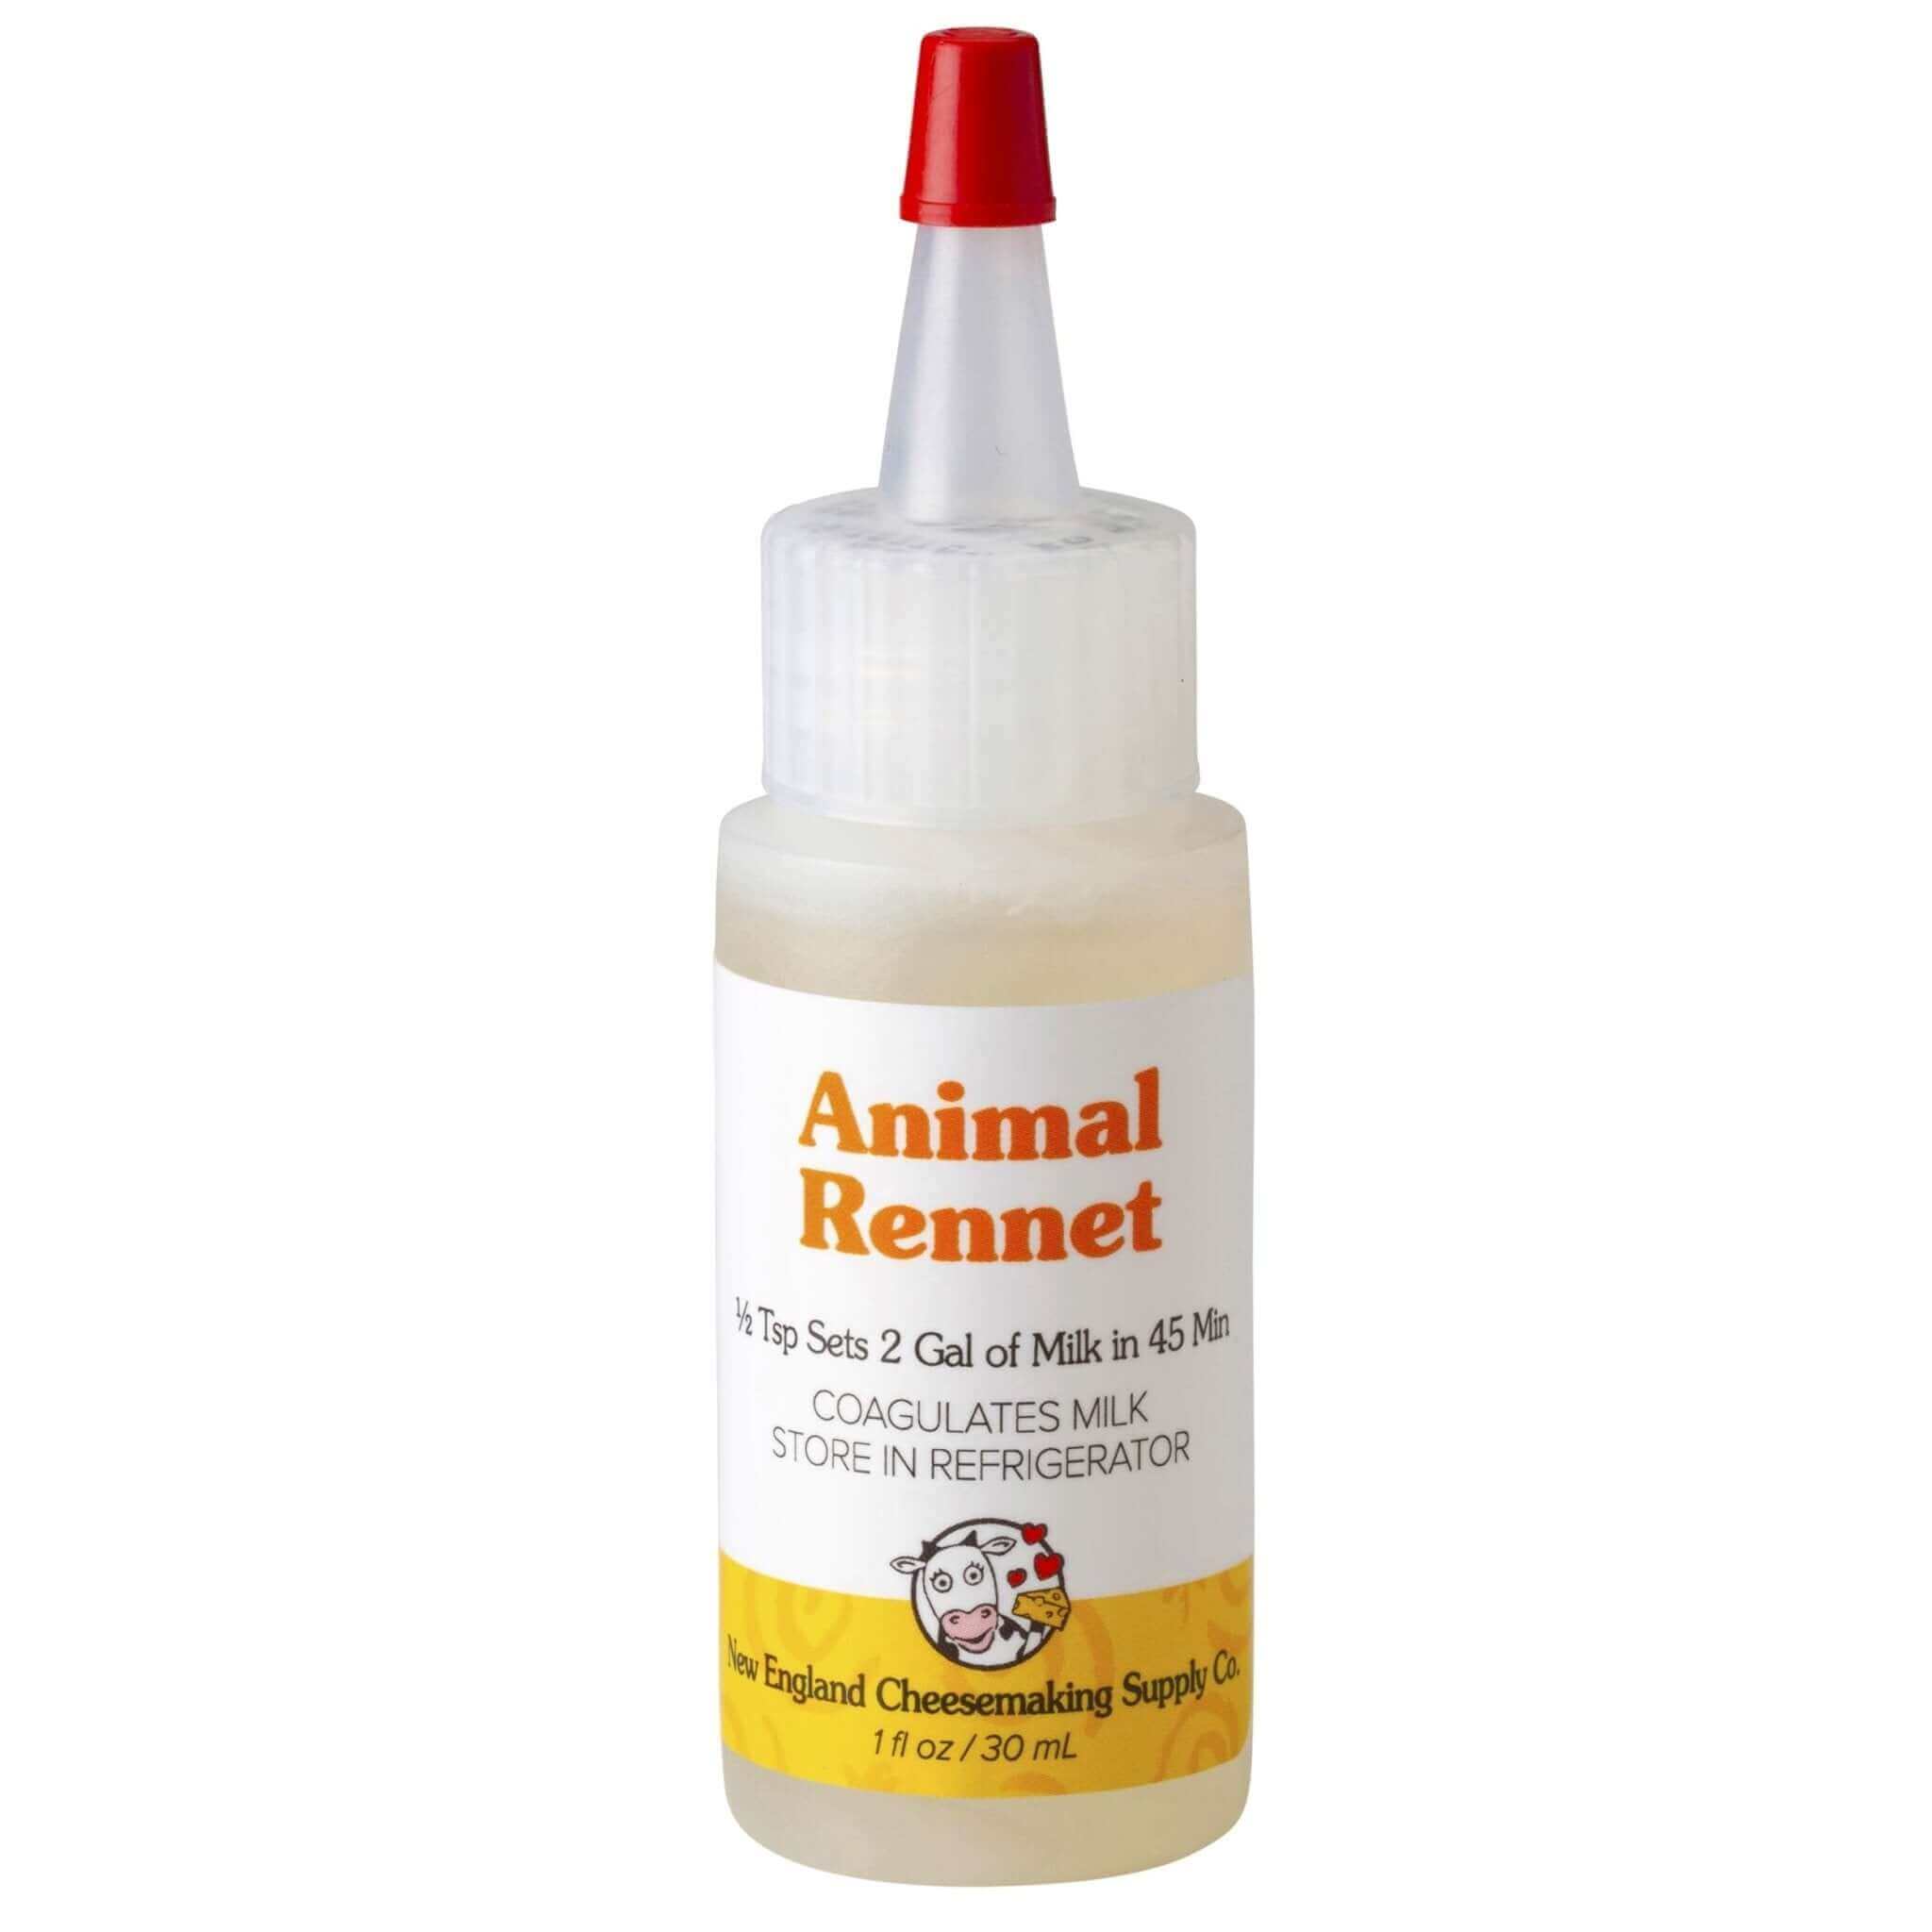
*A note about the diluted rennet: It sometimes feels wasteful to use but 1 teaspoon of the diluted rennet. Often when I am on a lactic cheese binge, making it several times in a row to store for later use, I will save over the diluted rennet to re-use multiple times. I’ve found I can store it in the fridge (in a 1-ounce container with a lid) for one to two weeks and it is fine. The diluted rennet will lose its strength after a while, so just beware if you do that. It’s okay to save it over to continue to use, but you can’t save it over forever.
(Note: This only applies for this cheese. You can’t expect it to work for any others, so we don’t want you to be disappointed! We recommend using rennet within 15 minutes of diluting it.)
How to make Lactic Cheese:
1 gallon whole or skimmed milk
1 packet direct-set mesophilic starter
3 drops liquid rennet diluted in 1/3 cup cool unchlorinated water
cheese salt (optional)
1. Heat the milk to 86 degrees (F). Add the starter and mix thoroughly.
2. Add 1 teaspoon of the diluted rennet and stir gently with an up-and-down motion. Cover and let set, undisturbed, for 12 hours, or until a solid curd forms.
Sometimes I let it sit in the pot for 18 hours. Or 24 hours. Because I’m busy. Or I don’t feel like it. Or I’m just plain lazy. Lactic cheese WAITS. Lactic cheese is patient, lactic cheese is kind. It does not envy, it does not boast, it is not proud. It does not dishonor others, it is not self-seeking, it is not easily angered, it keeps no record of wrongs. Lactic cheese does not delight in evil but rejoices with the truth. It always protects, always trusts, always hopes, always perseveres!
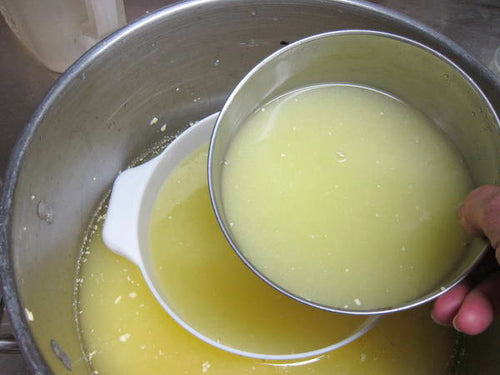
And when you are ready, it is ready! Patient lactic cheese curd pulling away from the sides of the pot:
The curd will look like yogurt.
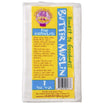
3. Gently ladle the curd into a colander lined with butter muslin. I also use disposable cheesecloth for lactic cheese with no problem.
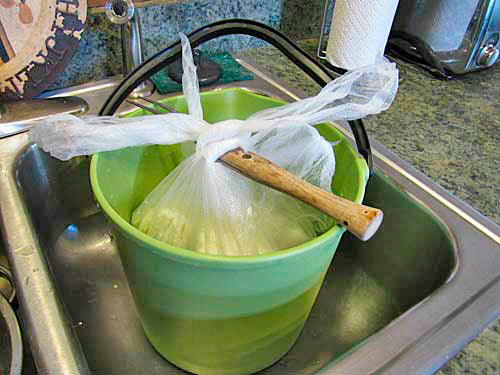
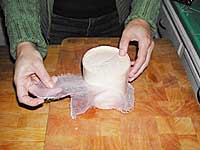
Tie the corners of the muslin into a knot and hang the bag to drain for 6-12 hours, or until the cheese reaches the desired consistency. A room temperature of at least 72 degrees will encourage proper drainage. If you hang it on the low side, 4-6 hours, the consistency is lighter and creamier, and the yield is higher.
When I’m preparing soft cheeses to hang, I set up the bowl with the cheese to one side of my sink. I set the colander in the sink in the middle and to the right, I set my hanging bucket. I have a small (3-gallon) bucket now that I use just for hanging soft cheeses. It’s a handy size, and if my kitchen isn’t busy, I just leave it sitting in the sink while the cheese is draining.
Usually, I’m about to have something else going on in my sink, so I move it off to the counter, or sometimes I even set it on the floor out of the way.
A bucket with a handle is very handy. It also has a pour spout so I can easily pour whey off as needed.
4. Place the curds in a bowl and add the salt to taste, if desired.
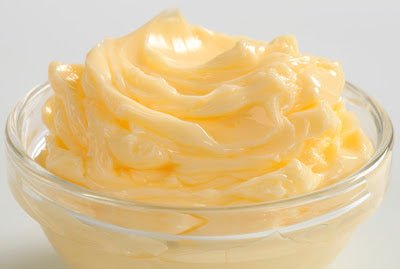
I usually don’t add salt at this point because I’ll go on to use the cheese in other recipes. Lactic cheese is creamy yet light, almost “fluffy” in consistency.
5. Store in a covered bowl in the refrigerator for up to 2 weeks. (As I described above, if I don’t use it right away, I freeze it in 8-ounce blocks.)
Yield: About 2 pounds (or slightly more).
And here are some of my recipes using lactic cheese–I can make all of these recipes from just one setting of lactic cheese.
Fresh Cheese & Chervil Dressing or Dip:
1 cup milk
1 cup lactic cheese
1 tablespoon fresh or 1 teaspoon dried chervil
1 teaspoon garlic salt
1/2 teaspoon coarse ground black pepper
Combine all ingredients; mix well. Makes approximately 2 cups dressing. Serve over salads or use as a dip for fresh vegetables. Keep refrigerated. Parsley can be substituted for the chervil.
This is a simple but addictive dressing!
Grandmother Bread with Fresh Cheese:
1 1/2 cups warm water
1 teaspoon yeast
2 tablespoons sugar
1/2 teaspoon salt
1 cup lactic cheese
3 1/2 cups flour
In a large bowl, combine water, yeast, sugar, and salt. Let sit five minutes. Mix in the lactic cheese. Stir in the first cup of flour with a heavy spoon. Add more flour, a little at a time as needed, stirring until dough becomes too stiff to continue stirring easily. Add a little more flour and begin kneading. The amount of flour is approximate–-your mileage may vary! Continue adding flour and kneading until the dough is smooth and elastic. Let dough rise in a greased, covered bowl until doubled. (Usually, about an hour.) Uncover bowl; sprinkle in a little more flour and knead again. With floured hands, shape dough and place in a greased loaf pan. Cover, and let rise for 30-60 minutes. Bake for 25 minutes in a preheated 350-degree oven. Can also be made as dinner rolls–divide into 12-15 rolls, place on greased pan, let rise and bake for about 15-20 minutes or until browned.
This makes a rich but light bread.
Pumpkin Cheesecake Pie:
2 cups lactic cheese
2 cups pumpkin (or butternut or cushaw) puree
1 cup sugar
1/2 cup milk
3 eggs
2 tablespoons bourbon (optional)
1 teaspoon cinnamon
1/2 teaspoon salt
1/2 teaspoon nutmeg
1/2 teaspoon ginger
pastry for single-crust pie
crushed graham crackers
Pumpkin (and other winter squash) puree, especially homemade, has a lot of water in it. I measure and press until I have 2 cups pressed puree. Too much water in your puree will interfere with setting your cheesecake.
Combine first 8 ingredients in a medium-size bowl; beat with electric mixer. Spoon into prepared pie crust. Sprinkle crushed graham crackers over the top. (It just takes a couple of graham crackers to crush enough.) Bake on lower rack of oven at 400 degrees for 15 minutes. Lower oven temperature to 350 and bake another 30-35 minutes until filling is firm and knife or toothpick inserted near center comes out clean. Chill before serving.
A deliciously different pumpkin recipe for the holidays, or any time!


