


 |
| Ian cleaning the rind of an “El Torro” (Chipotle rubbed Montasio) at Smoky Valley Artisan Cheese |
Ian Treuer from Edmonton, Alberta (Canada) has so many irons in the cheese fire that it’s hard to do a short intro about him. He’s probably best known as one of the founders of Cheesepalooza, the famous ongoing, supportive cheese making challenge.
Last October he was one of our guest bloggers with his Crescenza tutorial which came from his blog, Much To Do About Cheese. He told us that Ricki’s book (Home Cheese Making) was the first book he checked out of the library when he was researching how to make cheese.
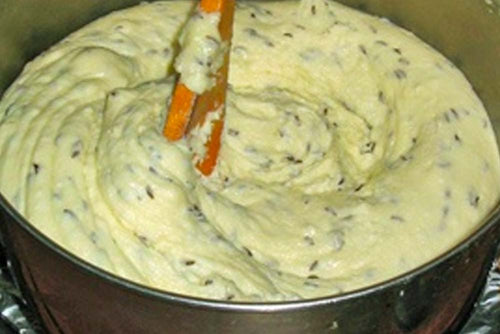
Ian teaches cheese making classes and consults (contact him at ian@muchtodoaboutcheese.com). He also maintains a very active Facebook page with wonderful pictures like the one below of his first attempt at making Camembert. He refers to this as a “nice pile of fail:”

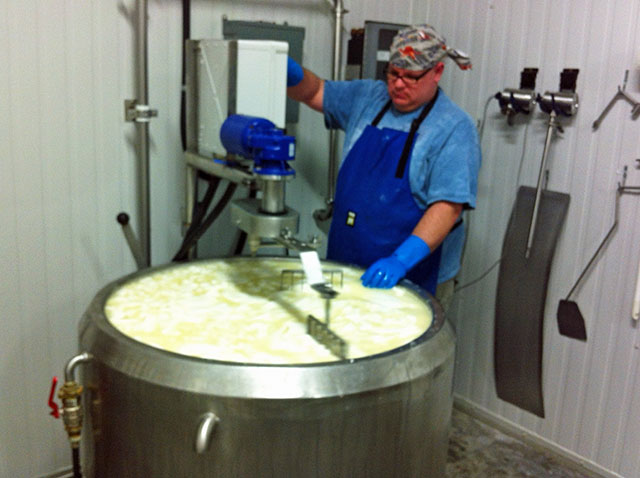 |
| Running the vat at Smoky Valley Artisan Cheese the day they created the Duffer |
I asked Ian what he has been up to since last October and, of course, it was a lot:
Well, we did a trip out to a local artisan cheese producer as part of the Cheesepalooza project in September. We went out to Smoky Valley Artisan Cheese (formerly Smoky Valley Goat Cheese), for a feta making workshop. The owners, Leslie and Alex, and I hit it off right away. They are great people.
I have been honoured to help them develop 3 cheeses, that are now for sale at the local Farmer’s Markets. They include two versions of Caerphilly using my personal recipe. Both are cheddared, but one has ARN (ARN LYO 10D, a Choozit culture) added for rind development.
They are raw milk cheeses made with local Alberta milk and I was allowed to name them. The regular one is called Callingwood, after one of the local markets, and the ARN-ripened one is called Redwater, after the town just down the road from the dairy. Both sell out when they are at the market. The third is called Duffer, again it is a raw milk cheese, and it is an Alberta take on an Emmental. It still needs some fine tuning, but has been well received at the markets.
They are still doing the workshops, but now I am helping to teach them, and we try to run those once a month, they are hands-on at the dairy in the make room. I keep joking that now that some of my cheeses are for sale, I have lost my amateur status.
Of course, you have, Ian, and you can’t play on our amateur home cheese making team anymore!!!
But we will let you be our guest blogger with your fabulous post about using ripening boxes:
Thinking Inside the Ripening Box!
By Ian Treuer at Much To Do About Cheese
I often receive emails asking how I go about ripening several cheeses at once that need different humidity levels or how to prevent cross-contamination. There are several ways to do this, first and most expensive is to have several “caves” each set to different temperatures and different levels of humidity. Not really practical if you are on a budget. You could vacuum seal the cheese, which I do from time to time, face it I do this a lot, as I suck at waxing cheese. The option I use most often is a ripening box.
A ripening box or “mini-cave” is any food safe container with a lid that you can ripen cheese in while controlling, to the best of your ability, the humidity levels. This can be anything from a plastic zip-lock container to a Rubbermaid box, as well. I have “How to Make a Mini-Cave” in an earlier post, and this can be a temporary cave for transportation or you can use it for high humidity aging. But if you want something that involves a little less hassle, then a ripening box is the way to go. Here is how to make a simple one with a small container. The principle is the same with any size box.
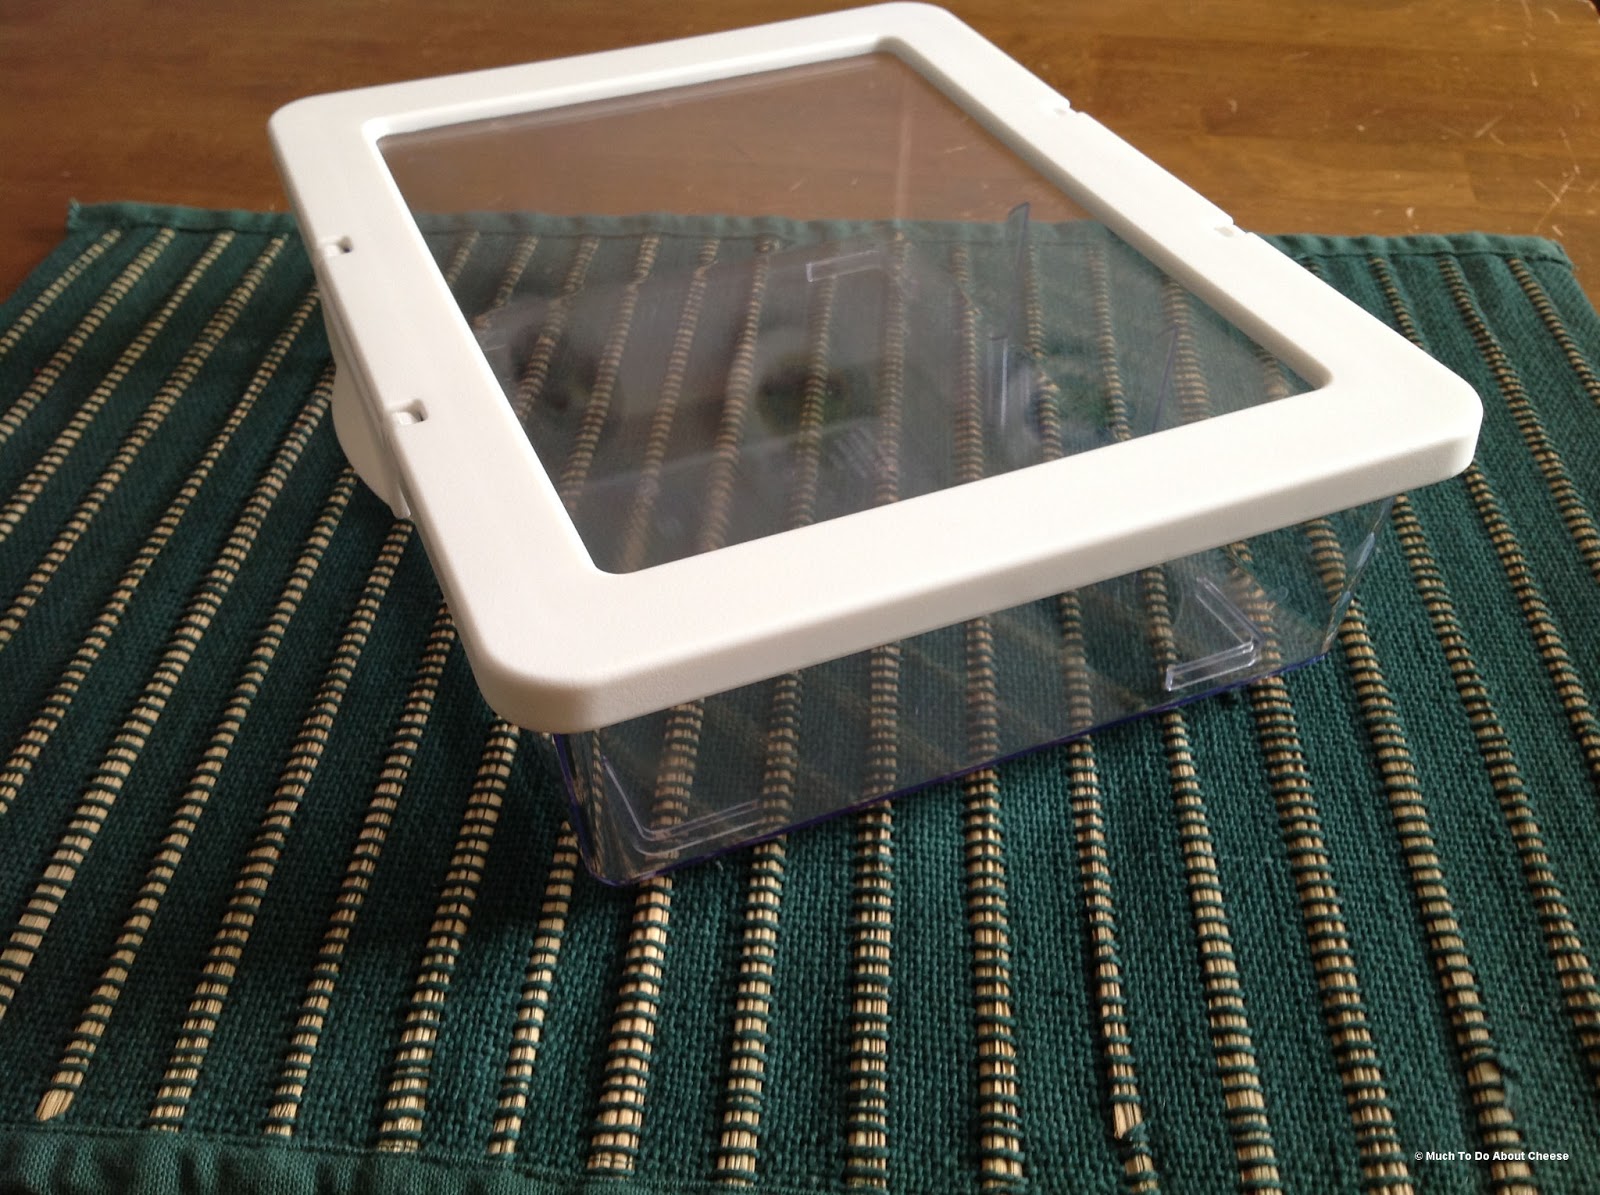 |
| Find a Food Safe Container to use. This one was purchased at that Swedish Store. |
 |
| You should make sure that it is big enough for your cheese. This one is so I will continue. |
 |
| Your cheese should not sit directly on the bottom of the container. I use cheap needle point mats. |
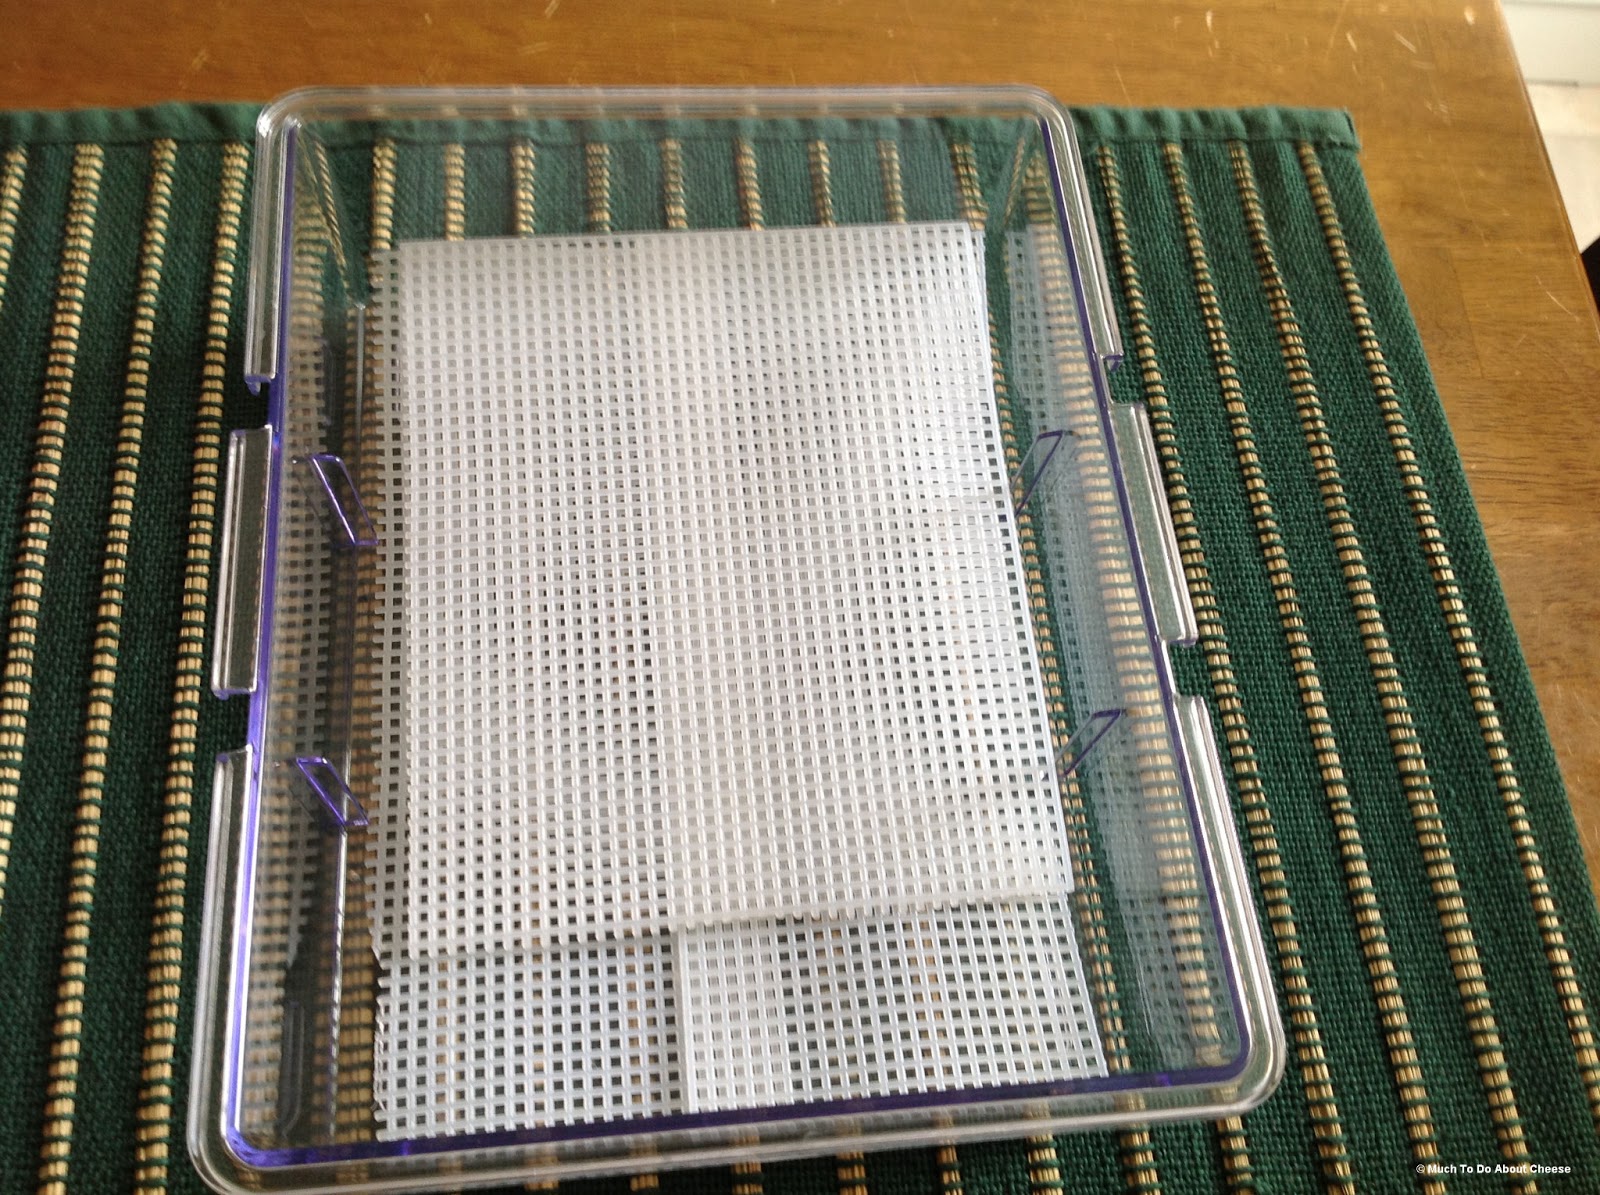 |
| I usually double layer then to keep the cheese up higher. |
 |
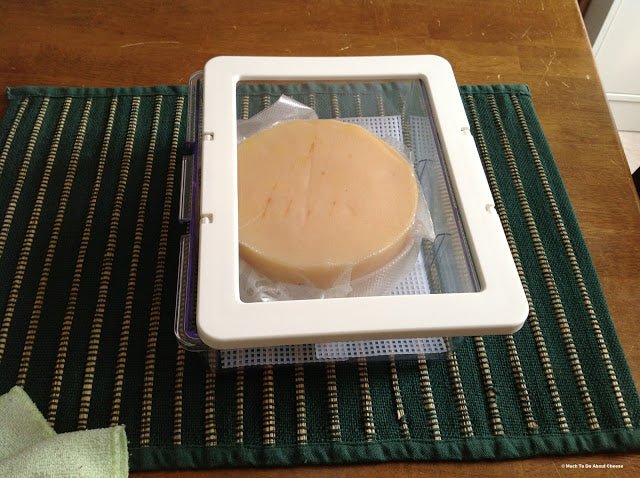
| I usually double layer them to keep the cheese up higher. Then you place your cheese into the box, on the mat. (Note: demo cheese is vacuum sealed as it is in long term aging. Your cheese would not be vacuum sealed) |
Then you place your cheese into the box, on the mat. (Note: demo cheese is vacuum sealed as it is in long-term aging. Your cheese would not be vacuum sealed)
Before you put the lid on, you have to decide if you need to add humidity/moisture to the box. I find that if you are ripening semi-lactic cheese then you can get away with not putting a wet paper towel in the corner, as they are moist enough to keep the humidity at the right level. If you are not sure then put a damp/wet paper towel in the corner opposite of the cheese.
 |
| Next put the lid on, but leave it open just a crack to allow for air flow. |
 |
| Notice the opening. |
Now you will put this into your cave and start your ripening. You will need to check every day to make sure the moisture level is right. Here is a tip, if you notice a “fog” on the container then you are between 85 and 95% humidity. It is important to wipe the lid of the container every day. This prevents water dripping on your cheese, this becomes second nature as you begin to use them more and more.
 |
| Even a dollar store container can be a ripening box. |
 |
| Or a cheap little “Cheese Box.” |
 |
| This lettuce crisper is one of my favourite ripening boxes for larger cheeses. |
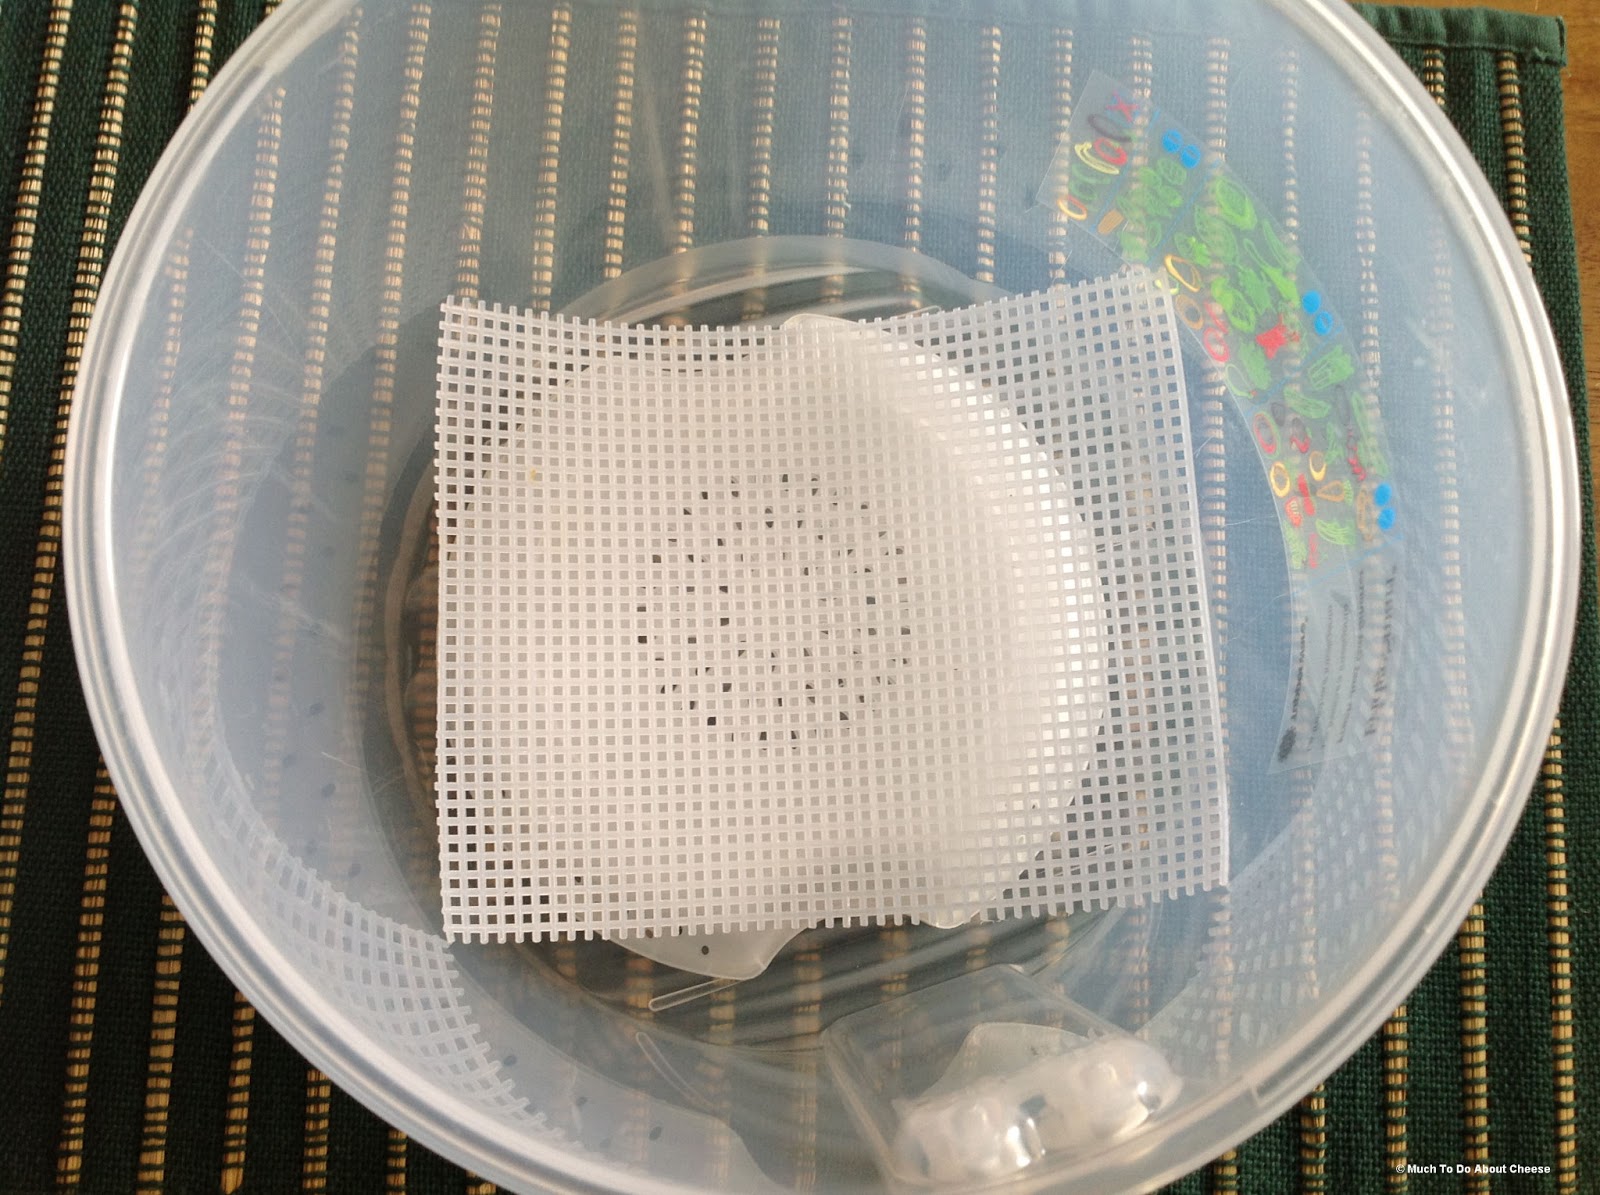 |
| I can put a pedestal and a mat in it, then pour some water in the bottom to keep the humidity level up. |
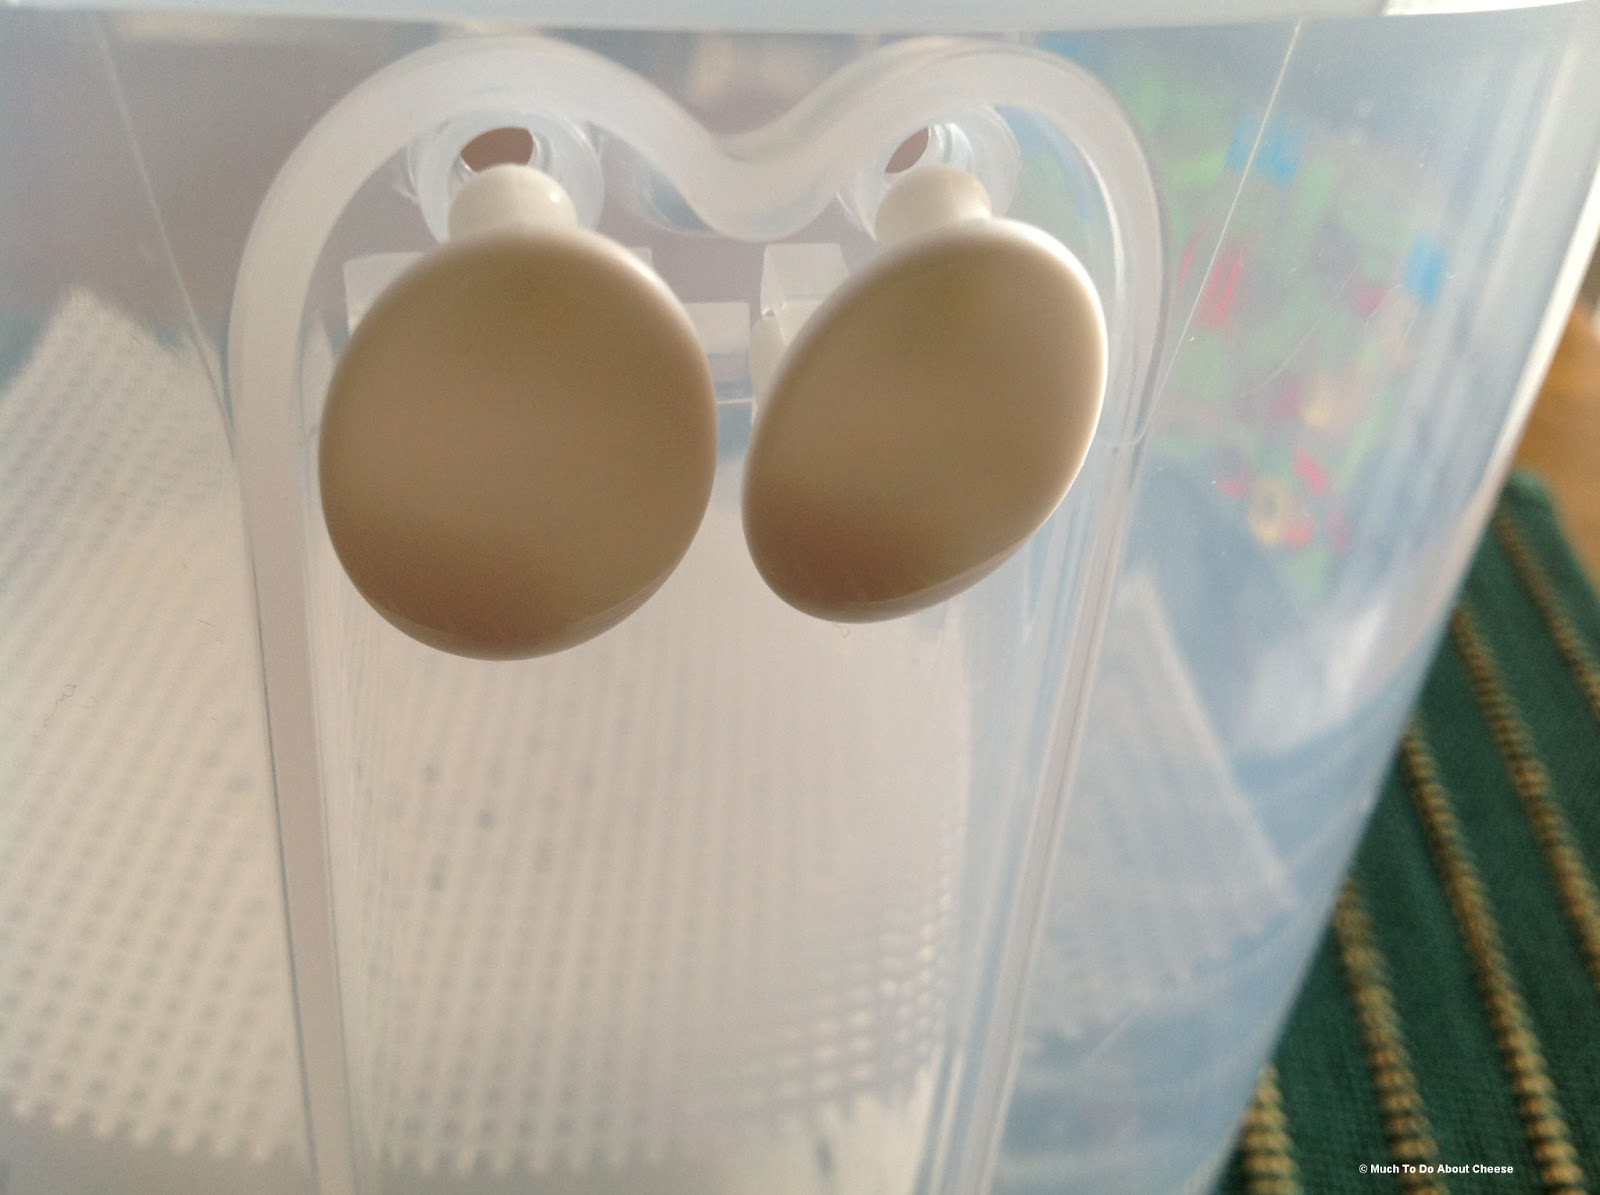 |
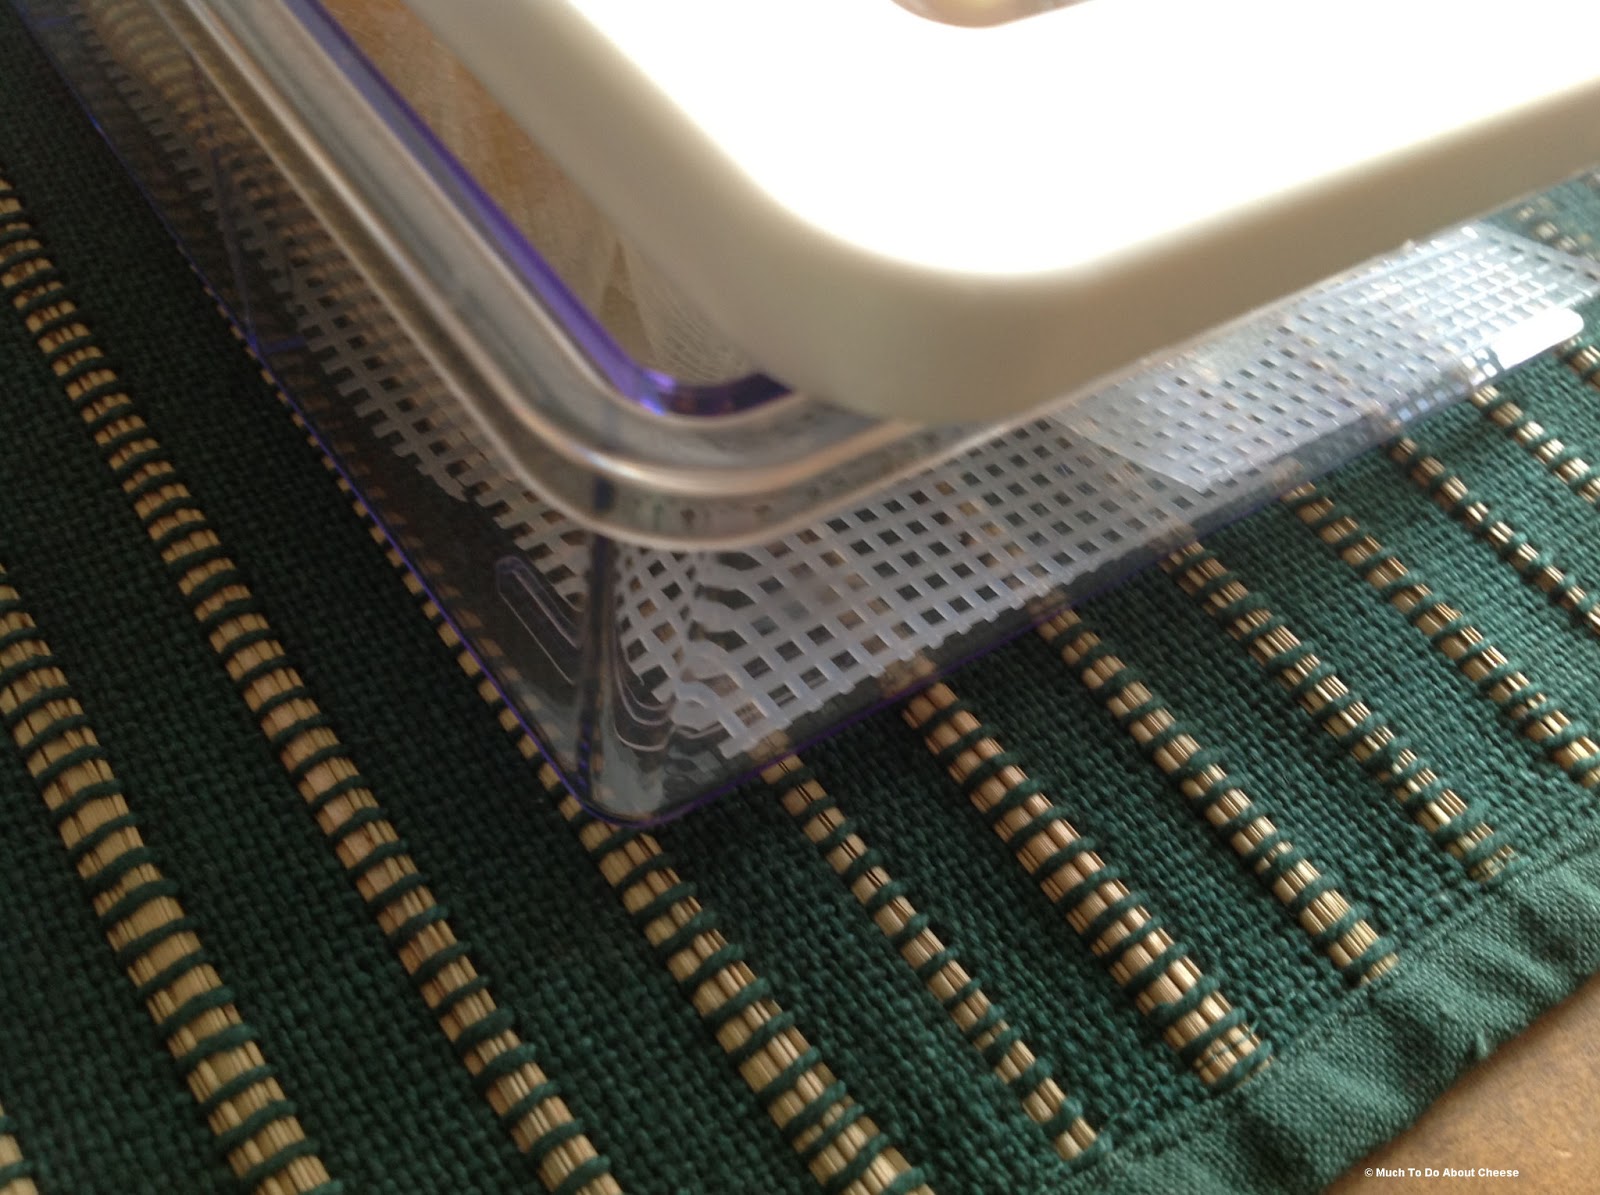
| It has these awesome vents that I can use to control air flow. |
 |
| As you can see the cheese would be off the bottom and away from the water. |
I hope this helps those who were wondering what I mean as a Ripening Box/Mini-Cave. If you have any questions please let me know, or feel free to share your tips in the comments below.
If you check out Much To Do About Cheese on Facebook you will see more pictures and some of my cheeses in their ripening boxes.
Go make some cheese!


