


Making Sense out of Making Mozzarella …
Carly and Jean describe their blog, Making Sense of Things as, “A thought-provoking blog about how to live a meaningful life.”
They are certainly authorities on that particular subject because they are devoting their lives to making a difference in the world. They currently call France their home base, but they have just returned from doing volunteer work in Palestine.

Prior to meeting each other 2 years ago, Carly worked as an engineer and Jean worked for NGOs (non-governmental organizations) all over the world in developing countries – Afghanistan, Costa Rica, Cuba, DRCongo, Guatemala, Haiti, Honduras, Iraq, Kenya, Occupied Palestinian Territories, North Korea, Salvadore, Zambia and more.
Their blog is fun and interesting with articles about all kinds of subjects. Examples: John Cleese on ‘Alerts to terror threats in 2011 Europe’ – very funny!, Why we’ve decided to stop buying food from supermarkets…, Who is the ‘authority’ that said that Coca-Cola was safer to drink than raw milk?, etc.
Last summer, we posted their article about Making Brie. At that point, they had already made cultured butter, yogurt and cottage cheese. Since then, they have made kefir, kefir cheese and, now, mozzarella:
How to make mozzarella at home
By Carly & Jean at Making Sense of Things
You might remember this post from the New England Cheese Making Supply Company… they liked our ‘How to make brie cheese at home’ post so much they posted it on their site and sent us a Mozzarella & Ricotta kit. We were so excited to try another type of cheese at home so this post is how we made it. The great thing about making mozzarella is that it’s quite simple, fairly quick and you can eat it straight away!

The following instructions are essentially from the New England Cheese Making Supply Company, with our own notes and experiences added. They have an excellent website for trouble shooting, www.cheesemaking.com, and even have a cheese tech, who can be contacted through their ‘contact us’ page to answer your questions. Check out this page for extra information though. Their kit definitely makes things easy, too, as it comes with all the ingredients (except milk), a thermometer, muslin and instruction booklet. It’s a great place to start for your first cheese making experience. From their kit we can make 30 large mozzarella cheese balls!!

Choose your milk carefully
First, a word of caution about choosing your milk… you can use cow’s milk or goat’s milk but make sure it hasn’t been ultra heated. The first time we used pasteurized farmer’s milk but we discovered that they over pasteurized it (over 77.5°C/171.5F), which destroys the milk proteins, and the cheese becomes lumpy instead of silky smooth. We were pretty disappointed to waste that milk but we’ve learned our lesson and now just use raw milk to be sure. If you want to pasteurize your raw milk yourself, just heat it to 62.5°C/144.5F) and cool it quickly before starting the recipe.
Ingredients
3 3/4 L (1 gallon) milk
1 1/4 cup cool water (chlorine free)
1 1/2 teaspoons citric acid
¼ rennet tablet or ¼ teaspoon liquid rennet
1 teaspoon cheese salt (this is optional – you could substitute herbs if you want!)

Equipment
large pot (stainless steel or non-alumunium or non-cast iron pot)
dairy thermometer
slotted spoon
long knife
glass bowl
How to make your mozzarella
We like to prepare everything near to the pot and stove top by doing the following:
Pour your milk into your pot and place on the stove top (don’t turn the burner on yet)
Put your slotted spoon, thermometer and long knife nearby for easy access.
Dissolve the rennet into ¼ cup (62.5ml) of water. Stir and put to the side.
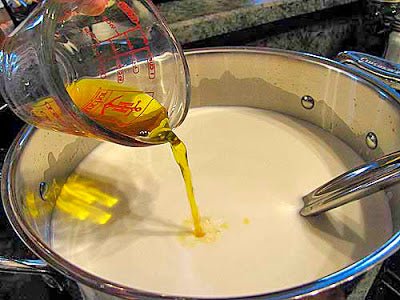
Mix the citric acid into 1 cup (250ml) of water until dissolved.
Add the citric acid solution to the milk, stirring vigorously.
Heat the milk to 31°C/88F while stirring (if your milk is pasteurized, heat to 32°C/90F).
Remove the pot from the burner.
Slowly stir in the rennet solution with an up and down motion for approximately 30 seconds (but definitely no longer than 60 seconds – be careful not to stir too long as this will essentially cut the curd as it forms and create the same effect as over pasteurized milk… a lumpy ricotta texture).
Cover the pot and leave it undisturbed for 10 minutes (5 minutes for pasteurized milk).
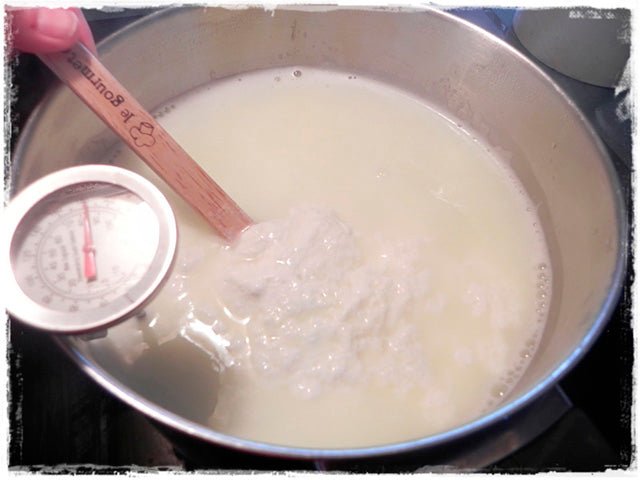
Check the curd – it should look like custard. Use your hand to gently pull the side of the curd away from the pot to check. If it is too soft, let it set for a few more minutes.

Cut the curd with a long knife that reaches to the bottom of the pot – cut parallel lines in one direction and then cut in rows perpendicular and slightly at an angle to those cuts to create a pattern of squares.

Heat the curd to 41°C/106F while slowly moving the curds around with the spoon.
Remove from the burner and keep stirring slowly for 2-5 minutes. We did ours for 3 ½ minutes. The longer you stir, the firmer the cheese will be. Note: this is where you will realize if the milk has been over heated during pasteurization. If it has, it will be lumpy and look a bit like cottage cheese. If it hasn’t it will look like soft, silky cubes.

Pour off the floating whey and ladle the curds into the glass bowl, draining as much of the whey as you can without pressing the curds too much.

Microwave the curds for 1 minute.
Drain off the whey again, add the salt and gently fold the curds into one piece.
Microwave the curds for another 30 seconds, drain again and stretch the curd. It must be 57°C/135F to stretch properly so if it isn’t hot enough, microwave for another 30 seconds. We had to do this a few times…
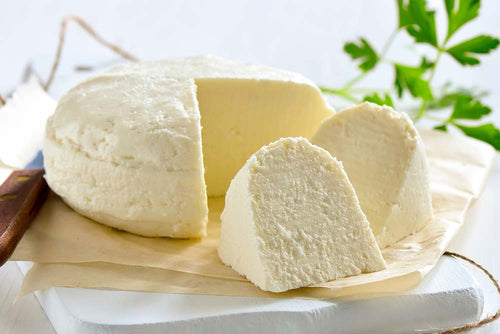
Stretch the cheese until it is smooth and shiny – the more you work it the firmer it will be and now is a good time to taste it!

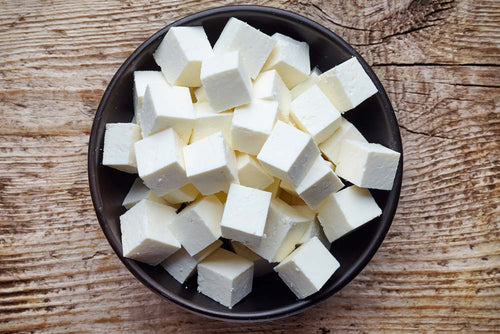
We then formed our cheese into a ball but you can make it a log, braid it or even make small balls which is called Bocconcini – this is what we’ll do next time! We’ll mix them with olive oil, herbs and garlic… yum!! (kind of like our kefir labneh balls)
Then you need to submerge the mozzarella in 10°C/50F water to cool for 5 minutes and then ice water for 15 minutes. This cools it down, helps it keep its shape and protects the silky texture from becoming grainy.

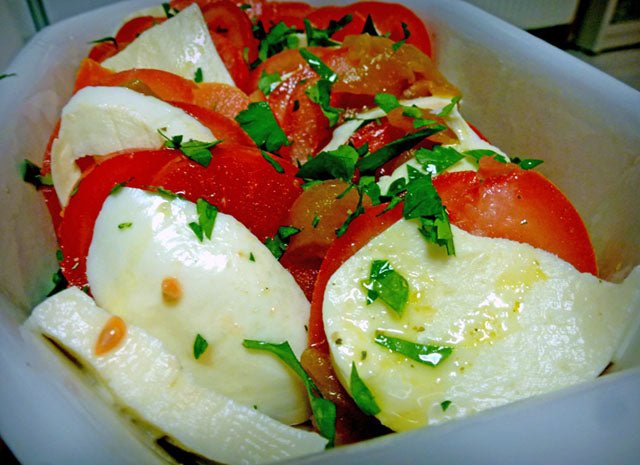
Eating and storing your cheese
We cut slices of tomato and mozzarella and simply drizzled it with olive oil and dressed it with chopped parsley which was delicious!

You can store the cheese in the fridge for up to 2 weeks, stored in an airtight container. Alternatively, you can freeze it and reheat when ready to use.


