


I don’t always acknowledge this, but there are actually a lot of fermented foods in the world besides artisan cheeses!
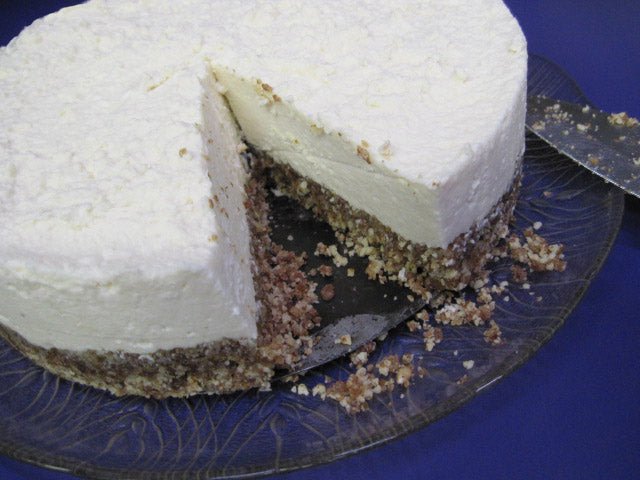
Kefir grains, for example, are loaded with highly beneficial probiotic bacteria. When combined with milk, they yield a form of cheese, as Amanda Feifer explains in her article below. They also yield a form of cheesecake (see our recipe using goat’s milk).
Amanda is a fermentation specialist based in Philadelphia. She teaches hands-on workshops on topics ranging from kraut and kefir to kombucha and kimchi. Her website, Phickle.com, has great articles on fermented foods.
Here are two of her fabulous kefir cheese posts:
Easy Cheese – Turning Your Kefir Into Spreadable Gold
By Amanda Feifer at
Phickle.com

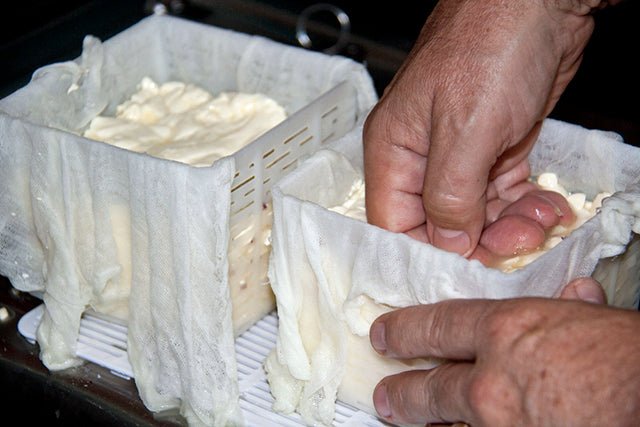
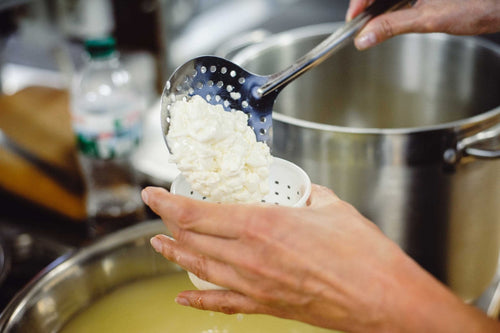
A few hours of straining yields a spoonable kefir similar to thick yogurt. Strain longer and it becomes spreadable, like cream cheese. At 18–24 hours you end up with a crumbly, feta-like texture.
Another benefit of kefir cheese is the whey by-product. Add it to ferments like pickles or juices and they will ferment vigorously.
Kefir Cheese

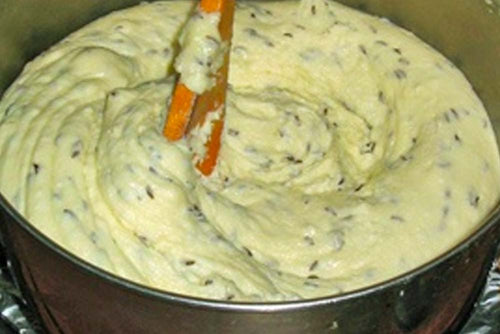
Easy Cheese, Part Deux – Garlic and Fine Herbs Spread


Garlic and Herbes Fines Spreadable Kefir Cheese
Makes a hearty snack for two, spread on cucumber slices, radishes, or toast.
- 3 tablespoons kefir cheese, strained to spreadable thickness
- 3 cloves garlic, roasted, peeled, and mashed
- 1 teaspoon chives, finely chopped
- 1.5 tablespoons parsley, finely chopped
- 1 tablespoon fresh oregano, finely chopped
- Salt to taste
- Small pinch of pepper


