-
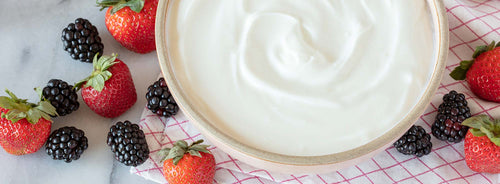
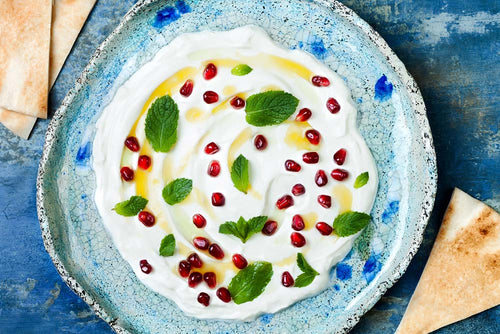
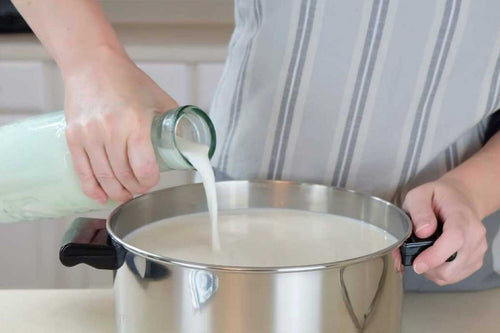
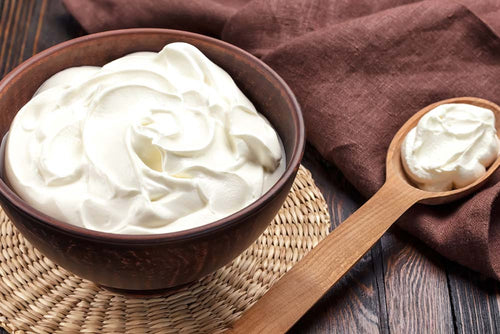
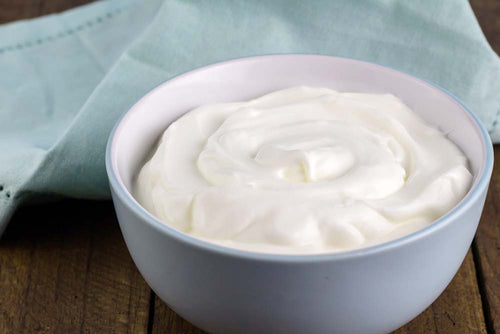
Boost Your Gut Health with Homemade Yogurt
There’s something so satisfying about turning a simple jug of milk into rich, creamy yogurt. It’s...
-
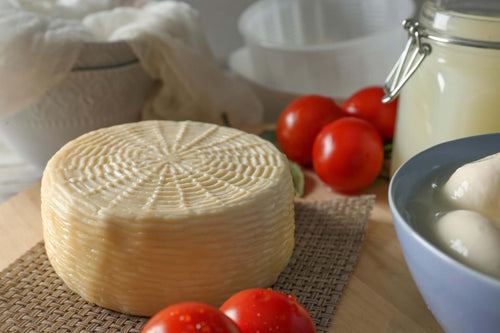
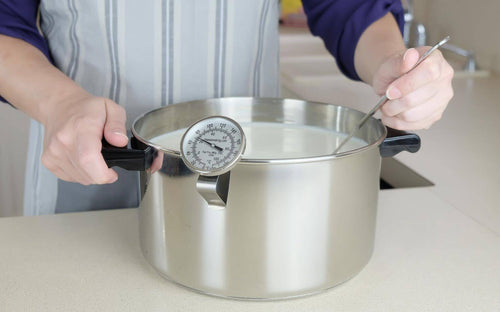
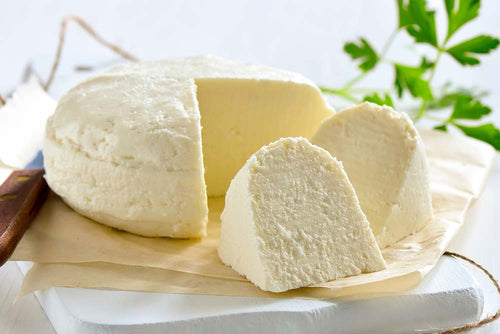
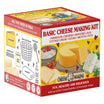
How to Make Cheese at Home: Beginner’s Guide
Have you ever wondered how to make cheese at home? Good news—you don’t need a barn, or a science ...
-
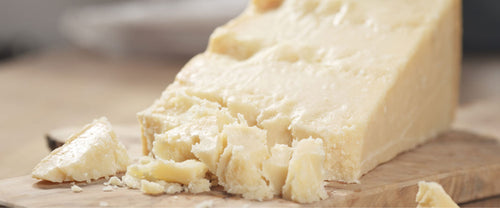
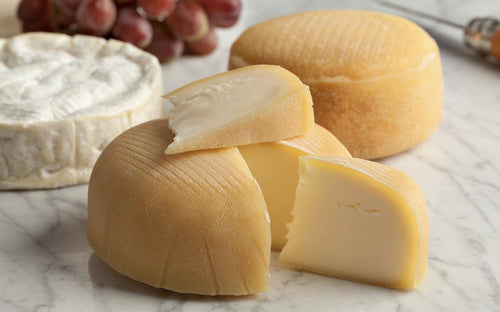
Parmesan vs. Romano: Differences, Recipes and Cheese Making Tips
Lessons from the Masters in Italy
Cheese is culture—literally and figuratively—and few cheeses ca...
-
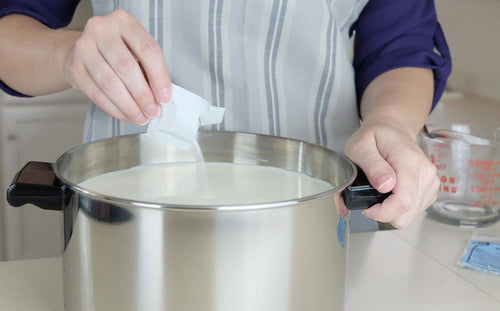
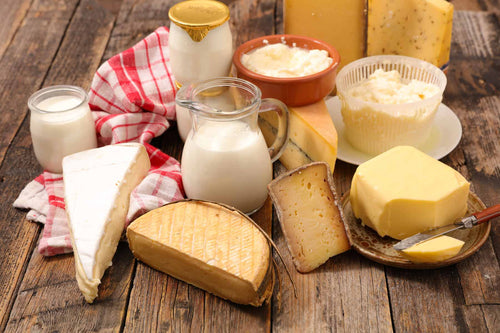
Ingredients for Cheese Making
It's easy and fun to make cheese at home. When starting out, there are three basic compon...
-
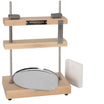
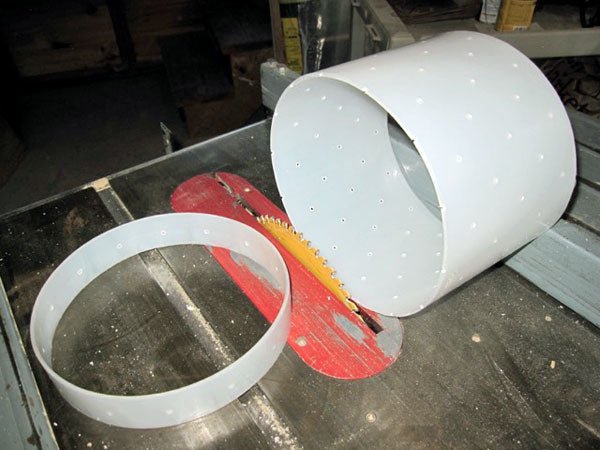
Equipment for Cheese Making
It is easy and fun to make cheese at home. When starting out, there are three basic compone...
-
How to Make Cheese
It is easy and fun to make cheese at home. When starting out, there are three basic compone...
-
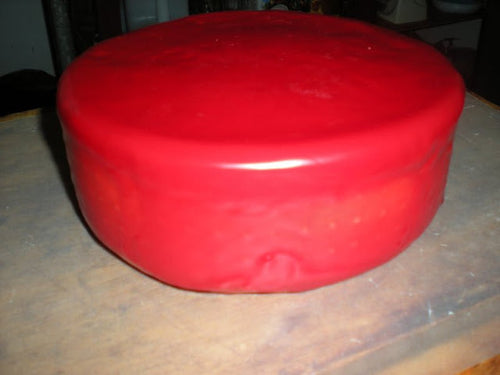
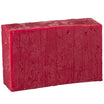
Cheese Waxing FAQ: How to Wax Cheese for Perfect Aging
Learn How to Wax Cheese
Looking to seal in flavor, lock in moisture, and keep unwanted mold at ba...
-
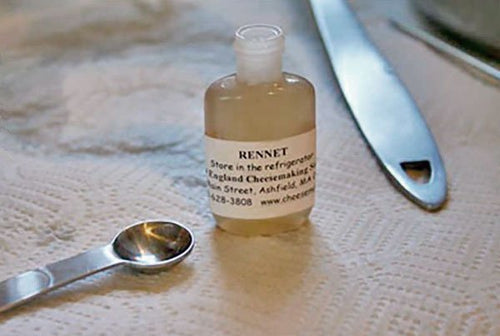
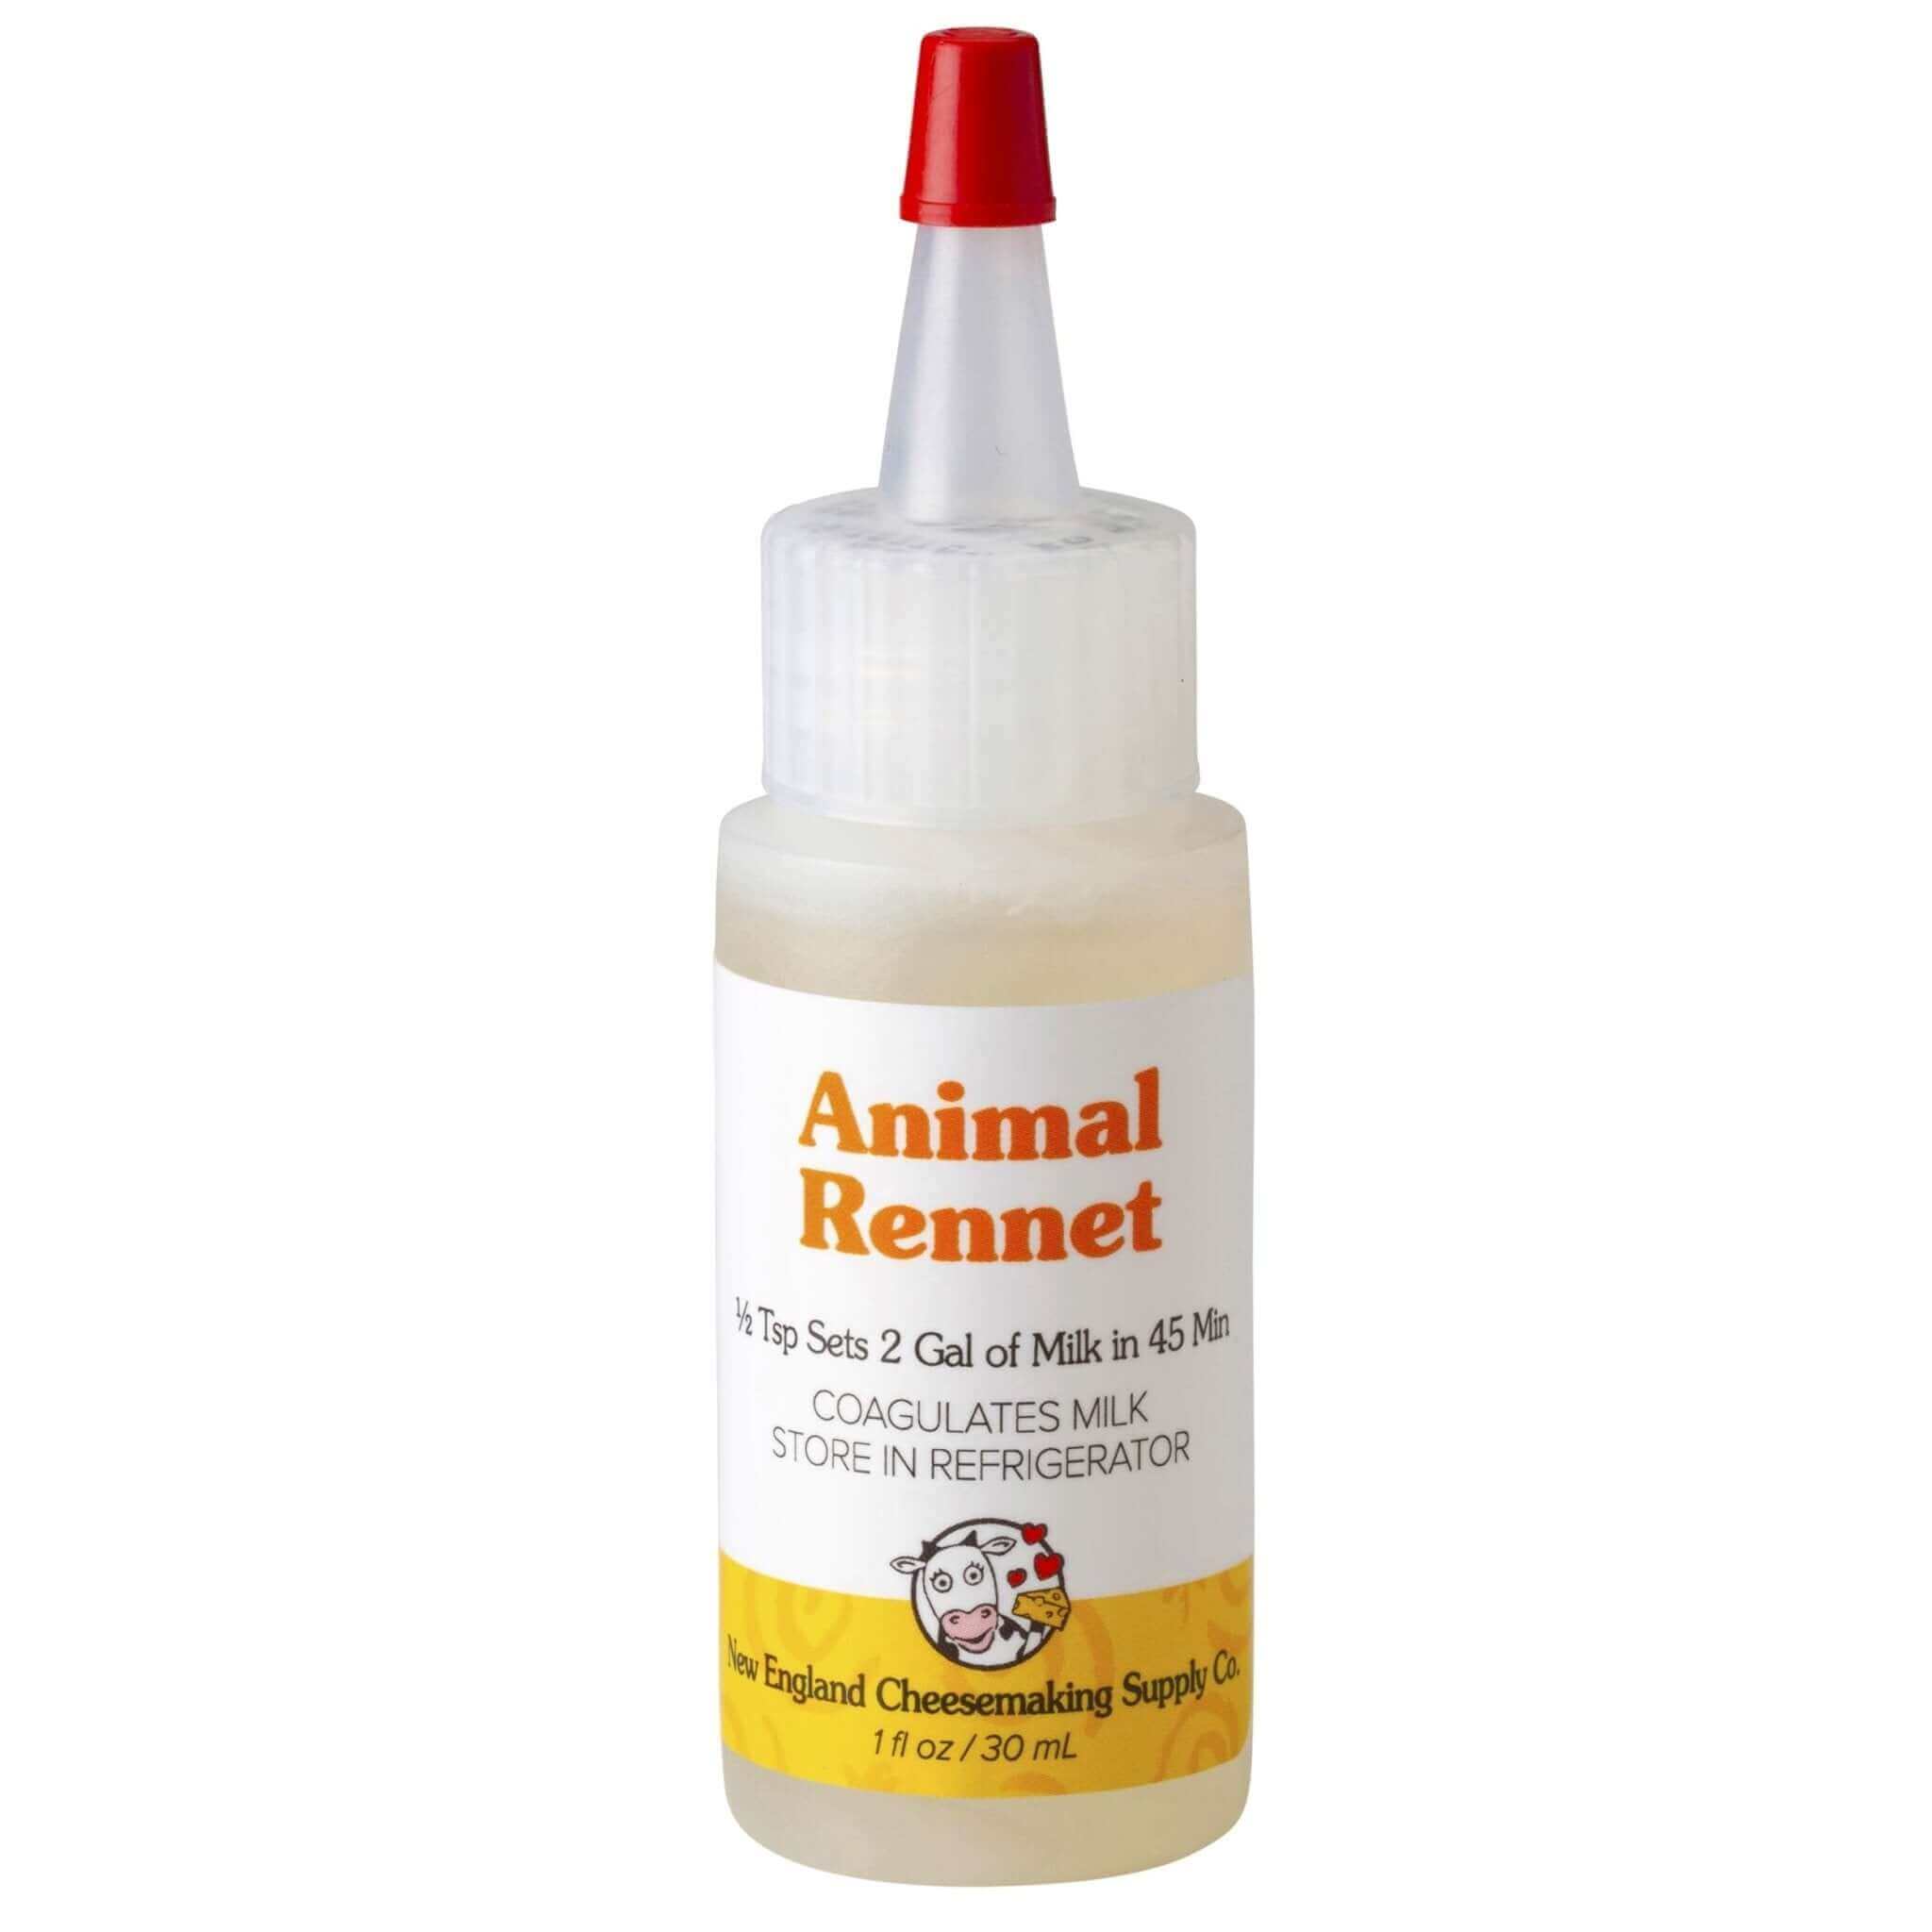
Rennet for Cheese Making: The Ultimate Guide to Types, Techniques & Troubleshooting
Welcome to your go‑to guide on rennet—the magic enzyme that transforms fresh milk into the cheese...
-
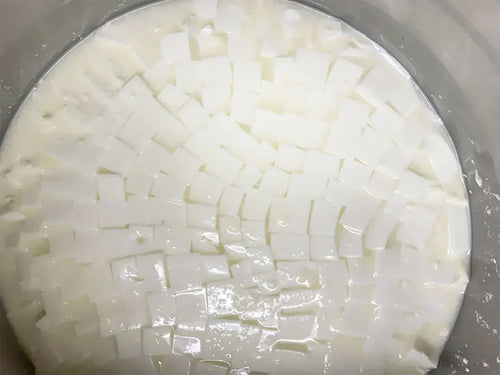
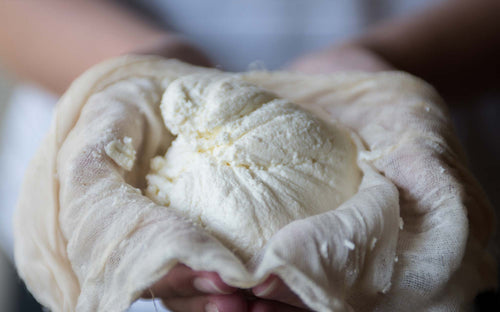
Draining Soft Cheese: Tips for Creamy, Delicious Results
Draining is a crucial part of soft cheese making—it directly affects your cheese’s final texture,...
-
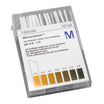
Cheese Making pH Guide: How to Test and Control Acidity for Perfect Cheese
Understanding pH in Cheese Making: A Beginner-Friendly Guide
When it comes to making cheese at ho...
-
How to Store and Age Cheese in Brine
Learn how to properly store and age Feta, Mozzarella, and other Mediterranean style cheese in a l...
-
Learn About Cultures for Cheese Making
Some of the top questions we receive about cheese making have to do with cheese making cultu...
-
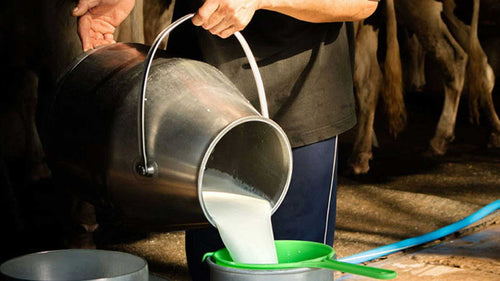
Finding Good Milk For Cheese Making
When trying to find good milk for cheese making there are a few things to consider and s...
-
The Evolution of Milk For Cheese Making
Most milk comes from cows and we’d like to think they are all out on pastures eating gra...
-
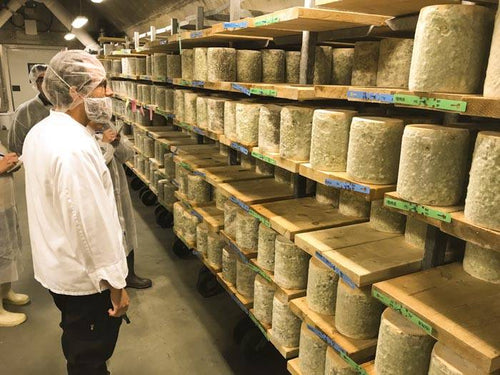
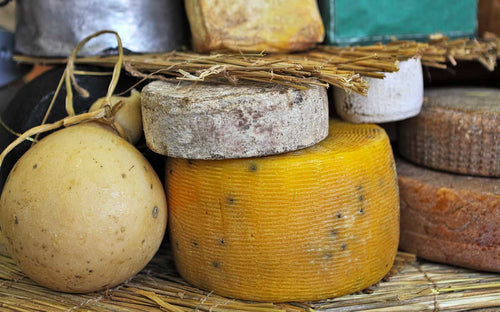
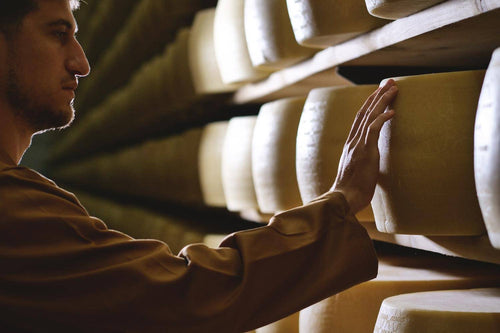
Affinage Cheese Course in Vermont
Affinage is the final phase in the life cycle of cheese. This is where the fresh pressed curd ...
-

Making Traditional Saint Nectaire
This article details how Saint Nectaire is traditionally made in the Auvergne
The farms where ...
-
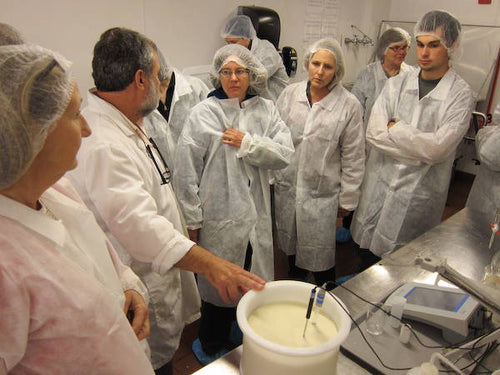
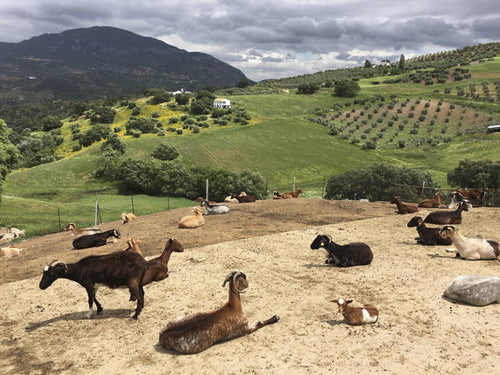
The Spanish Cheese Sessions at UVM
Recently I spent a few days at the VIAC program on Spanish cheese. If they had to pick one p...
-
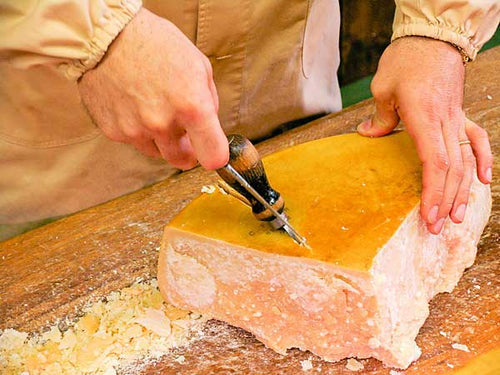
Learning About Parmigiano-Reggiano in Italy
Over the past several years I have spent a good deal of time visiting cheese makers around t...
-
Slow Food Festival in Bra Italy 2007
In Sept Jim Wallace (our cheese specialist) spent another 2 weeks visiting traditional cheese ...
-

Making Cheese in School
Cheese Making in Kriss Guptill's 5th Grade Classroom
Yes, that is right, learning can be f...
-
Laurie Higgins Making Cheese
This Article was Contributed by Laurie Higgins
Quick Tips for Home Cheese Making
Qu...
-
A Guide to Cheese Tasting Terms
Corky
Firm, hard, tough consistency, hard to break in fingers. When it breaks it does s...
-
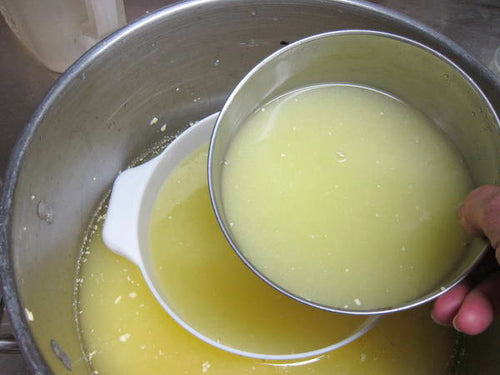
Ways to Use Whey
Learn About Whey
Ways to Use Whey
.
Learn About Whe...
-
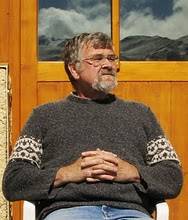
Jim Wallace
Meet a Cheese Making Guru
Tell us a little bit about your background
It has been a long ro...
-
Andrea Lewis
A True Home Cheese Maker
Andrea is a new startup cheese maker and what drew her to my atte...
-

Sister Joanna
The Monastery of Saint Nektarios in Doridos, Greece
Sister Joanna leads the sisters of t...
-
Terry and Linda Clapp
Little House Cheeses
This is true Home or Farmstead cheese making on a small scale.
Just t...
-
Cheese Makers Traveling Through Spain
This is my first trip to Spain for this so it shows a lot of how I go about making contacts. I...
-
Cheese Makers Traveling Through Italy
Susan Marquis from Arlington VA. has been a cheese lover and home cheese maker for quite some ...
-
Labneh Cheese Making Recipe
This recipe was sent in from Ursula Weiland in Knoxville TN.
Ingredients
1 gallon whole milk
3 ...
-
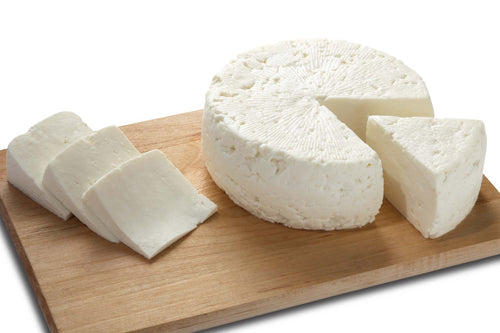
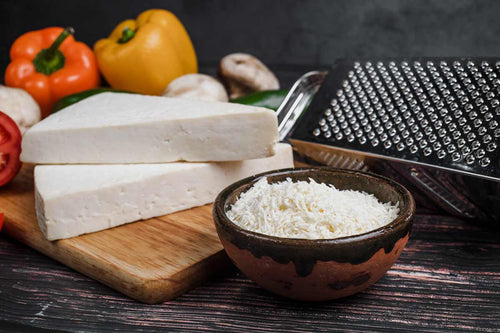
Queso Fresco Cheese Making Recipe
This is a fairly easy cheese to make in the kitchen. Exploring different cheese varieties can lea...
-
Problems with Ultra Pasteurized Milk
Problems with Ultra Pasteurized milk (UP) and how it affects 30 Minute Mozzarella Cheese. Unfo...
-
Milk and How it Has Changed
For years we have been told of the benefits of milk.
Milk builds strong bones
A milk mustache...
-
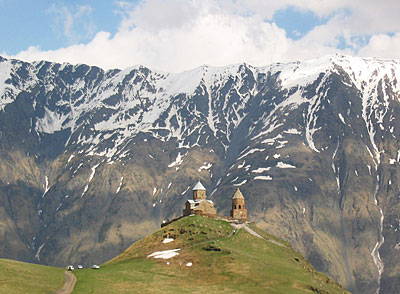
Cheese Makers Traveling Through Republic of Georgia
A few years ago, Ricki had the pleasure of visiting the Republic of Georgia, formerly part of ...
-

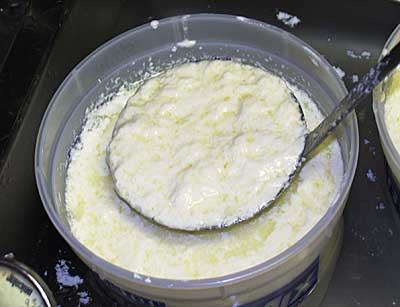
Yogurt Cheese Recipe
Yogurt Cheese may be made simply by draining the whey out of you yogurt. Understanding the proces...
-
Shankleshe Cheese Recipe
Shanklish, the word is either derived from Arabic or Turkish, I'm not sure.This cheese is great...
-
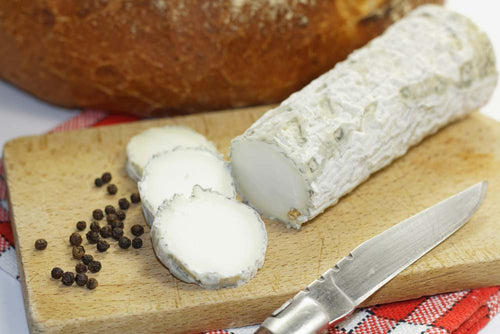
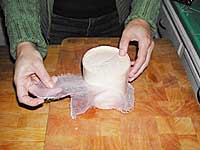
Saint Maure Cheese Making Recipe
A soft Goats milk cheese, shaped in an elongated cylinder or log. While youre experimenting with ...
-
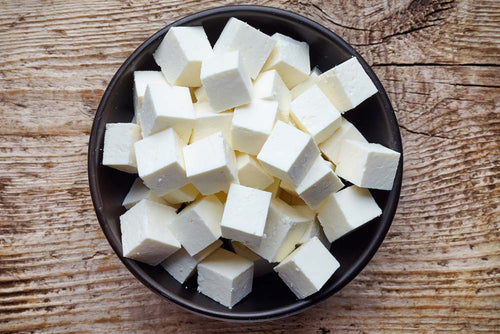
Queso Blanco Cheese Making Recipe
Queso Blanco is a South American cheese similar to the Indian cheese Panir. It is an excellent co...
-
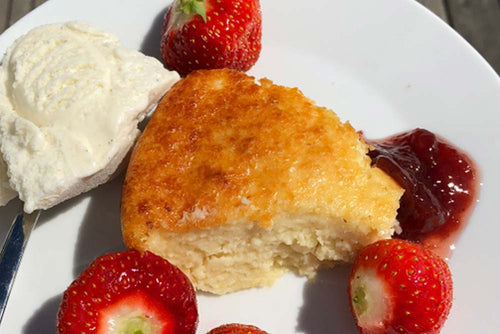
Ostkaka Cheese Making Recipe
This is a Swedish, Scandinavian, dessert dish, traditionally served at Christmas. Not really cus...
-
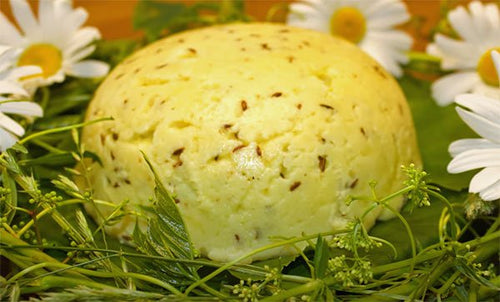
Lemon Cheese Recipe
This rich and delicious cheese may be made in the evening and will be ready to spread on hot cro...
-
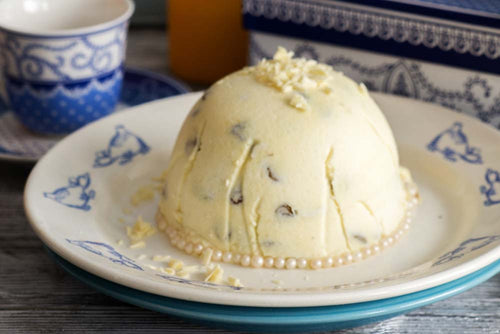
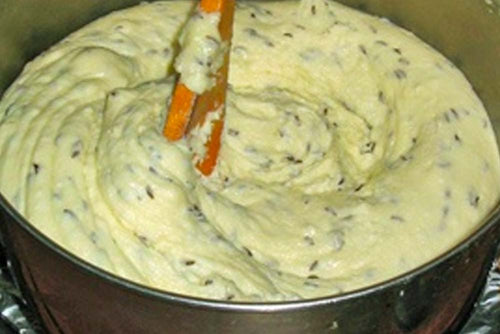
Latvian Easter Cheese (Pashka) Recipe
Oma's Pashka submitted by Brent Alderman Sterste
My father's family is Latvian and we make a swee...
-
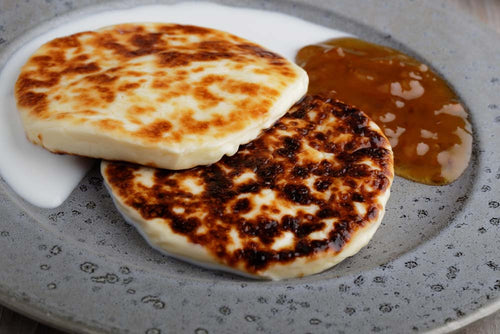
Juustoa Cheese Making Recipe
This Finnish, squeaky cheese recipe from Eleanor Miller in MI. It is eaten in cut pieces put into...
-
Oma's Janu Siers (John's Cheese)
Submitted by Brent Alderman Sterste
Traditionally made for the summer solstice - the longest day...
-
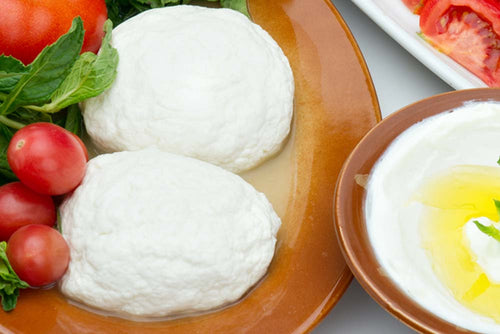
Guban Cheese Making Recipe
This is a Lebanese cheese using the simplest of ingredients. This finished cheese may be used in ...
-
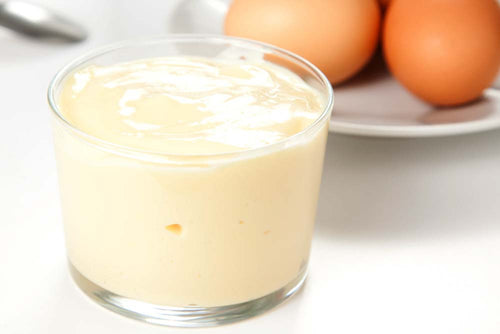
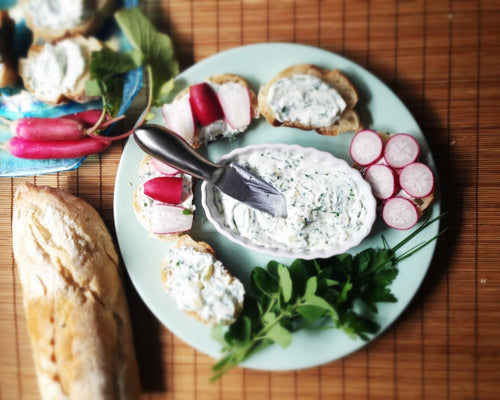
Fromage Blanc Recipe
Fromage Blanc is a wonderfully creamy cheese that may be used in place of cream cheese in any re...
-
Farmers Cheese Recipe
There is a lot of variation in this white cheese because each person makes it slightly differentl...
-
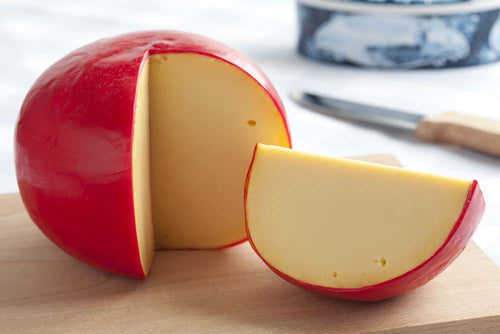
Edam Cheese Making Recipe
Traditionally a Dutch cheese, made with partially skimmed milk & eaten when young. This chees...
-
Cup Cheese Recipe
This is a Pennsylvania Dutch Cheese made by the Amish and Mennonites since before the time of the...
-
Creme Fraiche Recipe
Creme Fraiche is one of those dairy delights that you try to eat just a little of but once you ta...
-
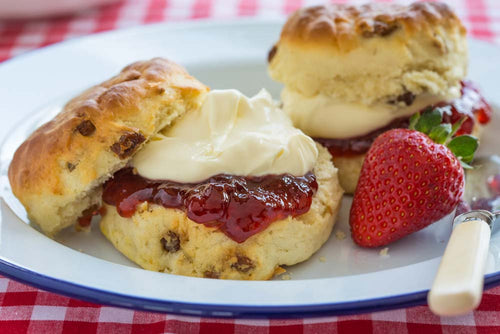
Clotted Cream Recipe
This is a specialty of Devon and Cornwall in Southern England. It is made from rich cows milk of ...
-

Home Cheese Maker Spotlight: Bernard’s Feta-Style Cheese with Kefir
We love hearing from home cheese makers who are finding creative ways to make delicious cheese in...
-

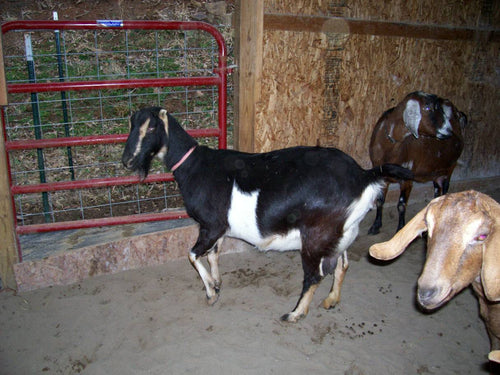
Curds, Goats & Gratitude: Life on Bluebird Meadow Farm
The First Goat, The First Cheese
Eighteen years ago, on a quiet stretch of land in Ada, Michigan,...
-
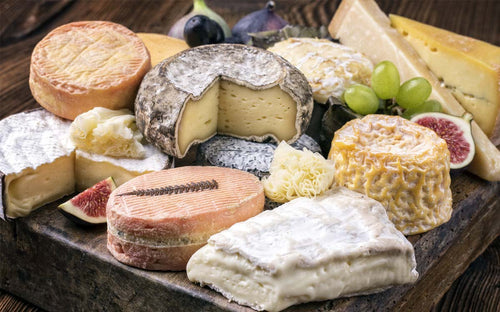
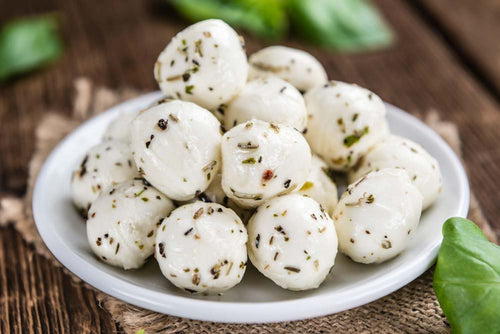
5 Fresh Spring Cheeses to Make at Home | Easy, Seasonal Cheese Recipes
Spring: A Season of Renewal (and Cheese!)
Spring is a season of beginnings. The days grow longer,...
-
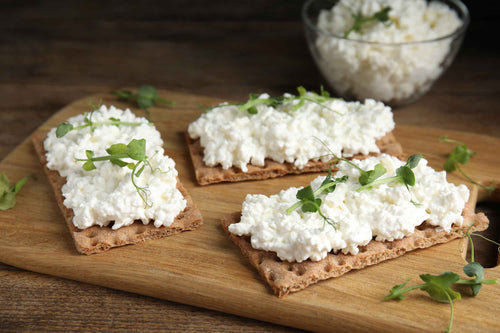
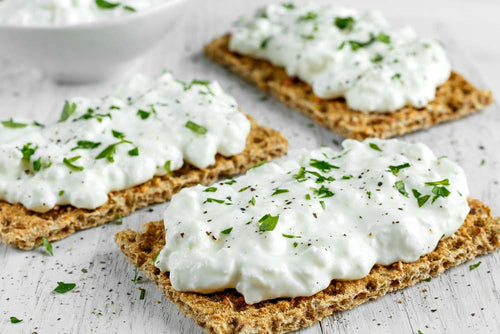
Good Cultured Cottage Cheese: Fresh and Healthy
What Is Cultured Cottage Cheese?
Cultured cottage cheese is a fresh, creamy cheese that’s natural...
-
Kristy Foster in Yorba Linda, California
Kristy Foster and ?
If you live near Yorba Linda, CA (35 miles southeast of downtown Los Angele...
-
Leon Graafland in Toronto, Ontario, Canada
Leon Graafland in the tulip fields, 20 miles outside Gouda.
I grew up in the Netherlands; just ...
-
Which Rennet is For You?
Submitted by Kate Johnson and Kelly Liebrock of The Art of Cheese in Longmont, CO
February 21, 2...
-
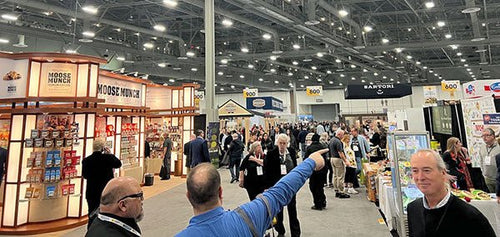
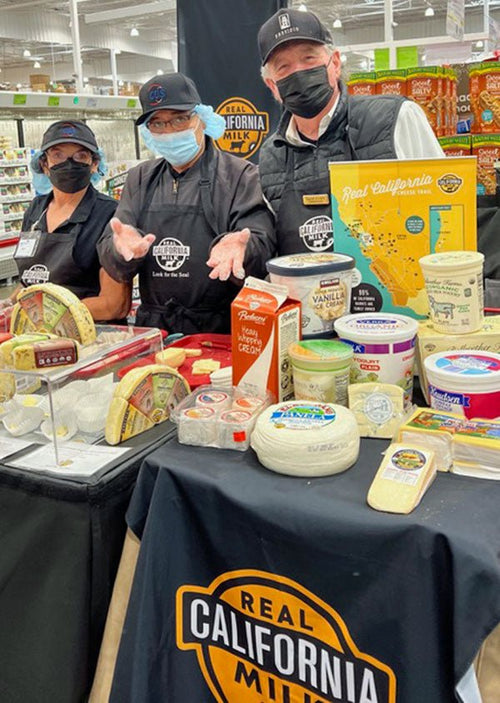
Pictures from the Winter Fancy Food Show, 2023
Colleagues Ritz Guggiana (RG Consultants) and David Viviani (www.vivianimarketing.com)
Ten year...
-
Tidbits - 075
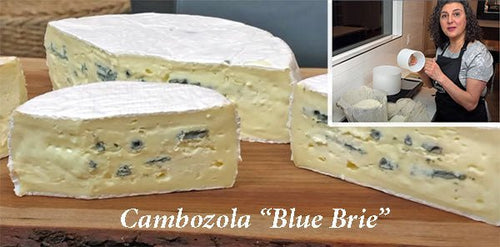
Bloomy Blue: New Cambozola video from Mary Anne Farah. (click here)
Participate in a Sleep St...
-
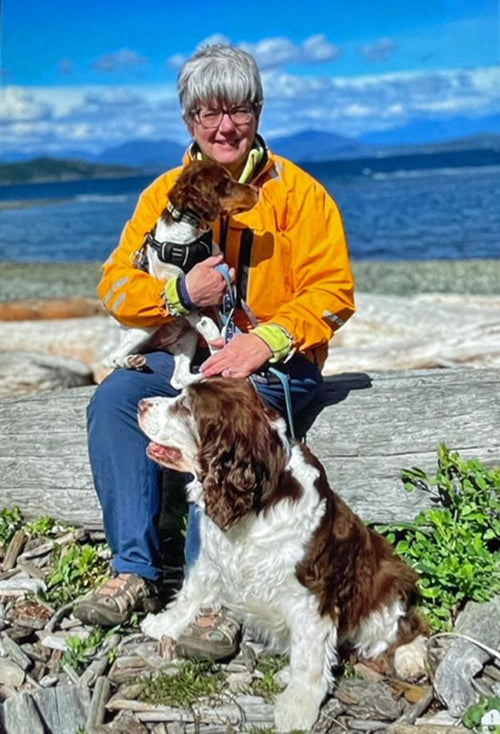
Rita den Otter in Duncan, BC, Canada
Rita with her old Springer, Farley (14 1/2) and her pup, Abby (4 months) on a camping trip to Qu...
-
Andres Schneiter in Maple Ridge, British Columbia, Canada
Andres Schneiter with his Raclette
If you’re on our mailing list at cheesemaking.com, you’re fa...
-
Celso David Viviani in San Francisco, California
David Viviani at a reception for President Sergio Mattarella of Italy, at San Francisco’s Fairmo...
-
Tidbits - 074
Fun Video! Do not visit London without watching this first. (click here)
Butter Candles: Melti...
-
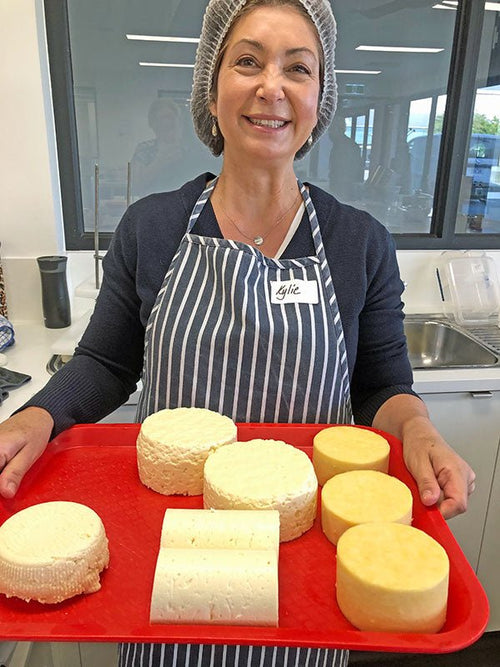
Kylie Carnegie in Melbourne, Victoria, Australia
Kylie with Rémy, her 18 month old Schipperke.
Kylie is just starting her cheesemaking adventure...
-
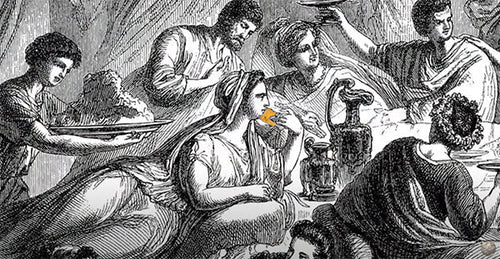
Tidbits - 073
Where Did Cheese Really Come From? Light and fun – the perfect video for high school students (...
-
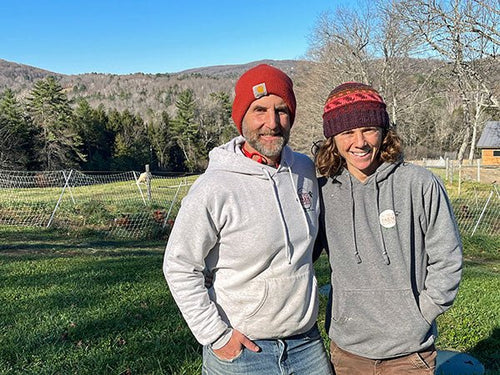
Fat Sheep Farm in Hartland, Vermont
Todd Heyman and Suzy Kaplan of Fat Sheep Farm
When Suzy Kaplan & Todd Heyman decided to get...
-
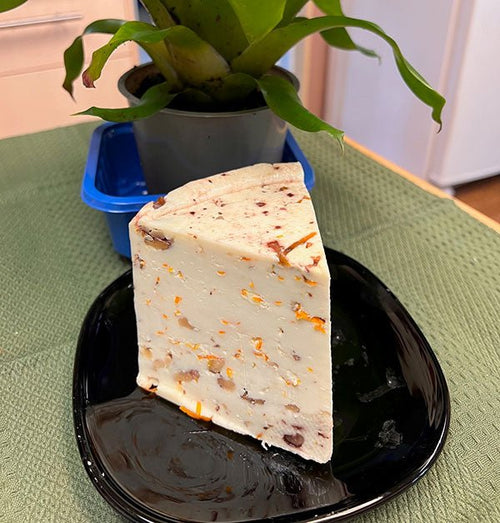
Marybeth Bullington's Orange-Walnut Holiday Cheese
Marybeth’s fabulous holiday cheese.
Good news! It’s not too late to make cheese for the holida...
-
Gift Ideas for Cheesemakers and Cheese Lovers
Pin, $2, teepublic.com
The giving season is coming up! It’s a little early but we think it’s a...
-
Cheesemaking Classes in the U.S. (Current)
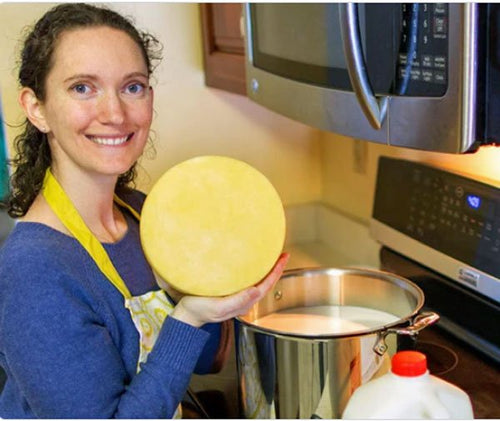
Sarah Carroll at her Cheesemaking 101 workshop at New England Cheesemaking Supply Co.
We first...
-
Tidbits - 072
Results are In: List of winners of 2022 American Cheese Society Competition.
Making Burrata: Th...
-
Yoel Blumberger: On the Role of Cheese in Israel
Yoel Blumberger making Camembert
Yoel lives in Tel Aviv where he belongs to a group of cheesema...
-
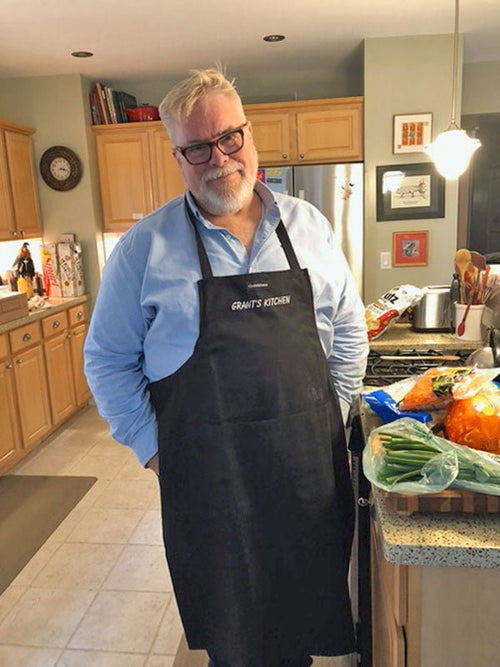
Grant Fritch in Lansing (Okemos), Michigan
Grant Fritch
It’s always a surprise when we delve into a cheesemaker’s life and discover talent...
-

Tidbits - 071
Potato and Cheese Pizza Video: Made on stovetop – no oven required. (click here)
Two new video...
-
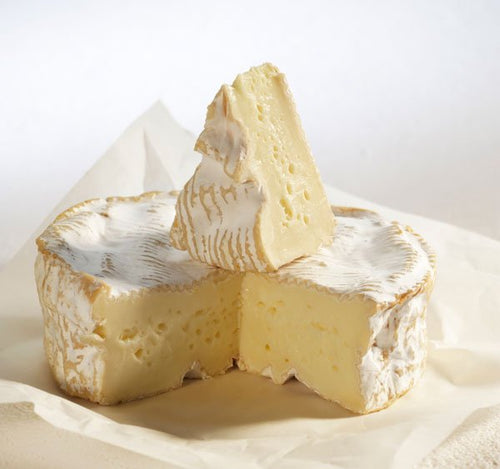
Yoel Blumberger: Camembert de Normandie AOP and the Flocculation Point Method
Picture by Yoel Blumberger. Sources: freeworldmaps and Dairy Products of France
In this arti...
-
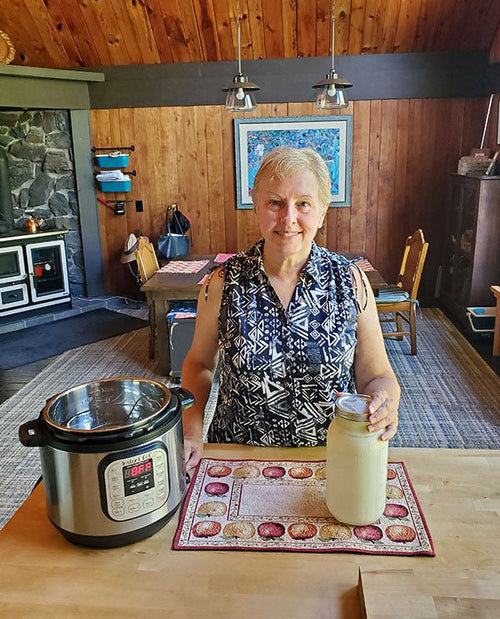
Ivy Netzel in Gourley Township, Michigan
Ivy Netzel, making kefir
Ivy’s Story
I live in a quiet little hamlet called Jam Dam (unincorpor...
-
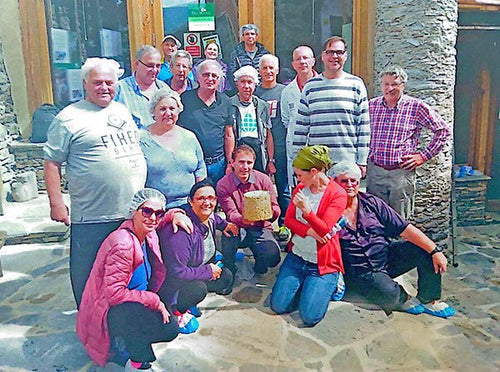
Yoel Blumberger: Cheesemaking Group in Israel and a Recipe for Castelmagno
Part of the group (with Castelmagno cheese) in front of a dairy high in the Italian Alps. Yoel i...
-
Hilda Elena Thielen in Marietta, Georgia
Hilda Elena Thielen
Hilda loves to cook with natural/minimal ingredients so cheesemaking is a p...
-
Tidbits - 070
Cumin cheese
July is cheesy video month!
We couldn’t help but notice that there have been a lot...
-
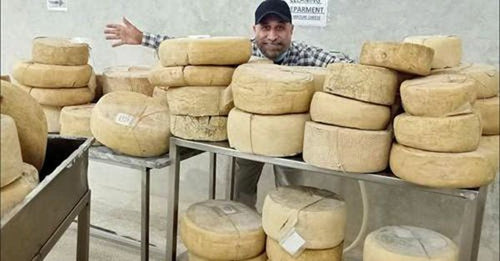
Imran Saleh in Pakistan - Camel Milk Cheese
Imran with a few of his artisan cheeses.
This is our 9th post about Imran since 2013. Since we...
-
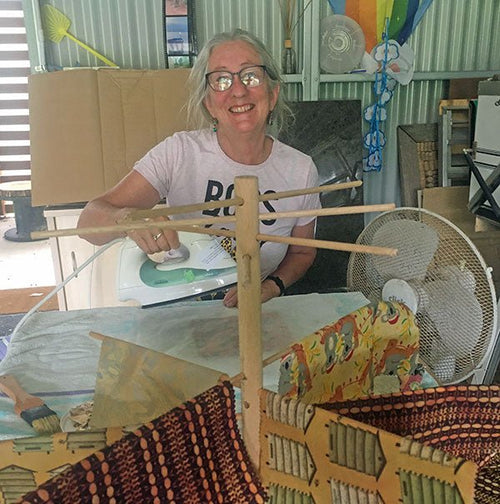
Kathy Lynch in Queensland, Australia
Kathy Lynch in her studio
I live on 45 acres of beautiful land on the Sunshine Coast with an a...
-
Erol Sozen in Bloomington, Illinois
Erol Sozen
Erol comes from Turkey, a country where cheese is highly valued. Most of the cheese...
-
Dennis Woods in Portland, Oregon
Dennis with Tomme, after light press
They say if you want to get something done, ask a busy per...
-
Upcoming Cheese Festivals (Current)
Ricki Carroll (The Cheese Queen) at the Festival of Cheeses in 2015. This used to be the last e...
-

Tidbits - 069
Cheese Scented Nail Polish: It’s real! Velveeta teamed up with Nails, Inc. (click here)
12 H...
-
Maureen Blais-Gestrich in Sarasota, Florida
Maureen with Butterkase, Dunlop and Red Leicester on the press, Mountain Tomme on the platter an...
-
Making Cotija (Mexican Parmesan)
Lately, it seems like every recipe I see online and feel like making has Cotija in it. The corn ...
-
Tidbits - 068
Gavin Webber’s Latest Cheese: The incredibly beautiful Red Windsor. (click here)
Cold Pizza?:...
-
Vivian Lucero's Trip to the California Artisan Cheese Festival
Cheese please!
In 2019, we had the pleasure of interviewing Vivian – Vivian Lucero in Otis, Ore...
-
Hal Wentzel in Niagara, Wisconsin
Hal pointing to an apricot blossom a few weeks ago. The trees were just planted last year.
In ...
-
Jennifer Rollins in Sydney, Australia
Jennifer in her kitchen with a couple of vacuum packed cheeses and a tomme.
Jennifer seems to b...
-

Rhonda Bates in Frisco, North Carolina
Rhonda with Earl and Louise
Rhonda is a professional artist with many talents. When she was yo...
-
Tidbits - 067
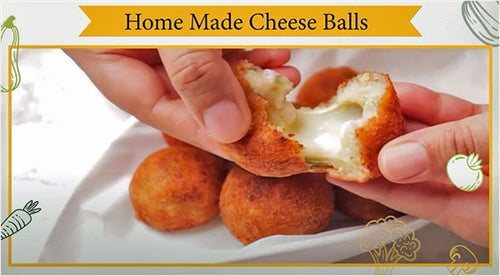
Simple but Spectacular: Yummy cheese balls with mozzarella inside. (click here)
Cheese Heist: ...
-
Molly Brown in Altoona, Pennsylvania
Molly at left with her grandmother, mother, and dog Muffin.
Molly Brown is no stranger to adven...
-
Whoops! Cheese Making Disasters
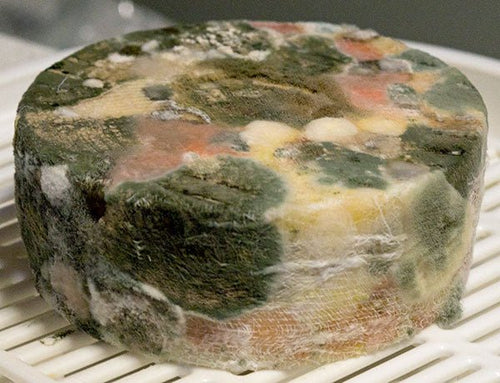
Molly Brown in Altoona, PA told us her first bandage wrapped cheese, a Lancashire looks worse th...
-
Shirley Hampshire in Kingston, Michigan
Shirley Hampshire
Shirley and her husband, Randy have 6 grown kids and 9 grandchildren, so far....
-
Tidbits - 066
Gruyere from a small dairy in Switzerland: Maker at left holding 1st place trophy (for the thir...
-

Gert and Connie Kok in Pretoria, South Africa
Gert & Connie Kok
South Africa is a long way from most of us. However, the internet brings...
-

Keith Stuart Phoenix in Warboys, Cambridgeshire, UK
Keith Stuart Phoenix
There are a lot of good things that came out of the Covid lockdown. Many f...
-
Deb Pero in New Boston, Texas
Deb told us these little guys are the reason she moved to Texas. (They’re not required to do fa...
-
Alan Stables in Colombo, Sri Lanka
Wishing you all the best!
To all cheesemakers – check this out if you sell your own cheese. Th...


 Cateland White in Las Vegas, Nevada has written several fabulous articles* for us because she is an amazing writer and we adore her! This summer, she and her husband and their 11 year old, Bugsy (whom we adore just as much!) took a road trip to the Pacific Northwest. (We’re hoping she will share pictures of her trip with us, so watch for that soon…) Right before they left, Cateland wrote this “essay” about her latest culinary adventure – an easy whey to make Mozzarella. Thank you, Cateland!


