


It’s time to start making those holiday gifts! In the home cheese making biz, you have to keep one eye on the future and one eye on the moment. And, in this particular moment, we’re approximately 3 months from the holiday season- the perfect time to plan your cheese, order your supplies and make your first farmstead cheese.
Farmstead cheese was Jim’s Recipe of the Month for August. This is an excellent beginner hard cheese. It can be aged for as little as one month or much longer, so there’s still time to order your culture and rennet, or whatever you need. (We almost always ship within 24 hours of placing your order.)
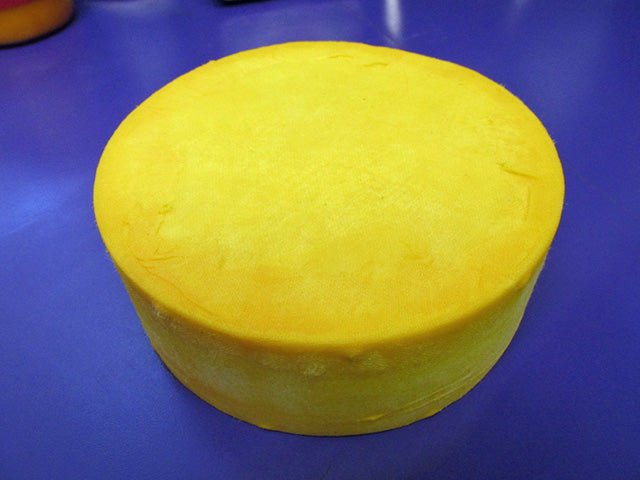
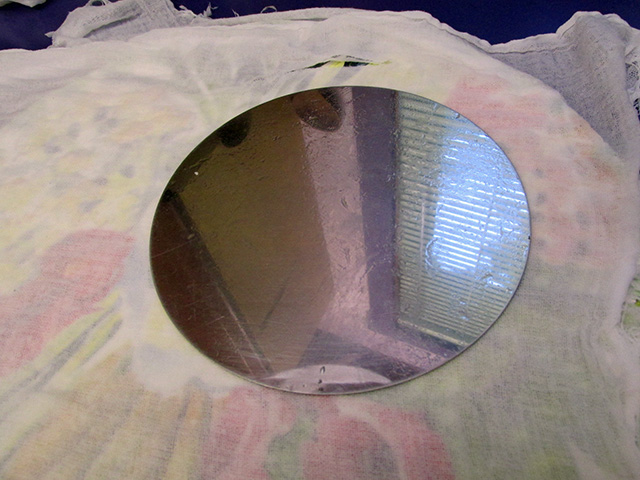
Recently, I was rooting around in my storage area, and I found a food
preserver I had bought years ago at a tag sale. I decided to age my
cheese in it, although it was originally made to keep cheese from
molding in the fridge.*
 |
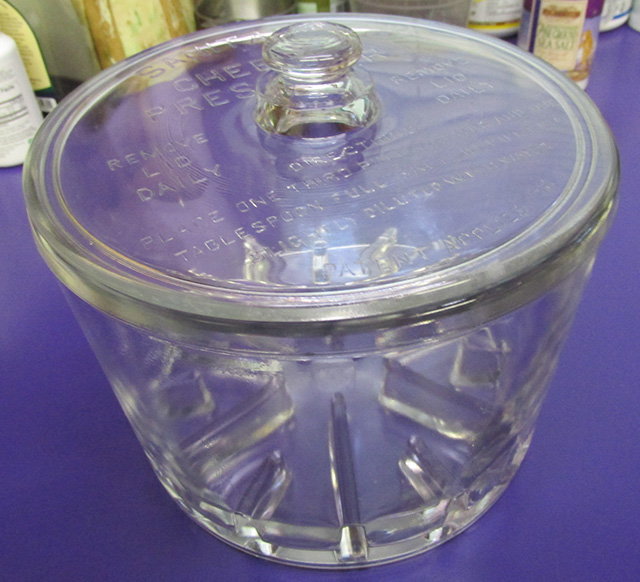
| Directions are embossed on the lid* |
I like it for aging because 1) it isn’t plastic so I know there are no PCB’s to worry about, 2) it has a built in “mat” to keep the cheese out of any whey that might seep out, and 3) it’s very easy to lift the lid and turn the cheese every day.
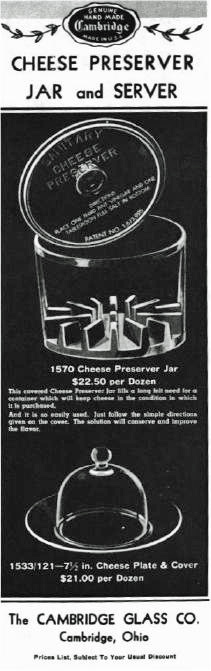
I looked it up at the Maytag website, because I think they are the only company still making it ($29.95).
I learned that Maytag now makes blue cheese and sells it (as one option) with a food preserver. My round-style preserver with a 2 pound piece of blue cheese sells for $59.95. So, it’s a great gift for any cheese lover and it would be a fabulous gift with your own homemade cheese inside it.
I did a quick search on the web, and there are slight differences between these food preservers. They range in price from less than $10 on ebay to hundreds of dollars at auction houses.
Check out the process here and see if it’s doable for you:
Farmstead Cheese Aged in a Glass Food Preserver
Recipe Adapted from Jim Wallace’s Recipe Page
Ingredients:
2 gallons milk
1 packet of Mesophilic culture (C101)
1/2 tsp liquid rennet (or 1/4 tsp double strength vegetable rennet or organic vegetable rennet)
3 tsp cheese salt
1/2 tsp calcium chloride (if using pasteurized milk or cold stored milk)
annatto for color (optional)
Supplies:
curd knife or any knife to cut curds
ladle
colander to drain curds
butter muslin
cheese cloth to bandage cheese or wax
mold (small mold (M3) or the mold that comes with our press)
press
glass food preserver (optional)*
*There are many places to buy these online. There are quite a few listed on eBay and the prices start at less than $10.
Directions: (This is just a summary. The full directions can be found at Jim’s recipe page.)
1. Heat milk to 88F. While doing this, add annatto (I didn’t) and calcium chloride (I did).
 |
| 2 gallons of Nubian goat’s milk |
 |
| My method of indirect heating |

 |
| I added calcium chloride because my milk had been refrigerated for 2 days |
2. Add culture

3. Add rennet

4. Let set for 30 minutes until the curd is ready to cut

5. Cut the curds into 3/8 to 5/8″ pieces.

6. Increase the temperature to 102F over a period of 30 minutes.
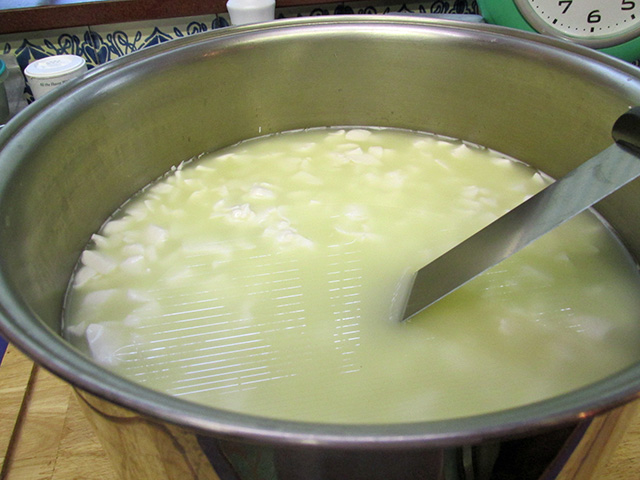
7. Stir the curds at 15 minute intervals over a period of 1 – 1.5 hours.

8. Test the curds for the proper resistance.

9. Drain in a colander lined with butter muslin for 30 minutes.

10. Add salt in two separate doses.

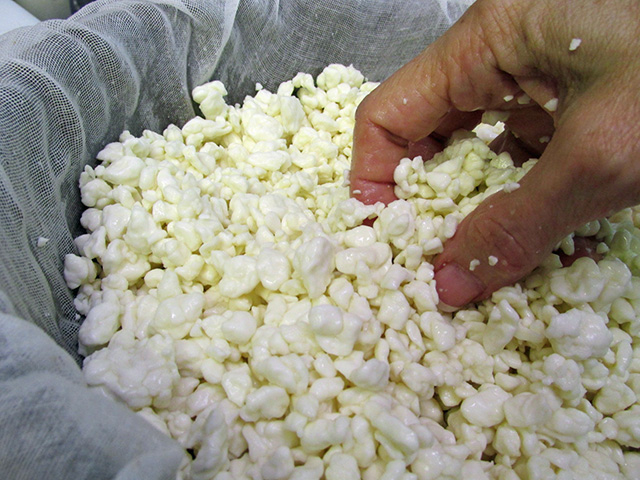 |
| I used my fingers to distribute the salt. |
11. Pack the curds into the mold.


12. Press for an hour at 10 pounds.

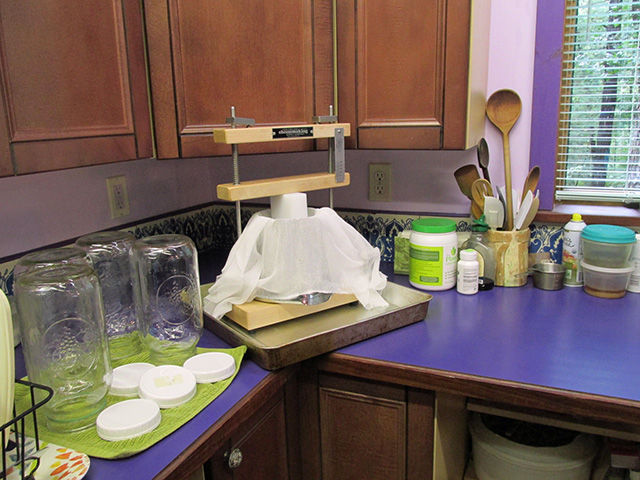 |
||
| You can see how little space this takes up in my tiny kitchen. |
 |
| My hands were too full with the first flip to take a picture. |
13. Press for 3 hours at 25 pounds.
 |
| Things were looking up at this point, but you can see that it still needs some coagulation. |
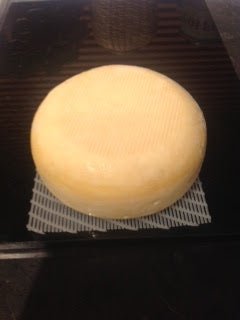
14. Press at 50 pounds for 18 hours.
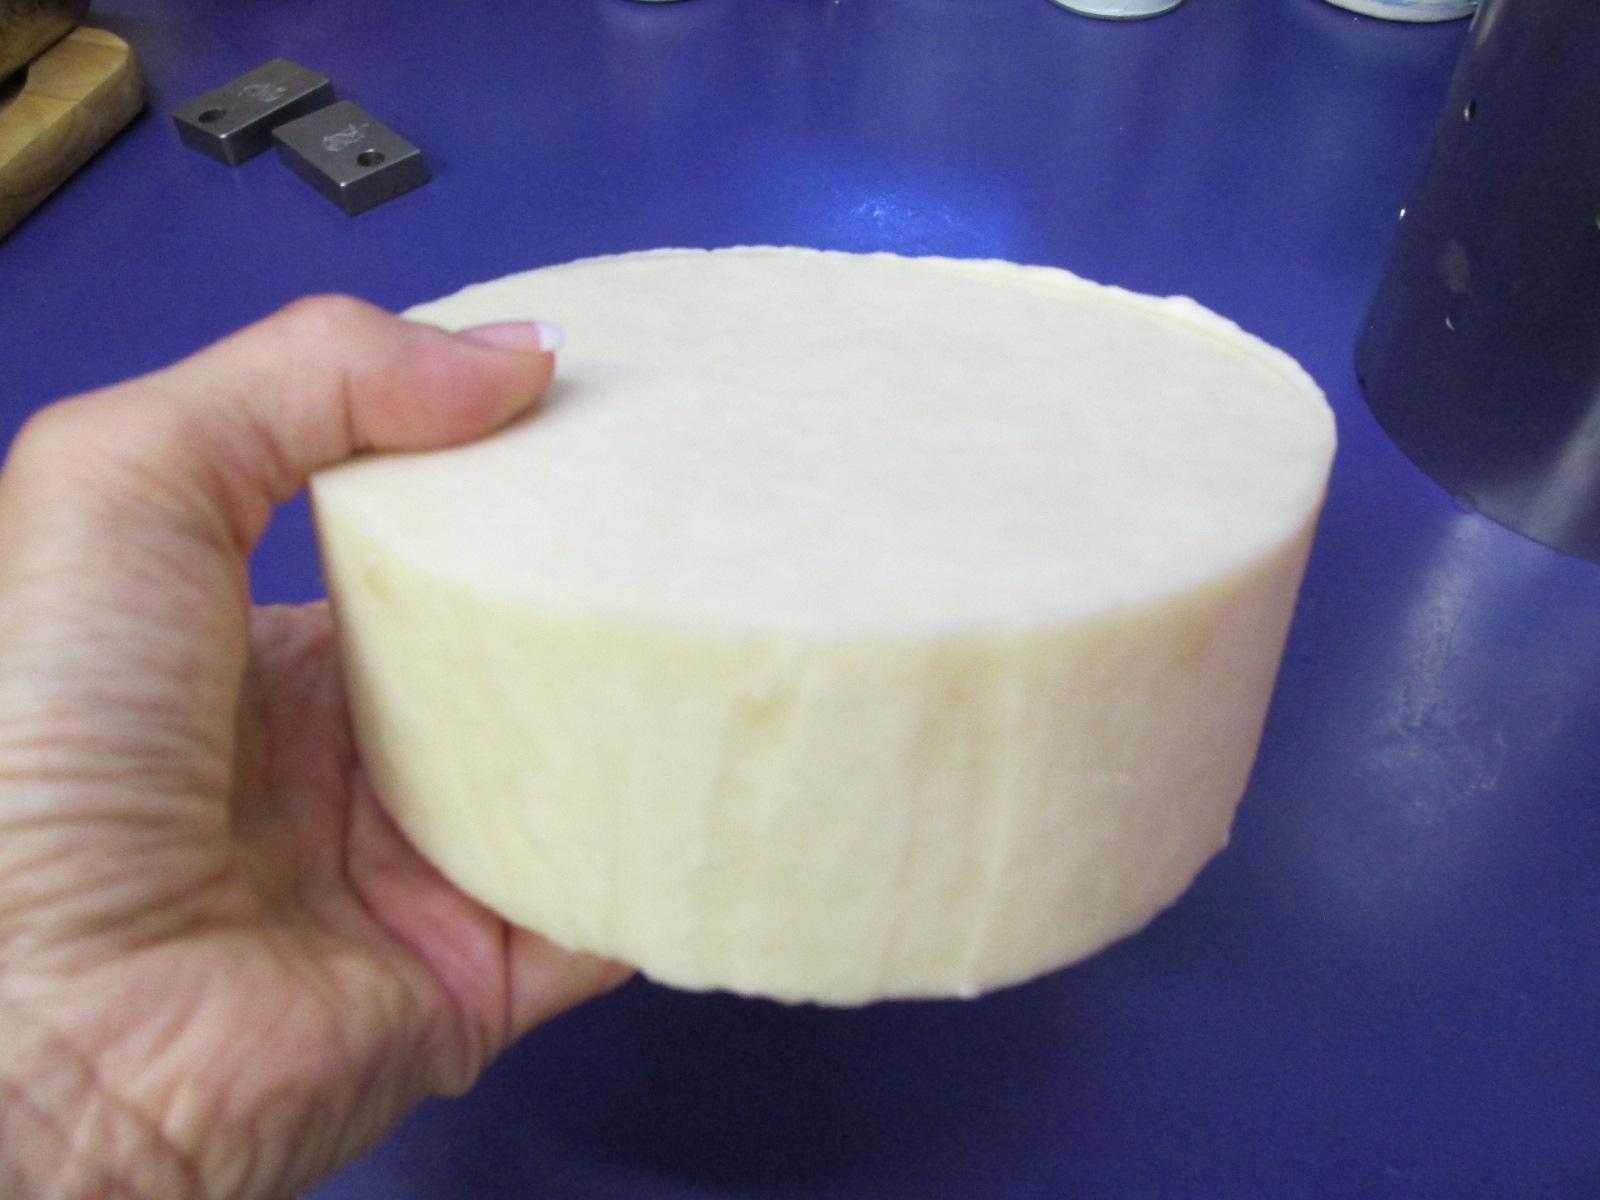 |
| There are a few minor indentations from the cheese cloth, but the curds are fully compressed. |
 |
| I trimmed off that little bit of rough edge with a knife. |
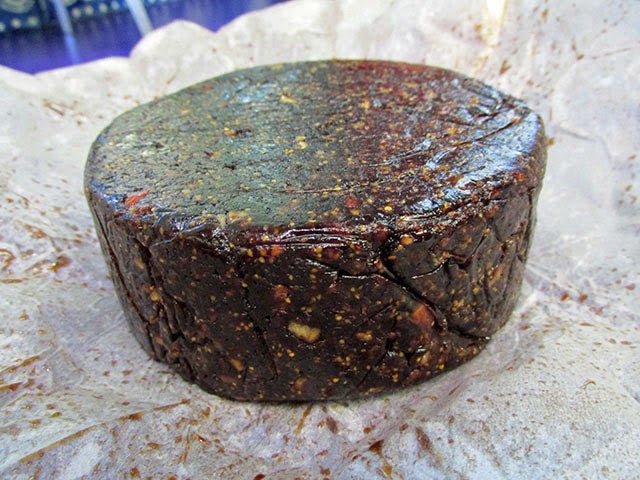
15. Wax or bandage your cheese. I chose to bandage mine using red palm oil to adhere the bandages to the cheese.
 |
| You may not be familiar with this healthy oil. I love the taste and the bright color, so I thought I’d experiment with using it here. |
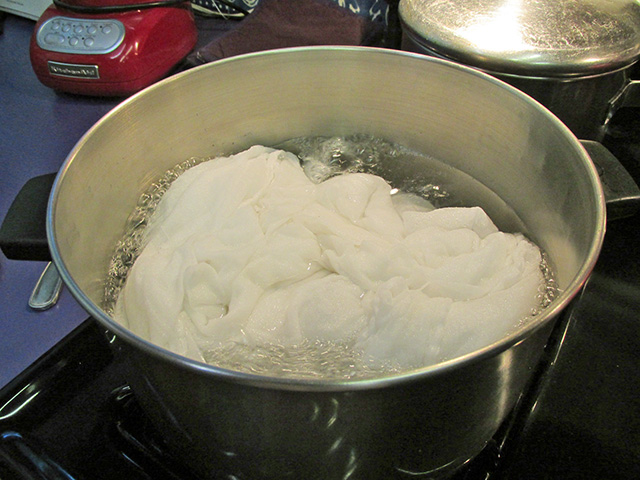 |
| I sanitized the butter muslin first. |
 |
| I traced the follower to make the end pieces, leaving 3/4 inch extra all the way around. |
 |
| I followed Jim’s directions, pressing after both ends, then rolling on the side piece and pressing overnight. (It was too hard to take pictures when I was handling the cheese, but you can see the oil leaking out of the bottom of the press.) |
 |
| I used butter muslin, so I only needed to do this once. (Some folks who use cheese cloth, do it all twice.) |
 |
| It looked so pretty! |
16. The cheese can then be placed into your aging space at 52-56F and 80-85% moisture.

 |
| My cooler stays at 50F for two days, then I switch off the ice pack with 2 bottles of frozen water. |
 |
| The first day, the lid got moisture on it, but I wiped that off. My plan is to add a little water to the bottom of the preserver after the first week, to keep the humidity up. |
17. The cheese can now be aged for 4-6 weeks (or more) – just in time for the holidays.
* On the lid it says, “Sanitary Cheese Preserver, Remove Lid Daily, Directions: Place one third pint vinegar and one tablespoon full salt in bottom, slightly diluted with water. Patent Applied For.”


