


We love when you send us your recipes! Julie Ott in North Berwick, Maine sent us this one. We haven’t tried it yet, so, when you do, please let us know how it went.

About Julie
I have been (successfully) making cheese for nearly 3 years from raw goat’s milk. I have my own herd of goats, which includes Nigerian Dwarf, Saanen, and Boer.
I was diagnosed with a dairy allergy when I was a child. Because my brothers had the same thing, my parents had me try goat milk. I was able to drink goat milk without any problems, and I swiftly moved into eating cheeses. While delicious, they were too expensive for me to have regularly. So I had talked my parents into allowing me to get goats.
Skip ahead some 4-5 years from then, and I am making cheeses every few days and yogurt for my 10 month old son. So far I have made Gouda, provolone, mozzarella, cheddar, Parmesan, Colby, jack, cheese curds, Colby jack, American brick, and a dry and crumbly fresh cheese for the family’s orzo salads. I’m addicted!
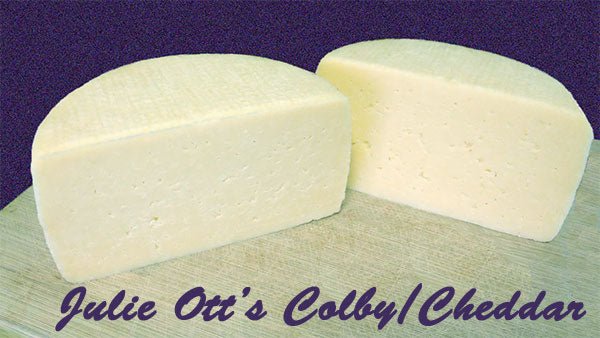
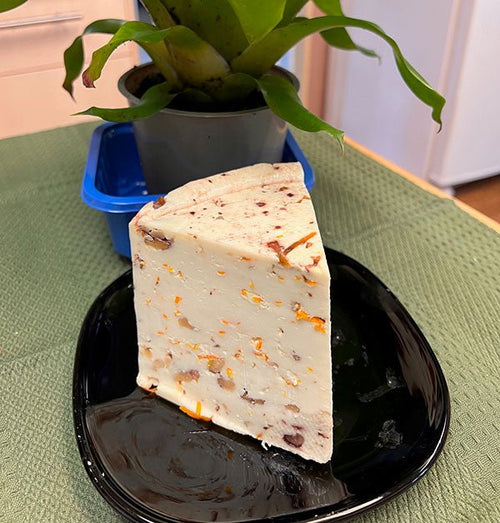
Julie’s Goat Milk Colby/Cheddar
A little bit of background for this recipe: I have always messed up cheddar. Every single time I get too much acid development. I have tried every tactic but it still becomes too acid somewhere and then I end up with a sharp (vs a mild) cheddar. What’s more, my family prefers Colby. I wanted a cheese that had the buttery freshness you get with Colby, but with the sharp-nutty flavor you get from cheddar.
You will see in step 10 that the cheddar cheese becomes a washed curd (sort of) cheese. This really helps to stop any further acid development which could lead to a stronger/sharper cheese.
I really hope you enjoy this recipe! Is has been 2 years in the making to get it just right! My family uses this cheese for EVERYTHING. From pizza to tacos, subs, lasagna, pasta salad. You name it, we probably put it in there. It is a very useful cheese, that takes little time (about 2 1/2 hours to make the chess before drying the curds OR pressing the curds).
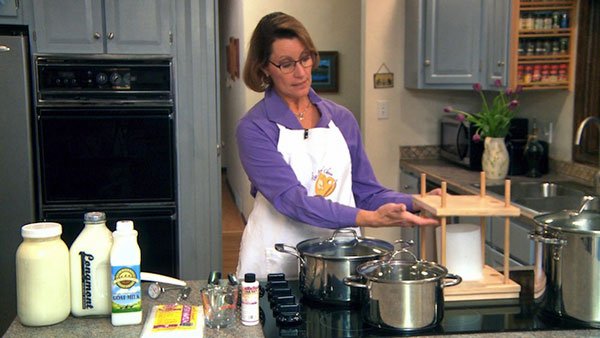
Follow the typical ingredients you would use to make a batch of Colby. For me, I use the following:
1/4 + 1/8 tsp animal rennet diluted in 1/4C water. Double this for pasteurized milk
1/16 tsp mesophilic culture (I use M4002). Double this for pasteurized milk
3 gallons of goat’s milk
1-2 gallons of non-chlorinated water

Stirring the curds and whey while raising temp
Directions:
1. Heat milk to 86F.
2. Add cultures. Let the culture re-hydrate on the surface for 2 minutes, then stir in. Let sit for 45 minutes.
3. Add rennet and stir well to incorporate. 45-60 minutes should get you a good clean break.
4. I like to use a whisk, but you may use a knife or similar utensil to cut the curd (or a curd knife). I like a good 1/4 inch, but 3/8 inches is recommended. Do the initial cut of length and crosswise and let sit 15 minutes. This helps to keep the milk fat in the curds. Once the time is up, finish cutting horizontally and diagonally to achieve the curd size between 1/4″-3/8.”
5. While stirring, raise the temperature of the curds and whey to 102F over the course of 30 minutes. Because I stir too hard and fast, I have found that stirring every 5 minutes during this phase keeps my curds from drying out too much. You will have to make a few batches of cheese before you can figure out the best stirring style to use for yourself. Whatever the case, do not walk away long enough for the curds to mat together at the bottom of the pot.

Draining the curds and whey
6. After 30 minutes, maintain the heat at 102F for 30 more minutes, while stirring, the same as you did in the previous step. You may not need 30 minutes, as vigorous stirring in the first 30 minutes can leave the curds drier than they need to be for the second round. When the curds look shrunken, but when a handful is squeezed together and they mat slightly, they are ready. If you want a drier cheese, you can go a bit farther with time. Just don’t go over that 30 minute mark.
7. Let the cheese sit for 15 minutes or so. You want the curds to drop to the bottom of the pot so you can remove the whey easier. If you are pressed for time, you can skip this step (it just makes it easier).
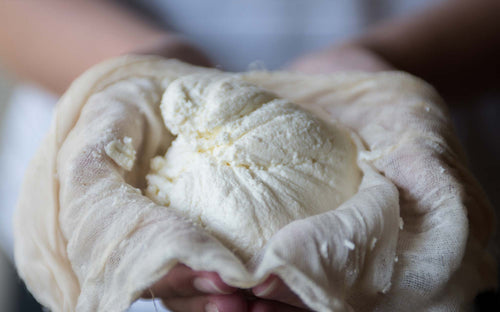
8. With a cheesecloth, separate the whey and curds. You can use the whey for your garden, to feed to pigs and chickens, and much more. Please don’t pour it down the sink! (Our dogs love it too!)

Tying the curd mass into a bundle to begin the cheddaring process
9. Now we are going to ‘lightly cheddar.’ I know this sounds crazy, so just bear with me here. Tie the cheesecloth around the curds to make a bundle and place into the cheese pot. Place a cover on the pot and let the curd bundle sit for 15-30 minutes. You may slice it in half and stack the two to get a true cheddaring effect, if you would like, but I have not noticed any difference between either way.

Breaking the mass into curds again.
10. This is where the cheddar you have been making turns into a different cheese. Break apart the curd mass into pieces and put them back into the pot. Add cold water until the temp is around 75-80F. Stir for 10 minutes, constantly.
11. Strain the water from the curds. Let the curds drip for a bit in a colander, and then salt with a ratio at about 1 tablespoon per 1.25 lbs of cheese (I use 3 tablespoons).

Draining and salting.
12. At this point, you may press the cheese as you would Colby. You can also keep it as curds, and stir them in a bowl for a few hours to let the residual moisture dry from the curds, and then you may freeze or use right away.
13. If pressing, I fill a water bottle with a tad over a pint of water and place it on the cheese for the first pressing, which is usually 30 minutes. I then flip the cheese and use the water bottle for another 30 minutes. Flip again, and 15-20 lbs of pressure overnight (2 hours should be sufficient, but leaving it overnight is just something I like to do).
14. As for aging, I age in our cellar, with a temp of 61-66°F and a relative humidity of around 40-60% given the day. Flip every day for the first 1-2 weeks, and then at least weekly for the next 2 months. I find 2 months makes a great cheese, but everyone has their own tastes. This cheese could definitely go longer, shorter, and even be used fresh.
I really hope you have enjoyed this easy recipe!


